7 Easy Steps for a Full Bicep Adjustment
Hi Sewing Friends,
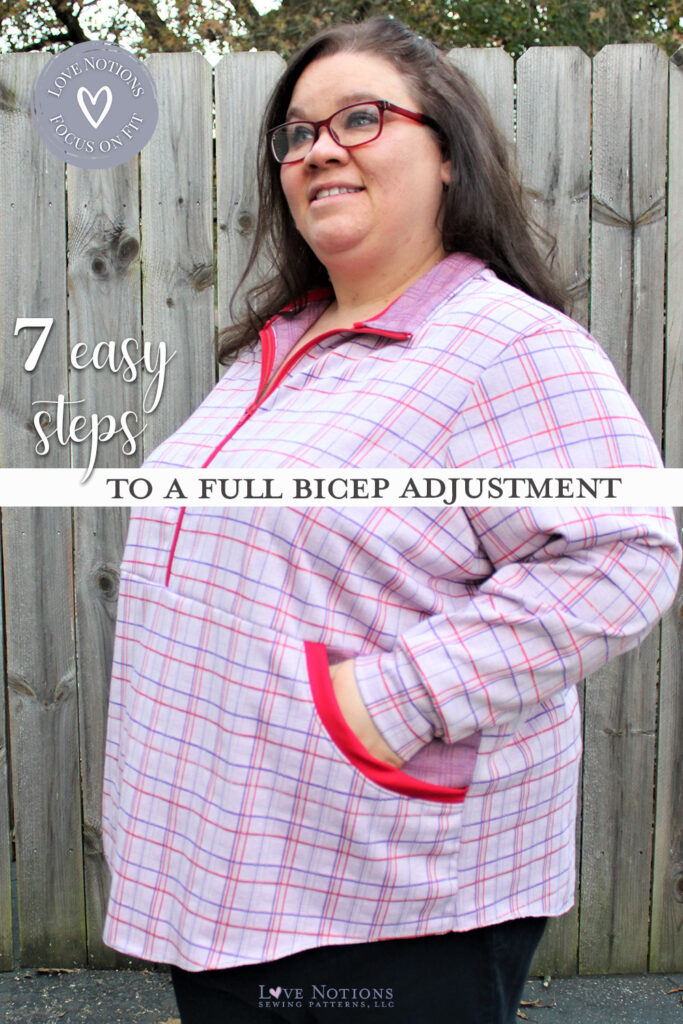
I am Sequoia from SequoiaLynn Sews and I am visiting the Love Notions blog to share some great information with you. I see loads of posts where someone says they love a pattern, but it doesn’t fit their arms comfortably. They usually follow that statement with, “should I go up a size?” The easy answer is no, you just need to do a full bicep adjustment.
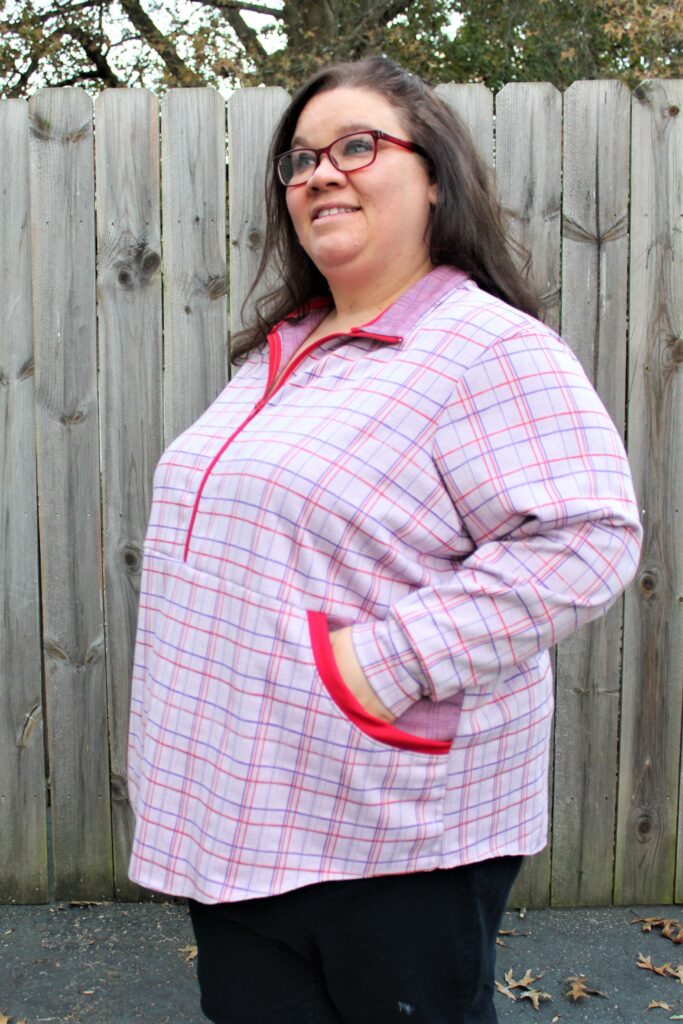
Typically, top pattern size selection is based off of bust measurements then you adjust for the waist and hips. You do the same thing for biceps. One of the most amazing things about sewing is being able to make clothing that fits your body exactly. And a full bicep adjustment is just one of the ways you can create clothing for you individual body.
One of the most amazing things about sewing is being able to make clothing that fits your body exactly.
So, who needs a full bicep adjustment? Plenty of folks actually.
You could be more muscular, curvier, or have medical concerns that require more room in the bicep area. Before learning how to sew, I could rarely walk into a clothing store and buy a top that fit my body and my arms correctly. Coats literally would not fit over my upper arms and if they did fit my arms, they were huge everywhere else. At the time, I thought it seemed like my sleeves needed to be two sizes larger to fit correctly. Now I know that is exactly what I needed. Thank goodness for learning to sew.
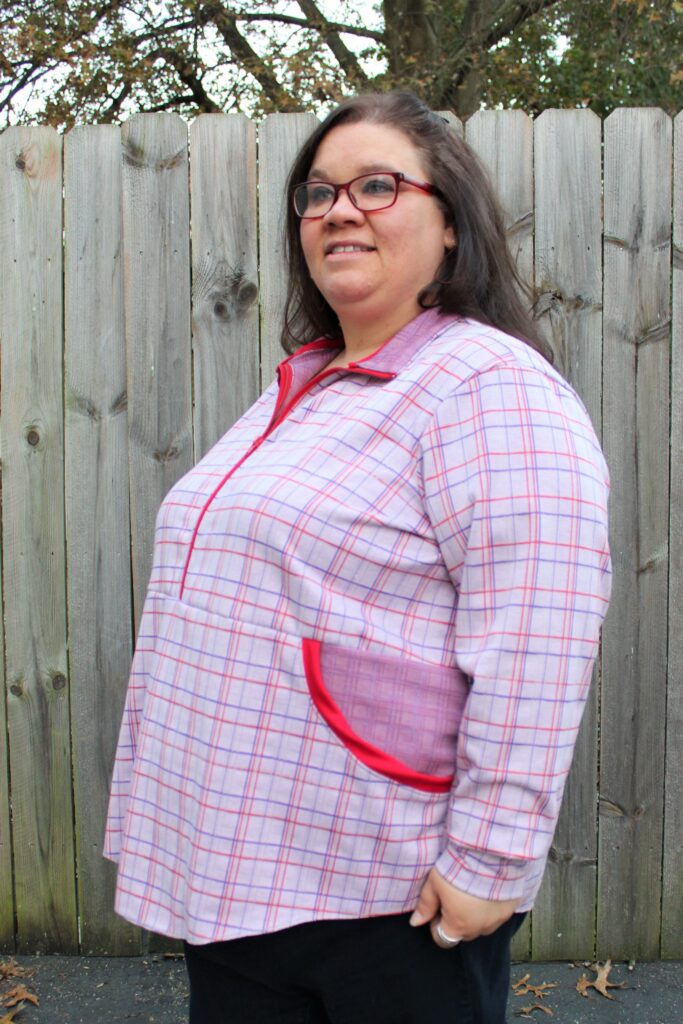
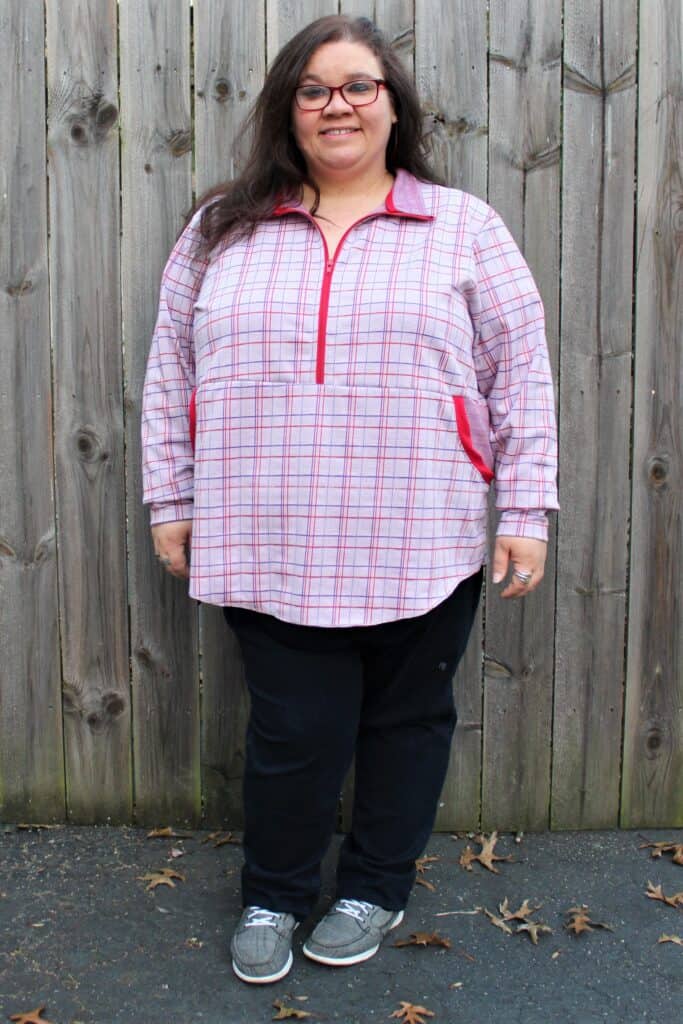
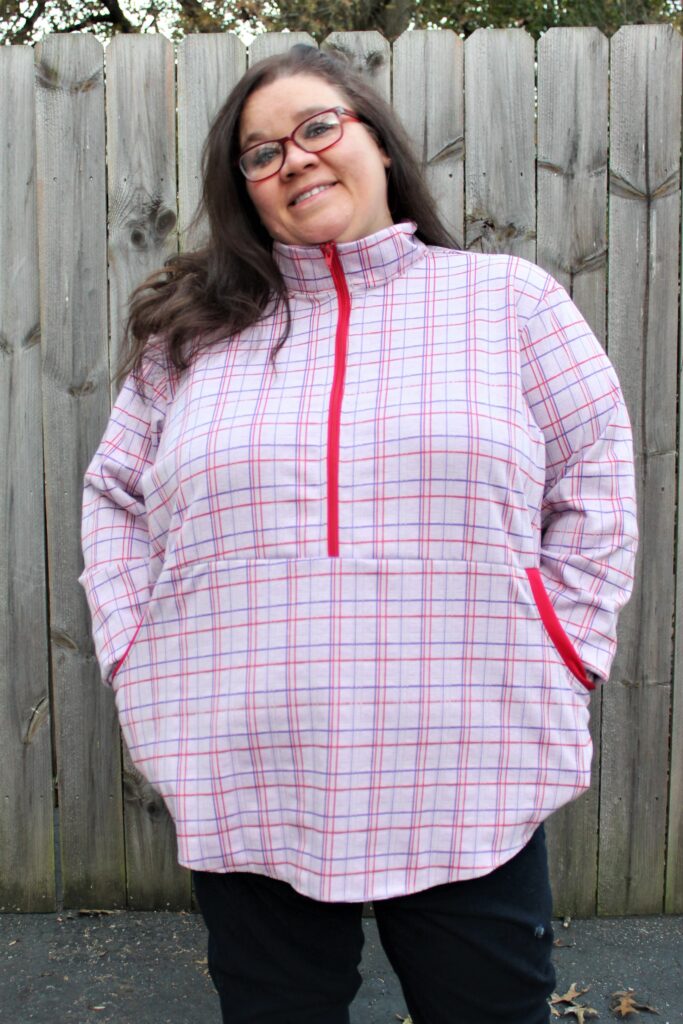
If you find yourself in a similar situation, I bet a full bicep adjustment would be useful to you as well. You are in luck because I am about to walk you through doing one. This step by step technique is for a set-in sleeve and I am using the Love Notions Constellation Hoodie pattern for this demonstration. If you are more of a video person, I have this video of doing a full bicep adjustment on the Sloane Sweater on my YT channel. Since the Sloane has a set-in sleeve, the process is exactly the same.
The first thing that needs to happen is measure your bicep at the fullest part. Just use an accurate flexible tape measure and wrap it around the fullest part. This number is your bicep measurement. I usually write it down on the pattern piece. My bicep is 19.5 inches, but yours will be different. Now consider the garment you are planning to make. Should it fit against your skin, do you need to wear it over another layer, does your fabric have a ton of stretch?
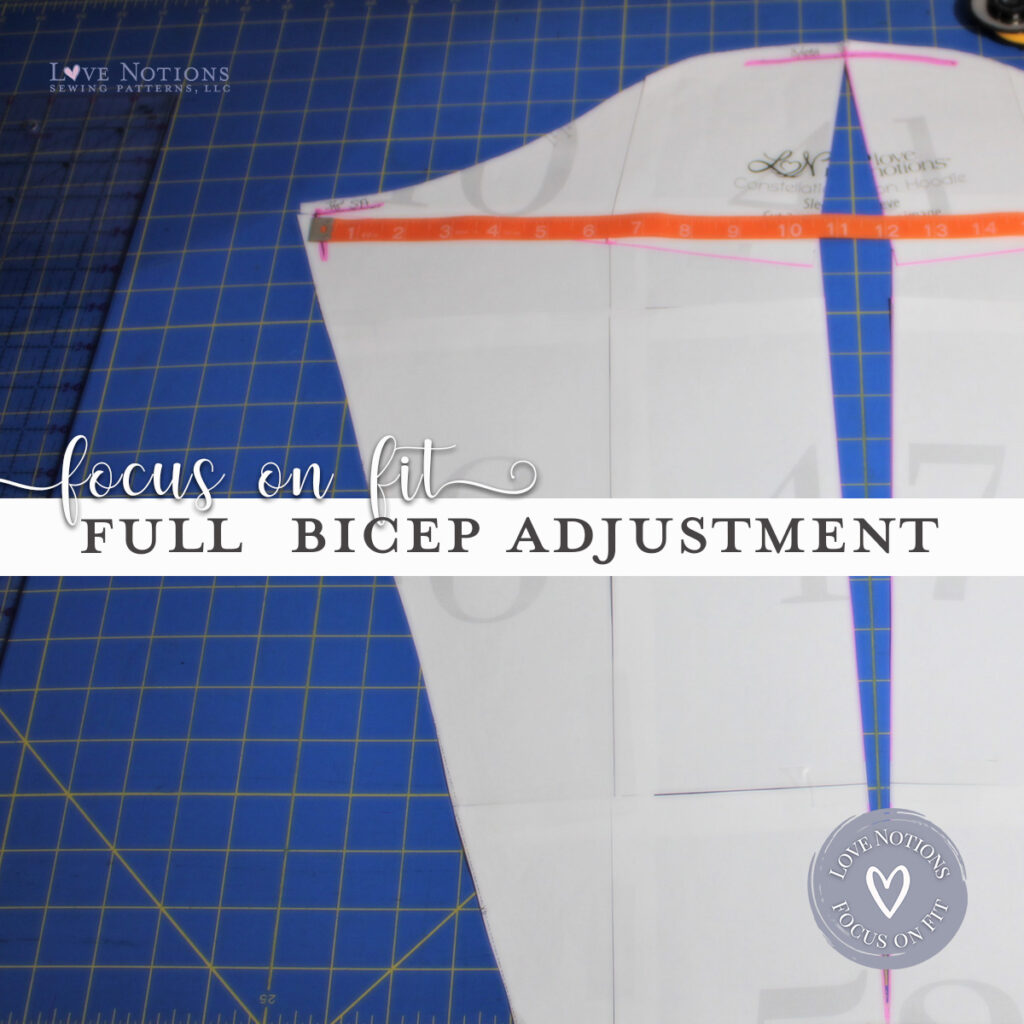
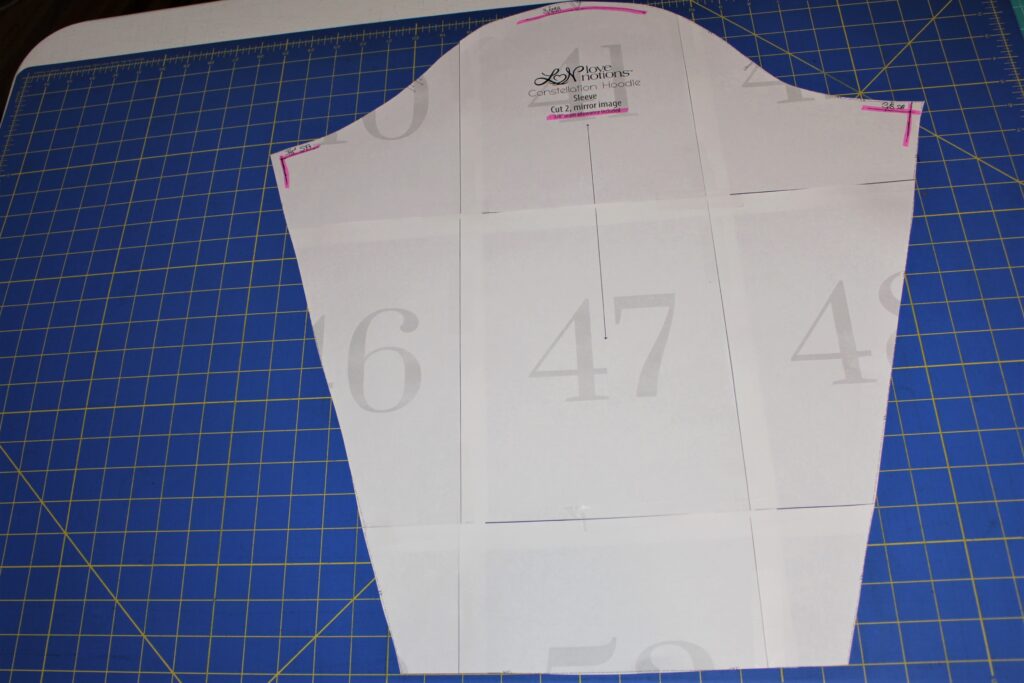
Step 1. Print and assemble your pattern piece.
I am using a print-at-home page which is why I have so many sheets taped together. You can trace your paper pattern onto a solid sheet of paper, but why waste more paper? This will work fine. This pattern has a long sleeve, but this process works the same on all sleeve lengths.
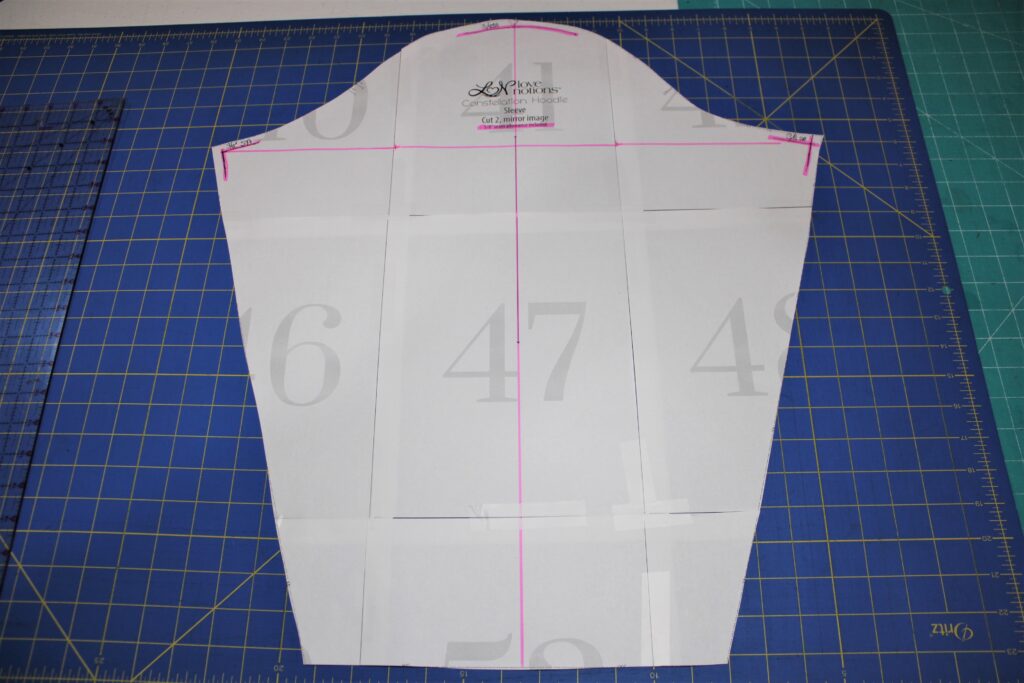
Step 2. Mark your seam allowances on the pattern piece.
Love Notions uses a 3/8 inch seam allowance. I also like to mark the hem depth if the pattern has the hem included. This pattern has cuffs so no need to account for a hem. Now measure across your pattern between the armscye points. This is the wide part of your bicep. Do not include the seam allowance since you won’t have them once the garment is assembled. From doing this adjustment on nearly everything I make, I know that I typically need 1.5 inches of additional width for Love Notions patterns. My fabric has the required stretch and I plan to wear my hoodie over another shirt. Since this pattern has extra ease built in with the expectation of adding another shirt under it, I plan to add my usual 1.5 inches to maintain the roominess of the sleeve.
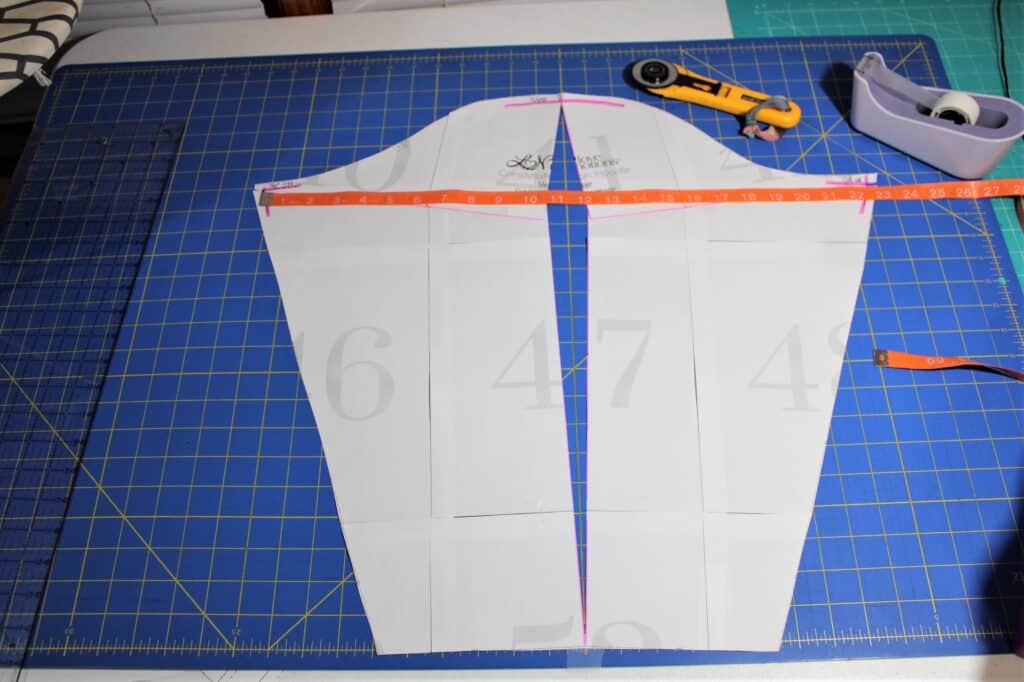
Step 3. Split your sleeve pattern from shoulder seam allowance to hem.
You will leave a slight hinge of paper intact. This will allow us to freely spread the pattern. You will do this exact same cut horizontally at the point of the armscye from one seam allowance to the opposite side seam allowance. Don’t forget to leave your paper hinge. Now your pattern has a large cross cut in the middle of it. This will allow us to add the required width in the middle of the bicep.
1. Print and Assemble 2. Mark Seam Allowances 3. Split pattern from shoulder seam to hem
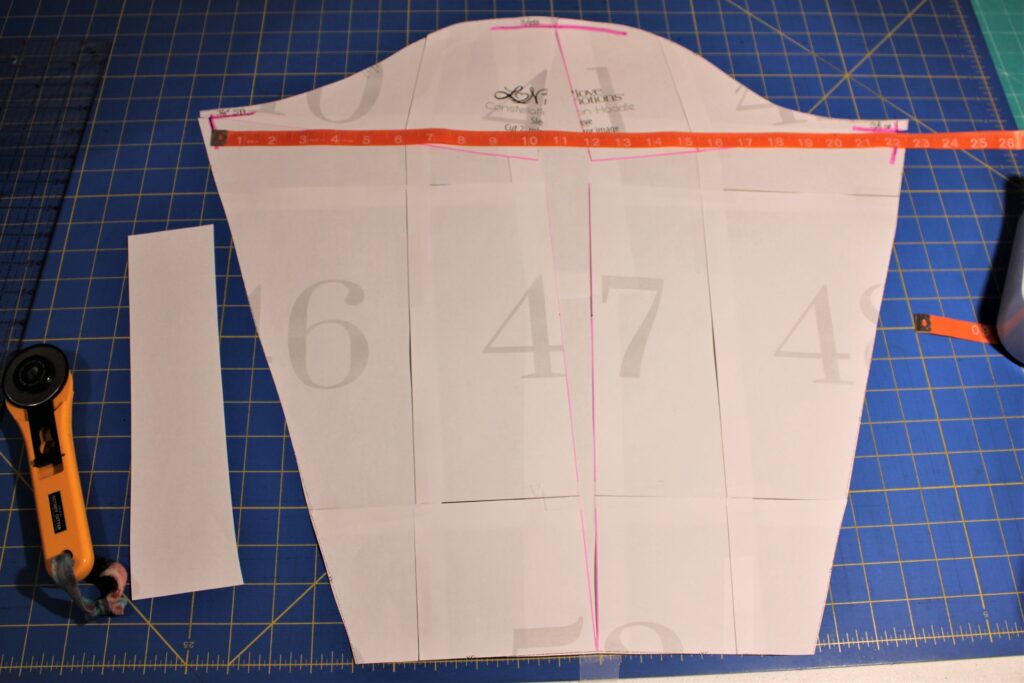
Step 4. Grab some paper scraps and your tape again. Let’s open your pattern up.
I like to do this on my gridded cutting mat. Doing this allows me to use the markings on the mat to adjust my pattern. I am adding 1.5 inches to my pattern to accommodate my bicep. Once I have opened my pattern up the desired width, I place a piece of tape on the pattern to hold it. Use your paper scraps to fill in the opening and tape in place. Now you have an adjusted pattern piece.
Step 5. Reblend the curve.
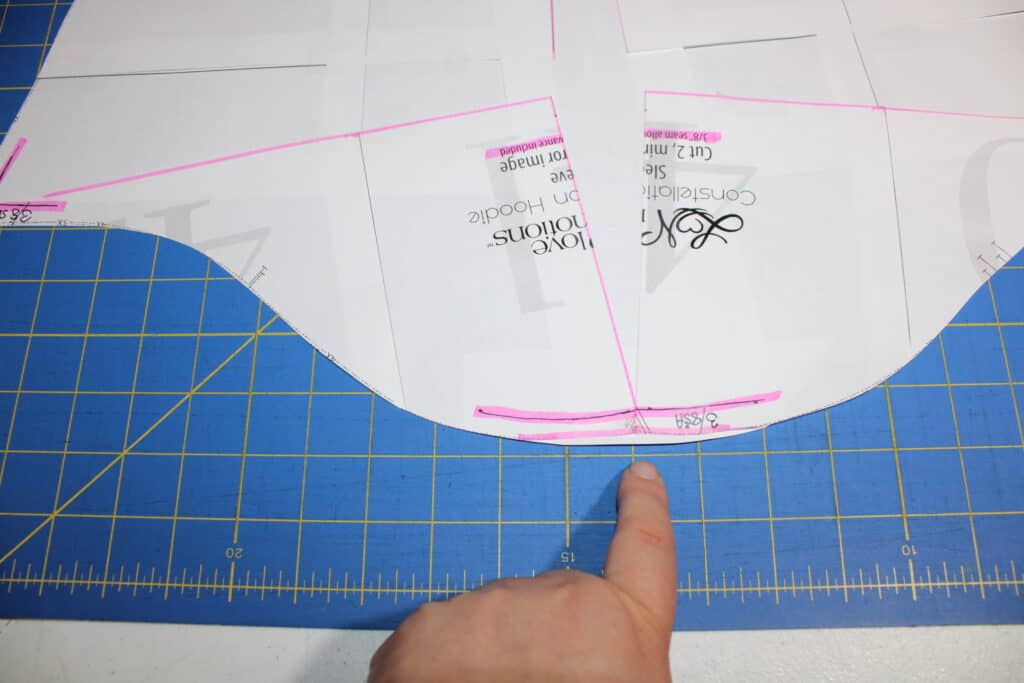
Since we made no changes to the length of the actual sleeve head we do not need to adjust that, but usually the spreading creates a small dip at the top of the sleeve. Just add a small paper scrap and reblend the curve.
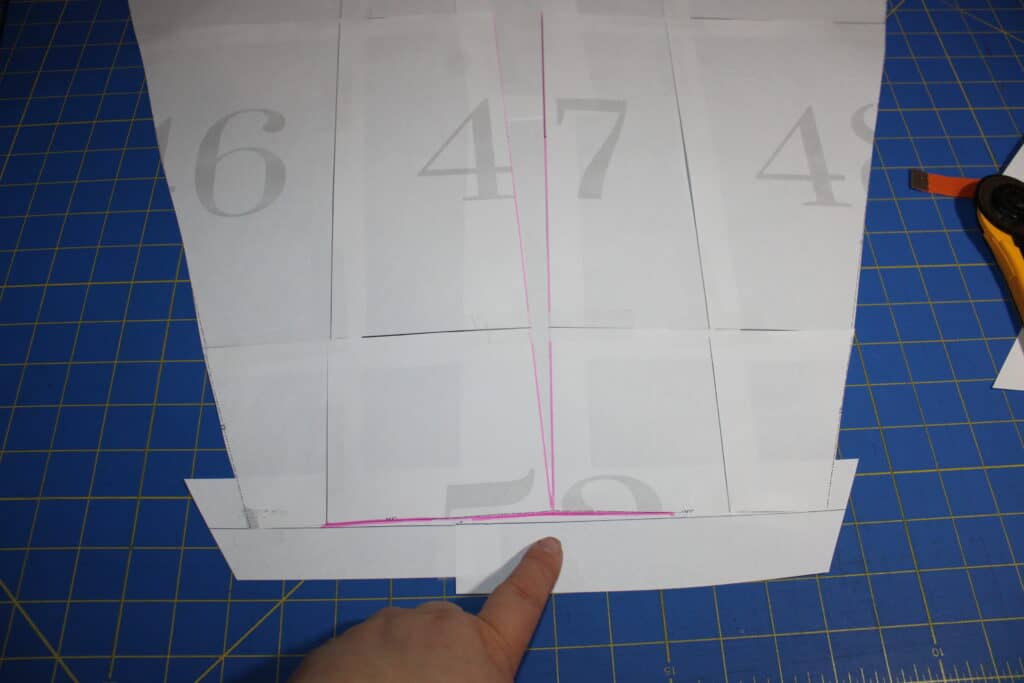
Step 6. Similar to the small dip in the sleeve cap, we need to fix the bottom edge at the hem.
You will have a slight inverted point that needs filled in. I like the draw a straight line as long as my hem length. Next, align the pattern even with the drawn line. Use the outside corners of your sleeve at the two points to line up. Tape the pattern to the paper scrap and trim away the excess paper. You have now made a straight edge at the hem of your pattern.
4. Open Pattern Up 5. Reblend the Curve 6. Fix hem edge
Step 7. Your pattern is fully adjusted.
Give it a try and see if it improves your fit.
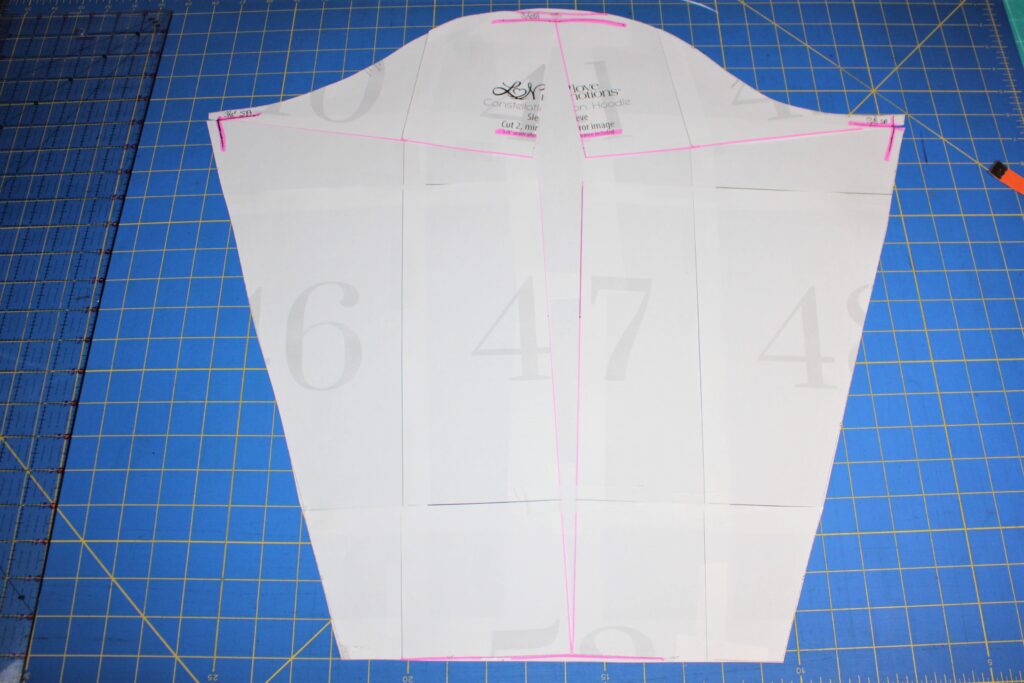
And you’re done!
Now it’s your turn
I hope you find this tutorial helpful and it helps you improve your fit. If you would like to check out the Constellation Hoodie pattern, please consider using my affiliate link in this post. This does not change the pricing for you, but I will receive a small commission from your purchase.
Save this article to your Sewing Pinterest Board
