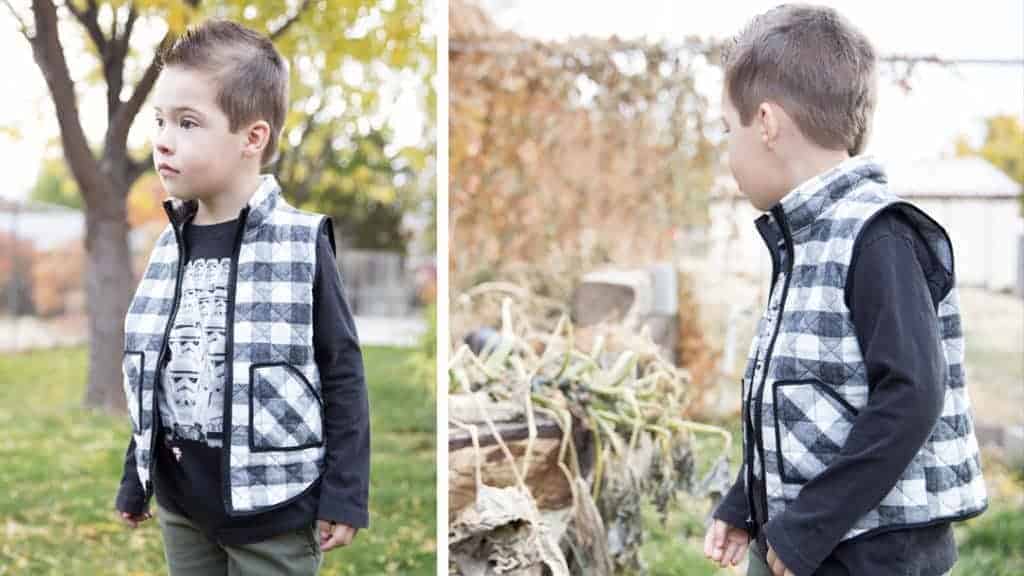
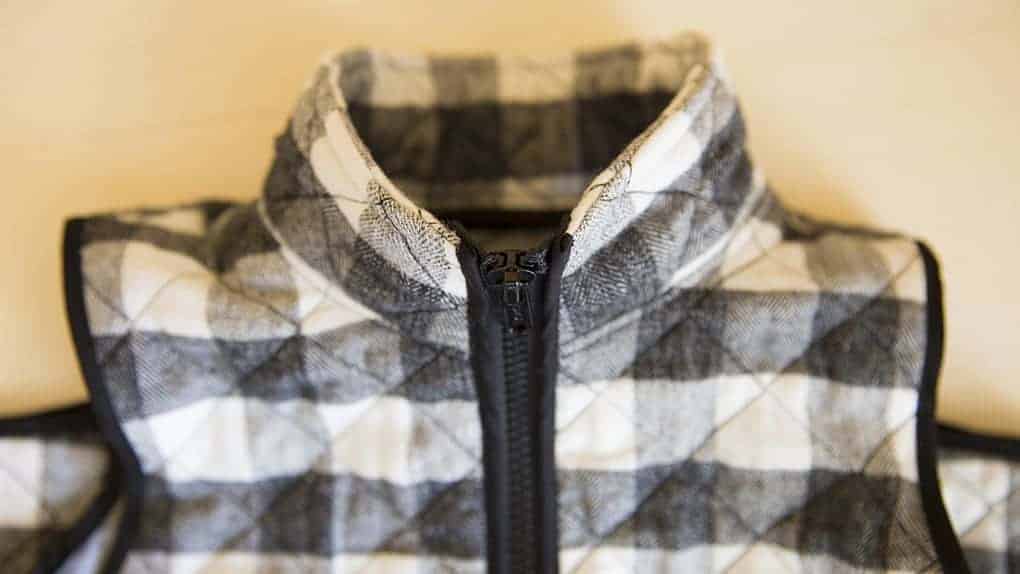
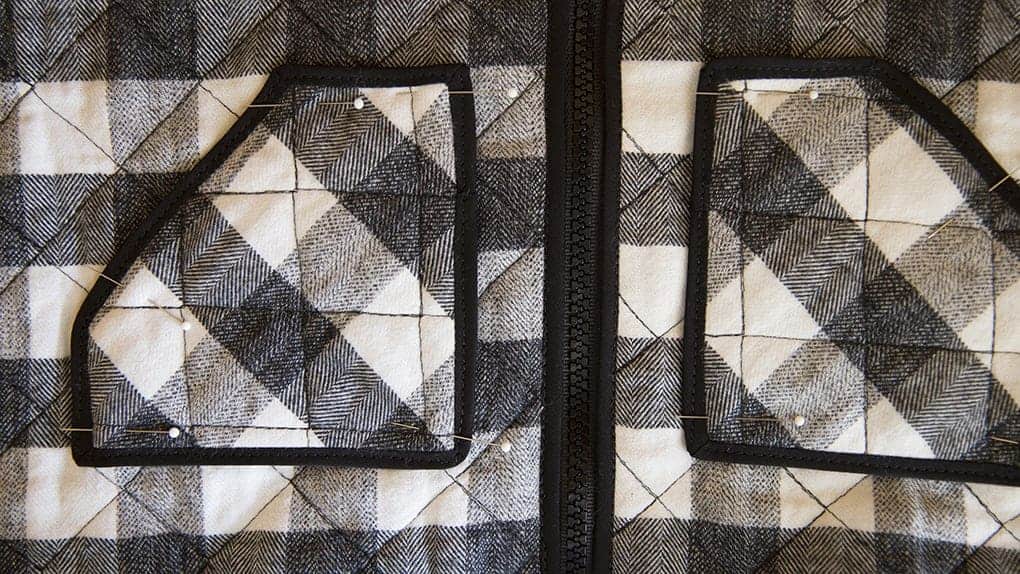
I’ve been wanting vests for my boys for awhile now, and I’m excited I was able to make it happen. Vests are perfect to add a little detail and style to the perfect fall outfit. These would be a darling addition to family photos or a holiday party. Luke’s buffalo check vest will undoubtedly be joining us during our holiday parties this year.
This week the Acorn, Oakley and Peanut vests are on sale for $5. This is such a great pattern to add to your pattern arsenal, especially for the fall and winter seasons.
Sammy needed a blue vest to match his rain boots for the fall, so that’s how I settled on this fabric. I found this awesome blue quilted fabric at Joann. You can see it, here. It’ pretty affordable with a coupon so don’t forget that when you go! This fabric was much stiffer than the buffalo check print because the backing is a water-resistant material that gives the fabric a stiffer hand. So just be aware of that.
Luke’s buffalo check vest fabric can be found at Joann as well. You can see it, here. This fabric is buttery soft and I can tell it’s just going to get better each time I wash it. This fabric was easier to work with I must say, so don’t let the fear of buffalo check matching scare you away. I think next I need a vest for me in this fabric, with the Oakley pattern.
For the blue vest, I omitted the zipper and I loved how it turned out. Inserting ANY zipper can be intimidating, especially if you’re trying to stripe match!! Have no fear, I wrote you a simple tutorial for inserting a separating zipper that will walk you right through it.
A separating zipper is one of the easiest zippers to install, so don’t be nervous. You got this!
You can use any separating zipper for this, but I love these Sport Separating Zippers from Coats & Clark. I picked mine up at Joann with a coupon.
Separating Zipper Tutorial
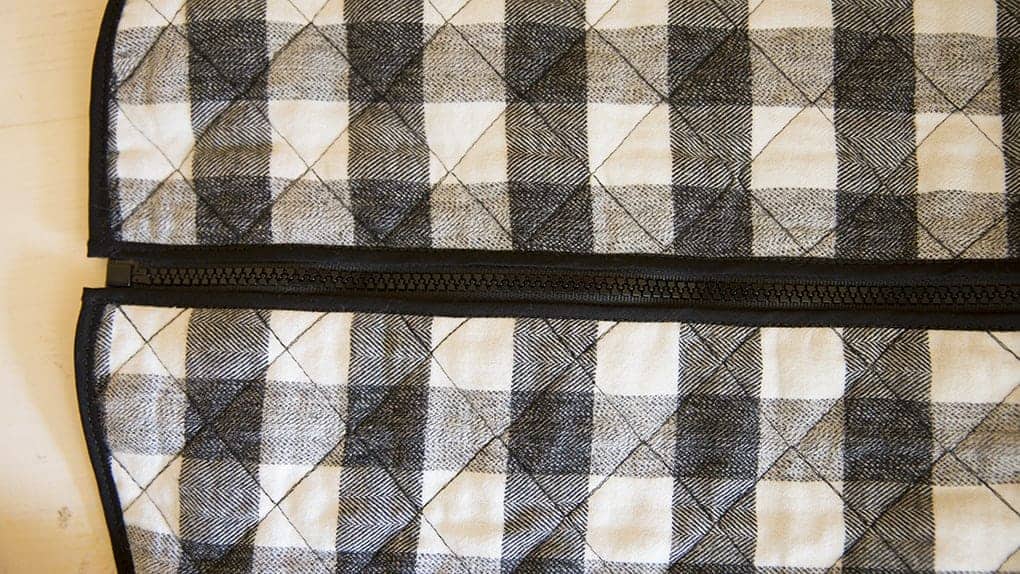
- Make sure your vest and zipper are both ironed and laying nicely flat.
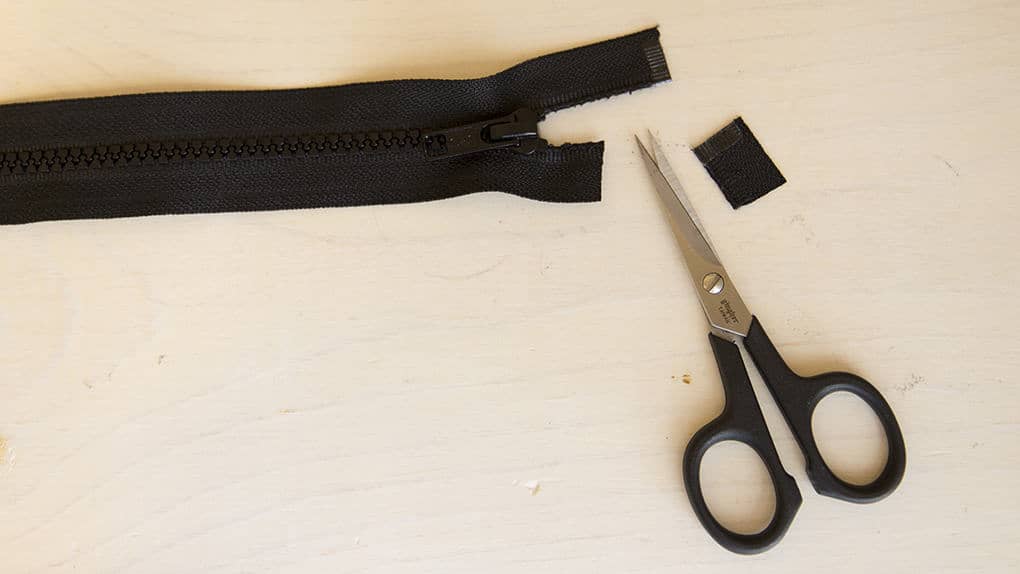
- Cut about half of the excess off the top of the zipper.
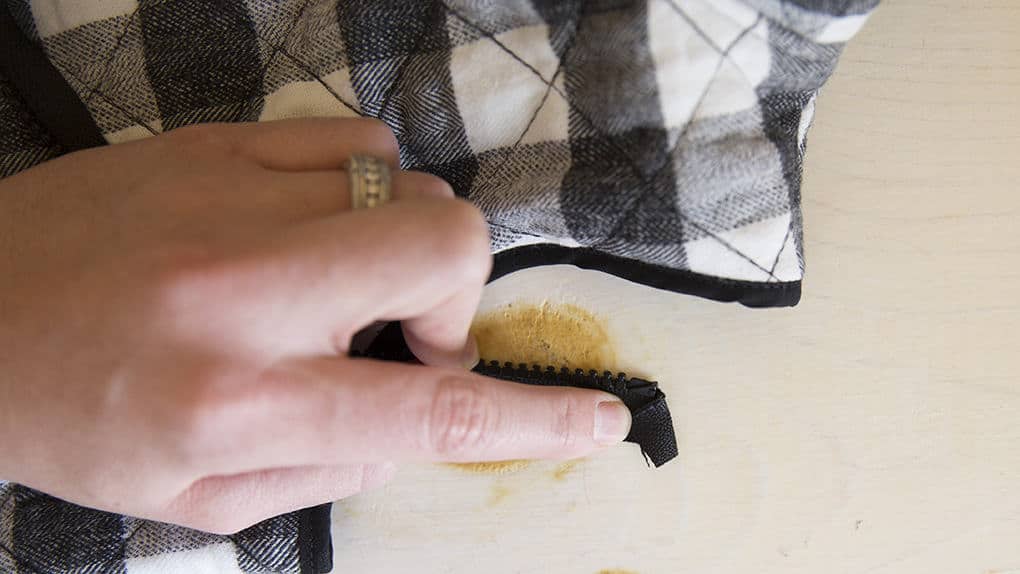
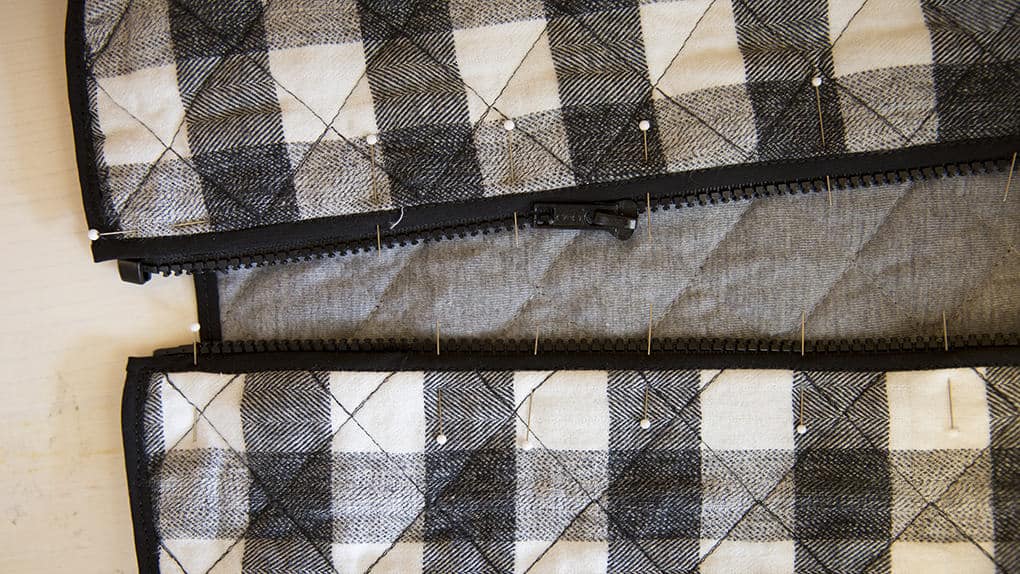
- Fold the excess fabric on the top of the zipper toward the front of the zipper. This flap will be nicely sandwiched between the zipper and vest for a nice clean finish.
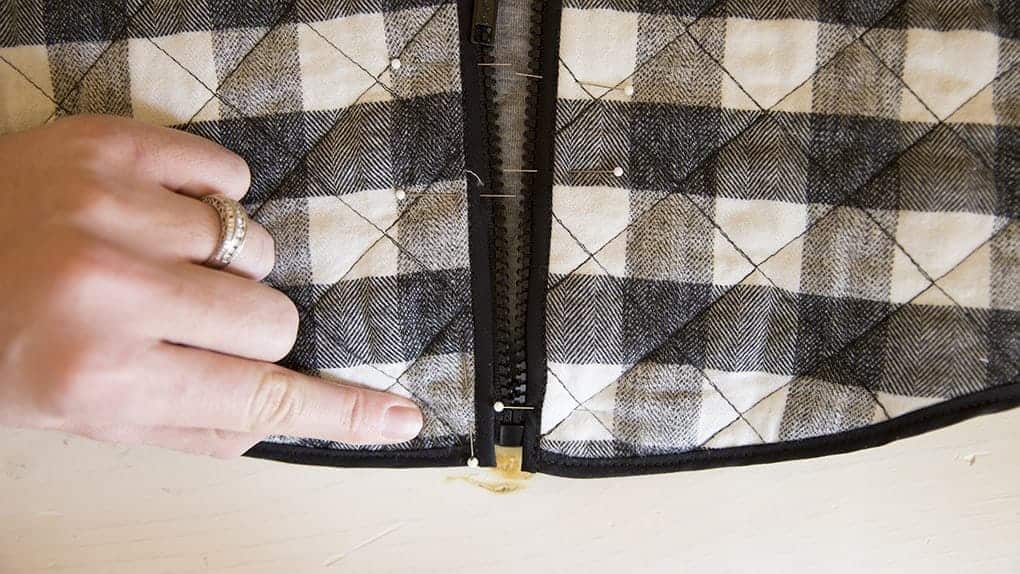
- Pin the zipper to the jacket front. You can use pins, wonder clips, glue stick, or hem tape to do this. I used pins and wonder clips for mine.
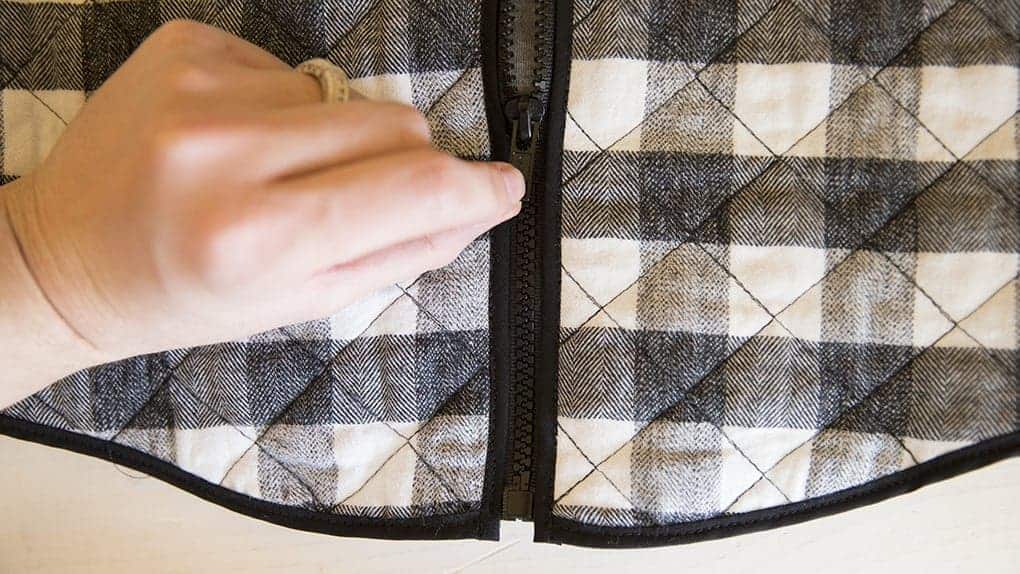
Tip: Take your time and match up the zipper ends and fabric lines as you pin. I find it most important to match the bottom of the zipper parts perfectly! The vest might not always be zipped up fully, but if zipped at all you will want that bottom to line up perfectly. You may want to baste the zipper on first to make sure they match perfectly.
- Sew the zipper on, starting at the bottom of the vest.
- Repeat steps 3 and 4 on the other side of the vest.
Tip: Start again on the bottom of the vest, adjust needle as needed. This will give your zipper better alignment especially if you’re trying to match a check or stripe.
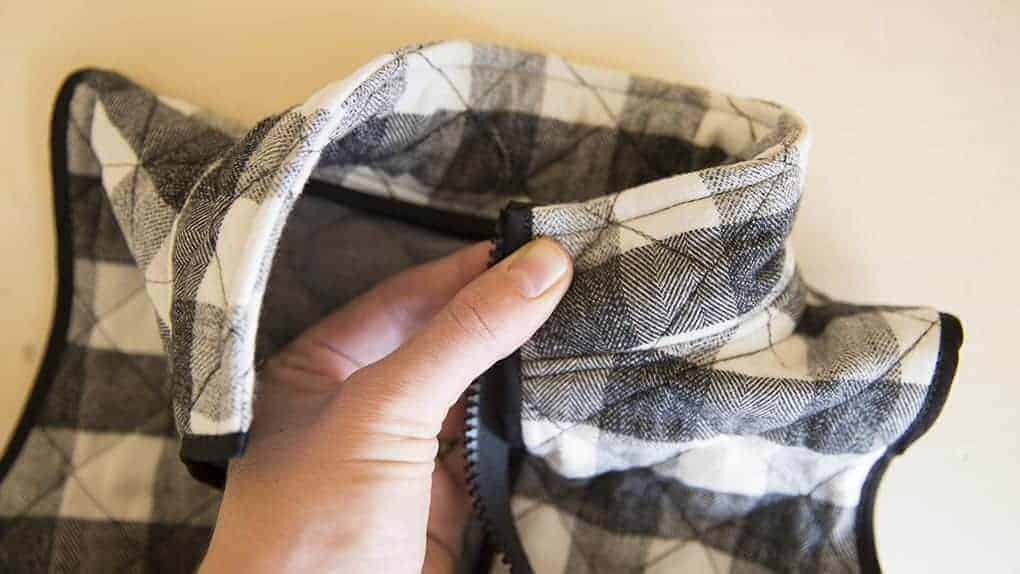
- You’re done!
This zipper is really not hard; so don’t be intimidated by it. Installing the zipper gives this vest a professional look, and I love how it turned out.
Did you notice I didn’t have my pockets attached while installing the zipper? If you are following the pattern instructions they will already be attached when you get to the zipper installation, but let me tell you why I ALWAYS leave mine off till the end. Let’s say you line up your pockets perfectly but while you install the zipper the fabric shifts and now when zipped the right pocket sits ¼ inch higher than the left pocket. I always wait, so that if any shifting happens while I install my zipper, I can slightly adjust the pocket placement. Which order do you prefer?
I hope you enjoyed reading this post, and I hope you share the vests you make this season. I’d love to see them!


