Samson Zip Hoodie Hack
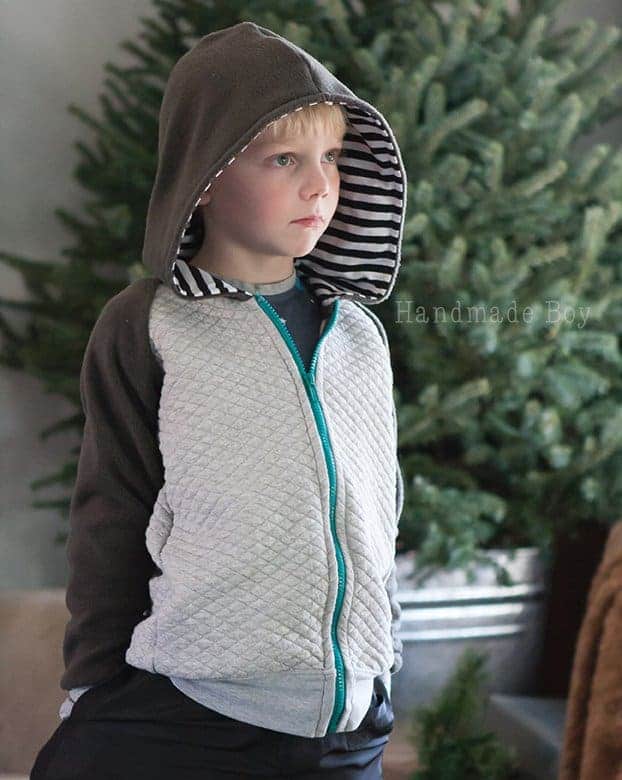
 This Samson zipper tutorial has been a loooong time coming! I’m going to show you how to turn the fabulous (affil) Samson Sweater into a zipper hoodie. Because, I turn everything into a hoodie. 😉
I have been wanting to add a zipper to Samson for quite some time now. It’s really quite easy to do! I don’t know why I waited so long.
I saw this image on Pinterest and I knew I finally had to tackle this project.
For this tutorial, you will need the Samson Sweater, one package of single fold bias tape and 1 separating zipper. Measure the length of the front of the sweater and add in the length of the bottom hem to determine how long of a zipper you need.
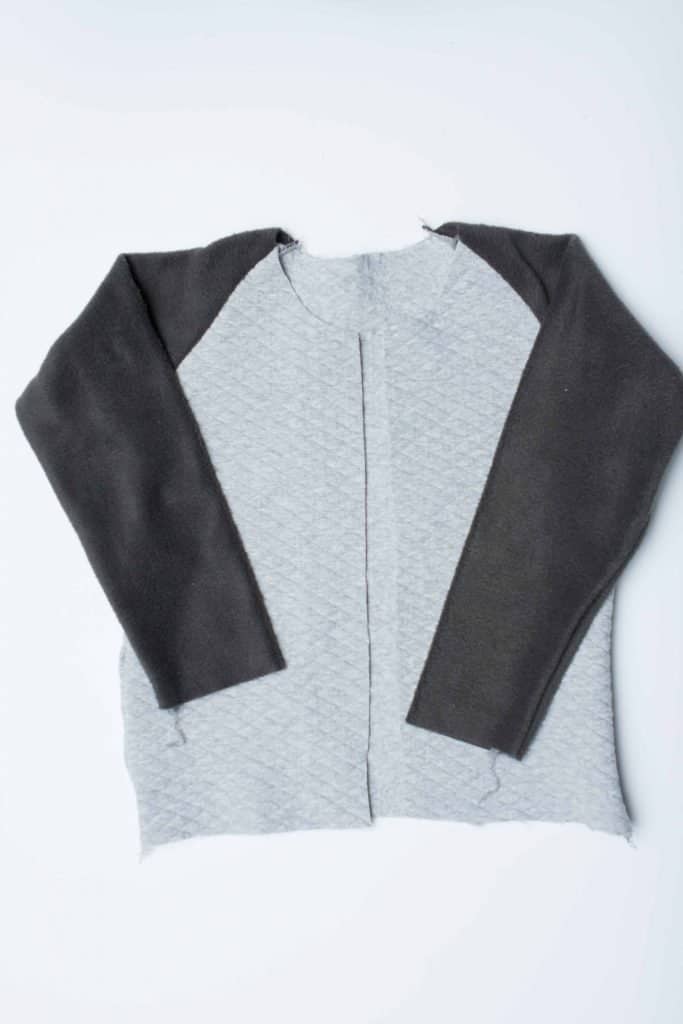
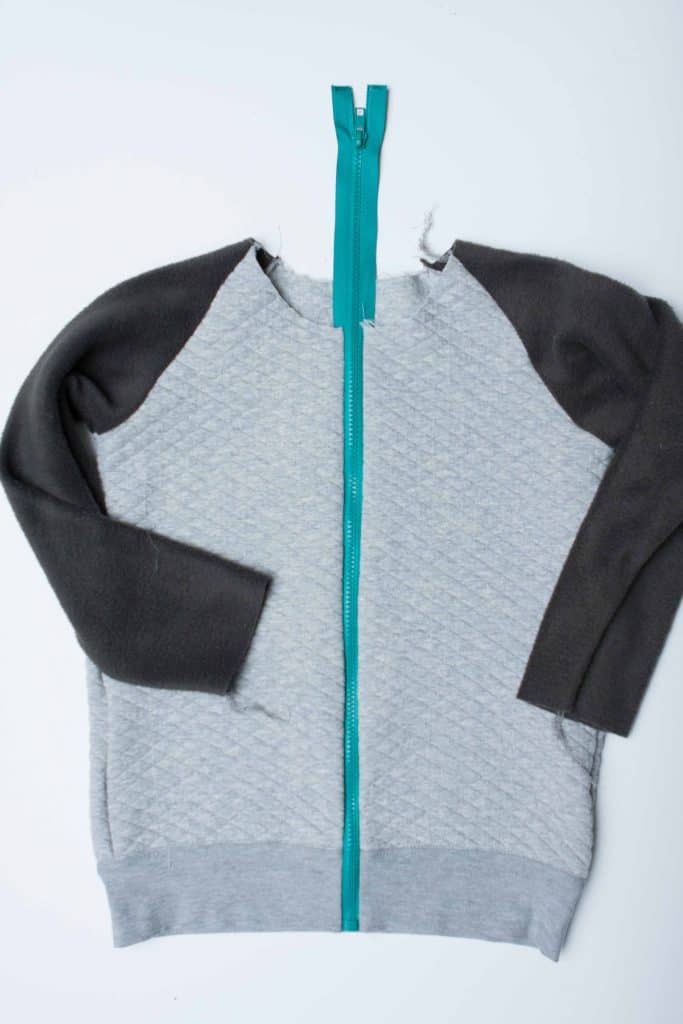
First, cut out the pieces needed for the jacket view, minus the neck band piece. Assemble the body and sleeves of the pattern.
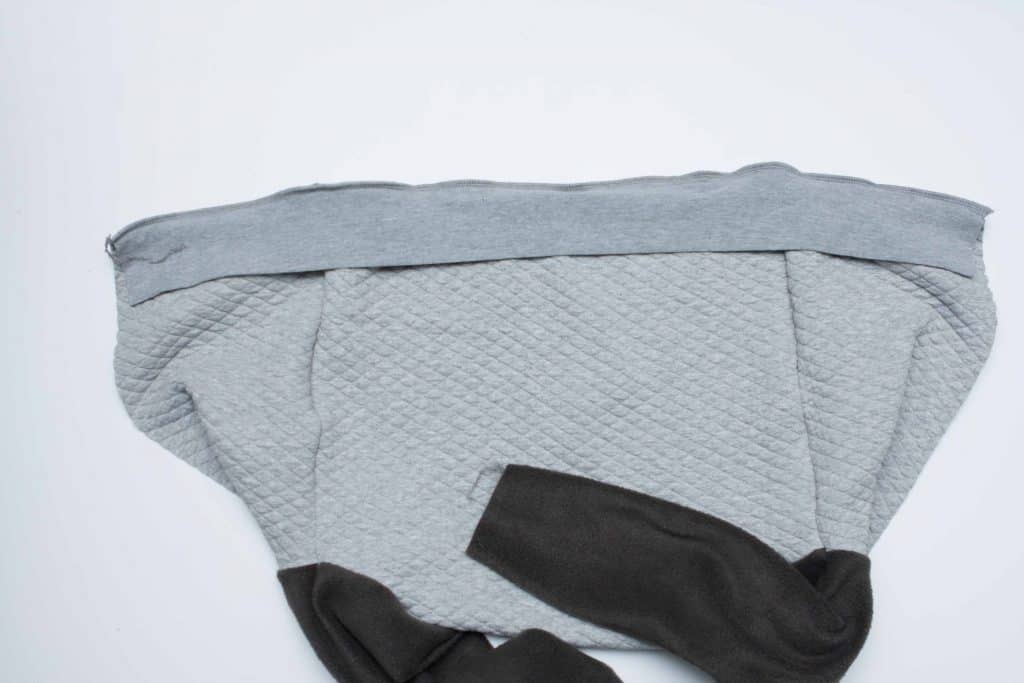
Measure the bottom hem. Multiply that by 90% to get the width of the bottom band. Use the length stated in the pattern. Fold the band in half, wrong sides together, and attach to the bottom hem of the jacket, right sides together. Press seam up and topstitch into place.
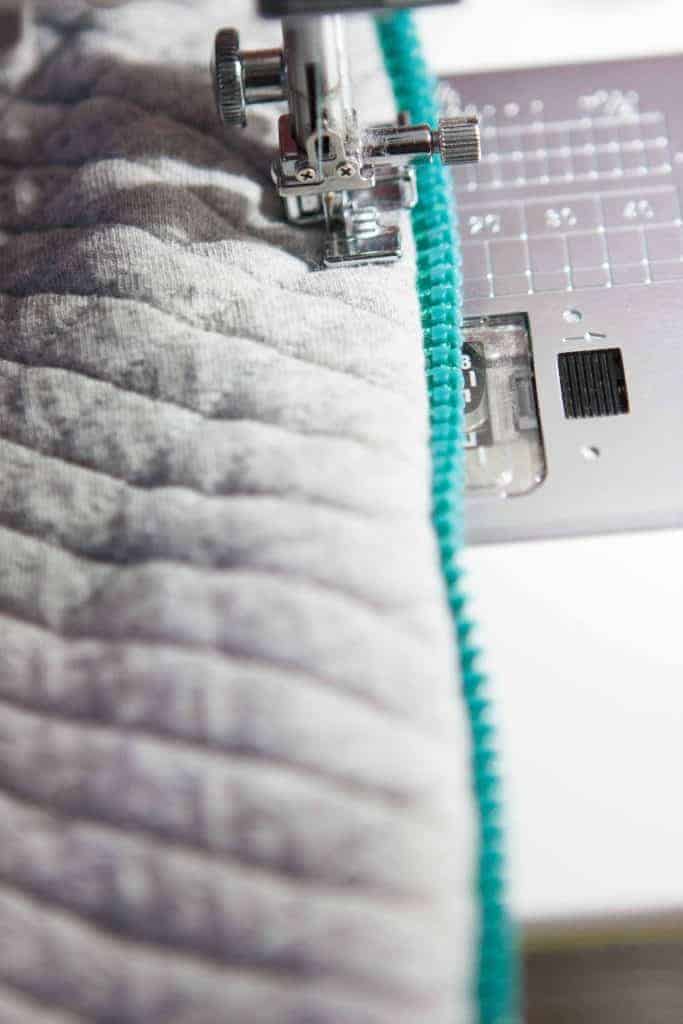
Now it’s time to put in the zipper. Place the zipper, face down, onto the right side of the front of the jacket with the edge of the zipper tape lined up with the raw edge. Sew the zipper into place.
Separate the zipper and repeat with the other side. Baste the zipper in place. Check that it is lined up properly.
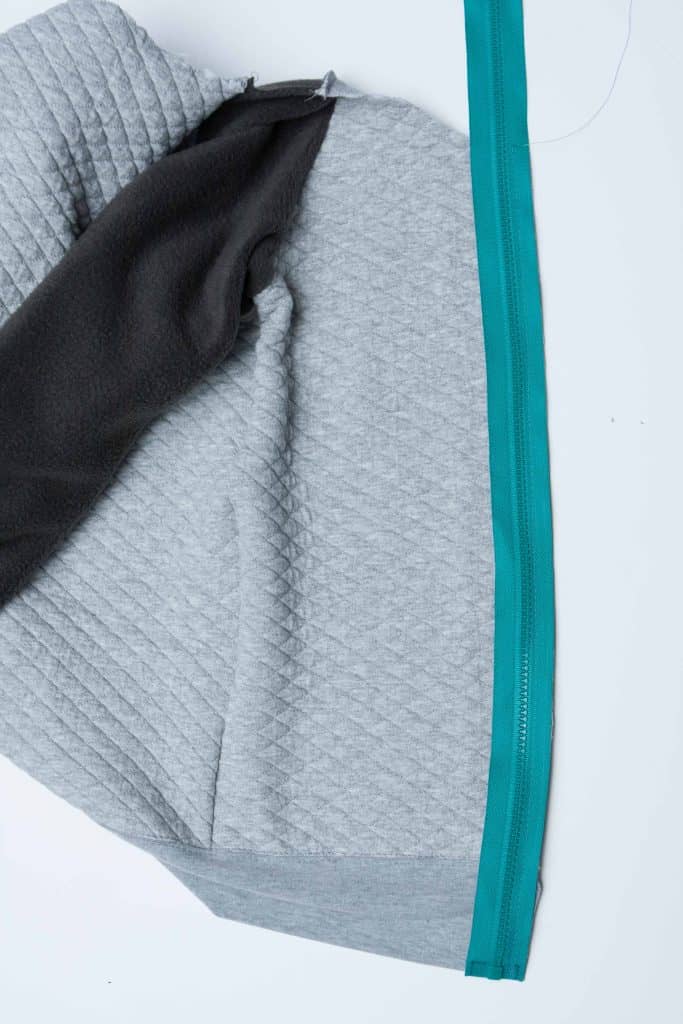
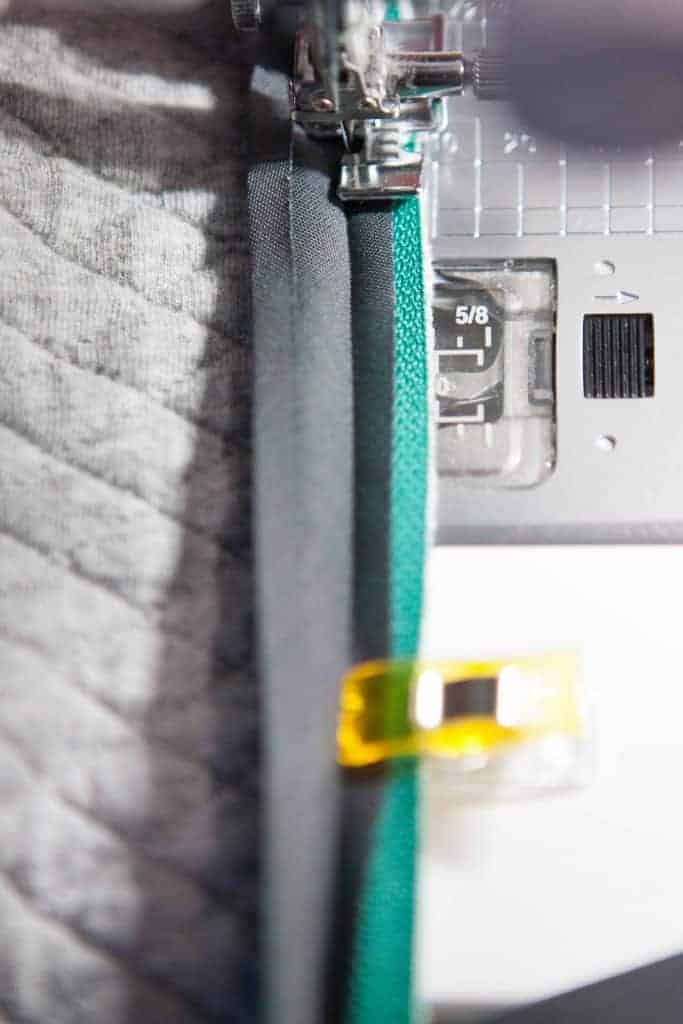
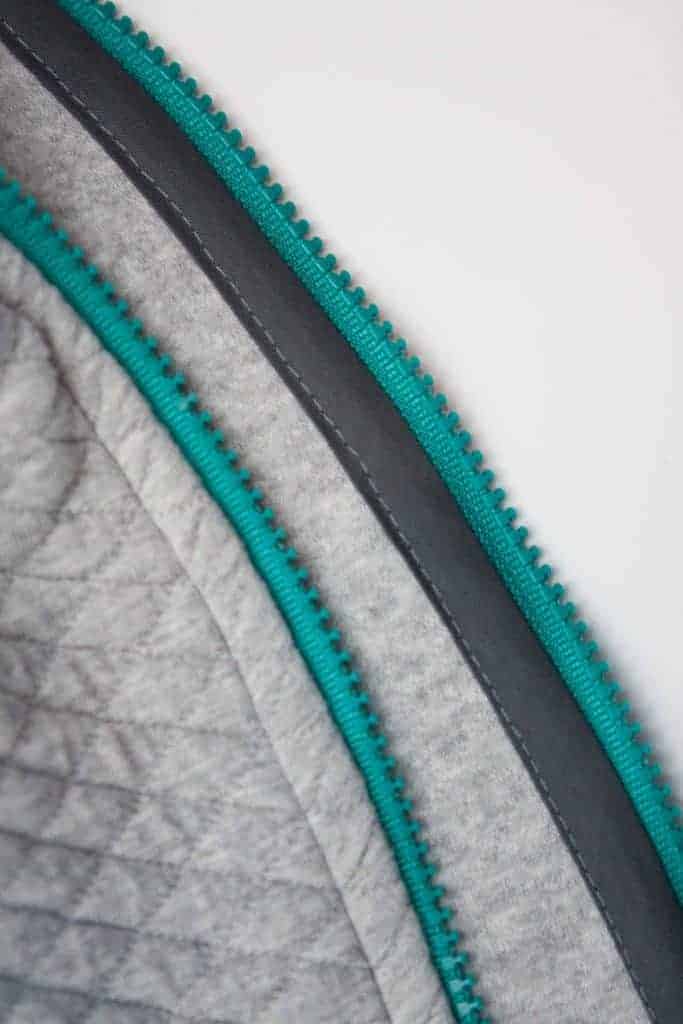
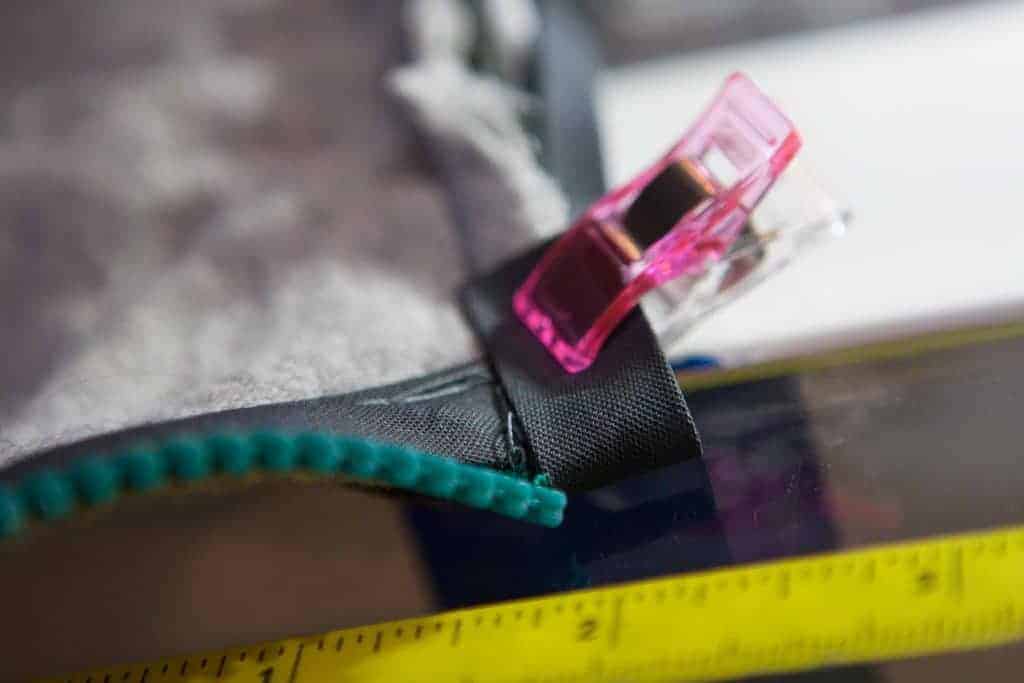
To give the inside a nice finish, we will be applying single fold bias tape to the zipper’s seam allowance. Only attach the bias tape to the seam allowance, don’t stitch through the body of the jacket. Open the bias tape and place it right side down on the back of the zipper with the fold lined up with the stitch line. Extend the bias tape an inch past the bottom of the zipper. Stitch in place.
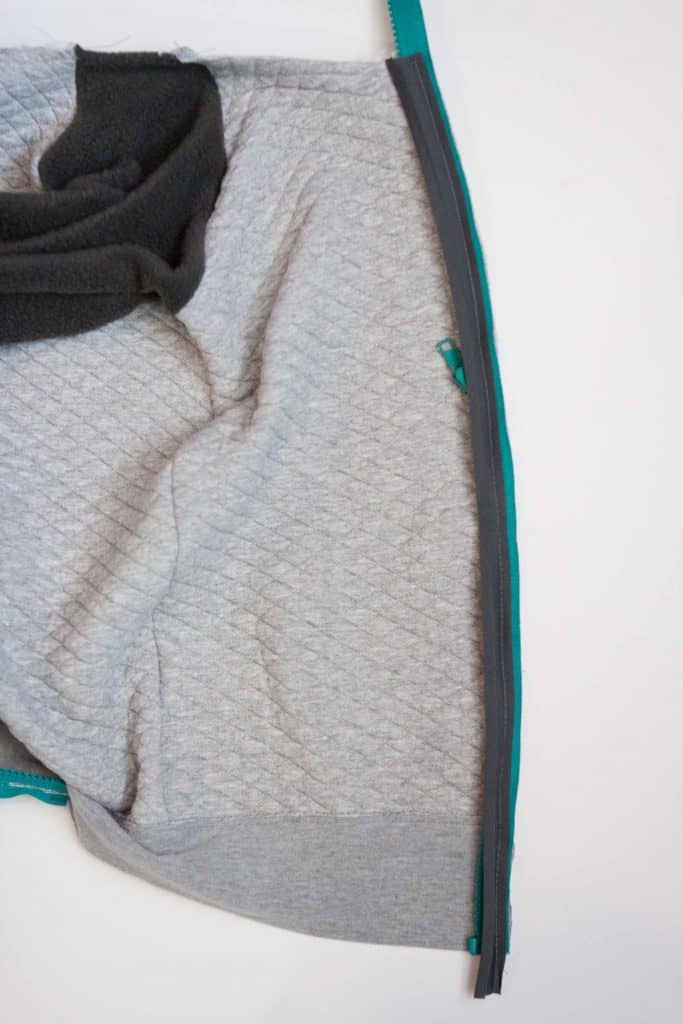
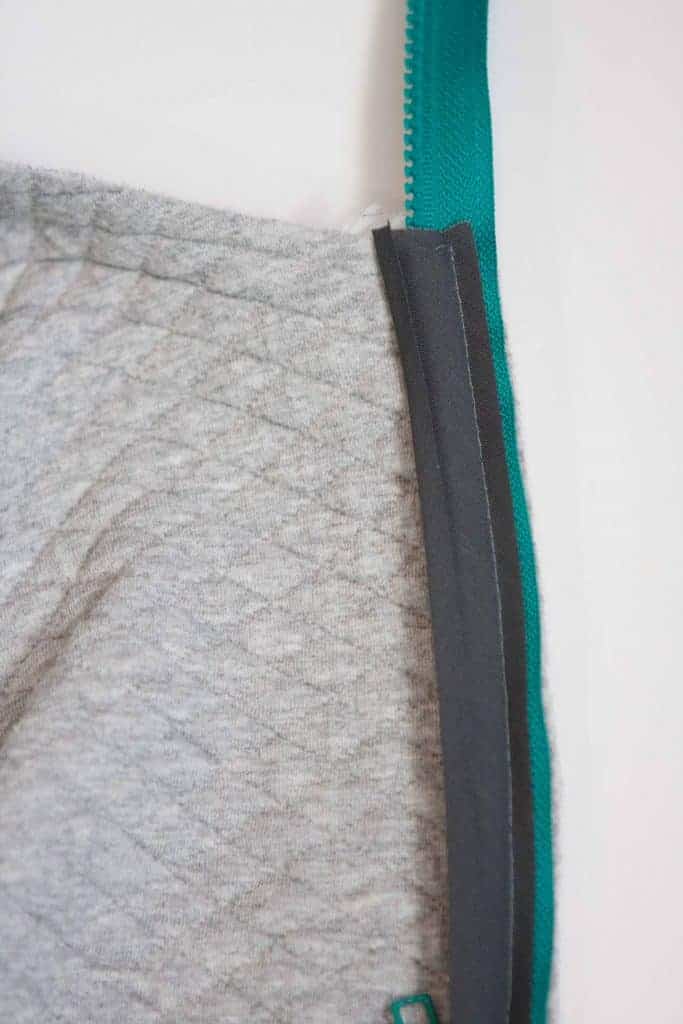
Wrap the bias tape around the seam allowance, encasing the raw edges.
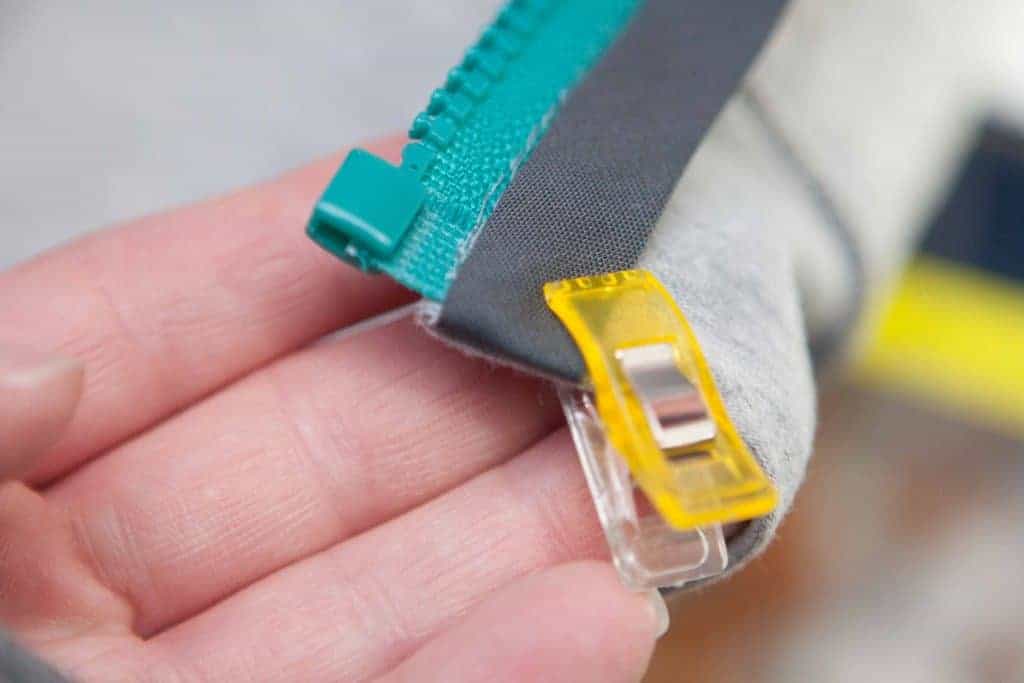
Fold the bottom end up and under the seam allowance. Fold the seam allowance back so that it lays flat against the wrong side of the jacket.
Topstitch the bias tape into place.
Beautifully finished seams. <3
Time for the hood.
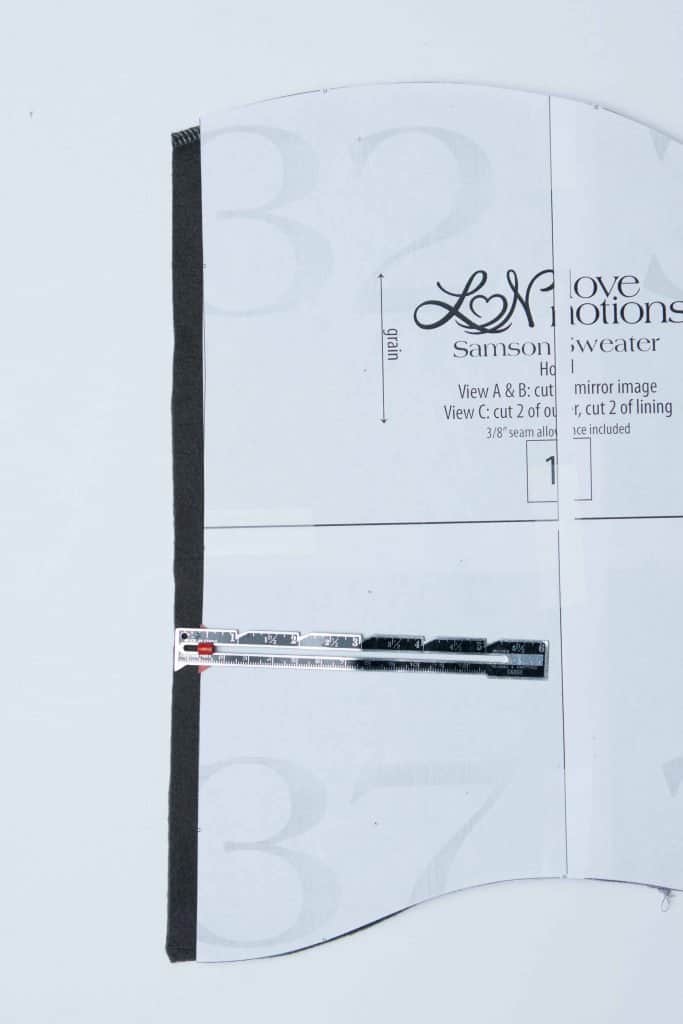
We need to add 3/8″ seam allowance to the front of the hood pieces because we won’t be adding the band.
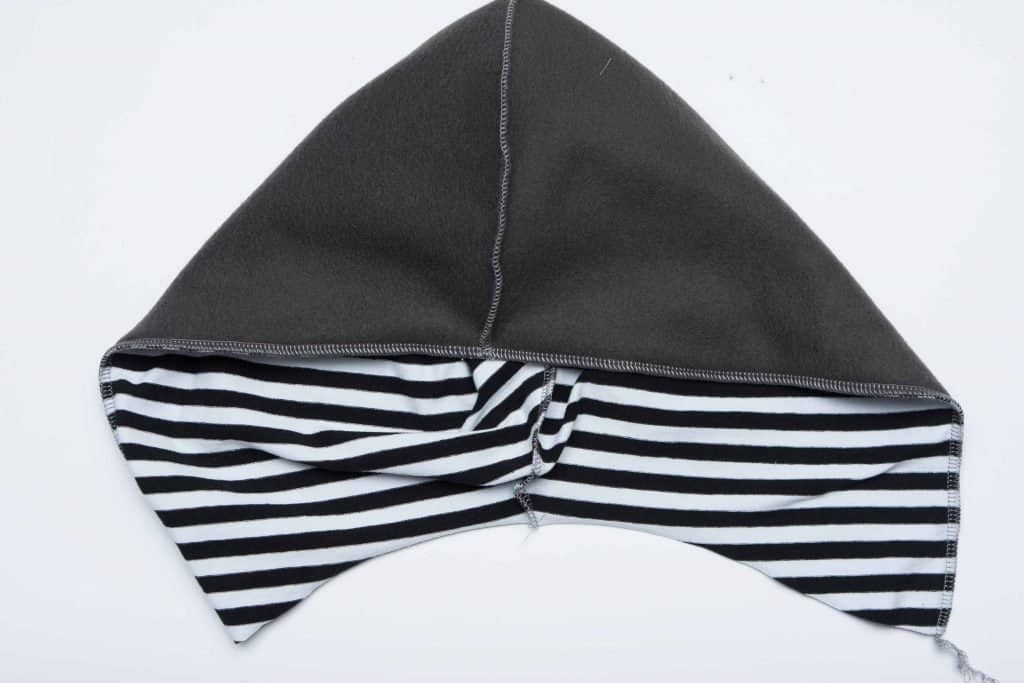
Sew the hood and lining as instructed. Then place them right sides together and sew along the front edge. Turn right side out, press and topstitch.
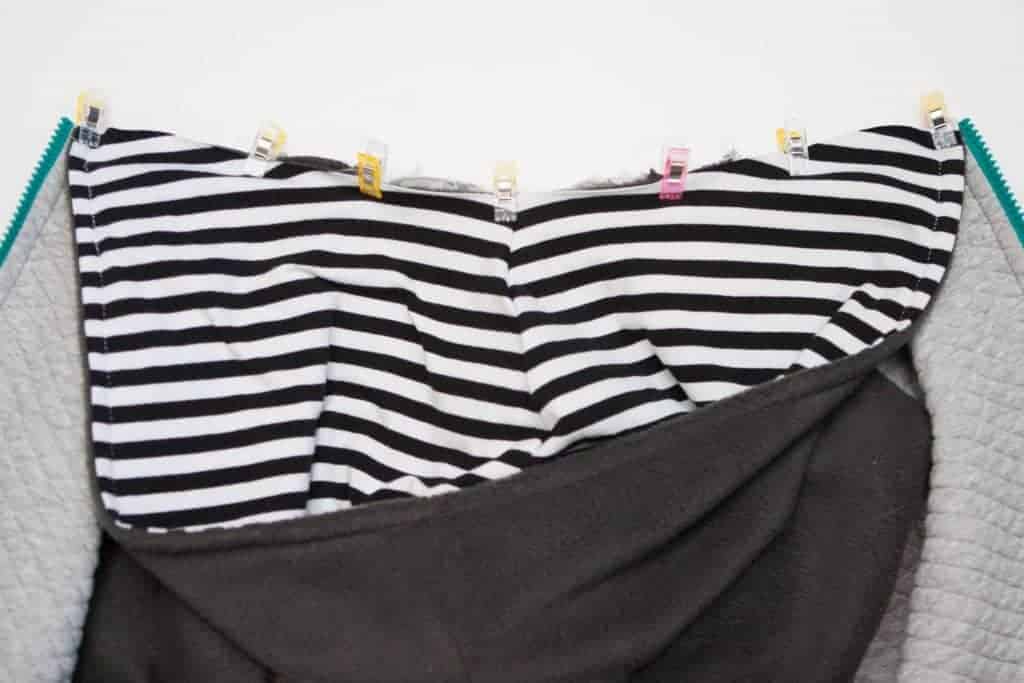
Right sides together, line up the bottom of the hood with the neck of the jacket. Trim your zipper before attaching your hood, if needed. Make sure the zip is below the neckline!
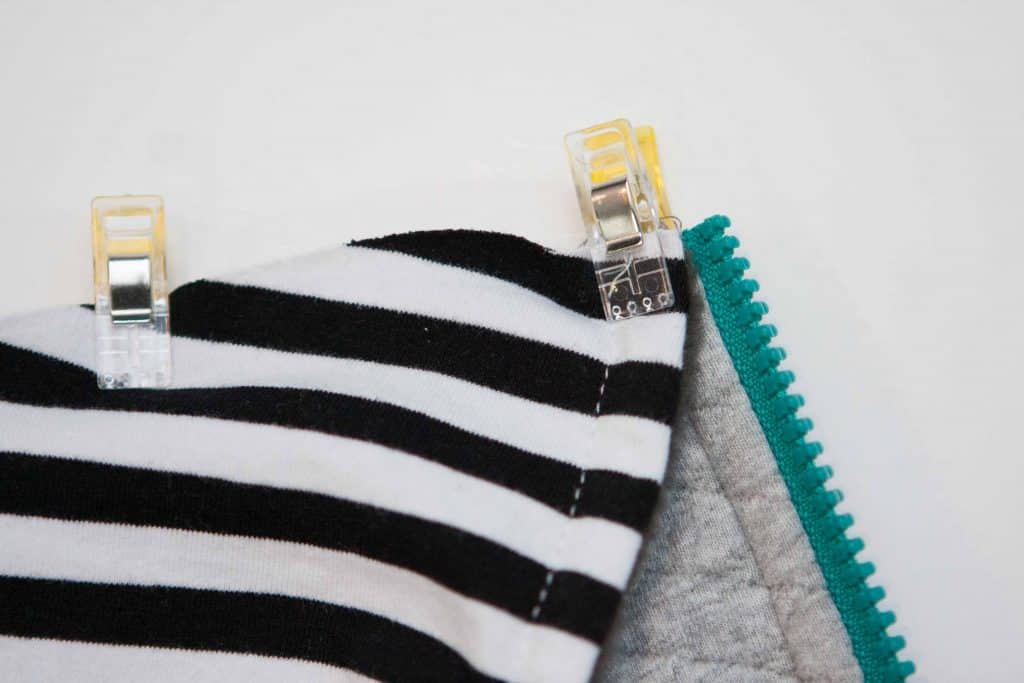
The edge of the hood will line up with the edge of the jacket. Do not line it up with the edge of the zipper!
Sew the hood into place.
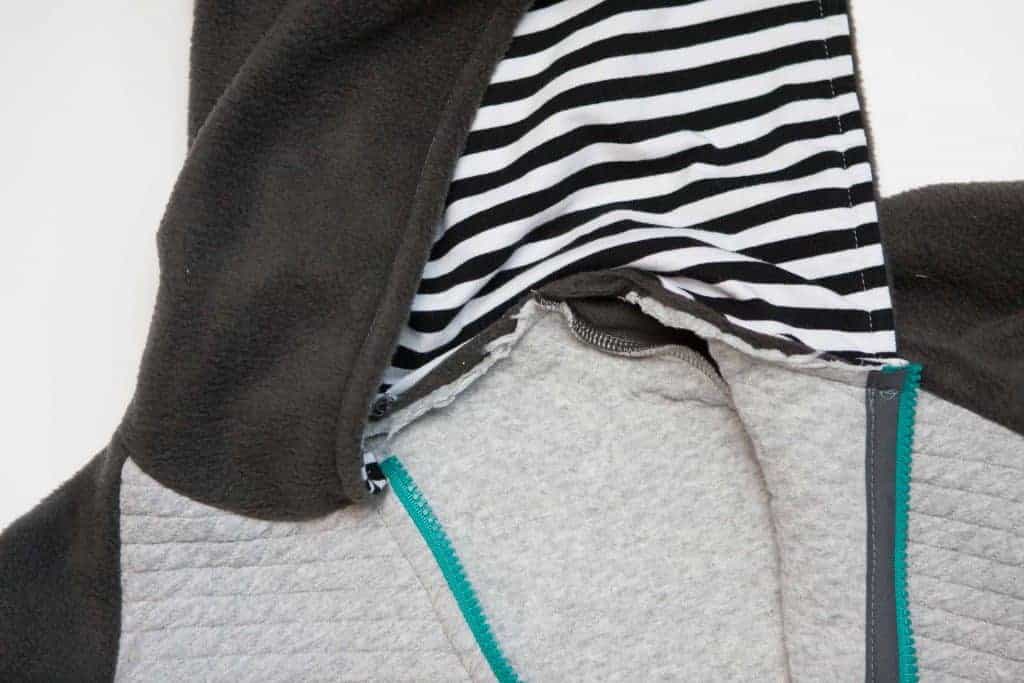
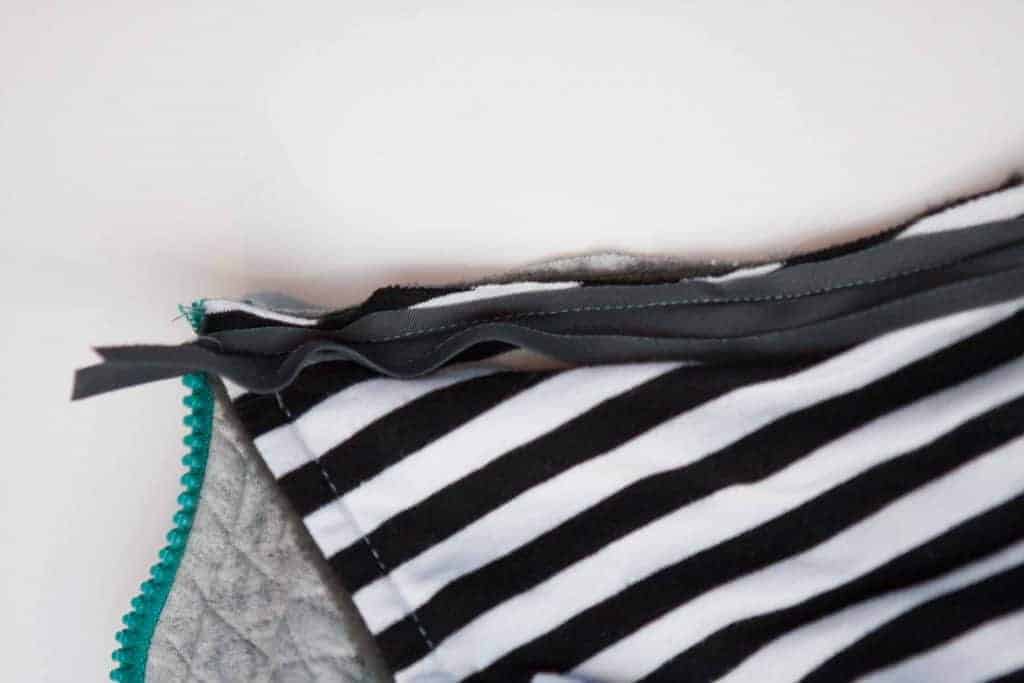
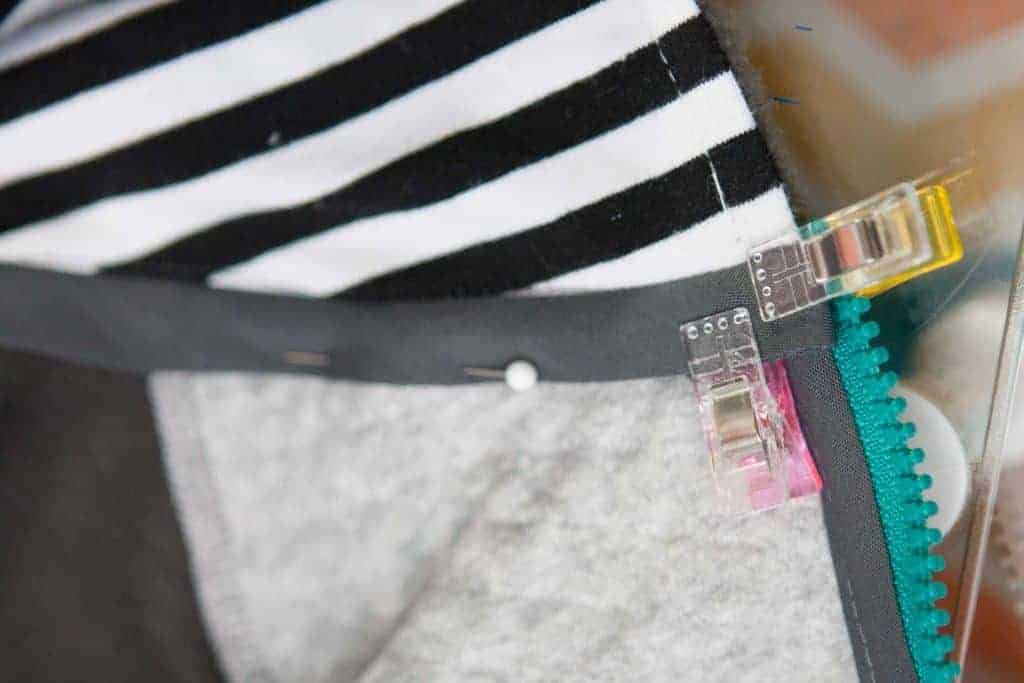
Now we are going to enclose the neckband seam the same way we did the zipper seams. Place the bias tape right side down, on the hood lining, along the neck seam. Allow the bias tape to extend an inch past each side. Sew bias tape in place. Trim the seam allowance of the hood and jacket so it is even with the edge of the bias tape.
Remove the top few teeth of the zipper with a pair of needle nose pliers. Wrap the end of the bias tape around the edge of the zipper, enclosing the zipper tape.
Flip the seam allowance down, enclosing all raw edges and topstitch into place.
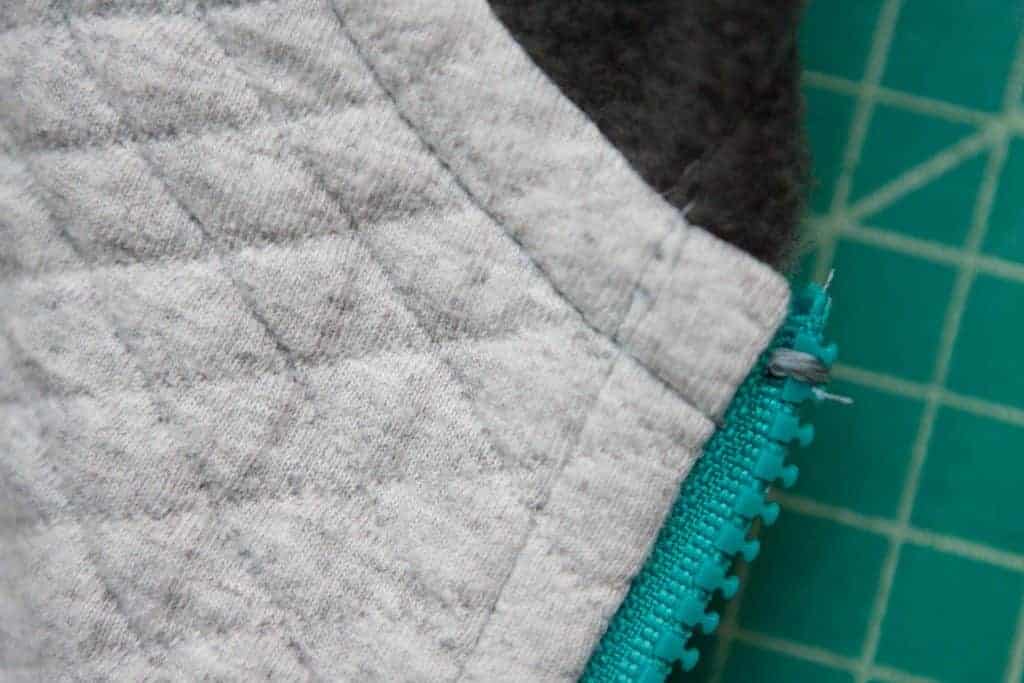
Add a zipper stop.
Stitch a bar tack at the top of the zipper on one side to create a zipper stop.
Now, go show off your new Samson hoodie. You look good, kid.


