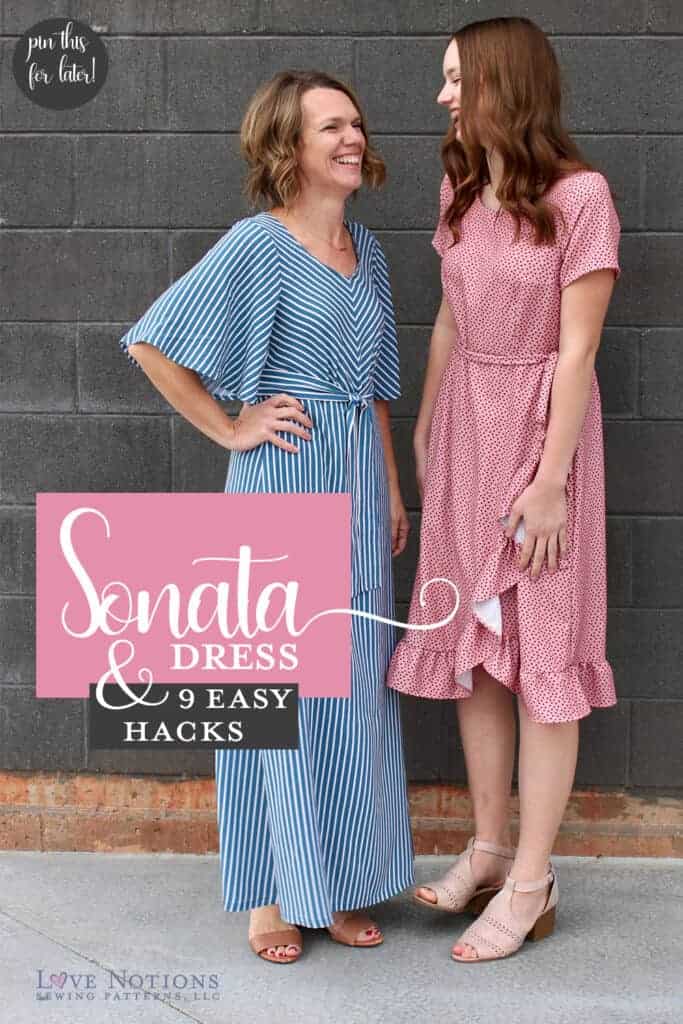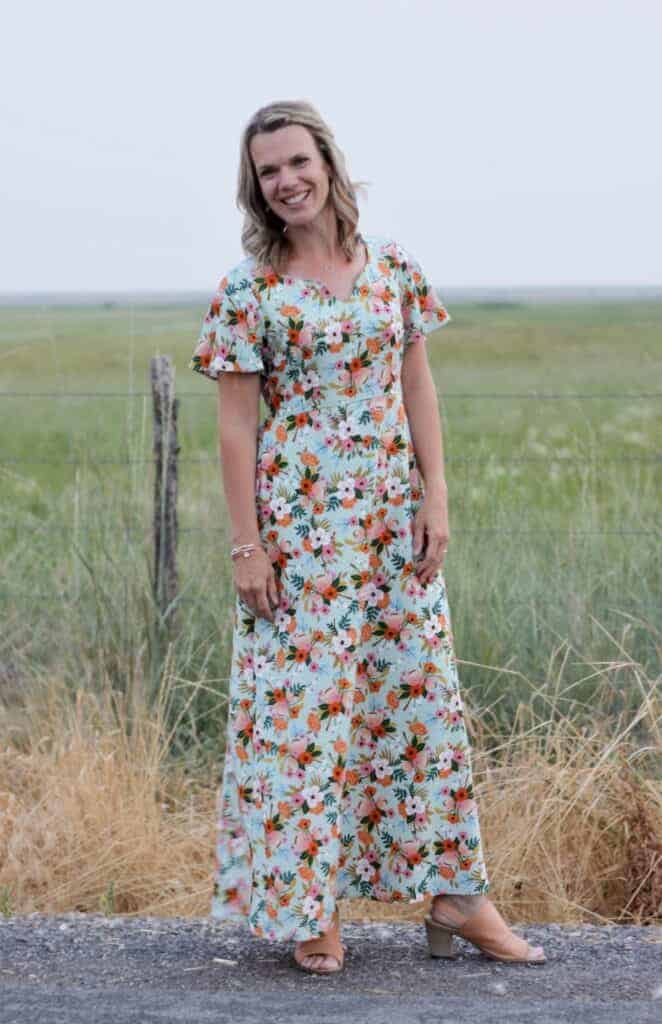
Love Notions patterns already come with tons of options, but we all love a good hack, right?! Katie from Madebykates is revealing nine inspirational new ideas for the Sonata Dress. These nine surprisingly easy hacks can be combined together or used one by one so you can get the most out of your patterns. We love Katie’s ideas and know you will be able to steal some inspiration from her looks and make that pattern even more versatile than it already is.
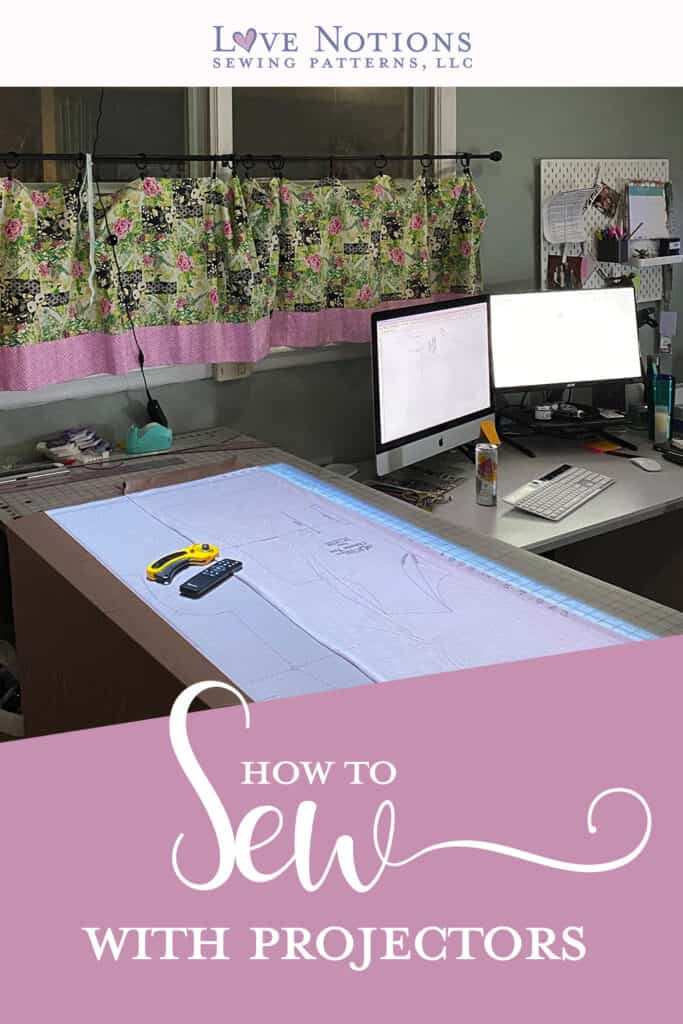
P.S. Be sure to read to the bottom to find out more about the newest sewing craze — projector files! Love Notions has exciting information for you on this technology intended to make your sewing process faster and more efficient.
NINE EASY HACKS FOR THE SONATA DRESS
by Katie Grimm
I think the Sonata Dress is one of my most used patterns! It’s my go-to dress for style and comfort and with spring just around the corner, it’s the perfect time to grab it. Today only you can get this pattern for only $5 HERE using my affiliate link (no extra cost to you!).
SONATA DRESS FEATURES
The Sonata dress is made for woven fabrics and features a high waist, bust and waist darts for shaping, and an a-line skirt. The elastic back provides delicate shaping and there is no need for any type of closure, making this an advanced beginner friendly pattern. It includes several sleeve options and optional pockets.
EASY HACKS TO TAKE IT TO THE NEXT LEVEL
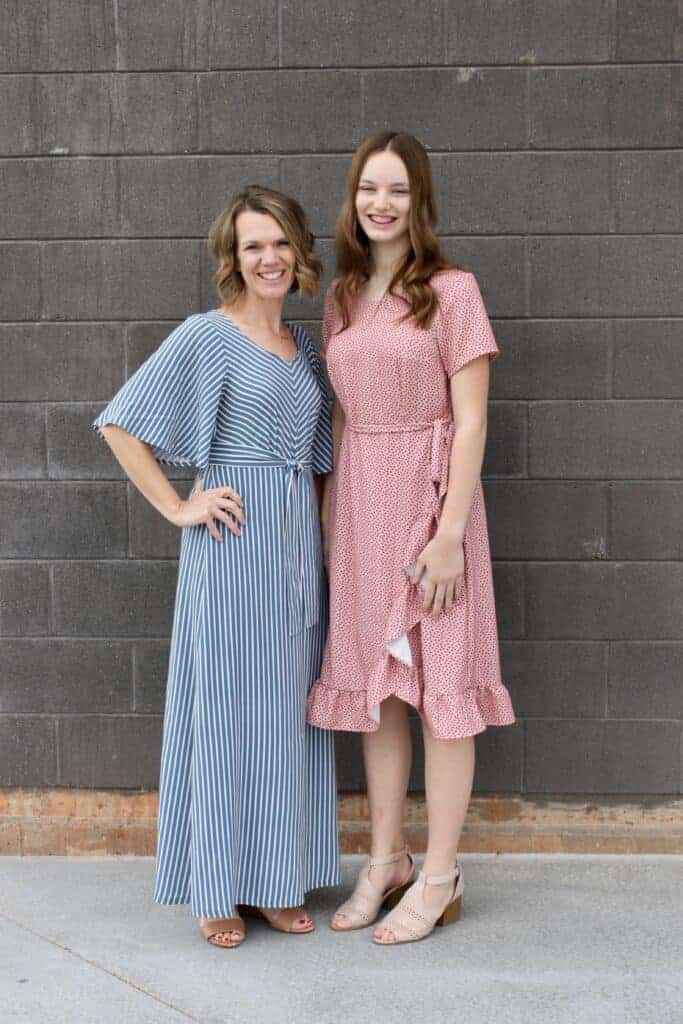
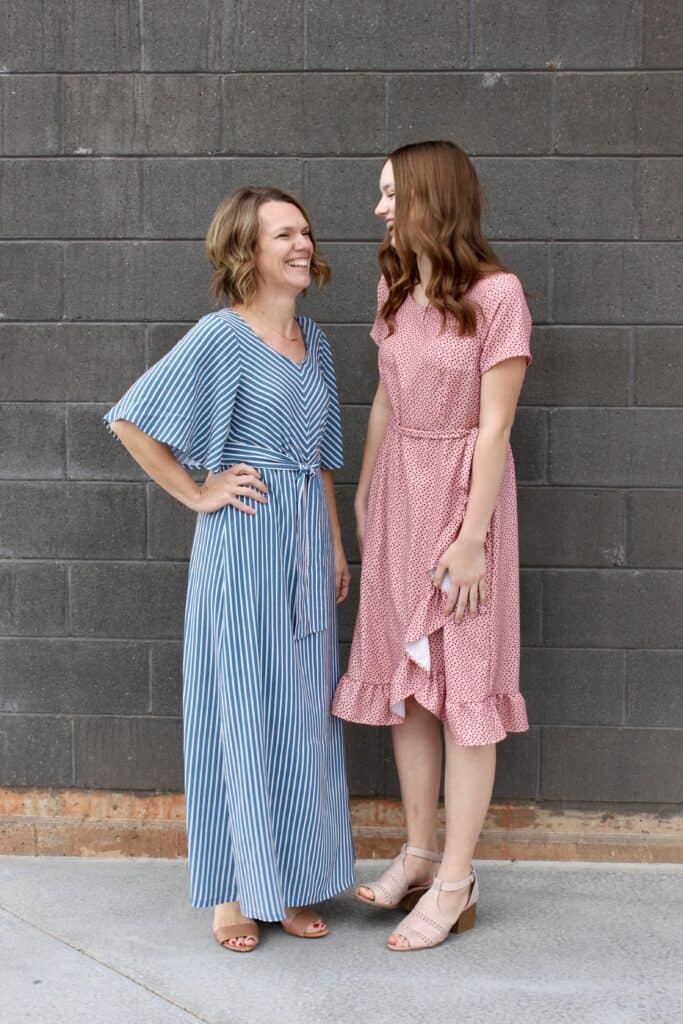
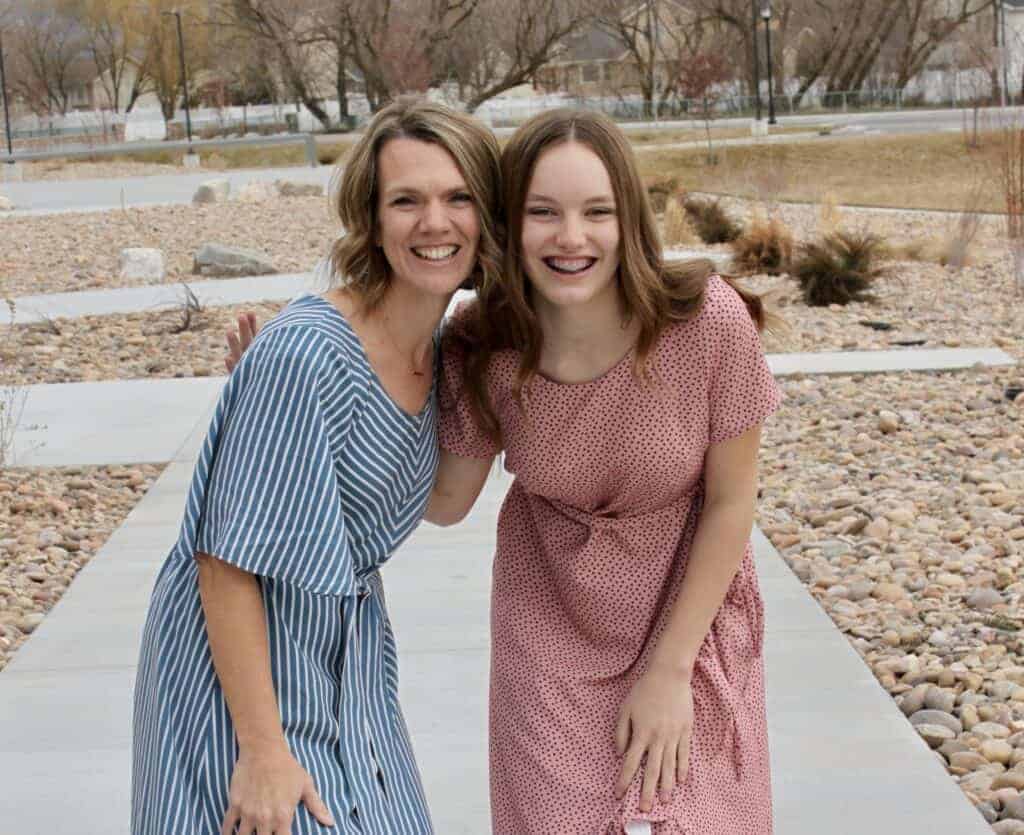
I’ve got some cute and simple hacks to share that can really take this dress to the next level! One of my favorite things about Love Notions patterns is that they provide such a great base for adding on little details to make them your own. My daughter and I had fun coming up with ways to individualize our dresses! (And yes, she is taller than me! I should’ve worn heels!)
FABRIC DETAILS
For these dresses, I used the new Spring woven Club collection from Raspberry Creek Fabrics. As an extra bonus, these newly released fabrics are $1 off per yard through today as well! The dusty pink and charcoal dot is a stretch crepe. If you are new to sewing wovens, I highly recommend this fabric. It is a bit more stable and still has great drape. Plus it has a nice soft hand.
The denim blue and off white vertical stripe is a gorgeous rayon challis. I love the Club rayon challis because it washes and presses so well. It also is less shifty than most and the colors and prints are always so fun. Plus it’s dreamy to wear! Drapey and flowy it’s so comfortable and cool.
LET’S HACK!
So, let’s get into the hacks! You can choose to incorporate any or all of them for a one of a kind Sonata. Don’t be afraid to give it a try- you’ll be surprised how easy they are! I highly recommend making a muslin first so that you can adjust the pattern to be the most flattering for your body shape. My daughter and I have different shapes and just a few simple adjustments really made a difference. I shortened my bodice and lengthened hers! We also used two different cup sizes and moved the bust darts (instructions are included in the pattern for how to do that!).
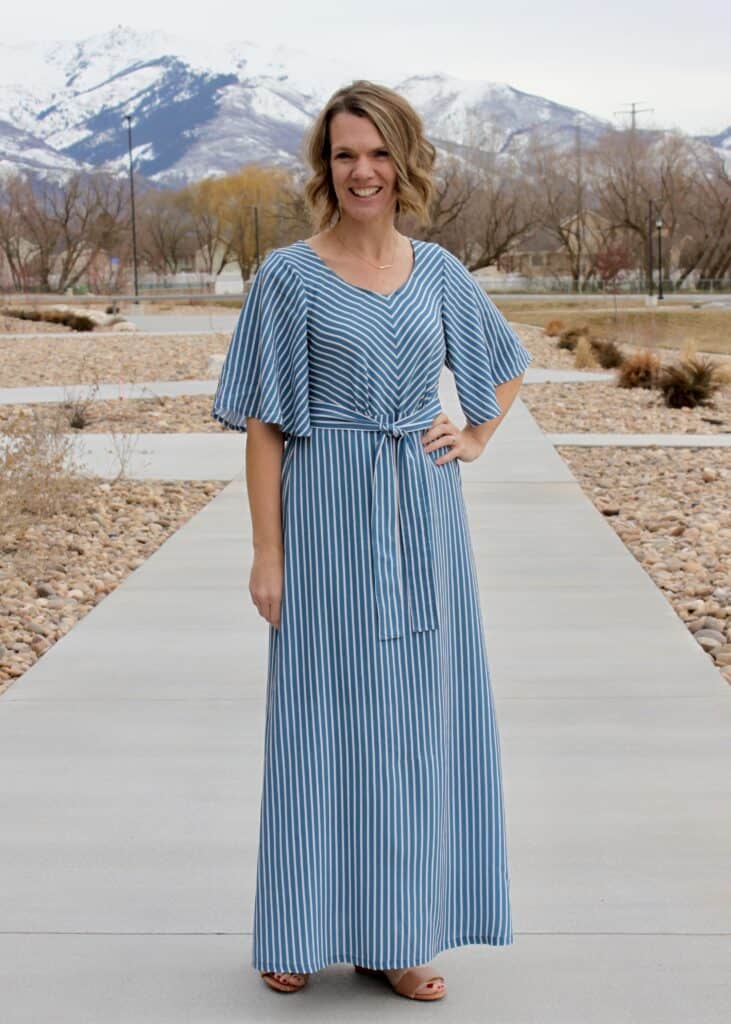
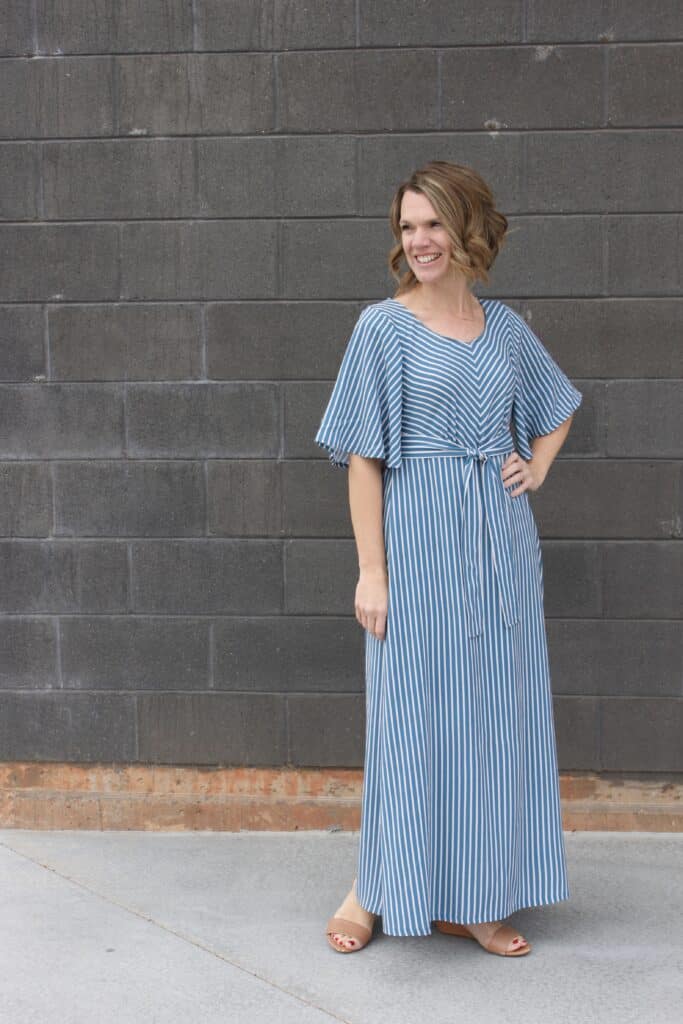
Let’s look at changes I made to the blue dress first.
HACK 1: MAXI LENGTH
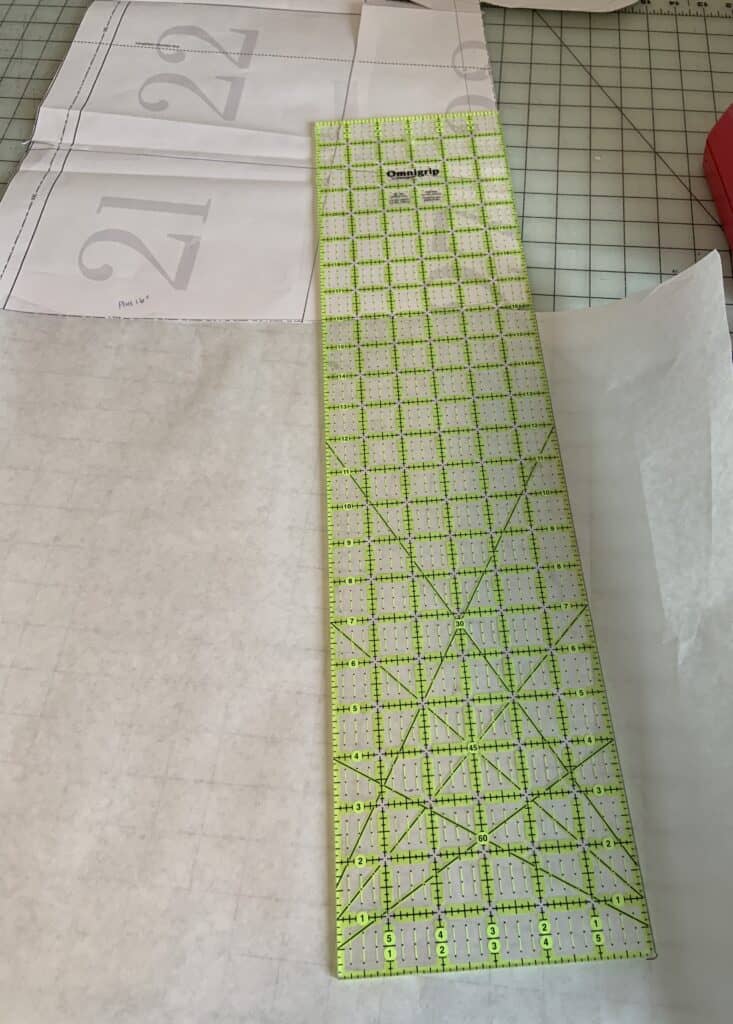
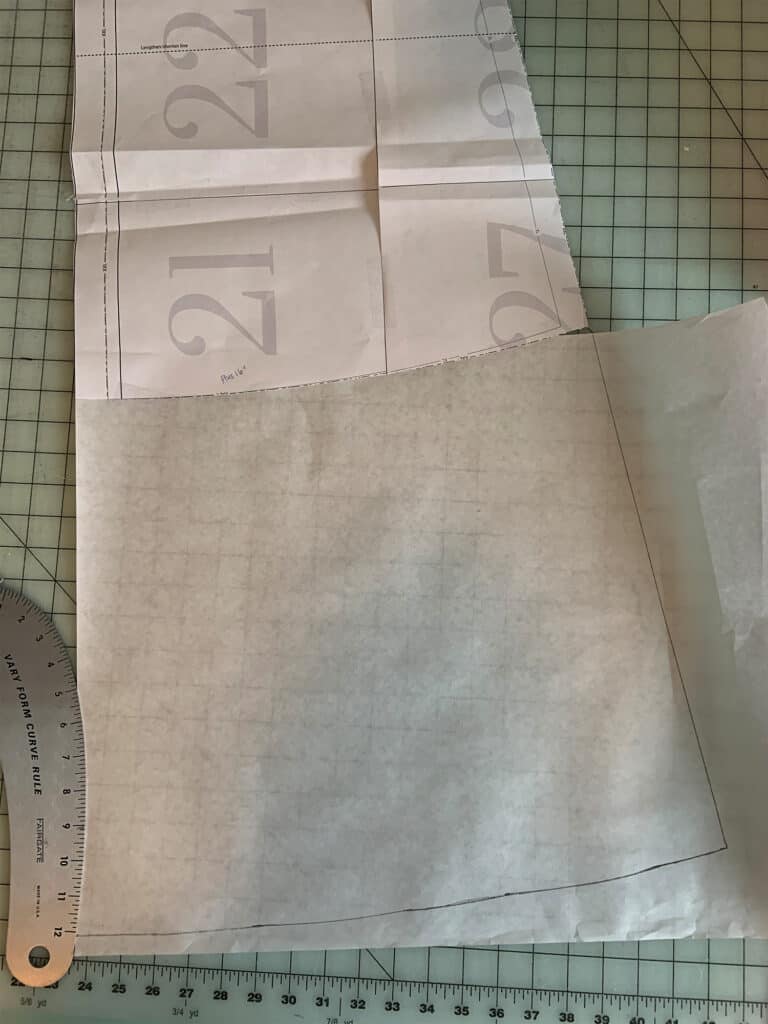
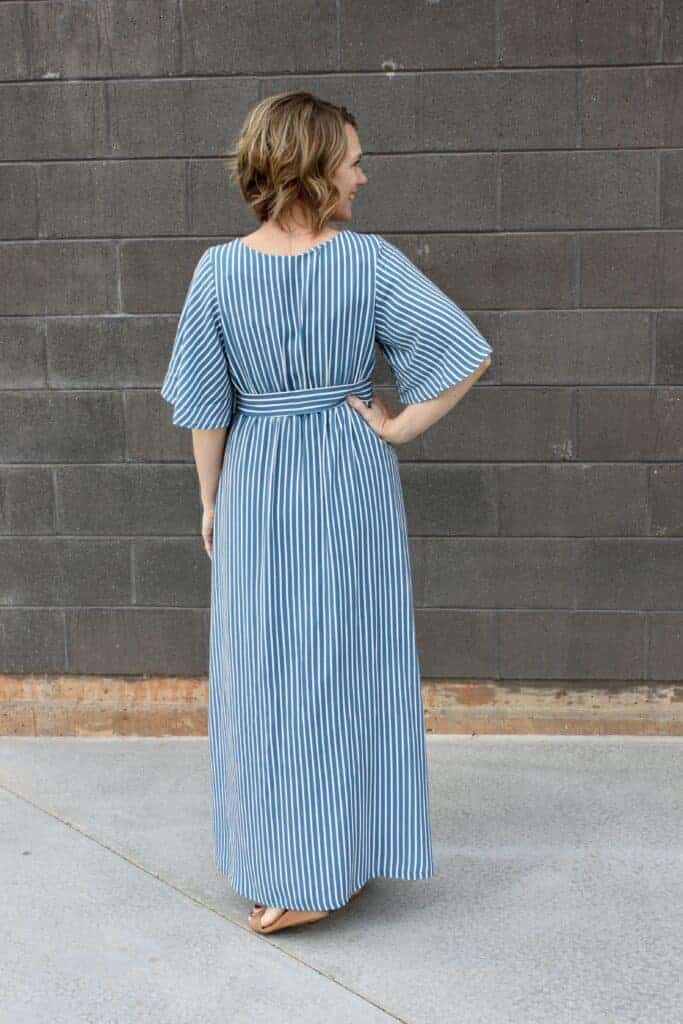
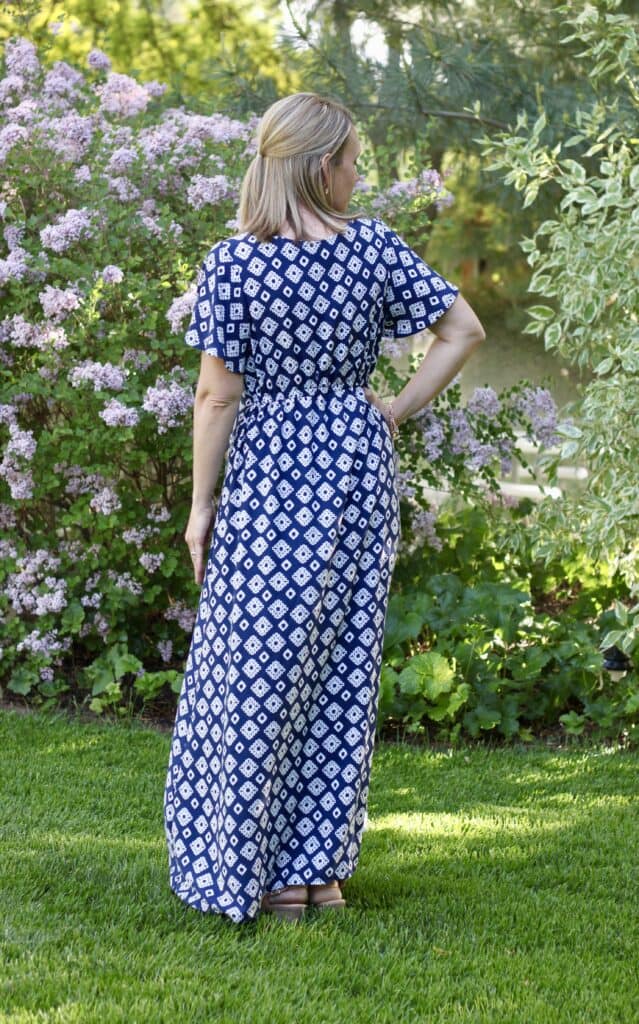
This is a really simple change to make! I prefer wearing midi or maxi length dresses so I often do this. There are a couple different ways to do this, but for this dress, I like just extending my side seams to the length I want it to be. This way I extend the angle and have plenty of ease at the bottom for walking. I use my quilting ruler and make sure I add the same amount at the center front, side seam, and along the bottom seam.
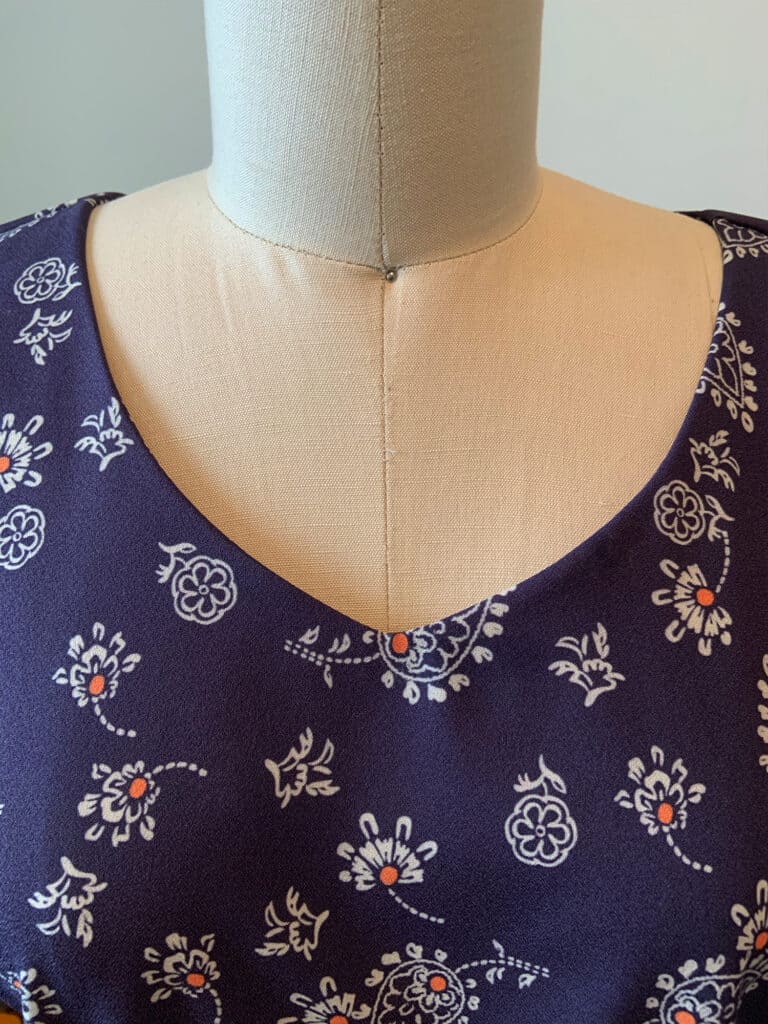
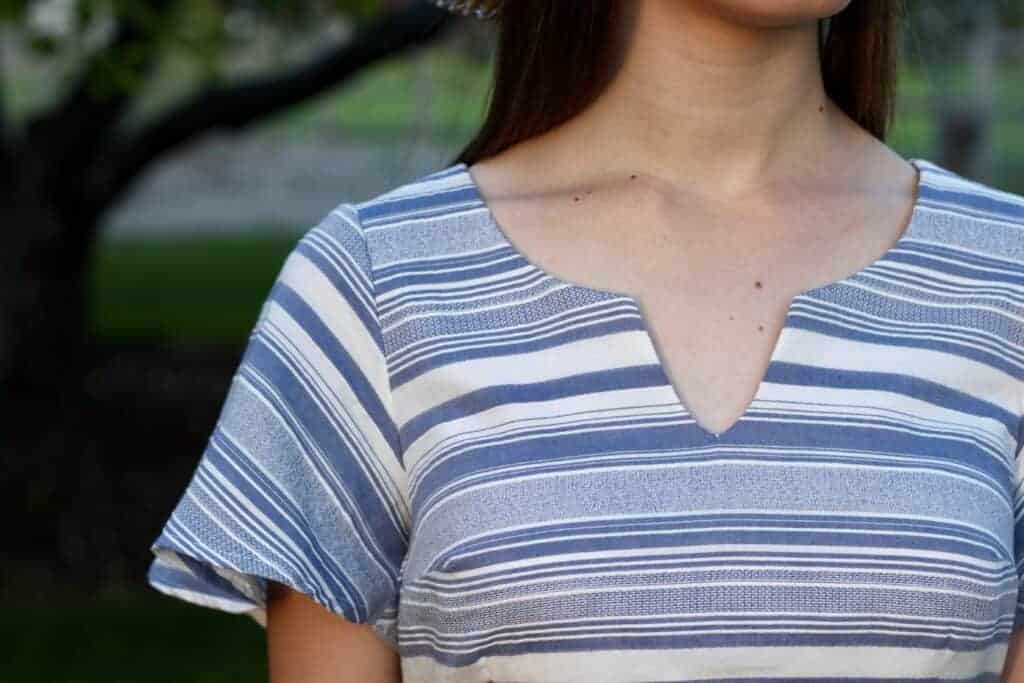
HACK 2: SOFT V-NECK NECKLINE
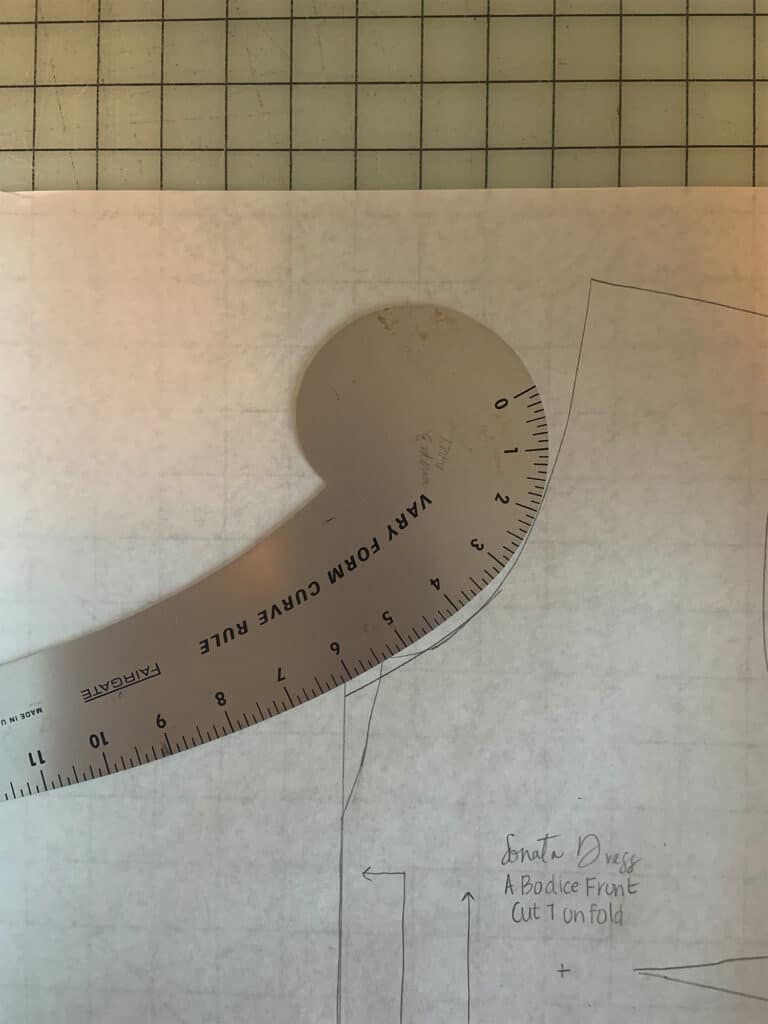
I did this by using my french curve to change the neck shape.
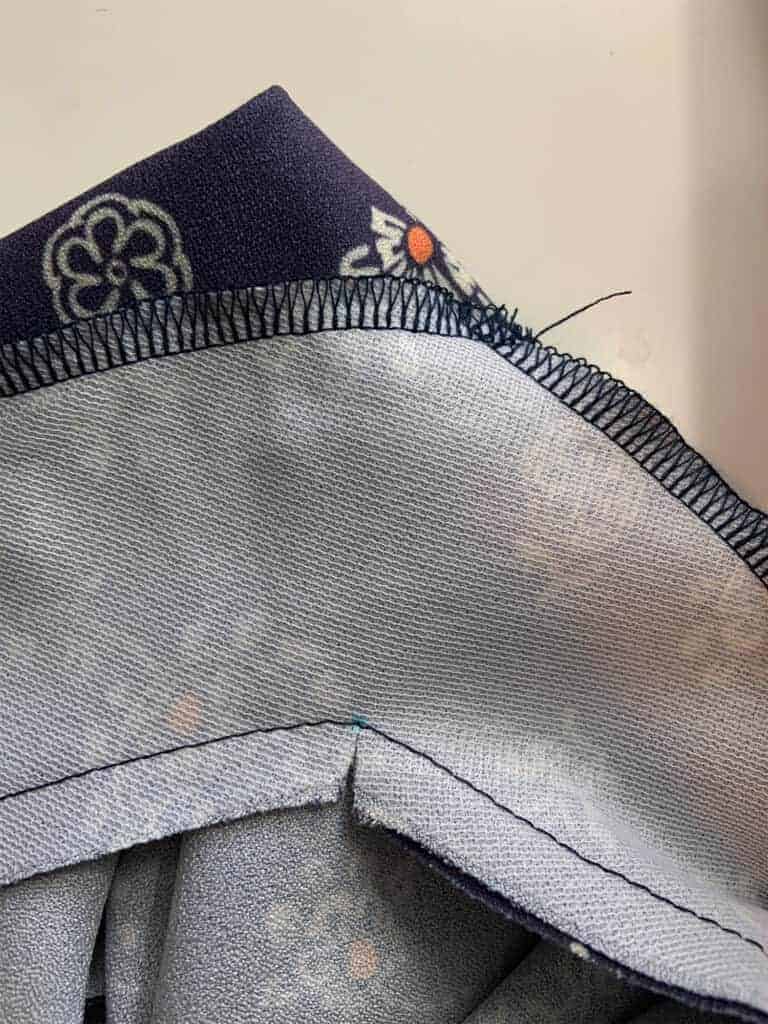
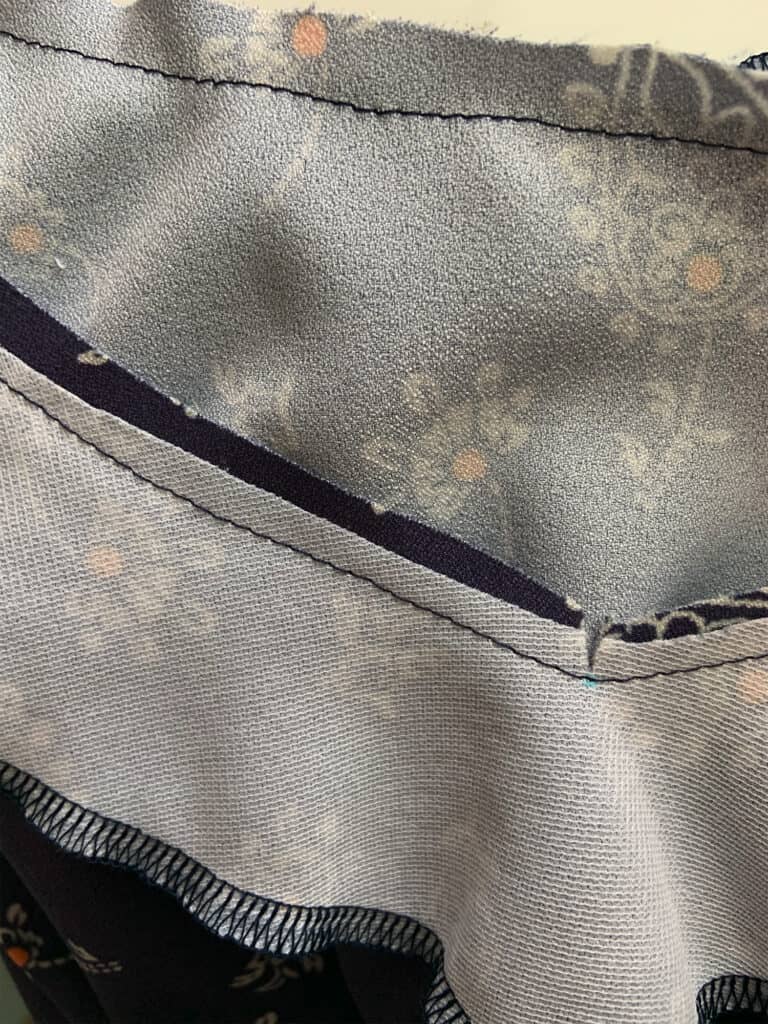
Whatever change you make to the neckline you also need to make to the facing. When sewing the facing to the bodice, you want to make sure to pivot the seam right on the point.
Then you want to clip to, but not through the point. Next, grade the seam by cutting the facing piece to around ⅛” wide.
Lastly, give it a good pressing.
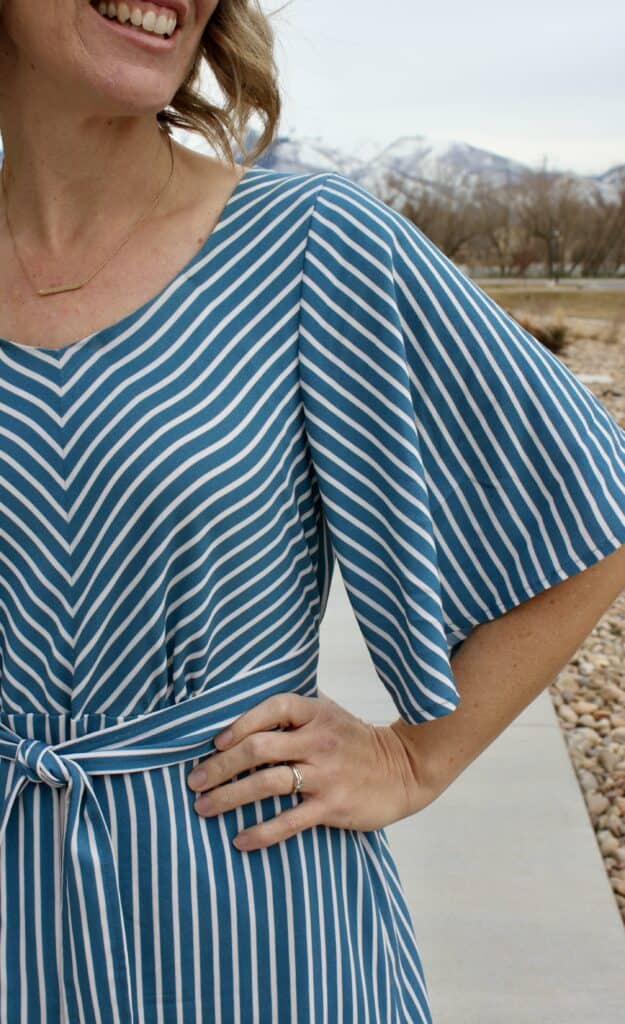
HACK 3: CENTER CUT SEAM AND BIAS CUT FRONT
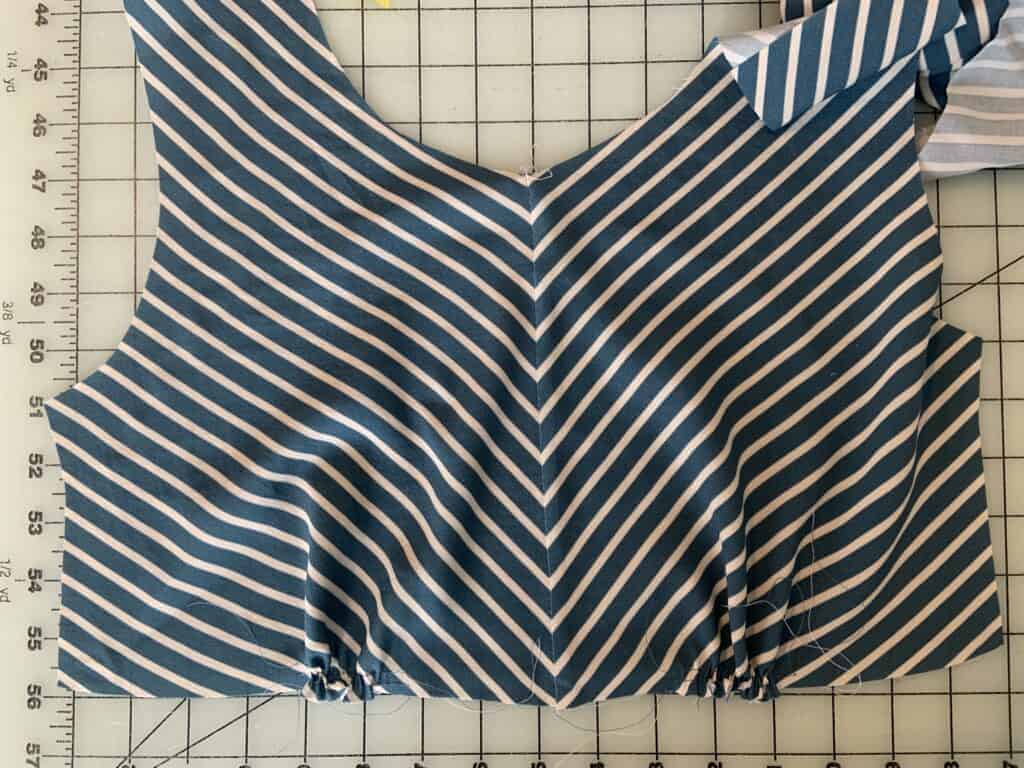
I love showcasing fabrics and knew these stripes on the bias would create just the pop I was looking for. To do this, I added ¼” to the front piece and cut my pieces one at a time on the bias with the stripes facing the direction I wanted them to. You want to be sure you line up the stripes when you cut the second piece so they match up perfectly while sewing. You can edge finish your seam before you sew them together, or do as I did and sew a ¼” serged seam down the front. A glue stick and pins will be your best friends in getting the stripes to match up!
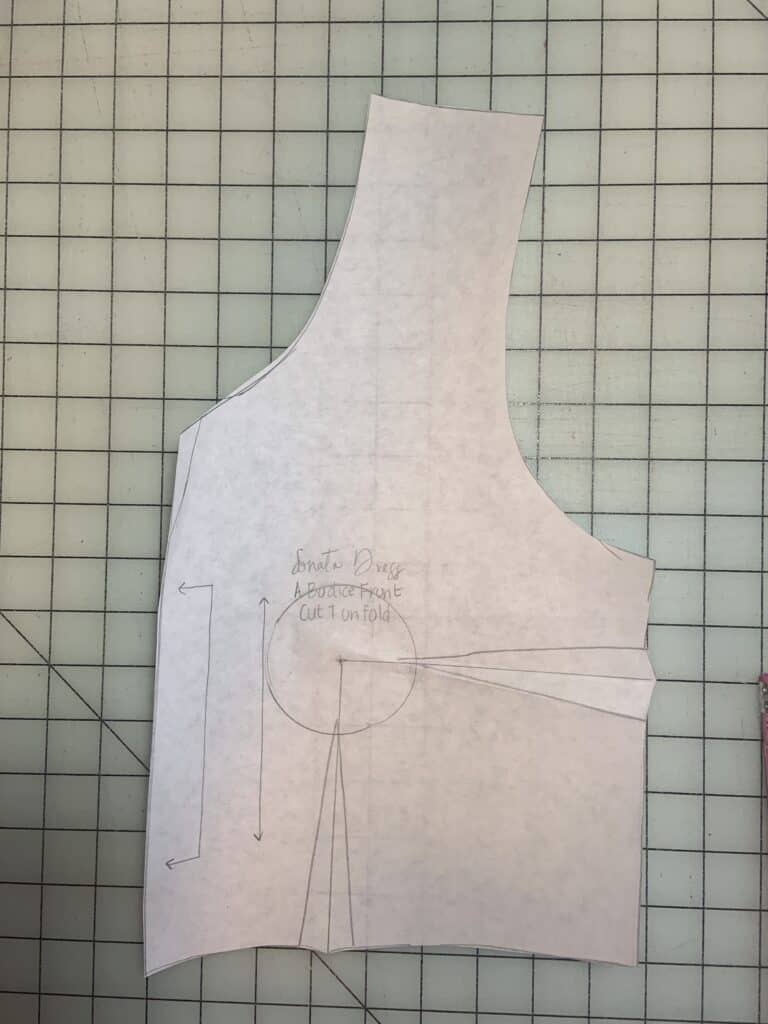
HACK 4: DART ALTERATION WITH GATHERING
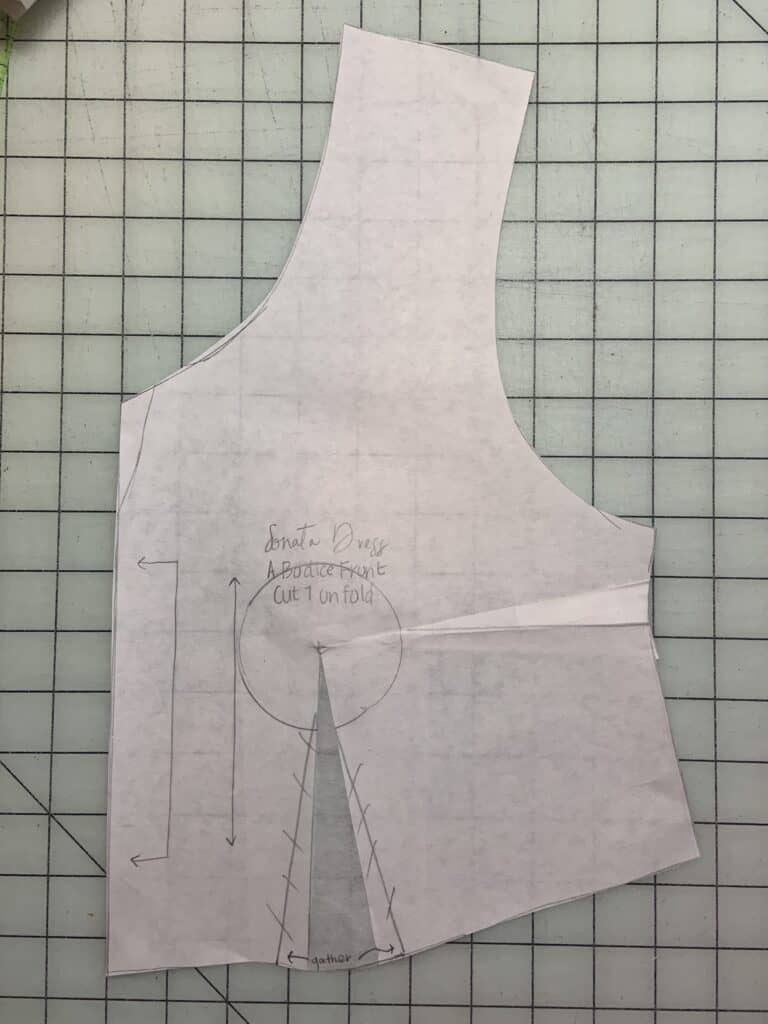
For this hack I moved the side bust dart ease into the waist dart and gathered the dart ease instead of the dart. Darts are put into garments to create shape and take in ease. In this case, the darts create bust shaping. As a side note- the Sonata dress includes A, B, C, and D cup sizes. These are different than bra sizes, but help get the best fit in the bust area. Instructions for choosing bust size are included in the pattern. Because I was using a striped fabric on the bias, I knew a dart would mess up the clean lines I was looking for. So I combined the darts into the waist seam and gathered the ease. This still gives me the ease I need for curves, but takes away a little of the shape. Note: Before starting you want to make sure the bodice is going to hit where you’d like. Depending on your body shape, your waist seam will hit at different points. I decided to shorten my bodice piece ½”.
To combine the darts, you want to draw a line through the center of the darts until they meet in the middle. They should meet at the bust point.
Cut along the line you drew and close off the side dart. The waist dart should now be bigger. You can place paper or tissue behind the opening and that is the new ease. You can now choose where you want your gathers to go.
I used an ‘A’ cup bodice for this dress and extended my gathers a bit past the original dart legs on each side.
HACK 5: STATEMENT SLEEVES
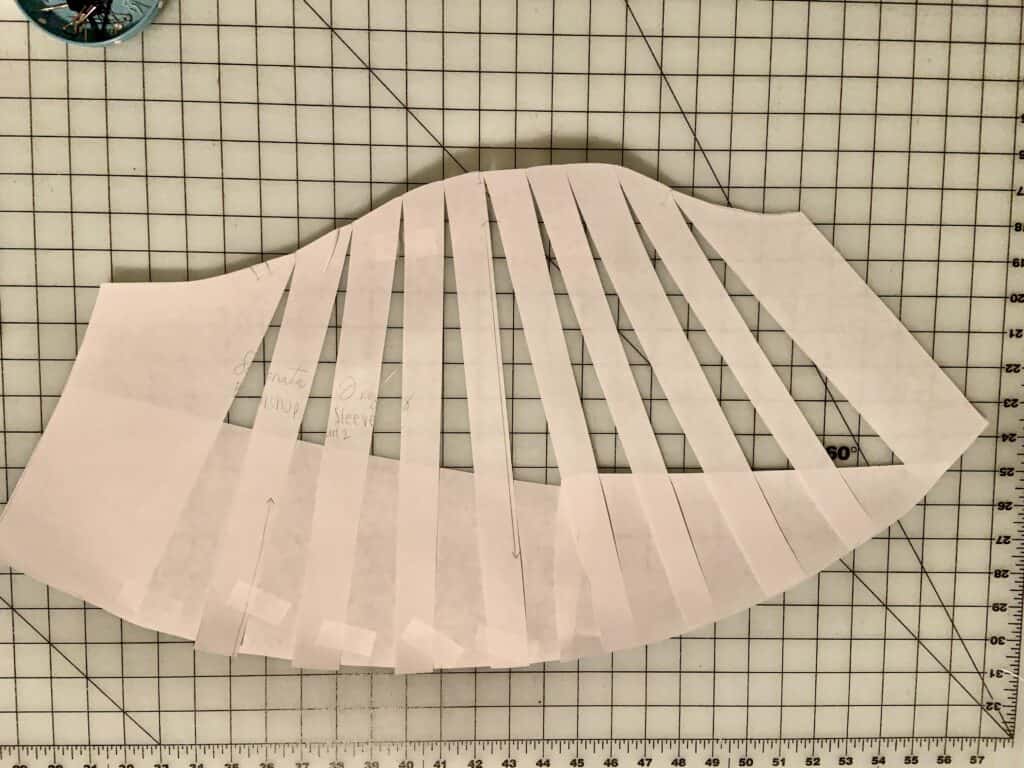
In addition to the bias stripes, I also wanted a statement sleeve. I have used the flutter sleeve before, but wanted it even bigger and longer. To do this, I used the bishop sleeve as my base. I shortened it to elbow length and then slashed and spread it to have the ease I wanted.
HACK 6: WAIST TIE
Super simple – I wanted to add some horizontal stripes. I did this by cutting 2 strips of fabric the width and length I wanted my tie. Then I sewed them together right sides together, turned them right side out, and topstitched around the outside. Super simple but it added just the finishing touch!
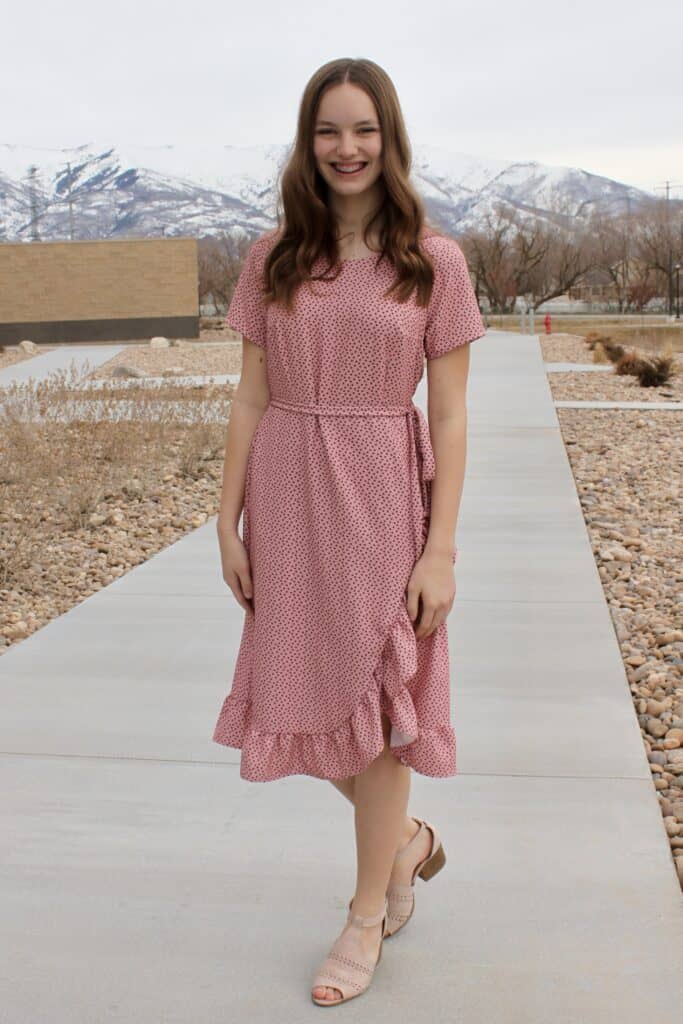
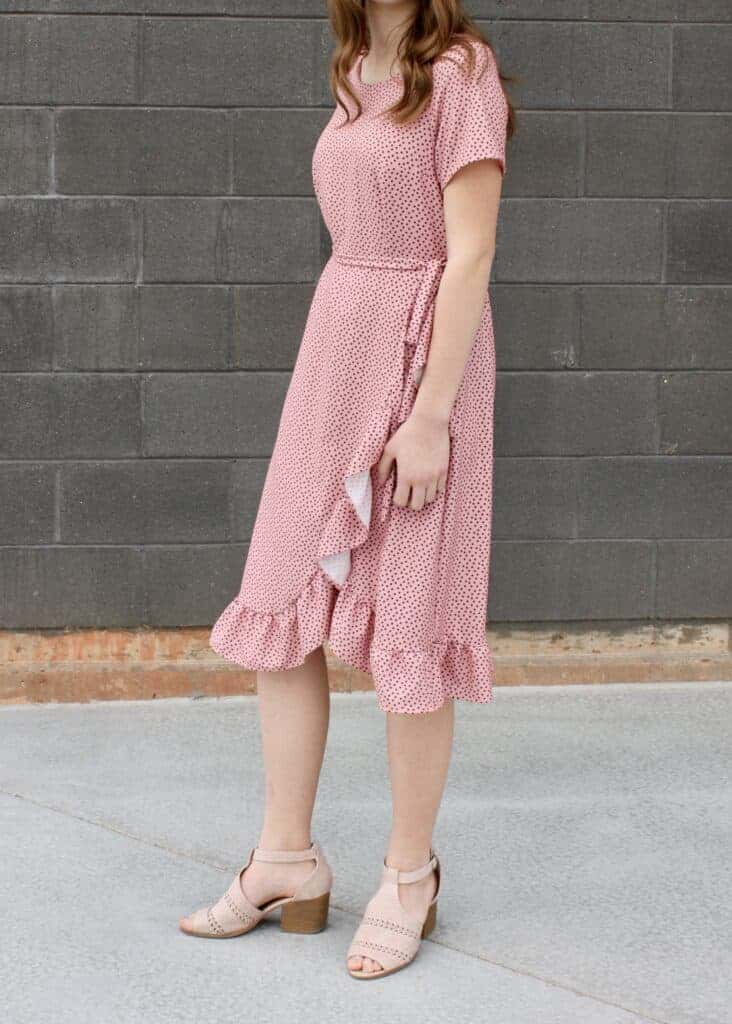
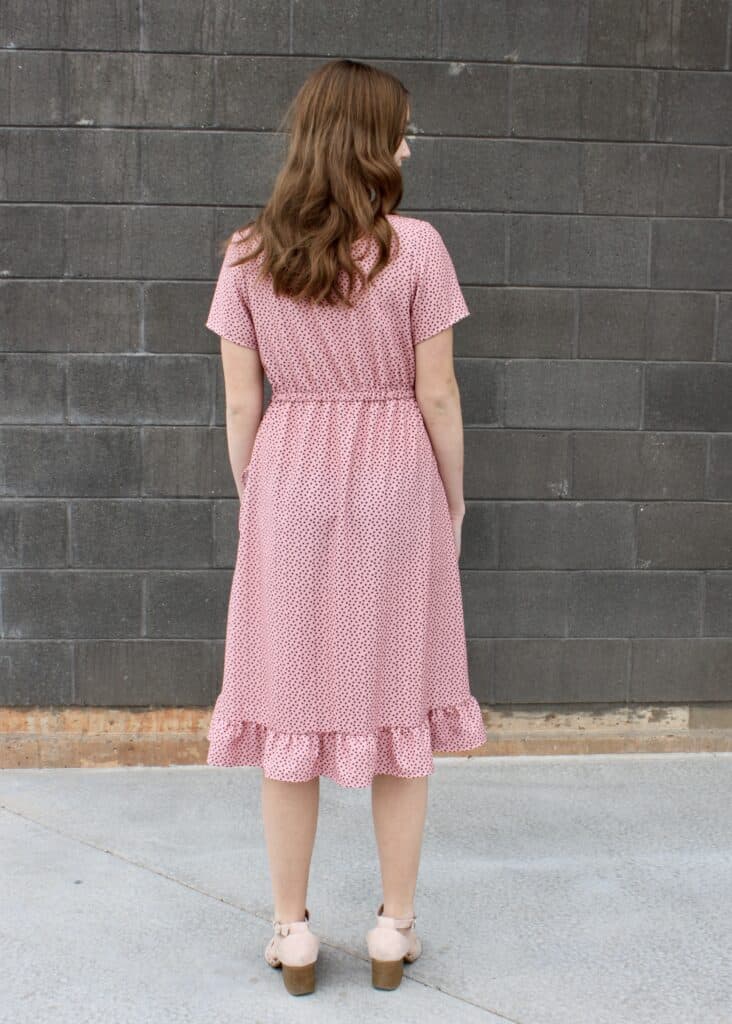
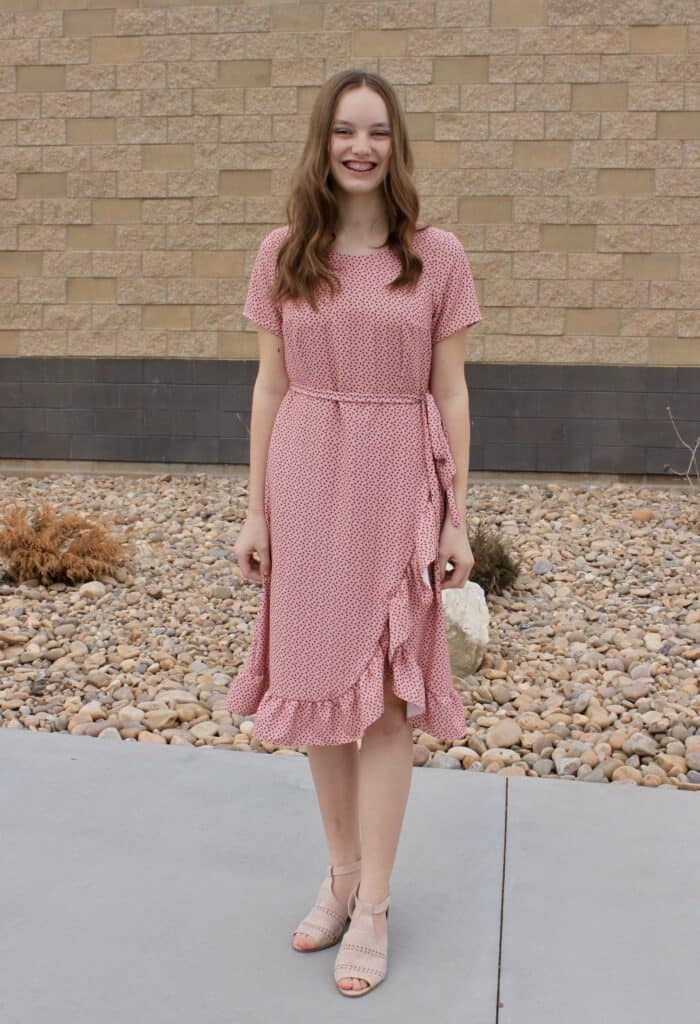
Now for the changes I made to the pink dress!
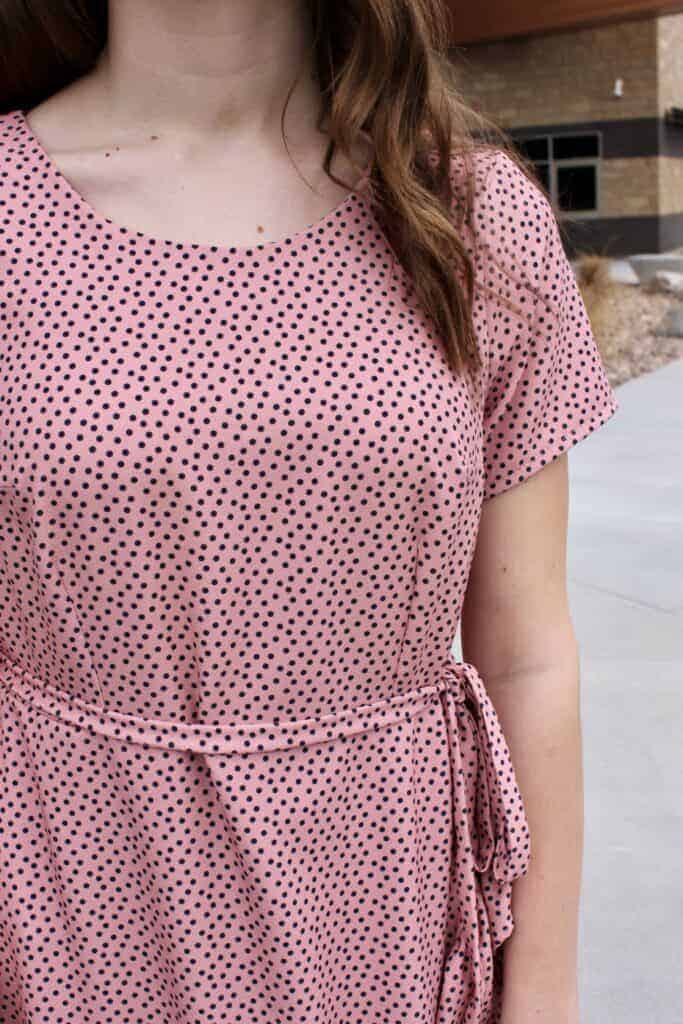
HACK 7: ROUND NECKLINE
I used the same method as the blue dress here, only I just made it a round neckline. My daughter likes her necklines a little higher and she doesn’t like v-necks. You just need to make sure there is enough ease to get it over your head since there are no closures.
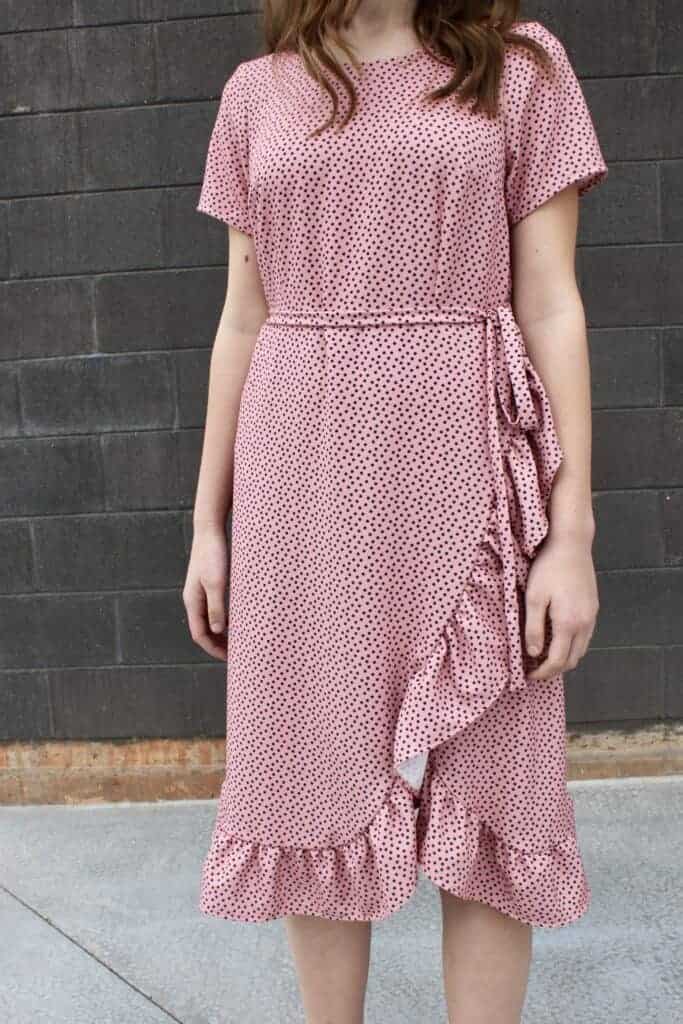
HACK 8: FAUX WRAP SKIRT WITH RUFFLE
This simple hack totally changed the look of this dress and we couldn’t love it more! It’s really easier than it looks to change up this skirt.
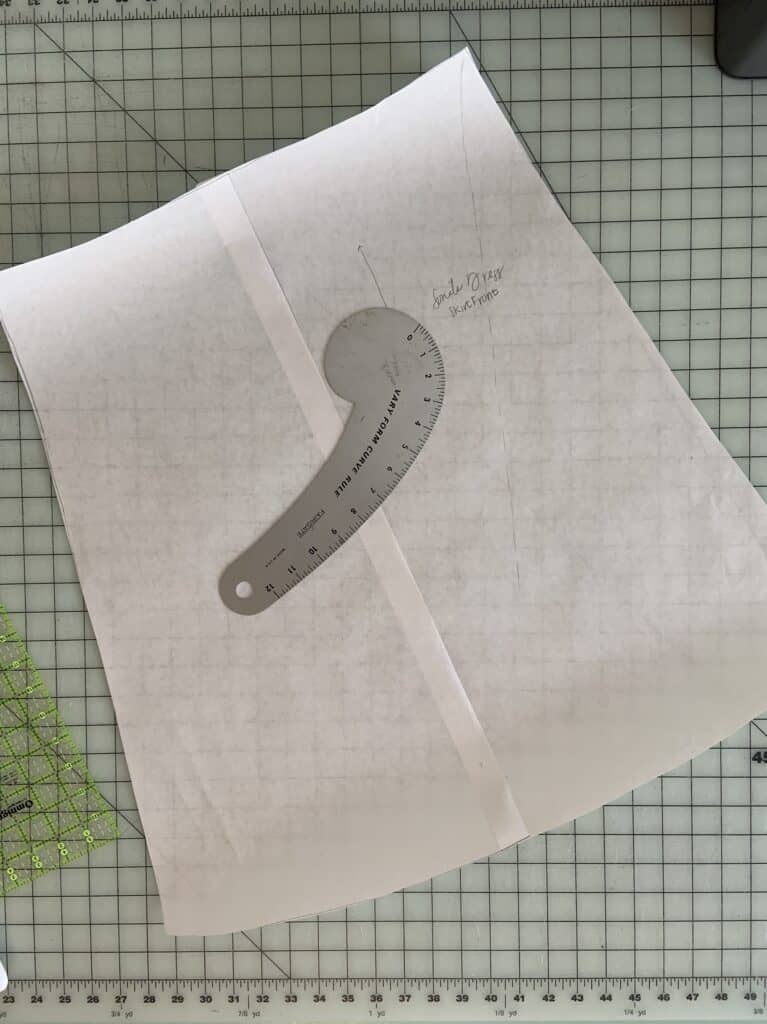
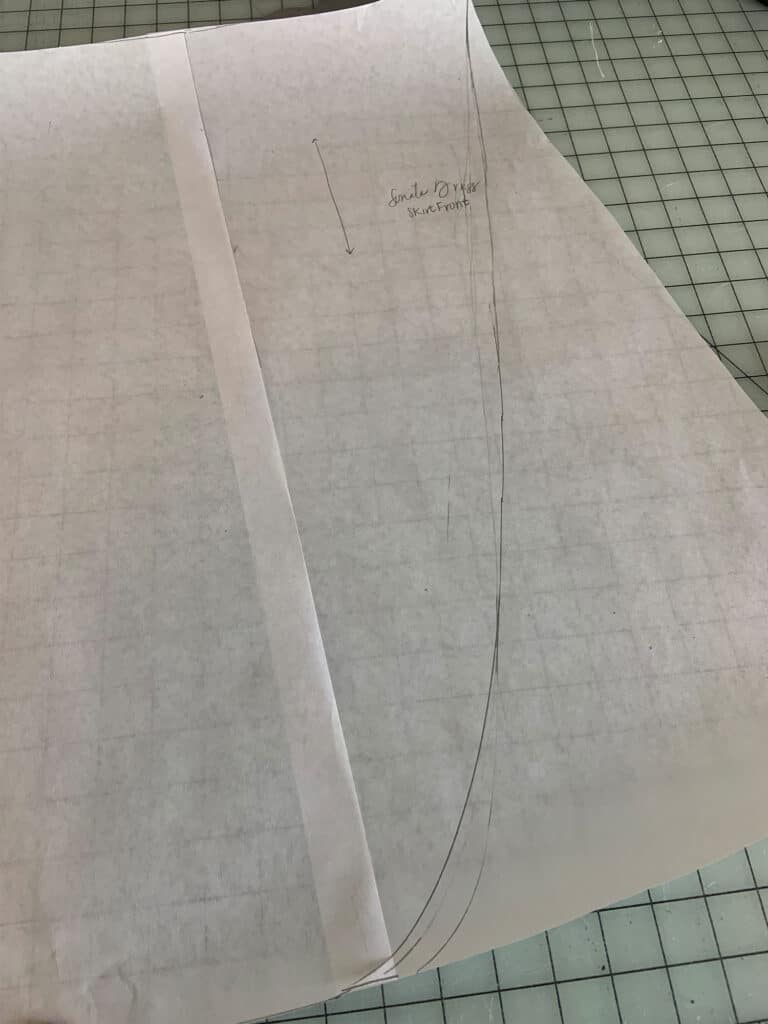
To begin, trace the skirt front so it’s all one piece instead of on the fold.
Then you want to draw the angle you want your skirt to be. Begin your curve about an inch down from the top corner of the skirt. I like to end my curve around the center front for better coverage. Cut off the excess pattern piece. This is your new skirt front and you will cut two of these new skirt front pieces. They will overlap each other to be your new skirt front.
After you cut them, you can lay them out one on top of the other (the way you will wear them) and if you’d like you can trim a bit from the under skirt. On this one I did slightly so that it was similar to a skirt from Pinterest.
Baste across the top of the skirts and continue on following instructions in the pattern.
For the ruffle, cut strips of fabric 4.5” wide by the width of your fabric. You’ll want to measure your skirt hem to determine how long your ruffle will be and how gathered you’d like it. Sew your strips together and hem according to your preference. Gather your ruffle piece. You can do this by sewing two basting lines of stitching and pulling the bottom threads, or you can use your serger to gather (game changer!) My serger has the gathering settings listed in the user manual, but there are lots of tutorials on youtube for gathering with a serger as well. Attach the ruffle to the skirt hem. You don’t need the ruffle to go all the way up the under skirt, but be sure it goes far enough that it will still show when you walk.
HACK 9: FRONT TIE
To go along with the faux wrap of the front skirt, I added a front tie in the side seams. I cut my tie pieces 2” wide and sewed them right sides together with a ⅜” seam allowance. I trimmed the seams and turned them right sides out. You’ll want the longer tie to go on the side seam opposite the wrap side. It should cross along the front bodice and meet up with a shorter tie in the side seam of the side where the skirt curves up. Be sure to baste the tie to the sides before you sew your side seams. You can adjust the size according to personal preference.
SO MANY WAYS TO CHANGE UP THE SONATA
As you can see, there are so many ways to change up the Sonata. You can have a closet full of the same dress and no one will ever know! One of my favorite parts about sewing is being able to make the ideas in my head a reality and the Sonata pattern is a great starting point!
Special thanks to Raspberry Creek Fabrics for providing me with fabric for this post. They are perfect for this pattern!
And some more views of our newly hacked Sonatas:
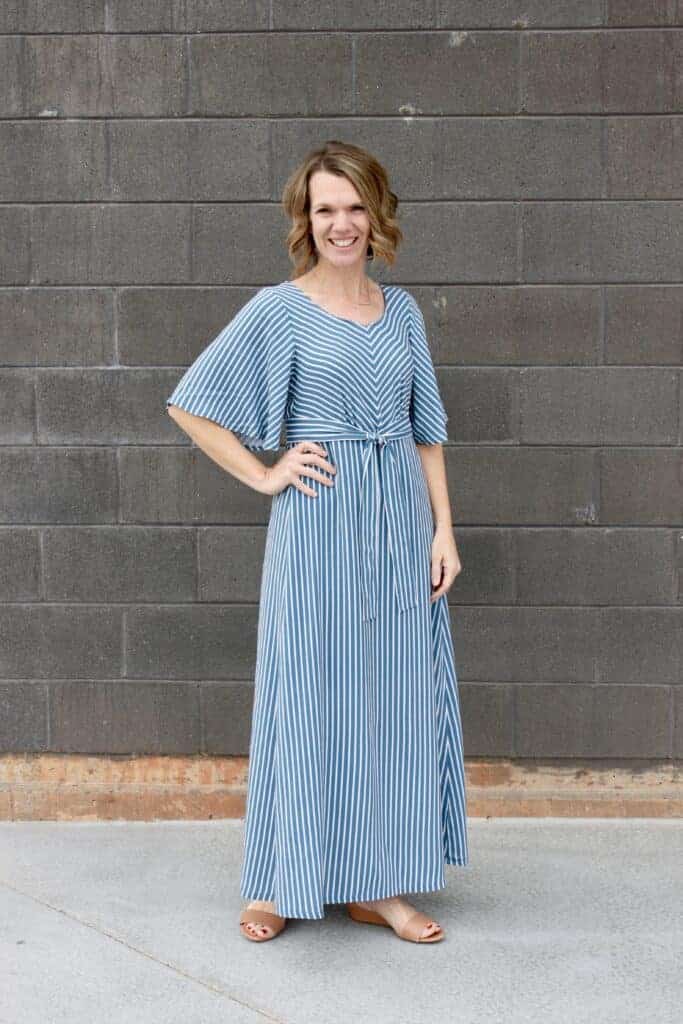
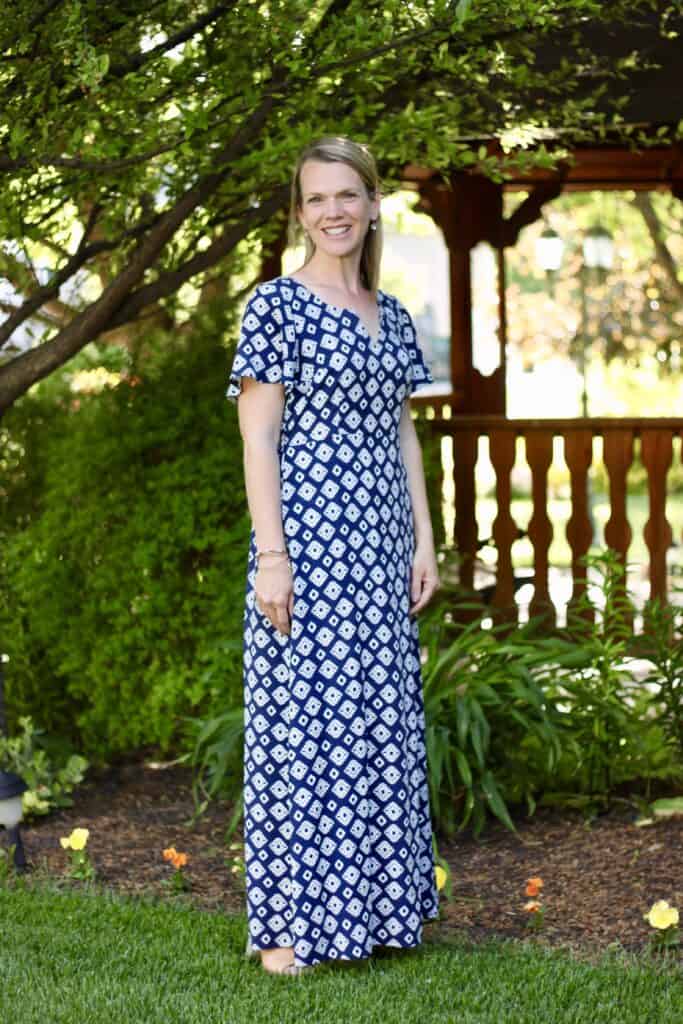
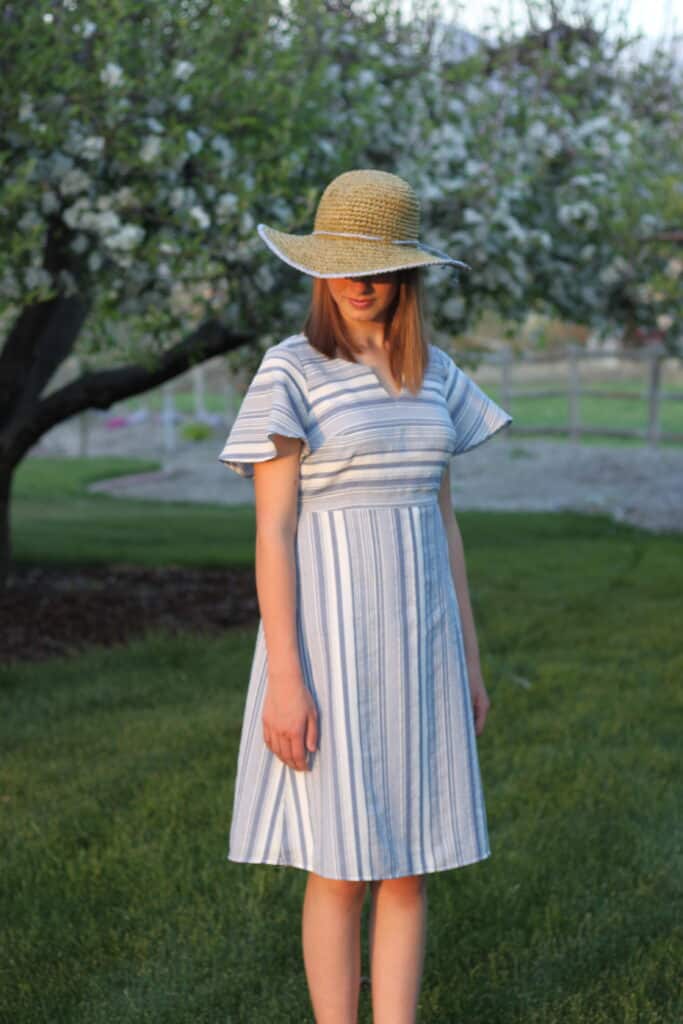
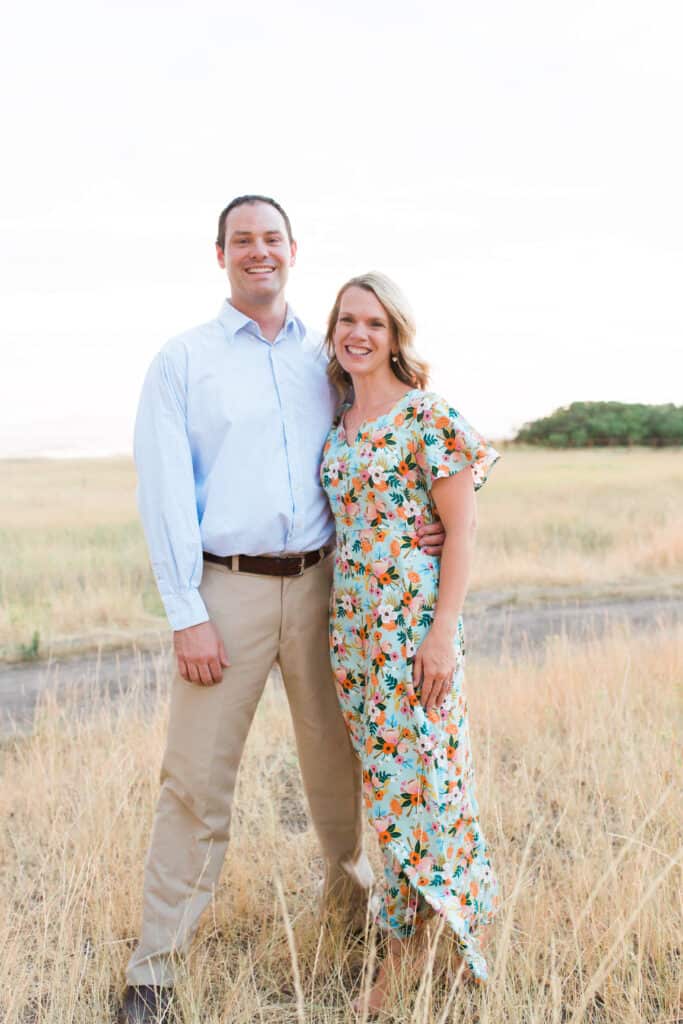
And just for fun, here are a few more of my past Sonata makes for inspiration!
Interested in the Sewing with Projectors Movement?
Thanks to Katie for an excellent post on so many brilliant (and easy!) ways to create the Sonata Dress of your dreams. And today we have even more exciting news: Love Notions has added even more options for using your PDF patterns: PROJECTOR FILES. We’ve just added projector files for about 15 of our best-selling patterns and plan to continue adding to the collection! If you aren’t sure what this new technology is all about, just visit the Love Notions Instagram account (@lovenotions) and watch the highlight titled “Projectors!” so you can see this new technology that is taking the sewing world by storm! We’ve got all the details there about how it works, how much it cost for Tami’s studio, what projector she has and more!
Happy Sewing!
SHOP PATTERNS WITH PROJECTOR FILES
[carousel_slide id=’303884′]


