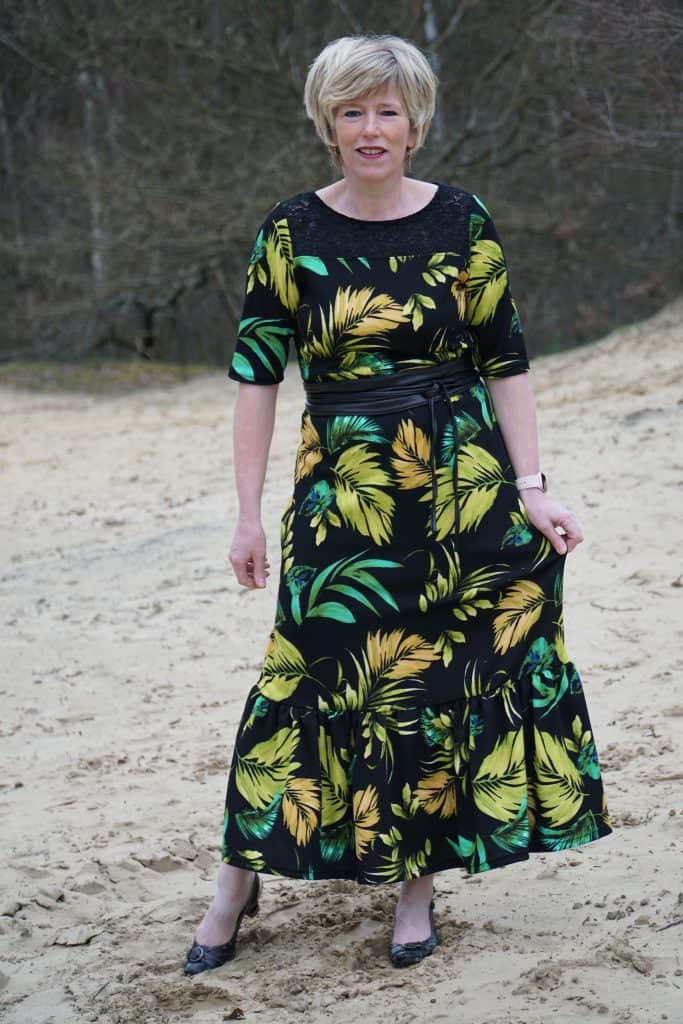
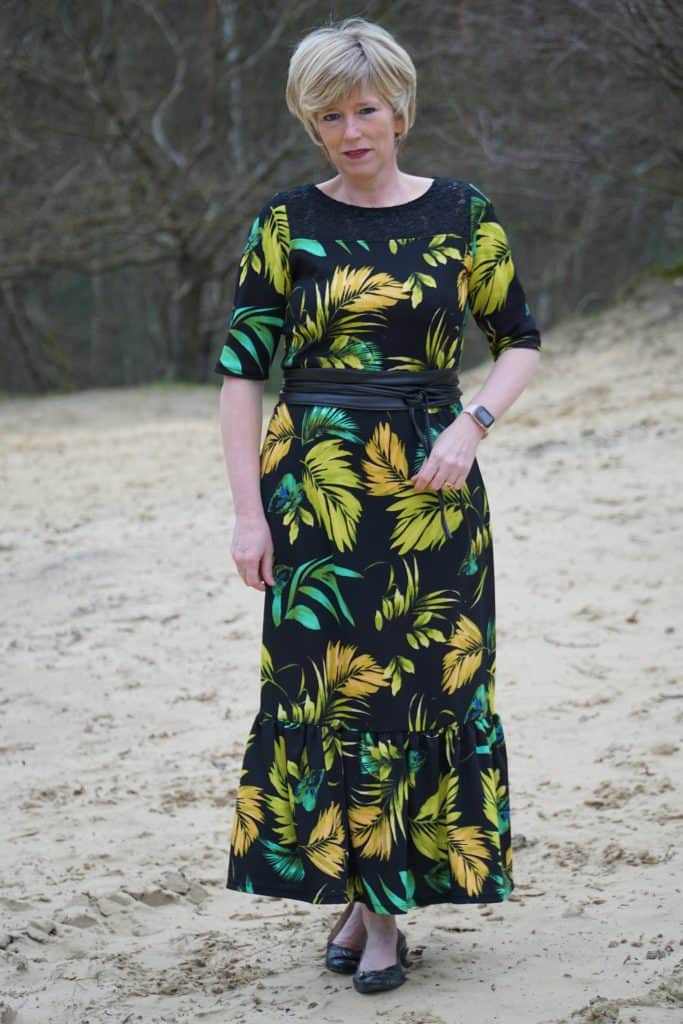
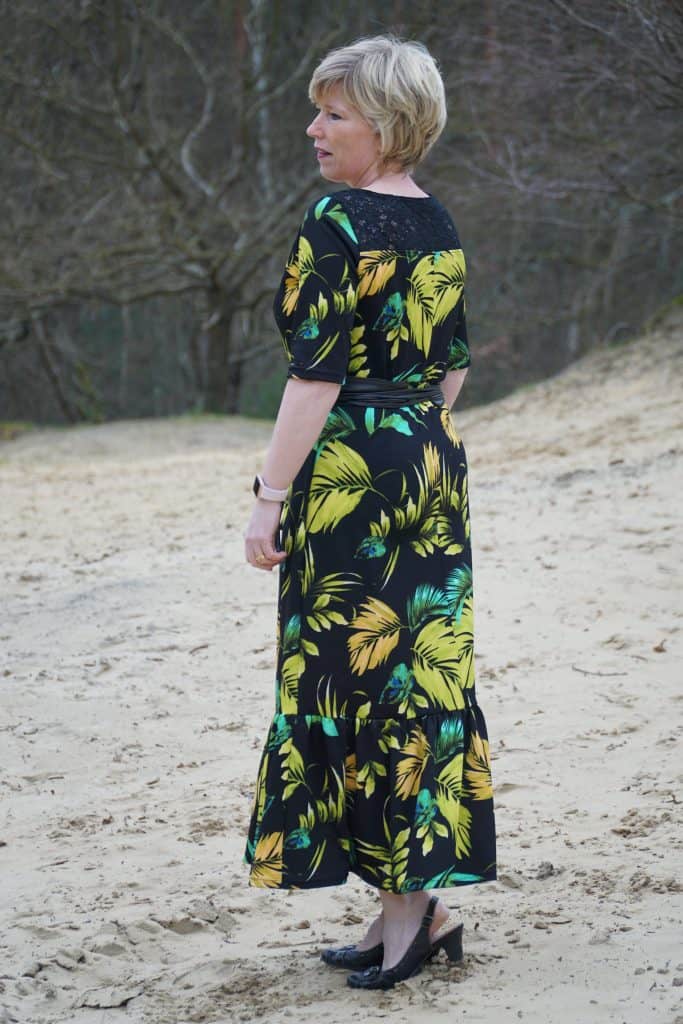
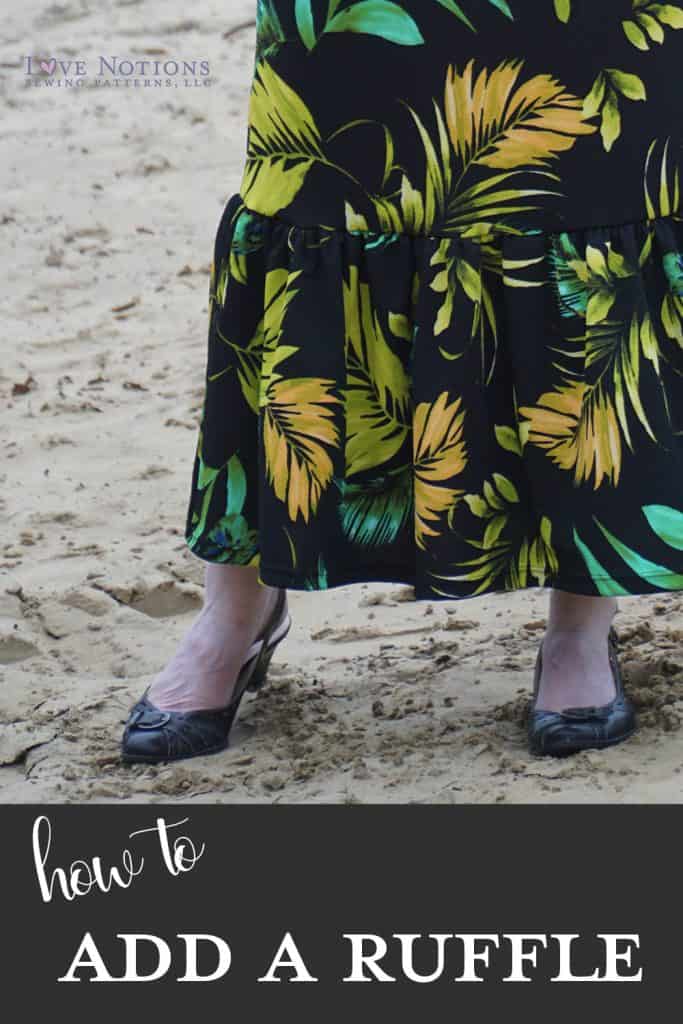
Looking for a breath of fresh air? Try out this easy ruffle add-on for the Tessa Sheath Dress. Ilse explains this easy hack and helps us feel those summer vacation vibes with her tropical maxi sheath dress!

Ruffles and Lace: An instant summer feeling with my Tessa Sheath Dress!
Hi friends, I’m so glad to be back again and so thrilled to show you my latest Love Notions creation with the Tessa Sheath dress!
After seeing this easy ruffle add-on you can start right away and make all the lovely summer dresses you want! Double luck because the Tessa Sheath dress is the featured Friday pattern and it’s on sale for only $5 today! (affiliate link)
Fabric for my Tessa Sheath Dress with Ruffle
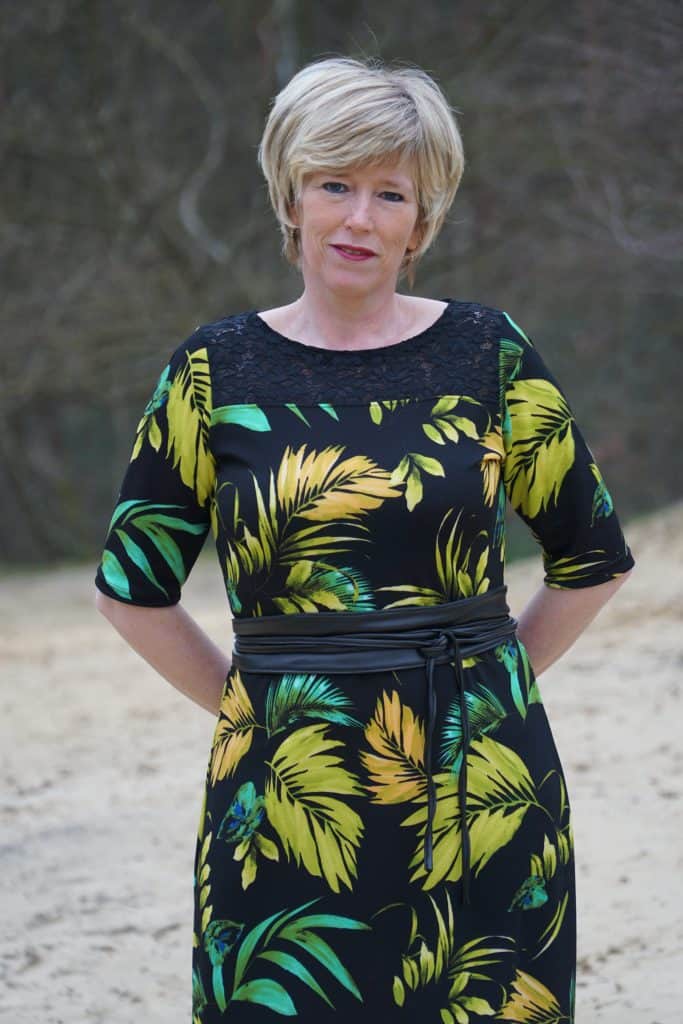
Don’t you think this Liverpool – Caribbean Nights – from Sly Fox Fabrics is perfect for this look? I so adore this tropical print! You need to know in Europe we don’t have this quality of fabric, so I never sewed with Liverpool and I was pleasantly surprised how smooth it sews and how it feels on my skin. And the large print is awesome for a maxi dress like this.
I chose black stretch lace, also from Sly Fox Fabrics, for my front and back yoke. It makes the whole dress so romantic, don’t you think so?
Tessa Sheath Dress Features:
The Tessa is designed for knits and actually the design is simple but has so much options and is a perfect base for so much more. At first: choose for a scoop neckline or bateau neckline with optional yoke, of course you can omit the yoke and sew it in one and the same fabric.
You have five possible sleeve lengths and two hem lengths – above knee and shin.
My Tessa Sheath Dress Muslin
I chose the above knee length and added a wide ruffle. Before I dared to cut my good fabric I first made a basic Tessa in dotted cotton knit and the only thing I changed in my final dress is that I sized up in my waist for a more relaxed feeling. Because it felt more retro, I tried to style it that way.
Now, onto the tutorial!
How to add a wide ruffle to the Tessa Sheath Dress
This is really an easy add-on and you can use it on the bottom of a dress, skirt or a sleeve. What you have to take into account is that the weight of the ruffle will pull your dress down and your intended length will be longer anyway. Use the lengthen/shorten line to make your preferred length (where do you want the ruffle to start). For reference, I made a size large.
Creating the Ruffle Bottom Piece
- Sew and finish the dress as written, except hemming the bottom.
- Measure the width of the bottom of your unfinished dress (knee length or shin length) and double it. (For me I had a width of 1m30 or 51” so I needed a ruffle with a width of 2m60 or 102” on my knee length dress.)
- Determine the height of your ruffle. (As I wanted a maxi dress I cut a height of 35 cm or 13.8”, seam allowances included.)
- After this I cut two strips with a length of 1m30/ 51” and 35 cm/ 13.8 “ high and I sewed them together.
- Maybe this step is unnecessary for you but I divided the bottom of my dress in four and marked it with a pin and I did the same for my strip – ruffle in the making. This means that I keep my four equal parts.
Gathering the Ruffle
- Up to gather them! I basted two rows at the upper end from my ruffle with my biggest machine stitch. Two rows? Yes, this way you can get the most deep and beautiful gathers.
- Gently pull the bobbin threads forming small ruffles in the fabric. Evenly gather the ruffle until it is the same width as the bottom of your dress.
- Slide your ruffle, right sides together, inside the dress. Match the side seams and your pins you marked before. Pin in place and sew.
- Finish the seam and remove your gathering stitches.
YOU’RE READY!
Style it with a belt and you can go to the most fanciest parties!
Are you also so in love with the Tessa Sheath dress?
Be sure to claim your pattern now it’s on sale for only $5!
Thank you for reading my post. Be sure to drop by at my Instagram @sewsewilse!
See you soon!
Pin this for later!


