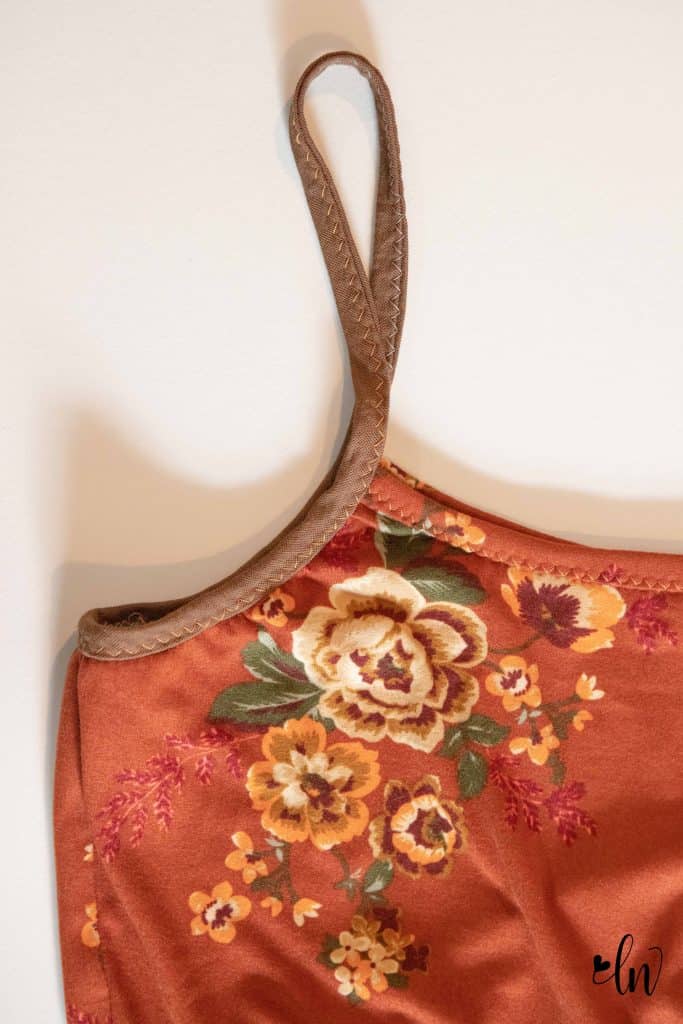
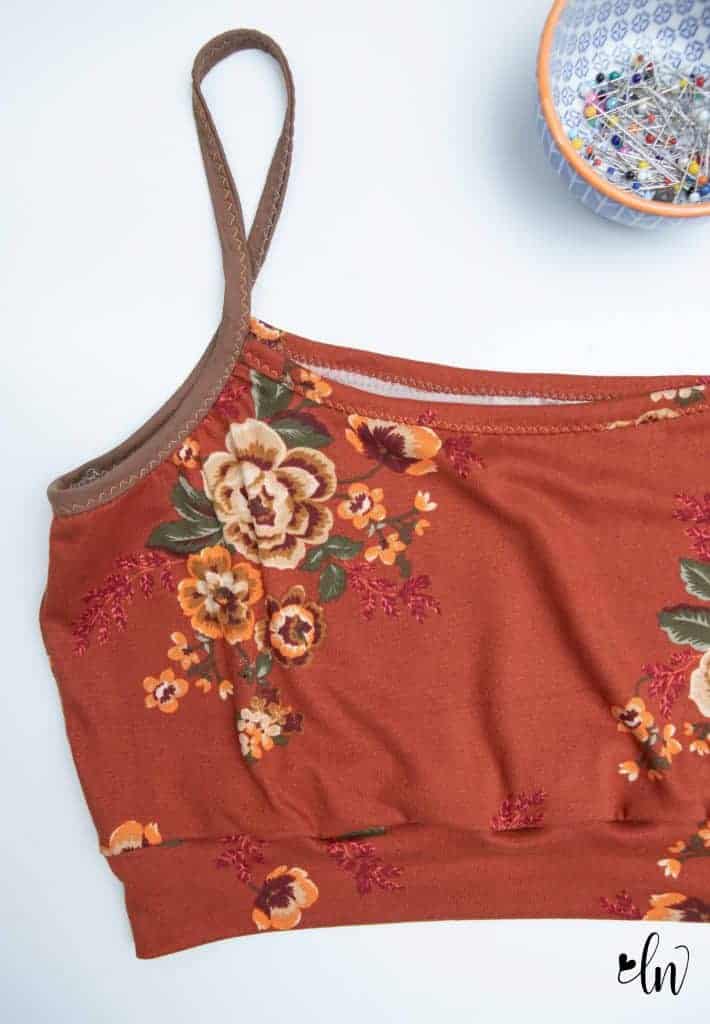
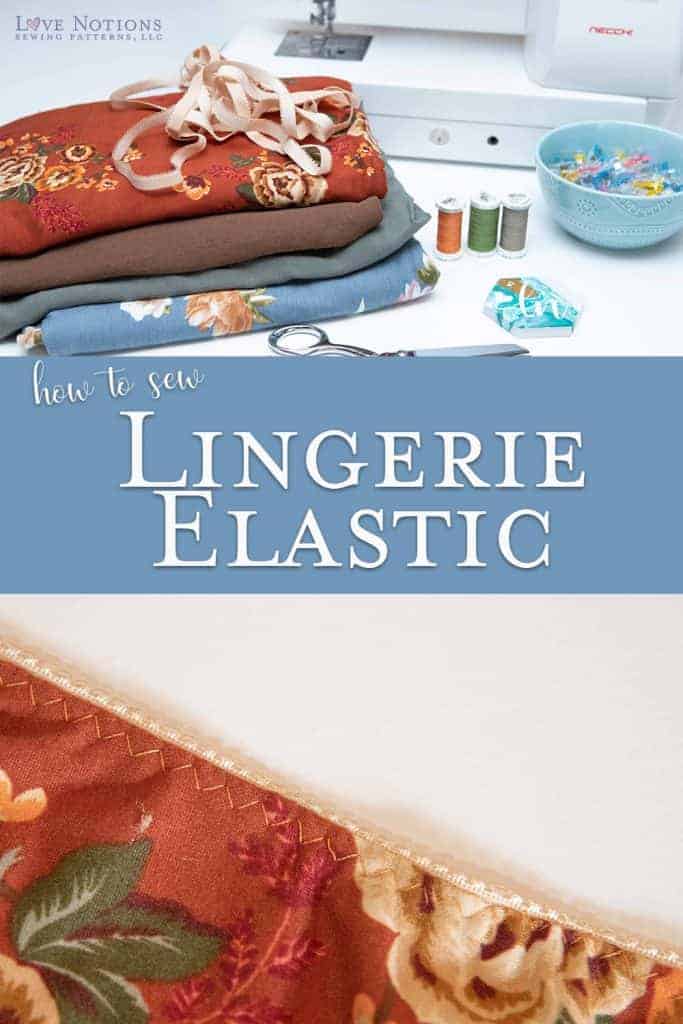
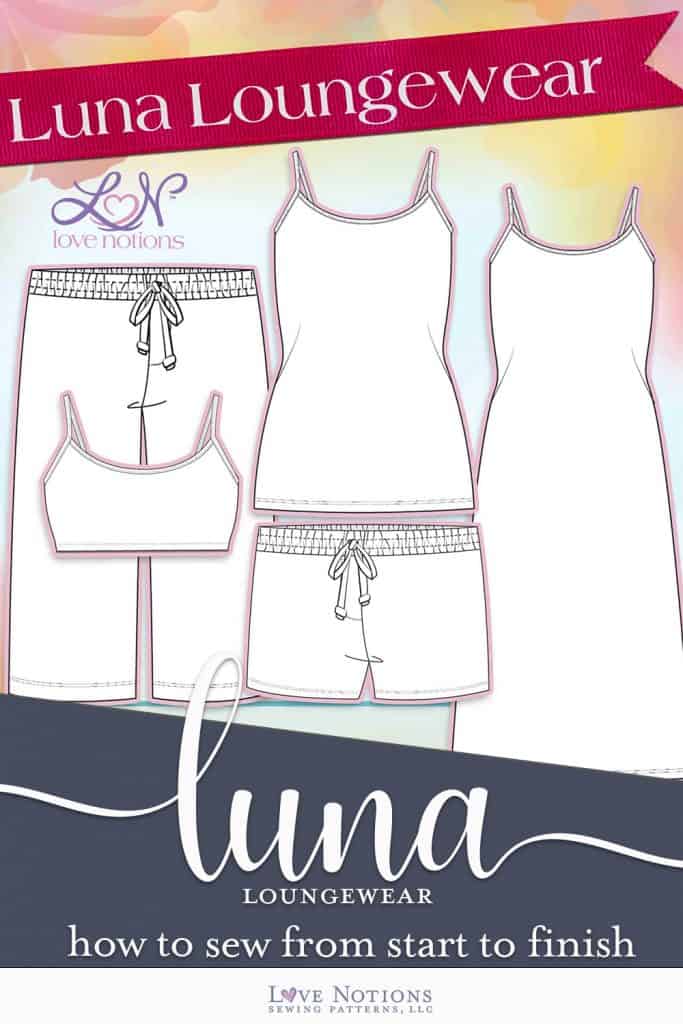
Welcome to day two of the Luna Loungewear Sew Along. Today we will be sewing up a cami. and a bralette. I’m going to show you how to sew both lingerie elastic and knit binding. I also have my first Luna hack to share with you!
Sewing up a cami or bralette is such a quick sew!
If you haven’t sewn one before, you are in for a treat! If you use lingerie elastic, it’s even faster than sewing it binding. The steps for sewing the cami and nightie are the same, so you can follow along with these directions either way. The bralette is a little different with the elastic hem. We will tackle that on Friday.
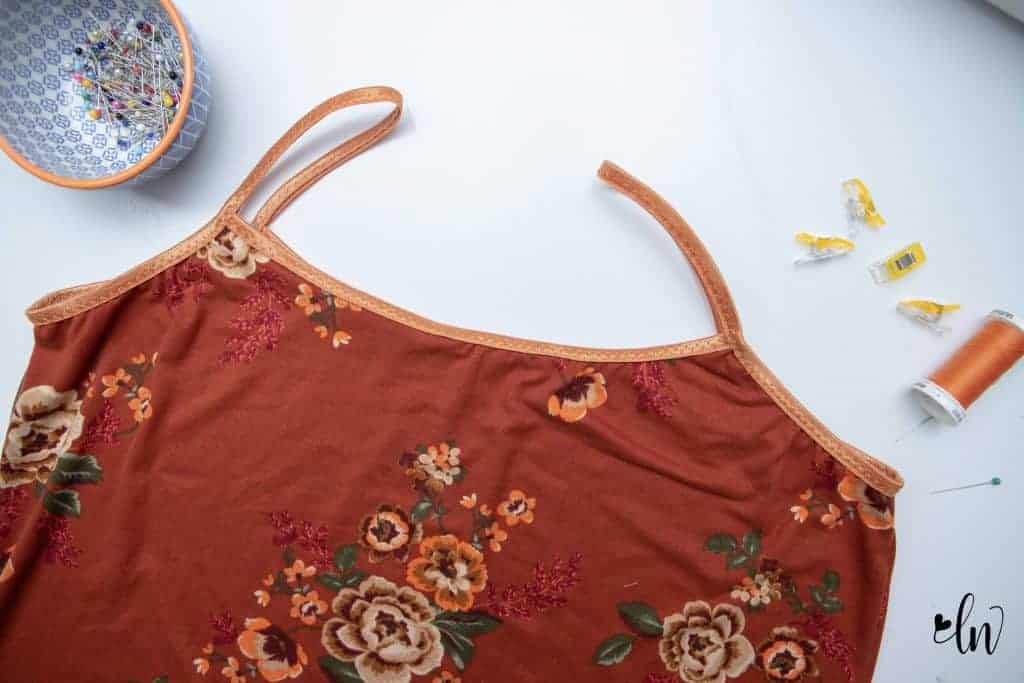
After you sew the side seams of your cami, nightie or bralette, you need to construct the neckline and straps. Let’s talk lingerie elastic first.
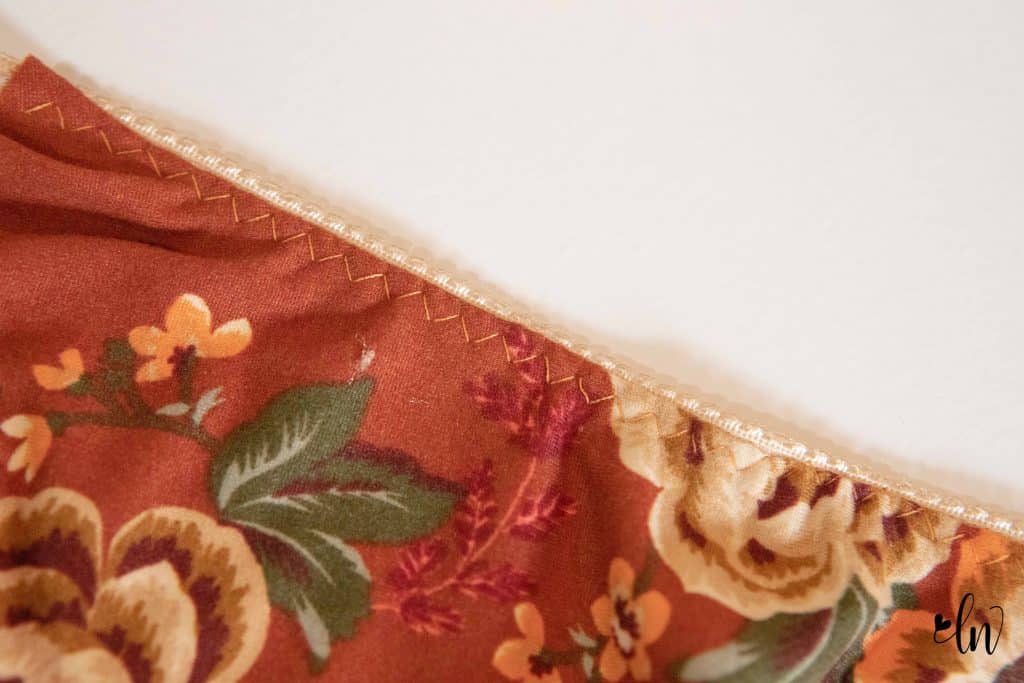
Surge Fabrics has a great selection of elastics available for the Luna Loungewear. I have the 3/8″ plush back for my cami.
Here is a video showing how to apply the lingerie elastic to the Luna Loungewear.
Now, let’s take a look at the knit binding.
If you are using a really slinky light weight knit, I suggest you use something different for your binding. You want something with some good recovery and is on the easier side to work with. Cotton lycra is an excellent choice. Double brushed poly works well also, but you may need to shorten your straps a bit because of the lack of recovery. Modal and bamboo spandex will work nicely also. It’s very important that you cut your straps going the correct direction! You want the stretch to go the longest direction! I found that even with my four way stretch double brushed poly that it didn’t have enough stretch when I cut the wrong direction to work with the scraps I had. The video below shows how to attach your knit binding.
Comfort band bralette hack
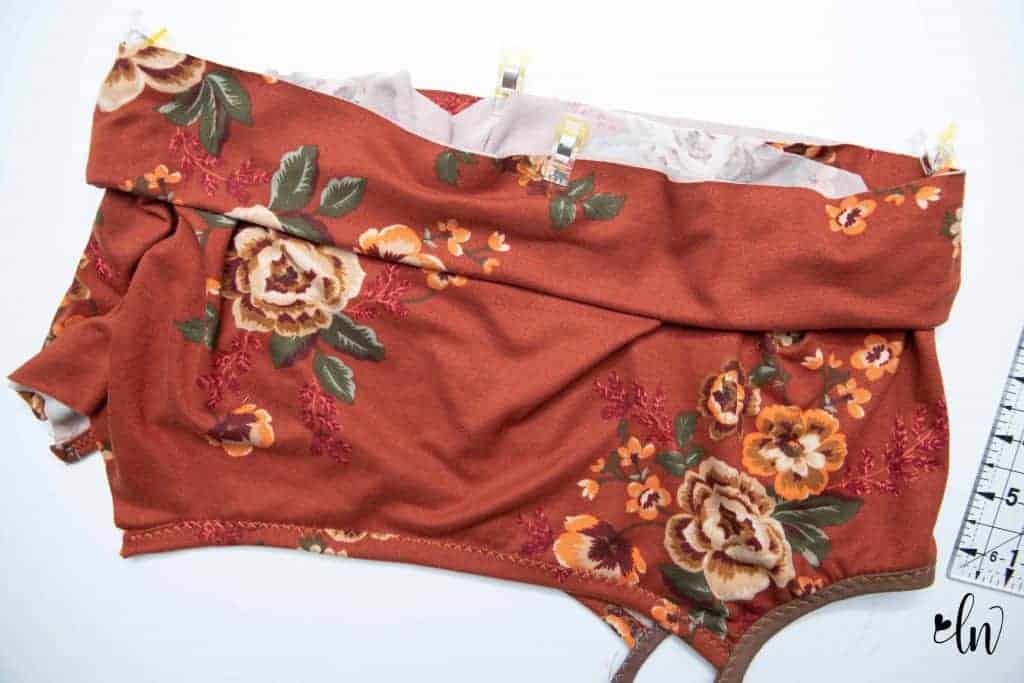
Friday we will be covering how to finish the bralette with the elastic hem. But today, I have the easiest hack you will ever do! I’m going to share with you how to add a band to the bottom of your bralette.
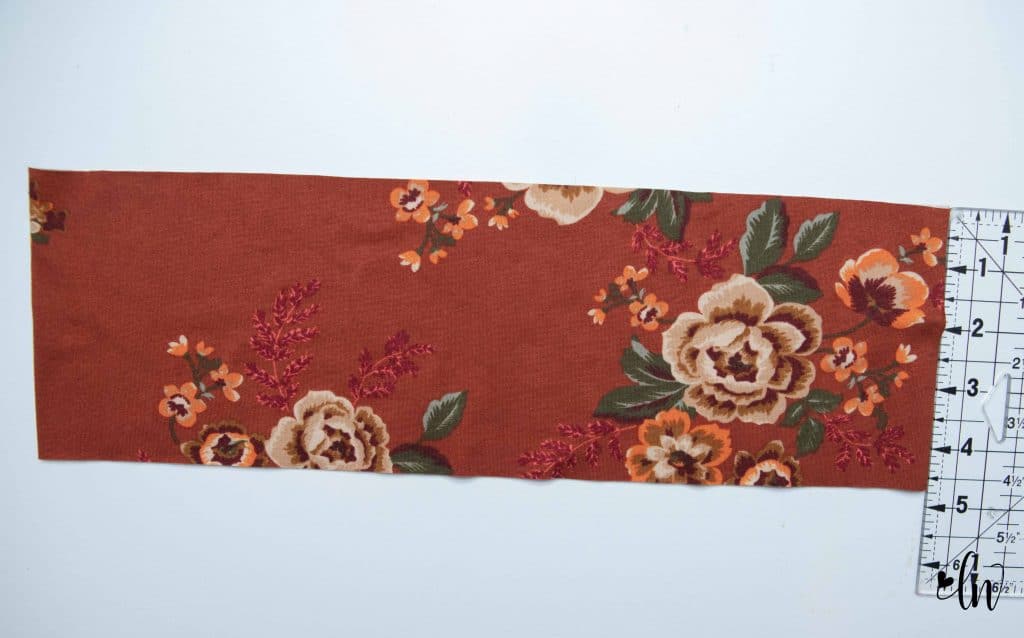
Cut your band piece. Use the elastic measurement as the guide for the height (the direction that will go with the stretch of your fabric) and cut your length to 4.75″ for a finished band height of 2″.
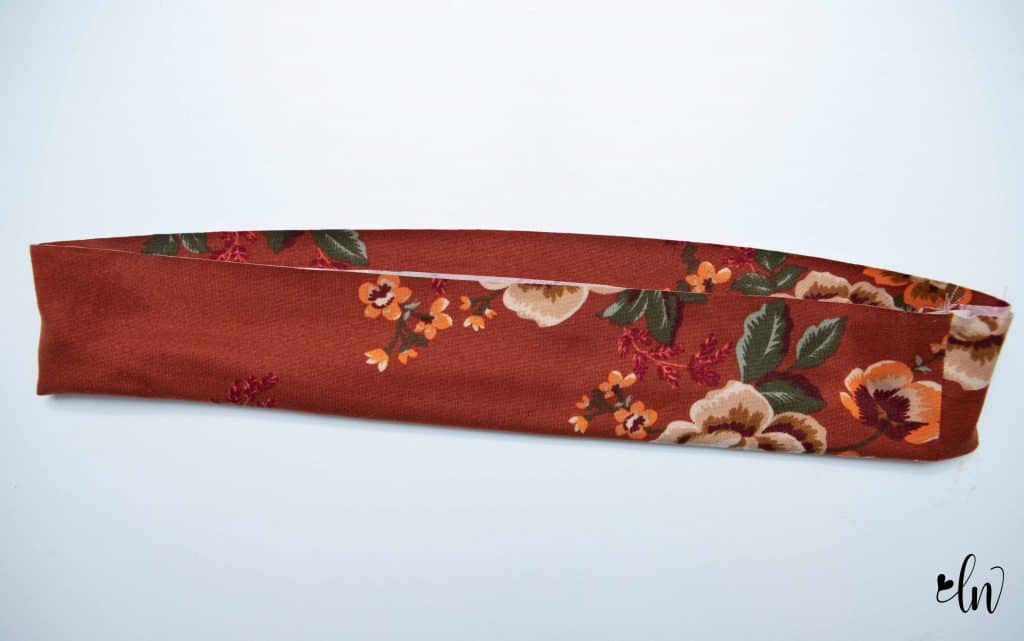
Sew the band into a loop by placing it right sides together and sewing the short ends together with a 3/8″ seam allowance. Then fold your fabric so the long cut edges are wrong sides together.
Find the quarter markings of the band and the bralette. Match the seam in the band to one of the side seams of the bralette. Now match the other markings. The raw cut edges are lined up and the band and bralette are right sides together. Sew the band in place with a stretch stitch or serger. Press the band down and the seam allowance towards the body of the bralette.
That’s it! Now I will state that this is not a super supportive bralette with a band, especially in double brushed poly. However, it is super comfortable and I have so many more planned!
That’s all we have for today!
Friday we will tackle hemming. Tomorrow we will be sewing a cami with the built in bra. I will also go over fold over elastic as an option for our neckline and straps. And I can’t forget about the fun gathered neckline that I am so excited about!
If you missed out live Facebook video, don’t worry! You can still watch it on our YouTube channel!
Luna Loungewear Sew Along Schedule
Monday: Fabric selection and blending sizes
Tuesday: Sewing the cami/nightie with lingerie elastic or knit binding straps and comfort band bralette hack
Wednesday: Sewing a cami/nightie with shelf bra and fold over elastic straps and gathered neckline hack
Thursday: Sewing the shorts/capris and ruche hem hack
Friday: Hemming the cami, nightie, and shorts and swim suit hack.
Pin this for later!


