A cardigan for summer: no matter the season, you always need a little outer layer! Whether it’s a cozy top layer to throw on over a dress for a cool summer-time evening or a quick, nuetral coverup for the fridgid air-conditioning, you can never go wrong with the Boyfriend Cardigan. Today, we welcome Heidi to the blog and she’s showing how to make this wardrobe essential a little more summery and light!
How to Make a Summer Cardigan
Hello, Love Notions friends!
I’m Heidi from Handmade Frenzy, and I’m really excited to be here, sharing my fun summer Boyfriend Cardigans I made! A little bit about me; I’m a wife, mom to 3, and maker. Sewing is my main crafty passion, but I also enjoy spending time outside, gardening, canning, and of course, swimming with my kids! When my garden isn’t busting at the seams with produce that I need to use and put up, I also enjoy baking and cooking of all kinds; meal prepping and also trying new recipes on the regular. Another new lifestyle shift I’ve made in the past couple of years, is to exercise on a regular basis. You could say I have a lot of interests!
Why a Cardigan in the Summer?
Living in NC, means we do get to experience all four seasons, but our summers, while blazing hot, are my favorite! So you may wonder why I need cardigans for blazing hot summers!? Well, during summer, we also get to experience “indoor winter”. Places everywhere (including grocery stores – which is about as “out” as I get to go these days) are blasting the a/c at mega levels to keep up with the heat outside. So while that means my go-to outfits include shorts and tanks, I also ALWAYS have another layer with me to cover up indoors!
BOYFRIEND CARDIGAN SALE
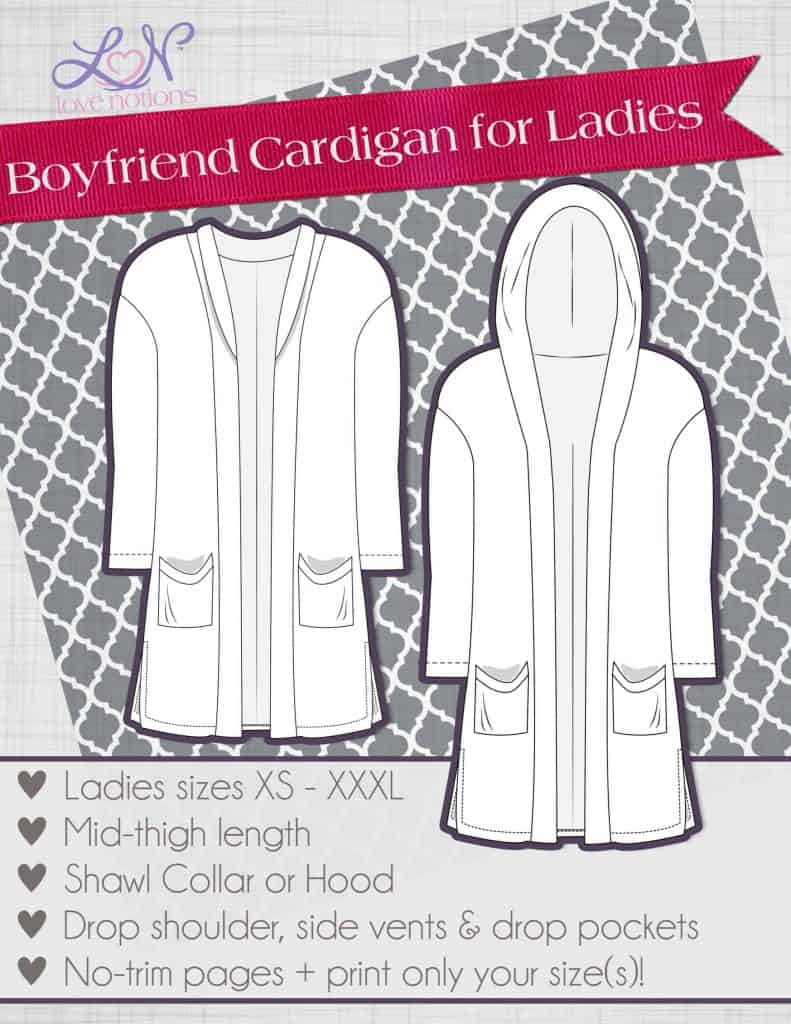
The Boyfriend Cardigan is the Feature Friday Pattern this week. For today only, you can grab this wardrobe staple for only $5! There is also a kids version in sizes 2-16. I’ve linked to the pattern above with my affiliate link.
The Boyfriend Cardigan might not be a pattern you think of sewing for summer, but I have a couple of hacks to show you that make it the perfect summer layering piece!!
I found through experience that in summertime I much prefer hip length cardigans to thigh or knee length. I reach for the longer, and often more over-sized ones mainly during cold temperatures.
The first hack/alteration I have to show is you is how and where to shorten the pattern.
Summer Alteration for the Boyfriend Cardigan: Shorten
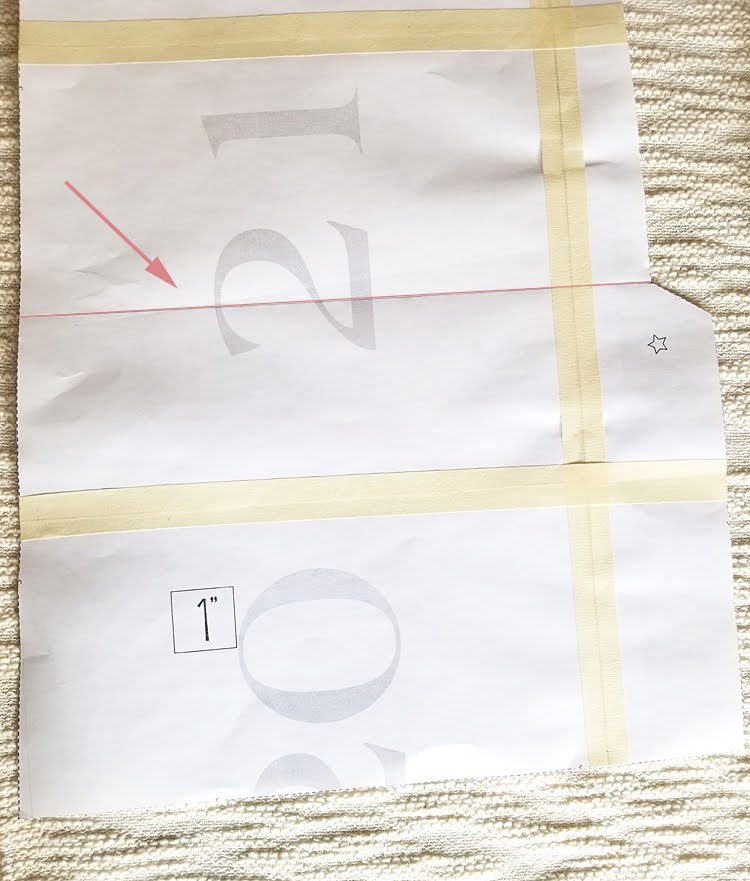
- I chose to shorten the pattern right where the original pattern splits for the side vent. For my height this worked out great. If you are much taller, you may want to give yourself another inch or two, but you will want straighten out the side seam where the side vent piece extends out (not shown here).
To give myself a guide, I drew a line across, making sure it was perpendicular to the grainline. Next you will want to cut, or if you want to preserve the pattern for future use, like me; simply fold at the line and tuck in any extra paper, then proceed to cut out the bodice pieces.
- I made no changes to the sleeves, so cut those out as per the pattern piece.
- I also omitted the pockets, because I found I don’t reach for those as much in the summer either, plus I like the more streamlined look on a shorter cardigan.
- You may have noticed I also changed the neckband. You may want to use the existing pattern piece to determine how long to cut, keeping in mind how much you shortened the cardigan. For my cardigans, I chose to cut the neckband pieces on the fold at 1 1/2″ wide, so 3″ total width x the length needed for your cardigan, minus 2 inches for the hem.
Sew the folded band to the cardigan (see next step for finishing the bottom edge of the neckband), lining up all 3 raw edges. This will give you a finished band 1 1/8″ wide.
- Hemming. I wanted a deep hem on my cardigans, I chose to do a 2″ hem. Keep this in mind when attaching the neckband. You will want to sew the bottom of the neckband, folded wrong sides together across the bottom. Then turn it right side out, and pin 2″ up from the raw hem edge. When you sew or serge the neckband to the cardigan, keep the 3/8″ seam allowance as you sew all the way to the bottom, past the end of the neck band.
After pressing the neckband seam allowance toward the cardigan, you will want to press your hem up 2″. Hem using your desired method. I used a twin needle in matching thread.
Hemming Tips
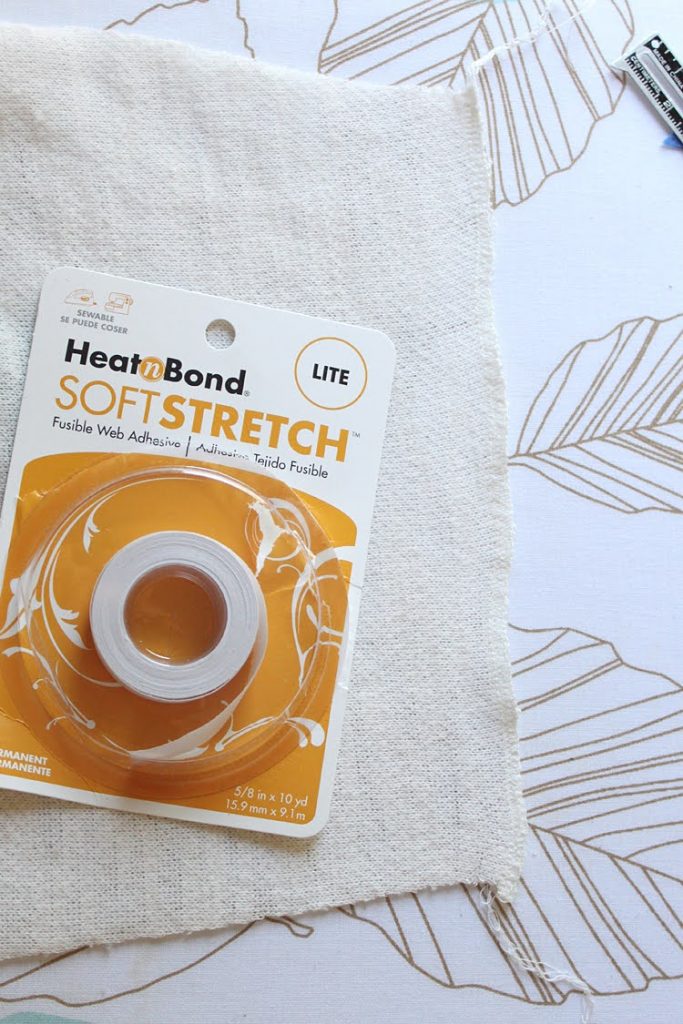
On knit hems, I like to use HeatNBond Soft Stretch. I prefer the “Lite” for stretchy and sweater knits. This is easily found at any craft stores, as well as Walmart.
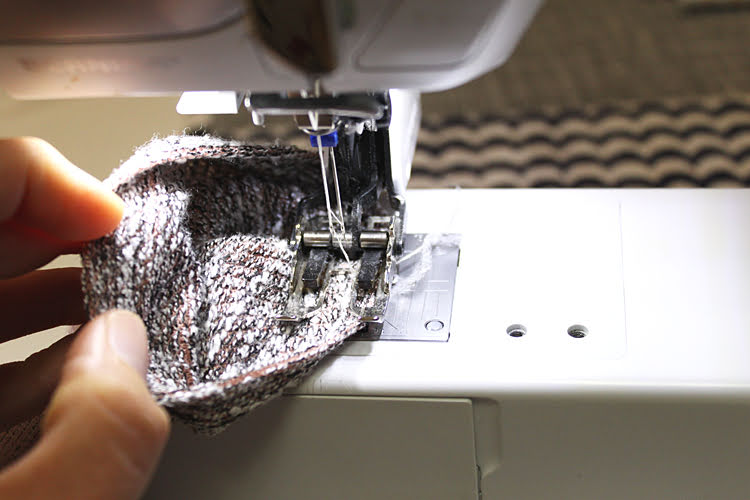
I’m showing the sleeve hem here, because it can be a bit of a tight and fiddly area to get a good hem.
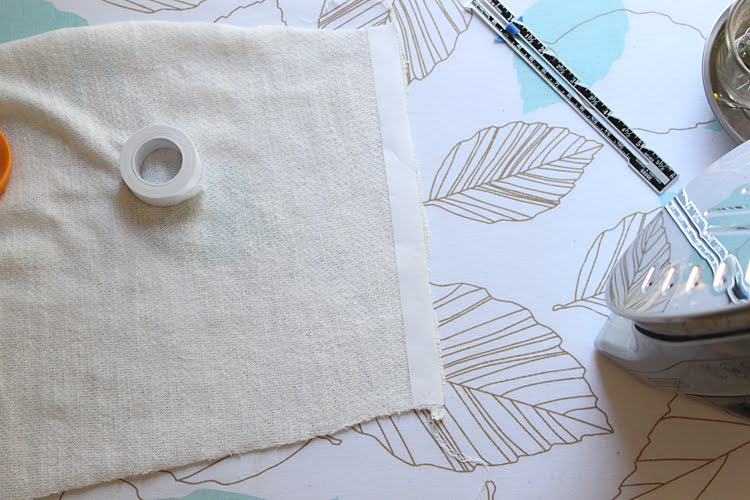
First, you will want to serge the raw edge of your hem (this applies to both the sleeve and bodice hems), and press it flat. Serging the raw edge, plus using the Soft Stretch creates a really nice and stable area to sew on top of when hemming. This causes less skipped stitches and an overall nicer finish, while still retaining stretch.
Now for the sleeves only, I like to serge the raw edge and apply the soft stretch flat, rather than in the round.
I
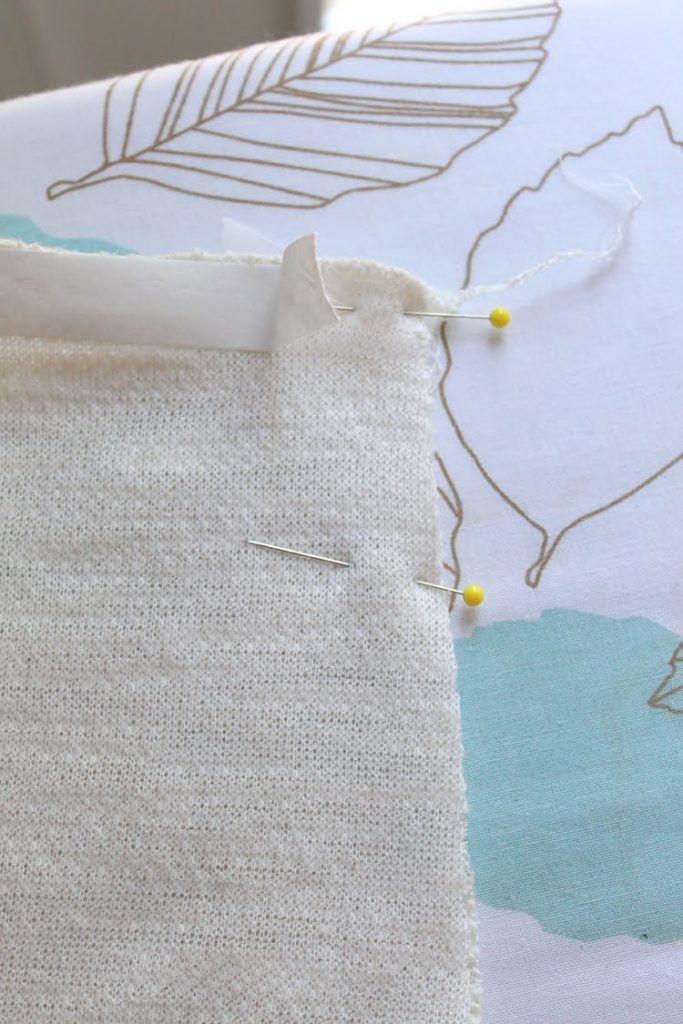
To apply the soft stretch, simply place the “glue” side down and press with a hot, dry iron. You don’t want to use steam here.
Once the paper backing has cooled COMPLETELY, you can peel it off and sew the sleeve and side seams as normal. I prefer to peel back just a small area of the paper to protect the glue film until I’m ready to hem, but that’s just my personal preference!
After the paper backing has been peeled off, you can then hem to your desired length and use lots of steam to press in place. The steam will fuse the glue film to the inside of the garment and you can hem with ease, and no pins! This is especially nice on a narrow sleeve hem opening!
One last tip on hemming the sleeves is to turn them inside out, and place it under your sewing machine foot so the right side is up under the needle. This is much easier than trying to wrestle the outside of the hem around the foot when the hem is turned right side out.
Choosing a Size for the Boyfriend Cardigan
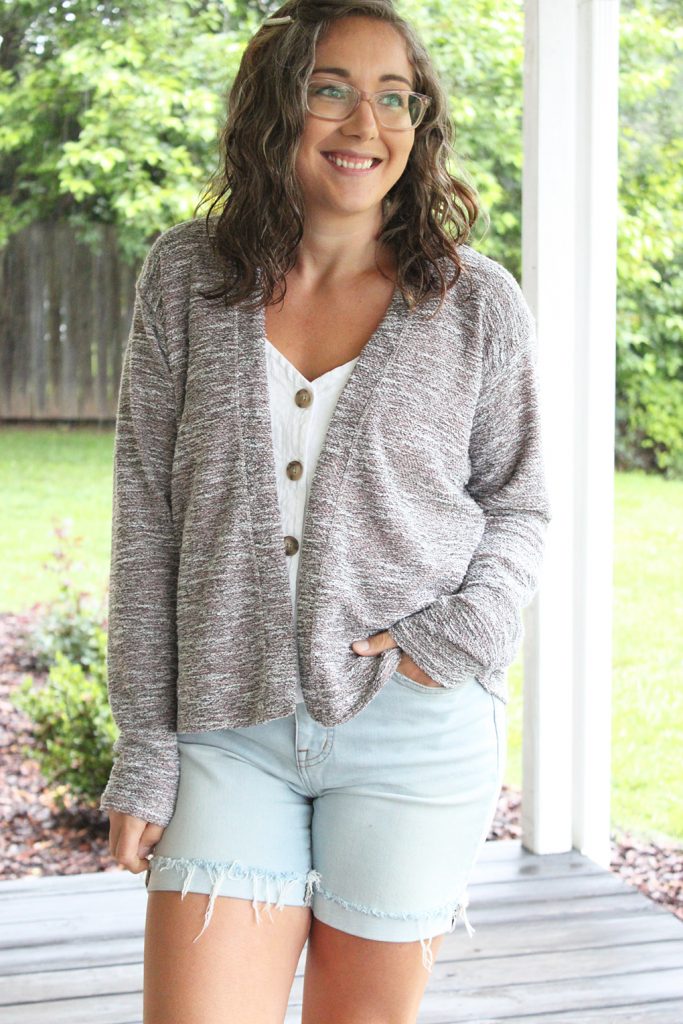
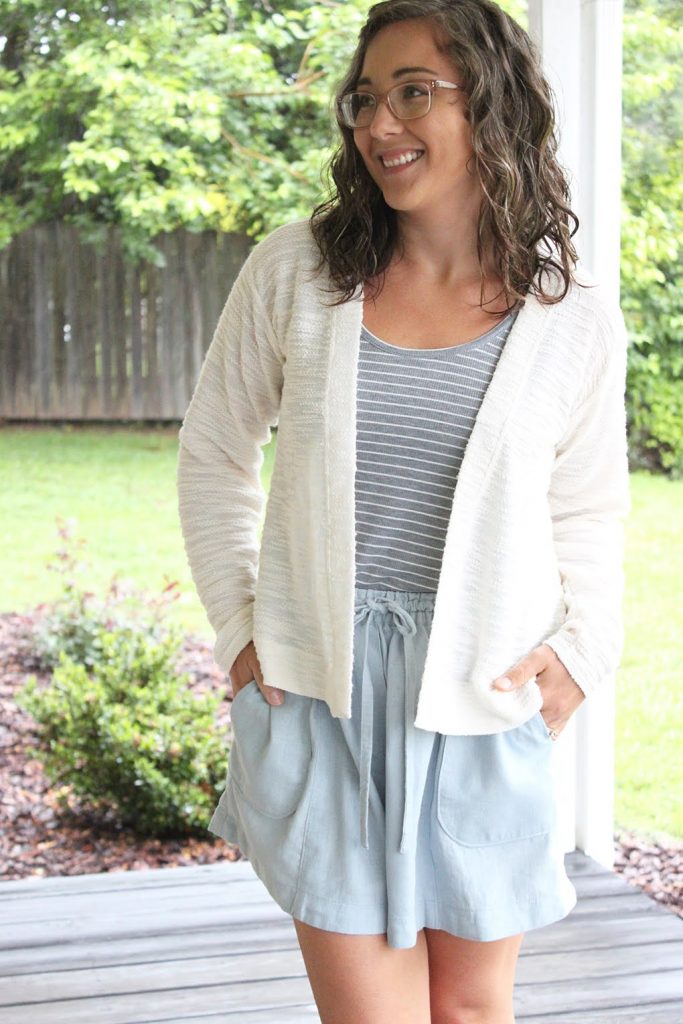
I sewed up the cardigan in two different sizes to give you an idea of the fit. My measurements fall between a S & M. The pattern instructions suggest to size down if you are in between for less of an over-sized fit.
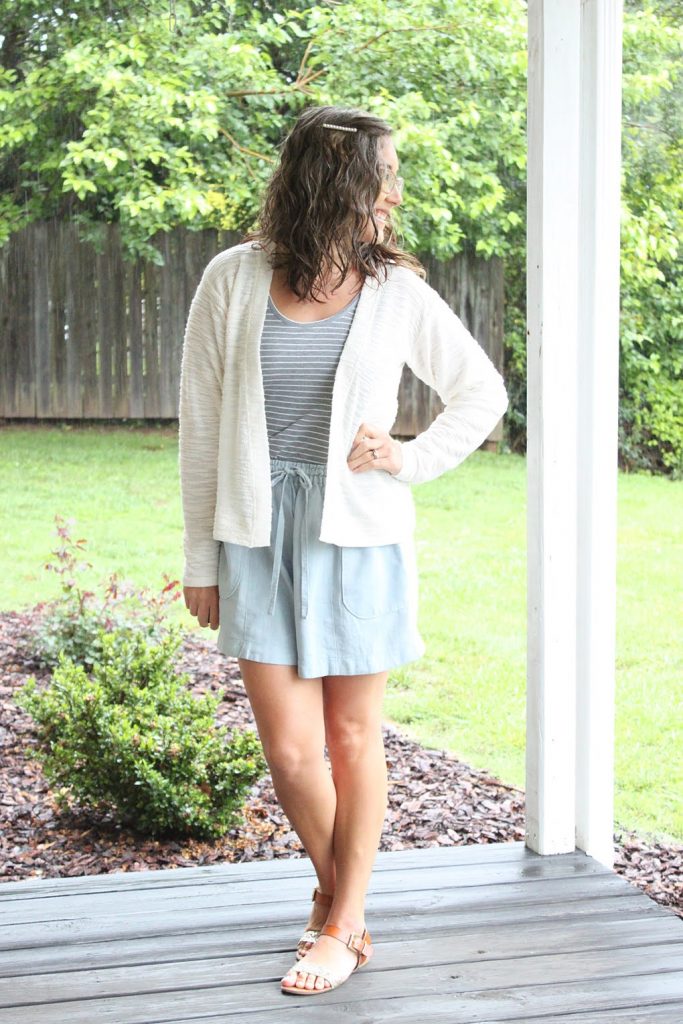
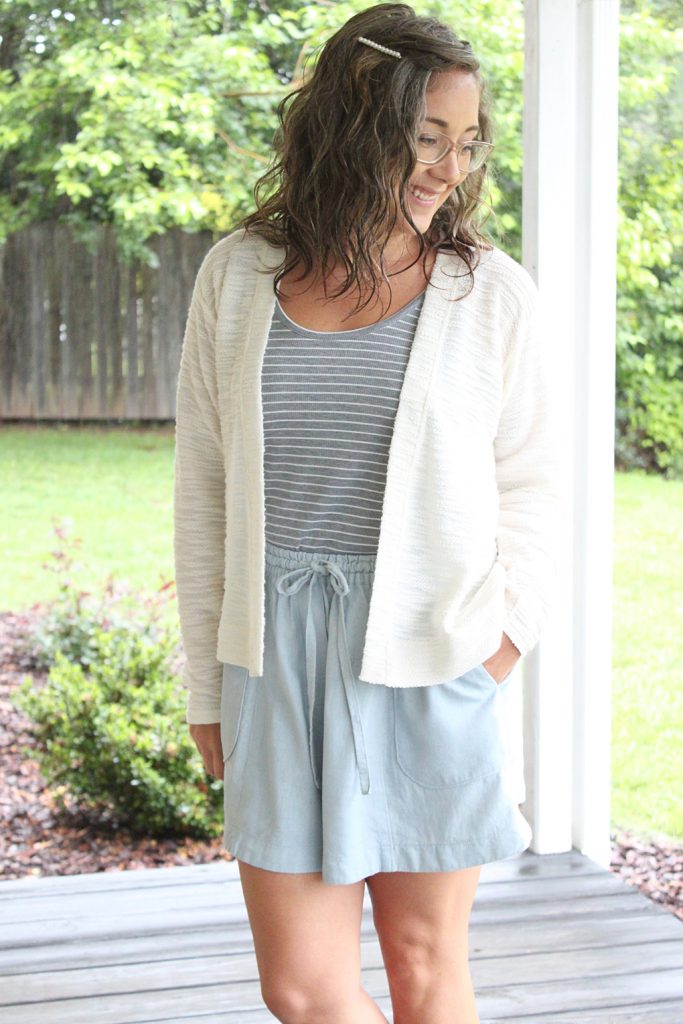
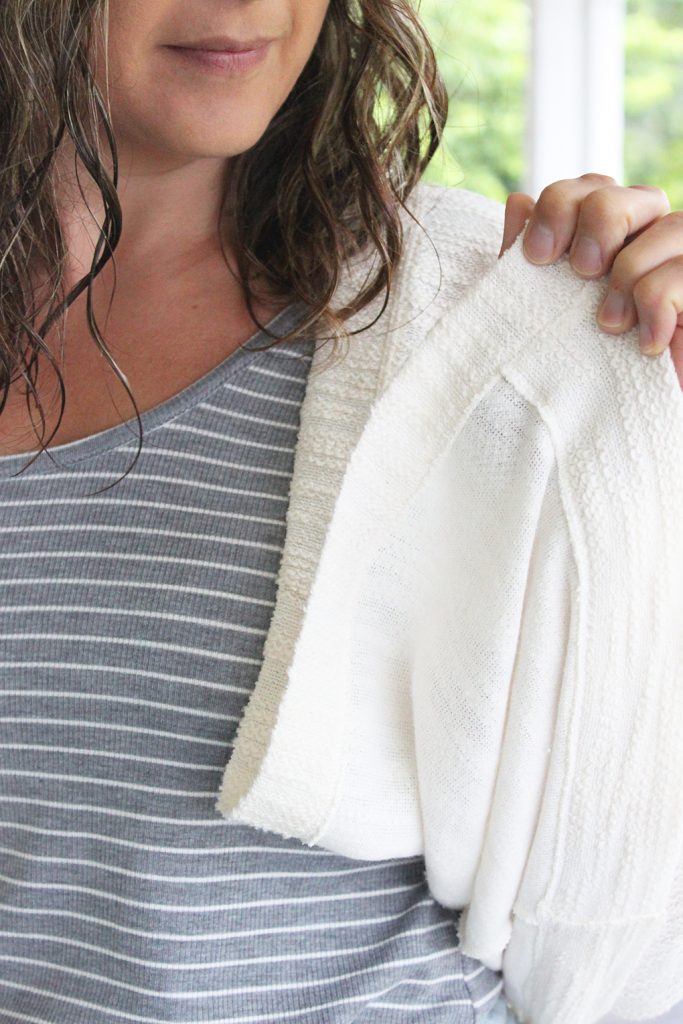
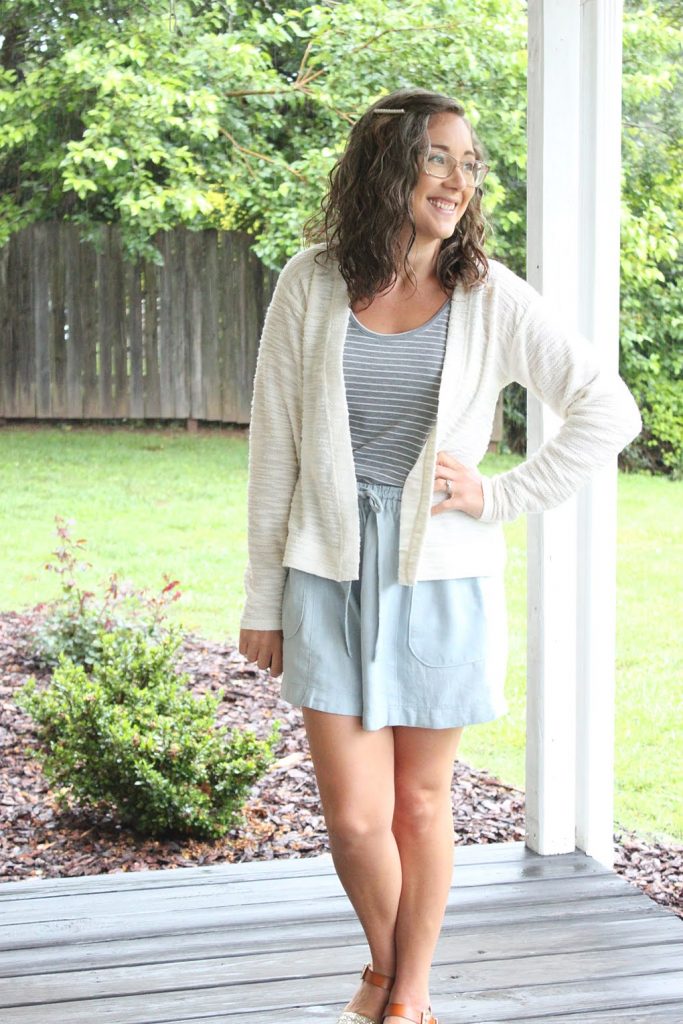
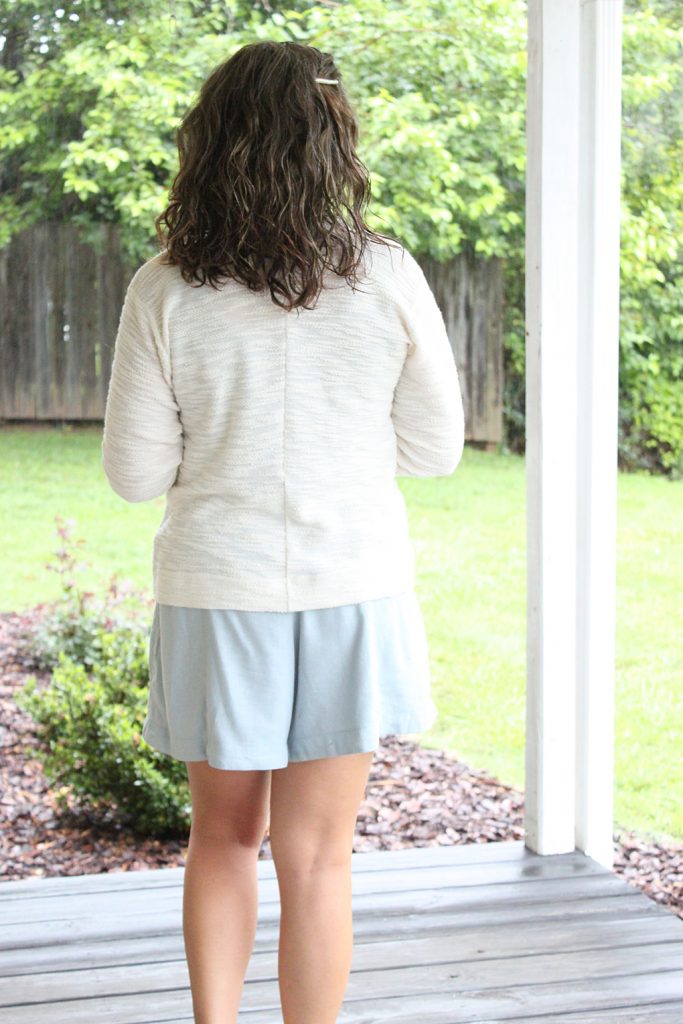
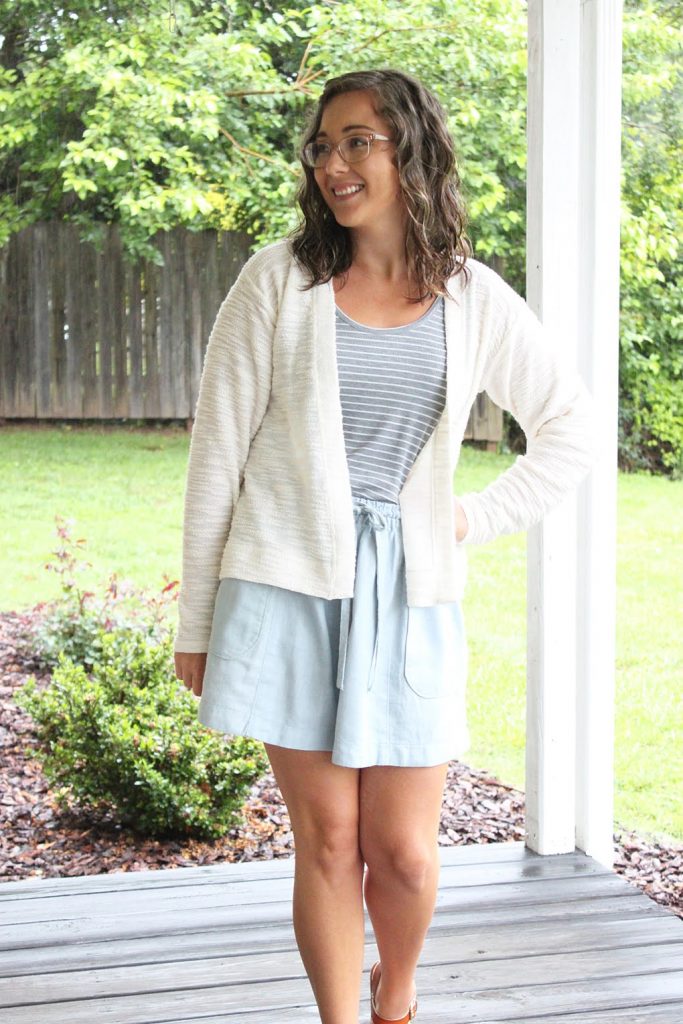
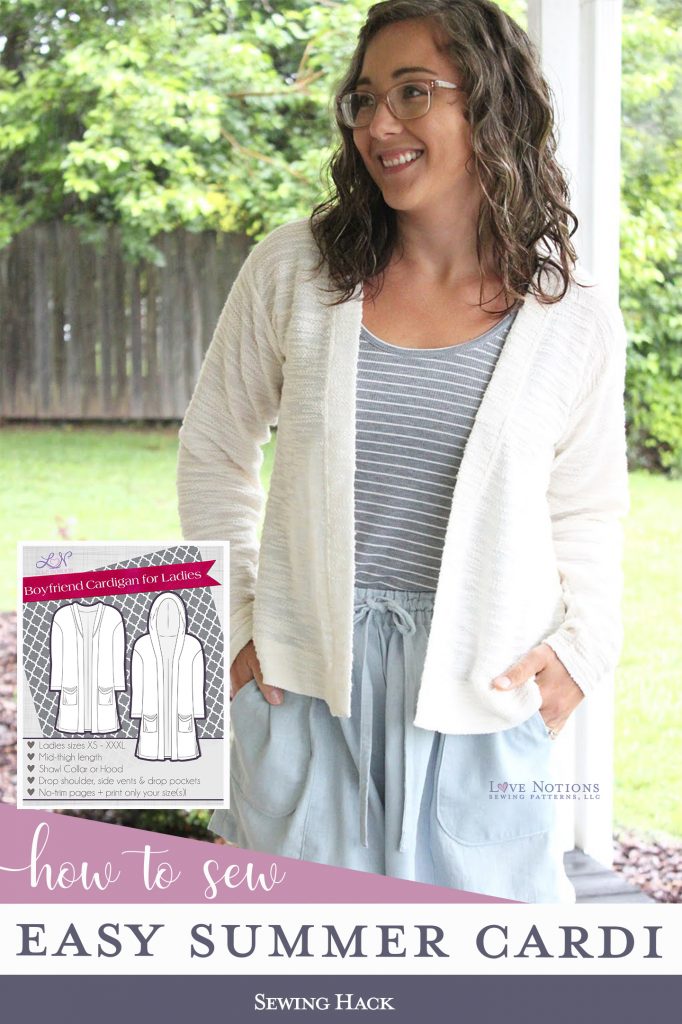
This cream colored cardigan is the size S. I also adjusted the length for my height (5′ 3″), by shortening 1 inch at the included lengthen/shorten line on the pattern pieces.
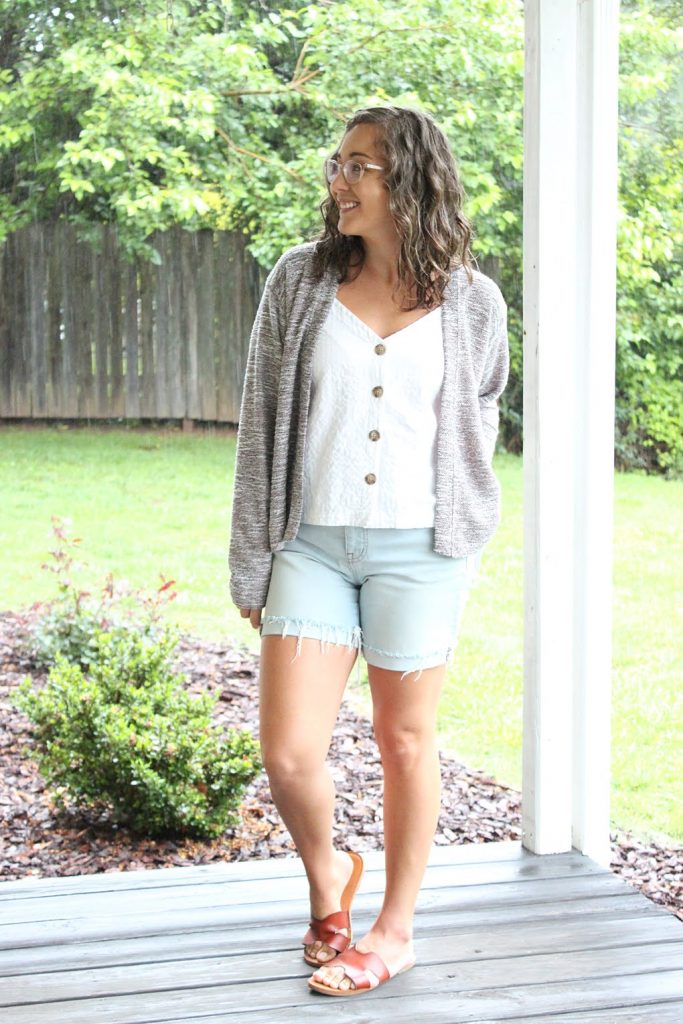
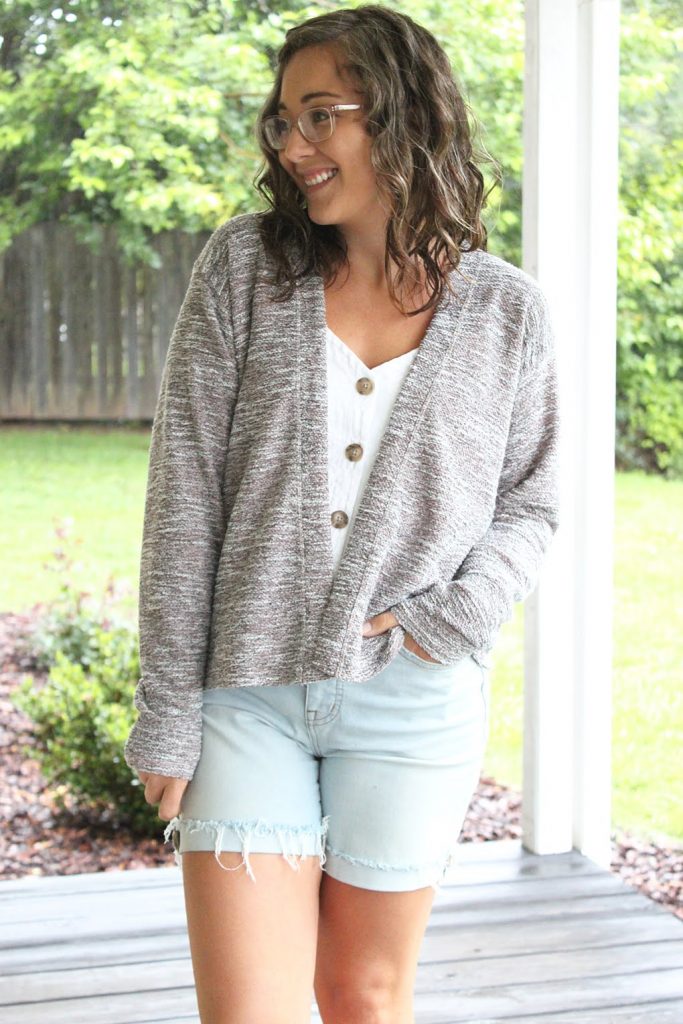
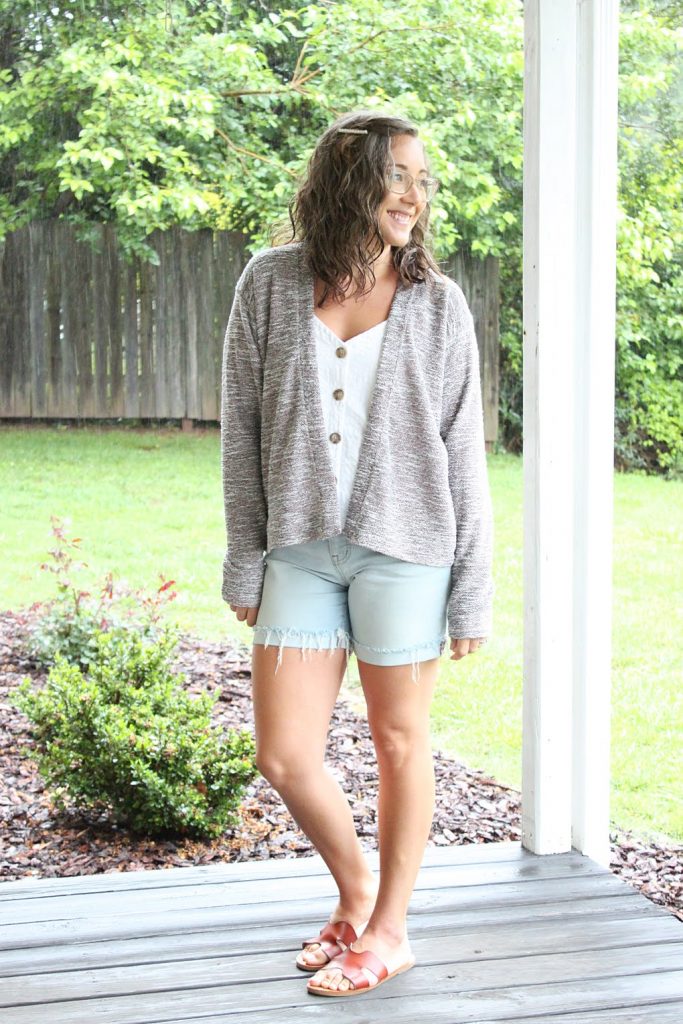
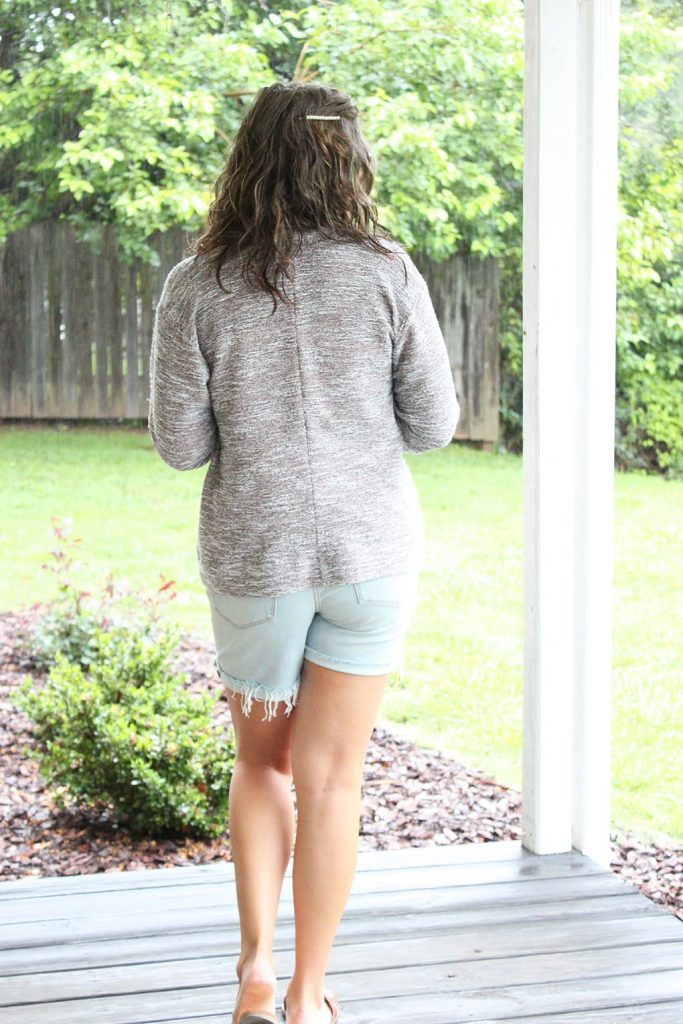
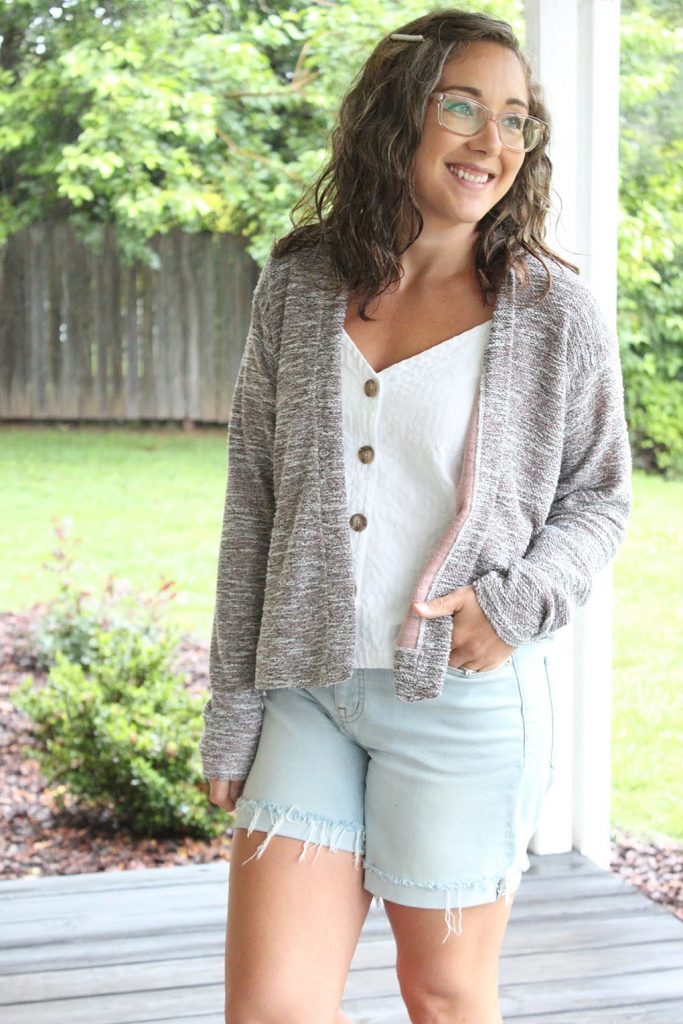
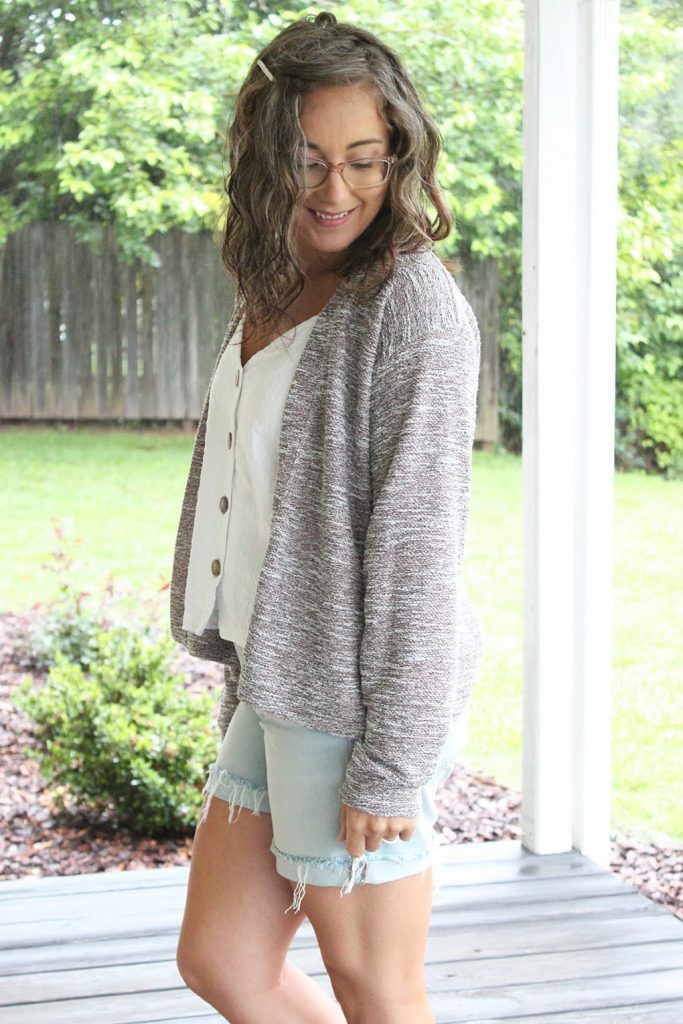
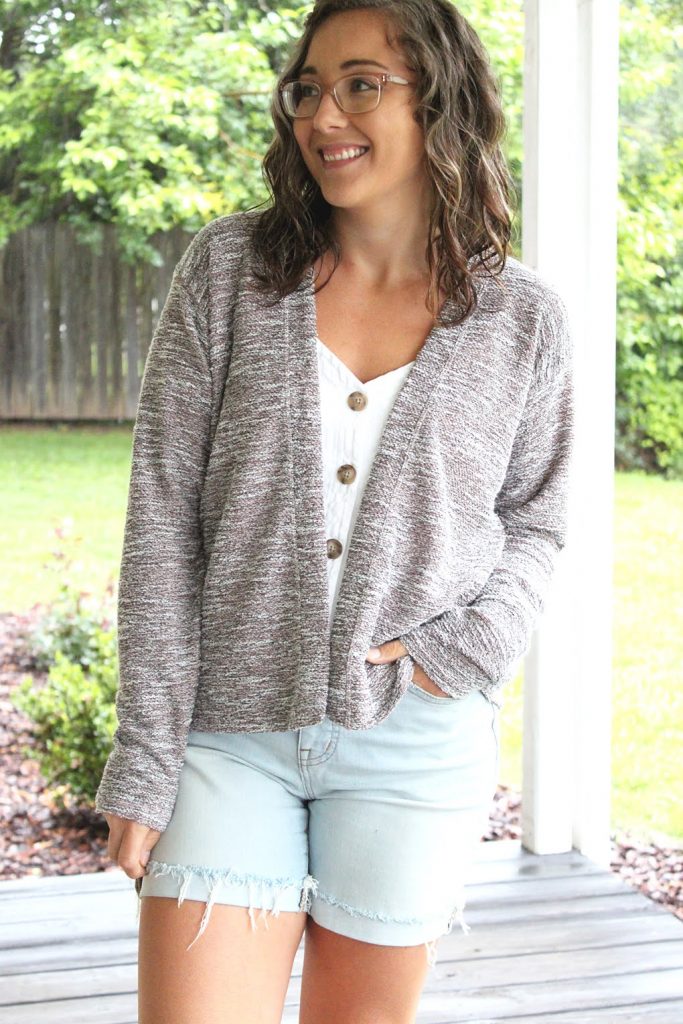
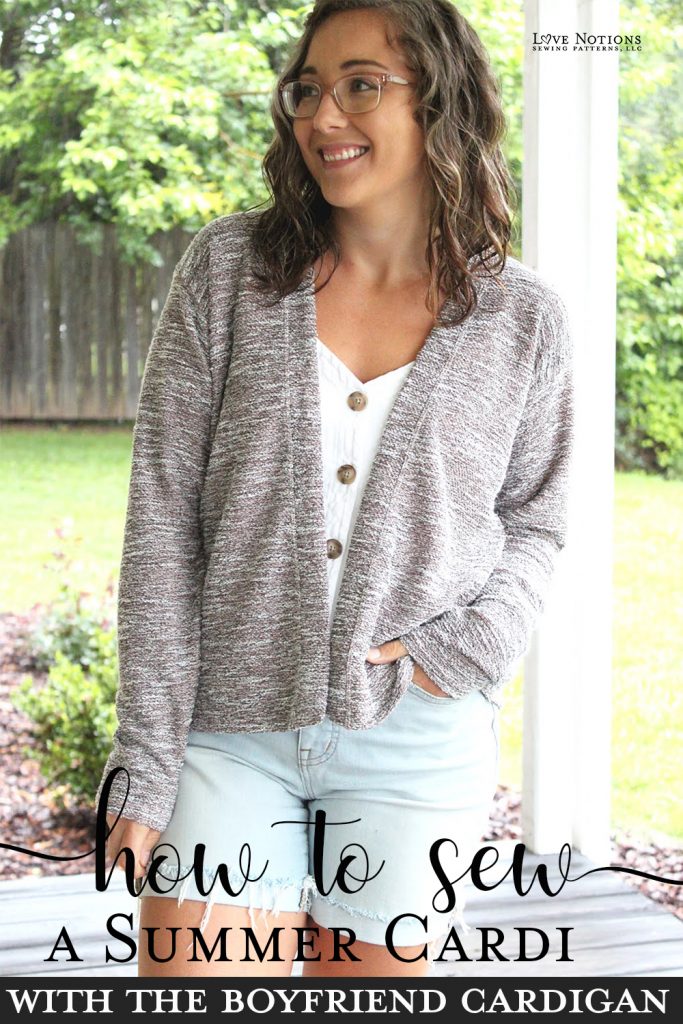
This mauvey brown cardigan is a size M, and I did not adjust the length other than shortening at the same line, just above the vent split.
Both cardigans are hemmed 2 inches at the bottom, and the sleeves are hemmed 5/8″.
I am really, really happy with both! The cream cardigan is especially great for layering over slim fitting tanks, like this Summer Basics I paired it with here.
The mauve cardigan is just a bit more over-sized, the fabric also has a bit more stretch than the cream, and with just 1″ more length it lends to a more relaxed fit as well.
So with just some super simple changes, and lightweight sweater knits, you can make yourself a variety of cardigans perfect for summer (or “indoor winter”) weather!
Don’t forget to grab the Boyfriend Cardigan for only $5 today! With these tweaks, this pattern will take you through the entire year!
Pin these for later!
Shop Now
[carousel_slide id=’408209′]


