We are moving right along in the Cadence Sew Along and today we are on day four. Today our focus is on sewing the side seams and vents as well as hemming the bottom of our Cadence dress or top.
Sewing the side seam
Yes, we are sewing the side seams before attaching the sleeves. Woven patterns, such as Cadence, usually have set in seams, meaning the side seams of the dress and the bottom seam of the shirt are sewn first, and then we sew around the armscye to attach the sleeve. This method of construction allows for the sleeve to have the proper range of movement and it lay better with the woven fabric. Knit sleeves are often sewn flat, meaning we attach the sleeve at the shoulder before we sew the underneath of the sleeve and the side seam of the dress. Onto our side seam construction.
Follow the directions in the pattern for the side seam construction. If you are sewing the tank view, you will pull the lining up, so that it is right sides together and sew straight down the side of the lining and continue on down the side of the body of the dress or shirt.
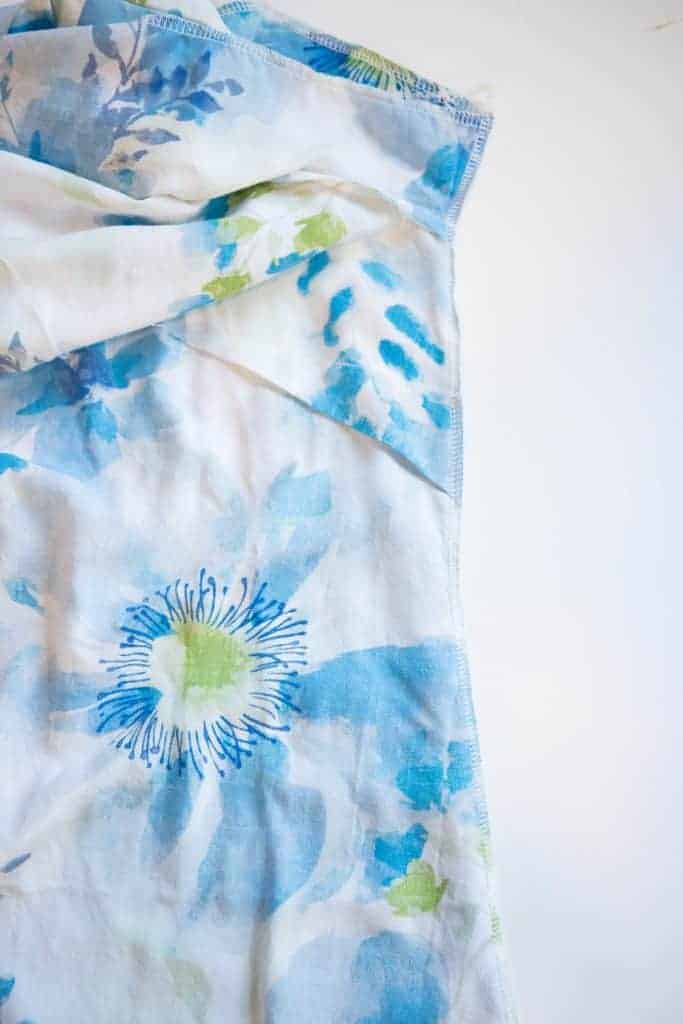
If you are sewing the vent hem, be sure to stop at the star. You need to backstitch here as well.
Constructing the vent
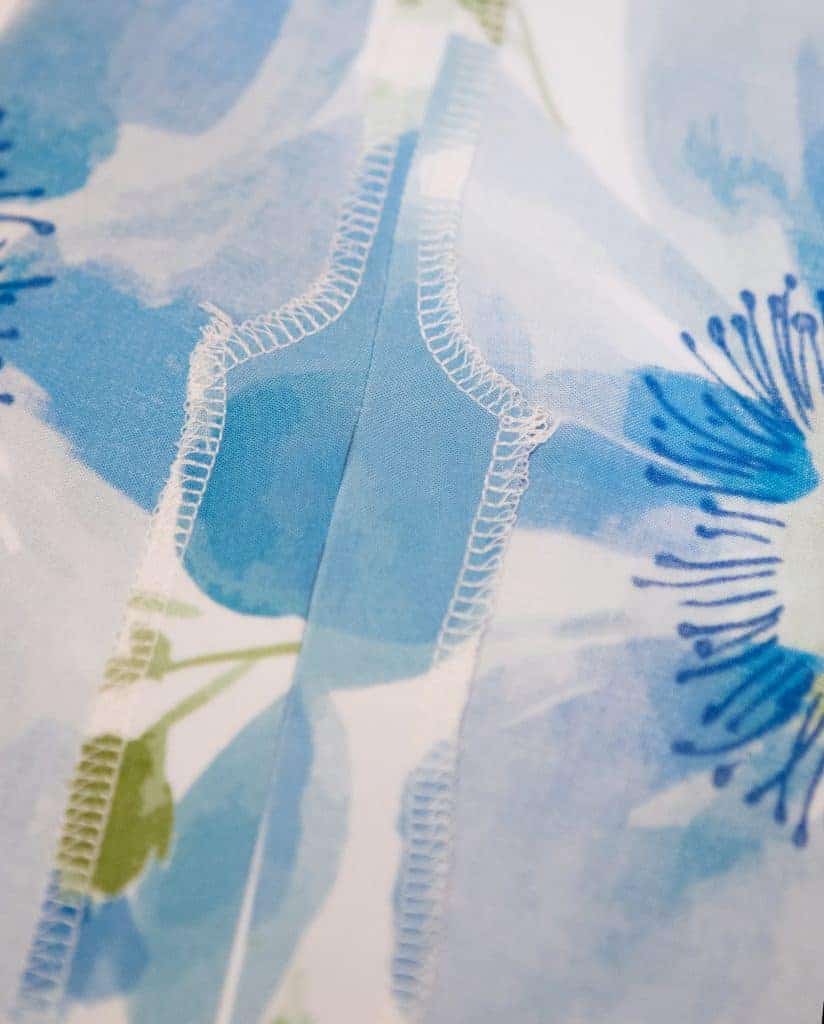
Careful pressing here makes this step nice and easy! Press the vents open. I actually prefer to press the entire side seam open for a nice flat finish.
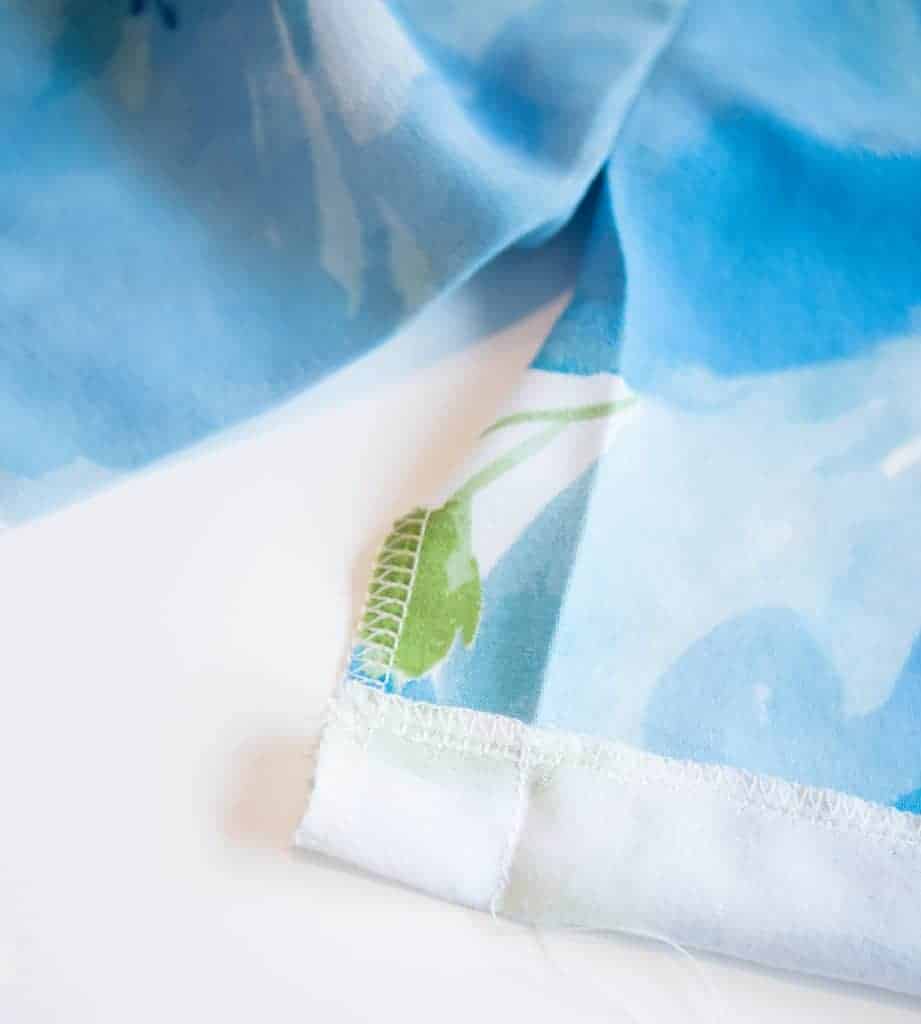
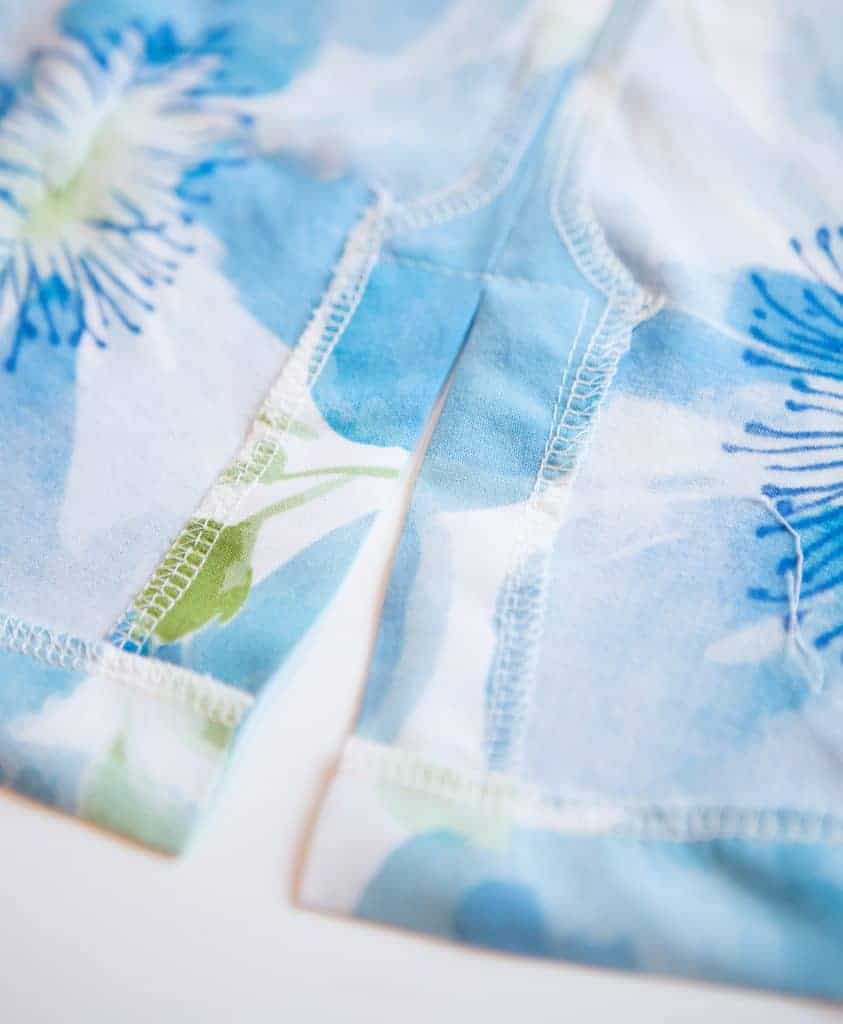
Open the vent and fold the hem up to the right side. Stitch along the crease you pressed when pressing the vent flat. Note that I finished the raw edge of the hem before this step.
Turn the hem over to the wrong side and press into place.
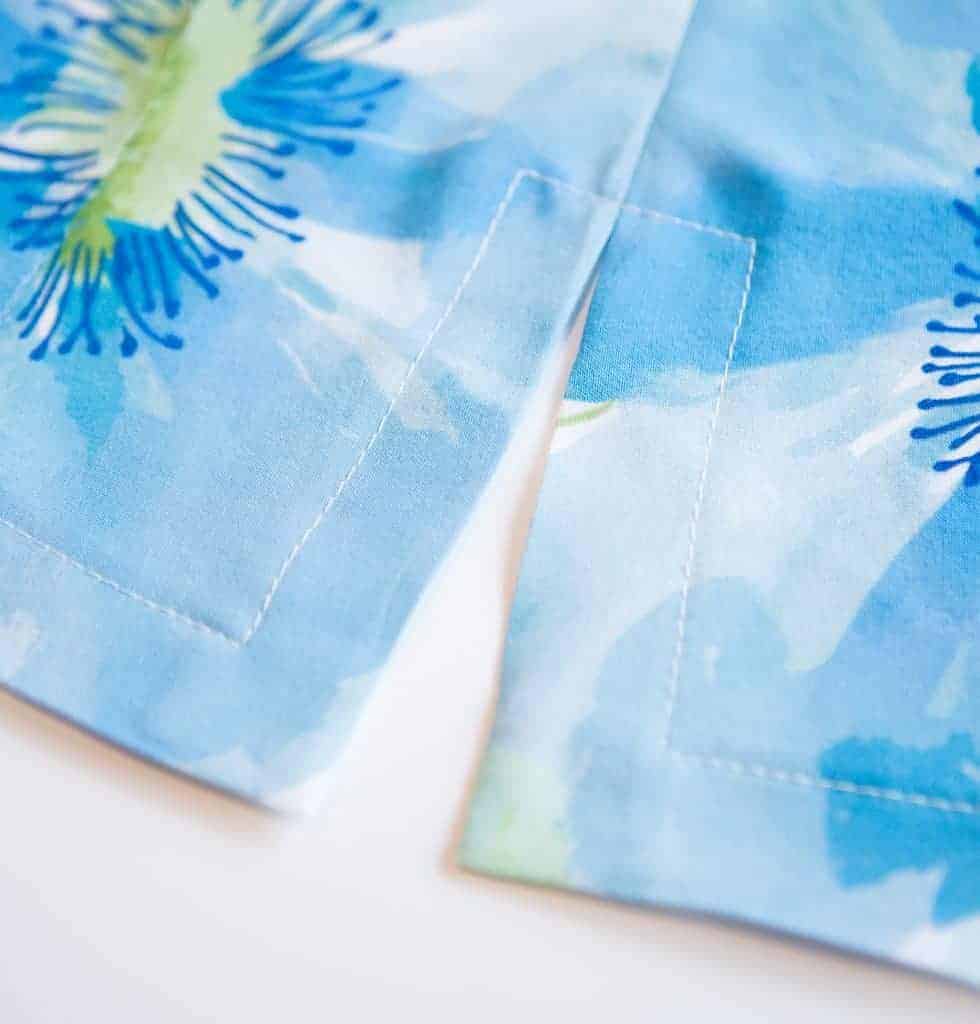
Topstitch the hem and around the vent.
If you need more help with the split vent, you can follow this video.
Tomorrow is sleeve day and adding the optional elastic waist.
If you need to catch up with the Cadence Sew Along, click the links below to take you to the corresponding day.


