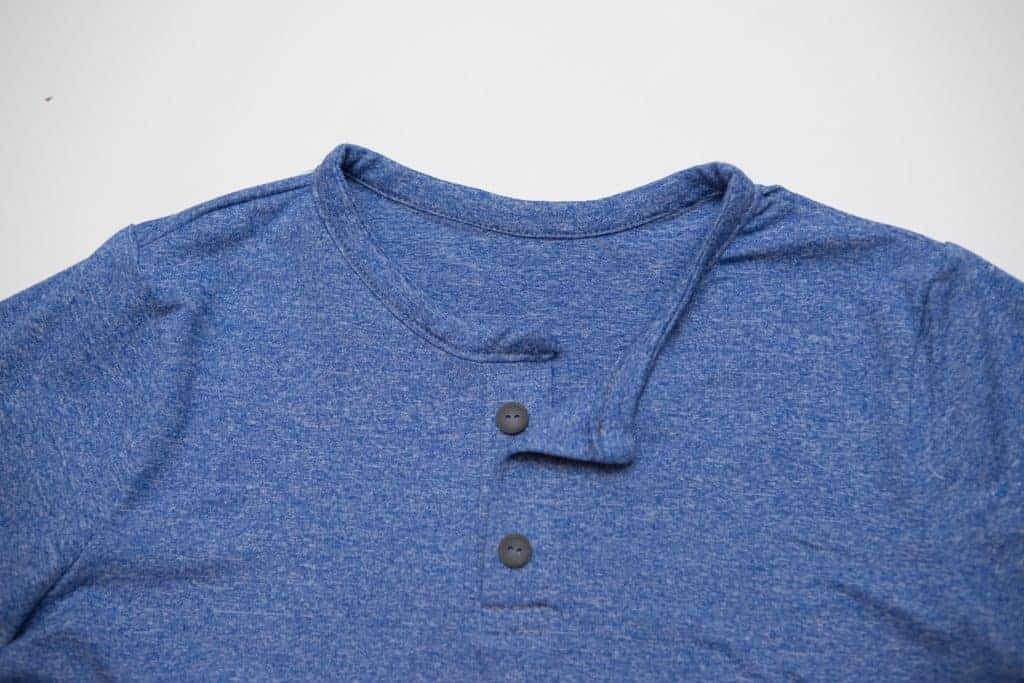
How to sew a henley with binding
This is one of those hacks that you don’t have to do any pattern mashing, or drafting of new pattern pieces. Score! You will need to cut the pattern pieces for the Driftwood henley, make sure you have the henley front and collar. You will not need the binding piece.
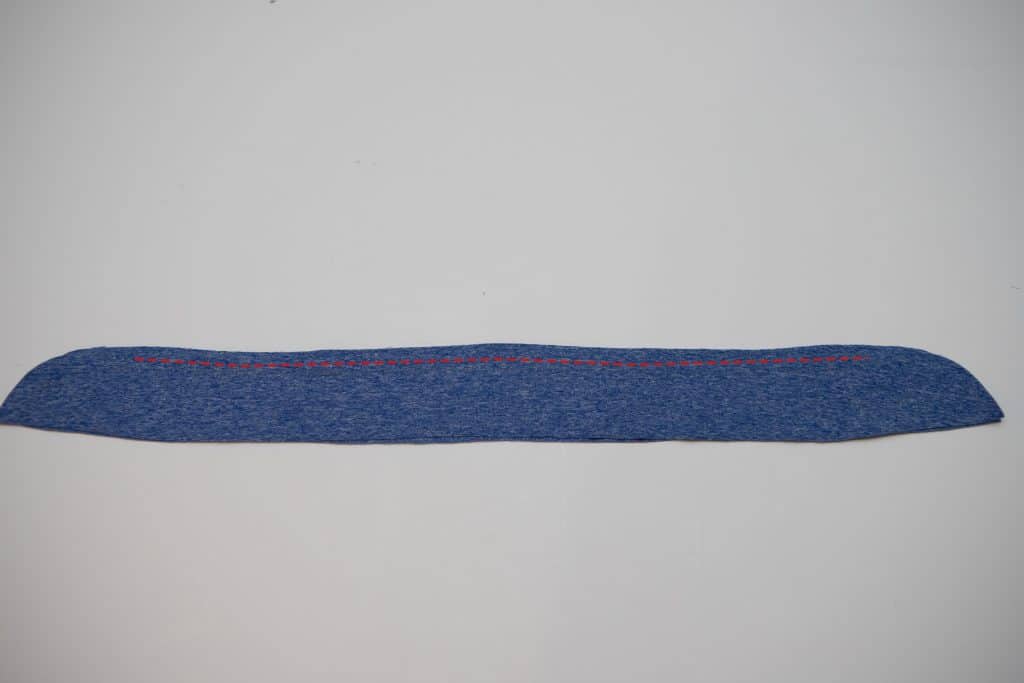
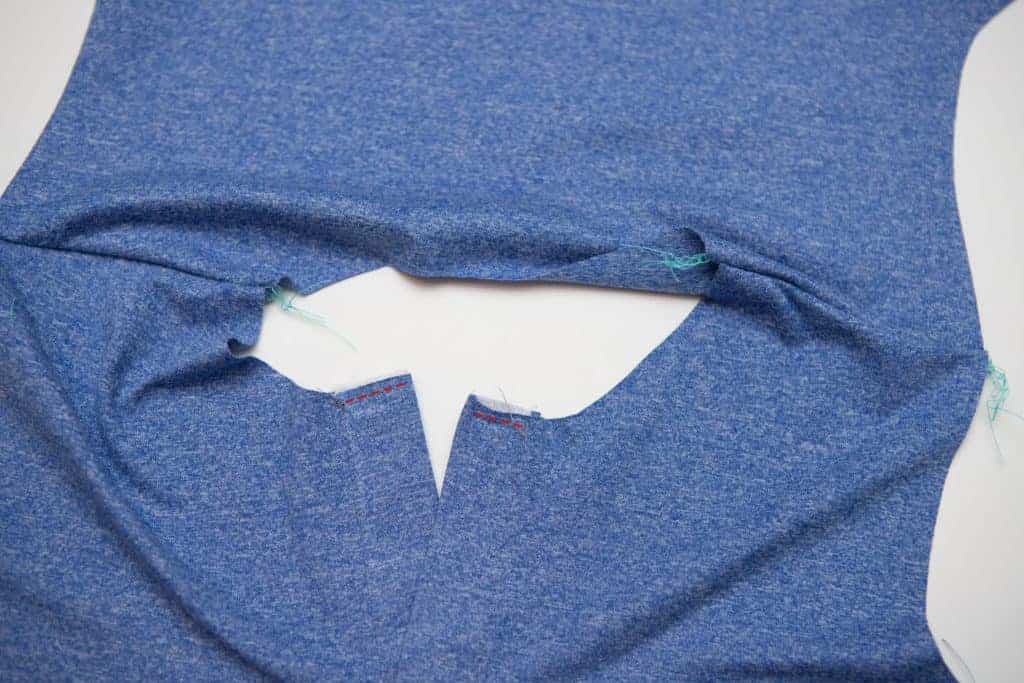
First, after you have the placket attached, you will want to go ahead and sew it closed. Stitch across the top of the placket like shown below. If you want to topstitch your placket, you will do that now also.
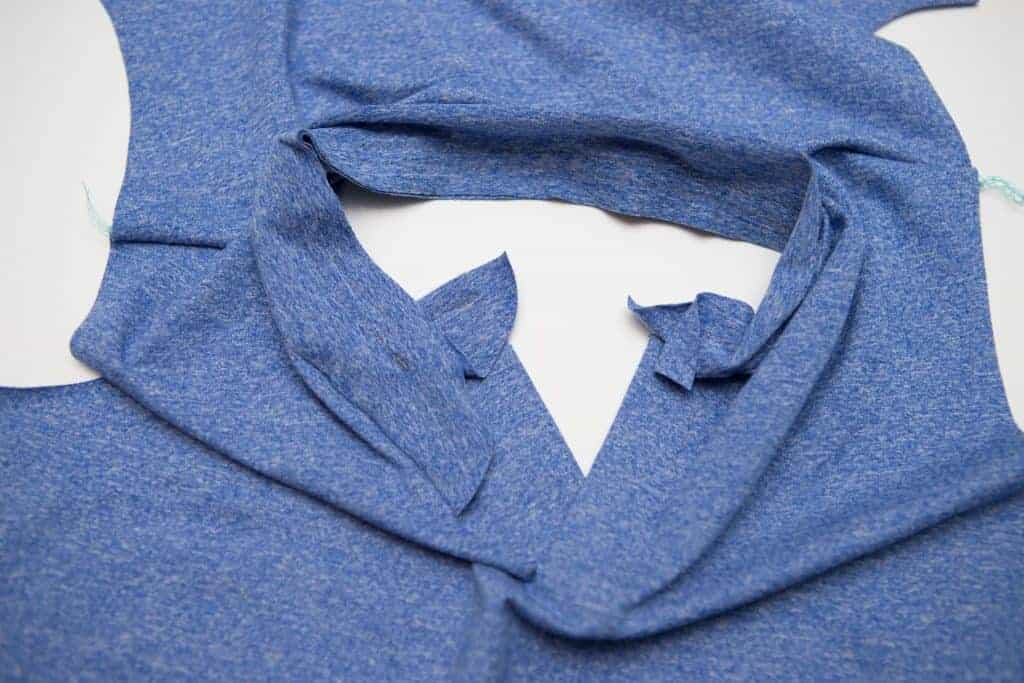
Next, take your two collar pieces, place them right sides together, and sew them together across the top WITH A 5/8″ SEAM ALLOWANCE. Leave the last inch and a half or so unsewn. Do NOT trim the seam allowance yet!!
Open the collar. With the right sides together, you will place the bottom of the collar (the straight edge) along the neckline of the shirt. Allow the ends to overhang 5/8″. Sew the entire collar in place with a 3/8″ seam allowance.
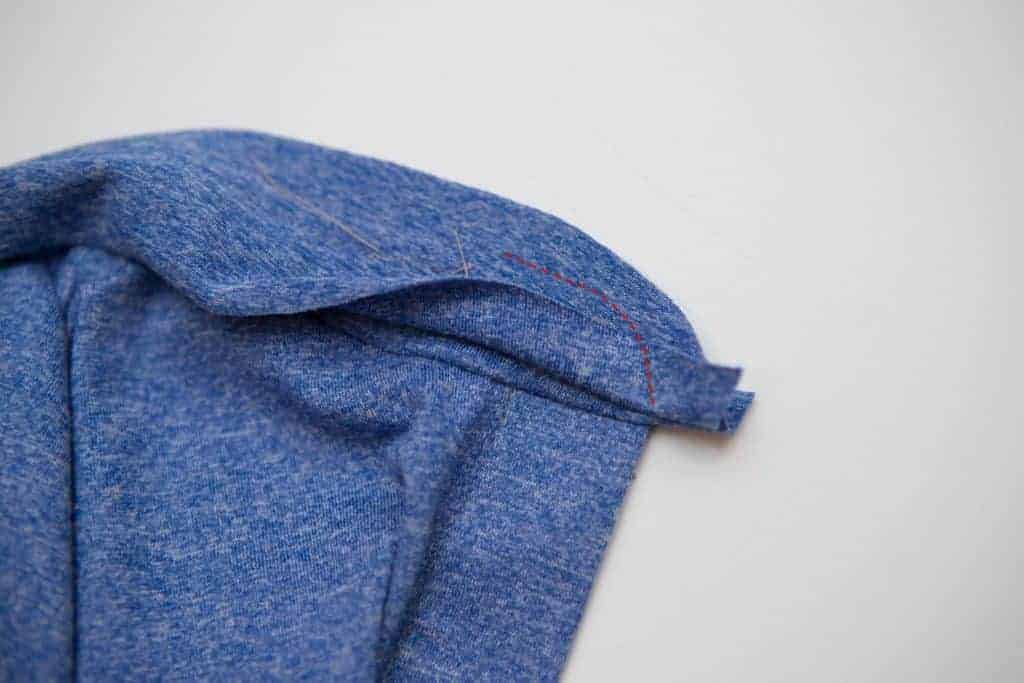
With the right sides of the collar together, fold up the seam allowance of the side of the collar that is not attached to the shirt. Sew the end of the collar closed. Trim the seam allowance along the top of the collar. You will be trimming the entire length of the collar, not just the ends.
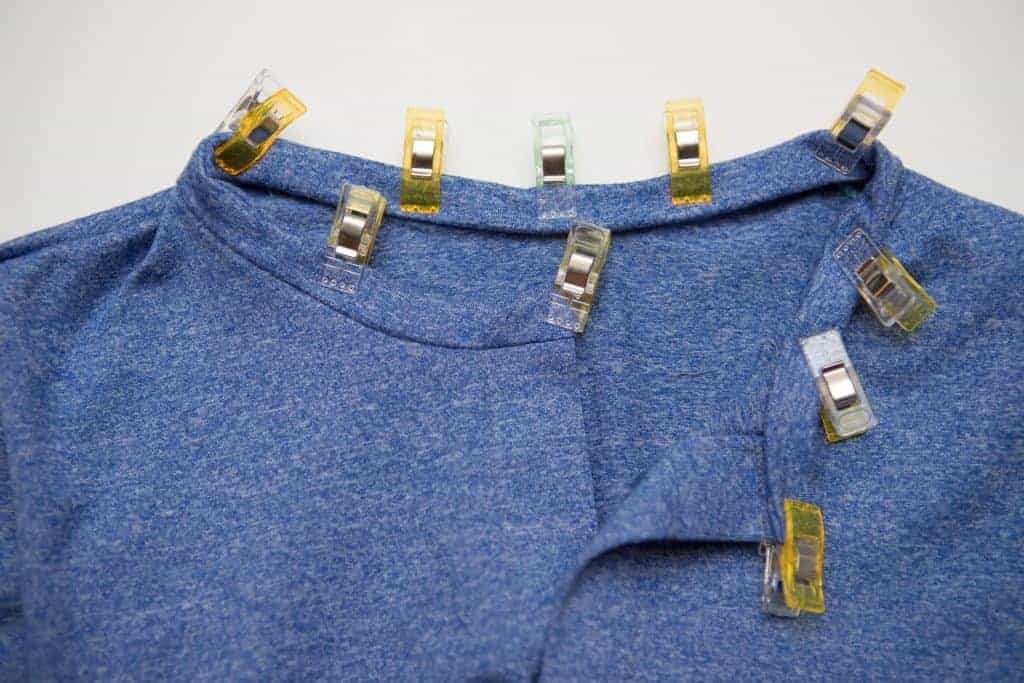
Next, flip the collar so that it is right side out. Fold up the bottom seam allowance and tuck it up into the collar. Now, all the raw edges should be enclosed.
Now topstitch the collar in place.
There you have it! It’s a very simple change to the pattern that can really change up the look of the Driftwood!
I hope you have enjoyed the Driftwood Sew Along
You have the weekend to catch up with the sew along, if needed. When you have your Driftwood complete, share in the Facebook Group in the assigned post to enter to win a gift certificate from Love Notions and from Zenith and Quasar! You can also enter by posting on Instagram by tagging @lovenotions and using the hashtag #driftwoodsewalong


