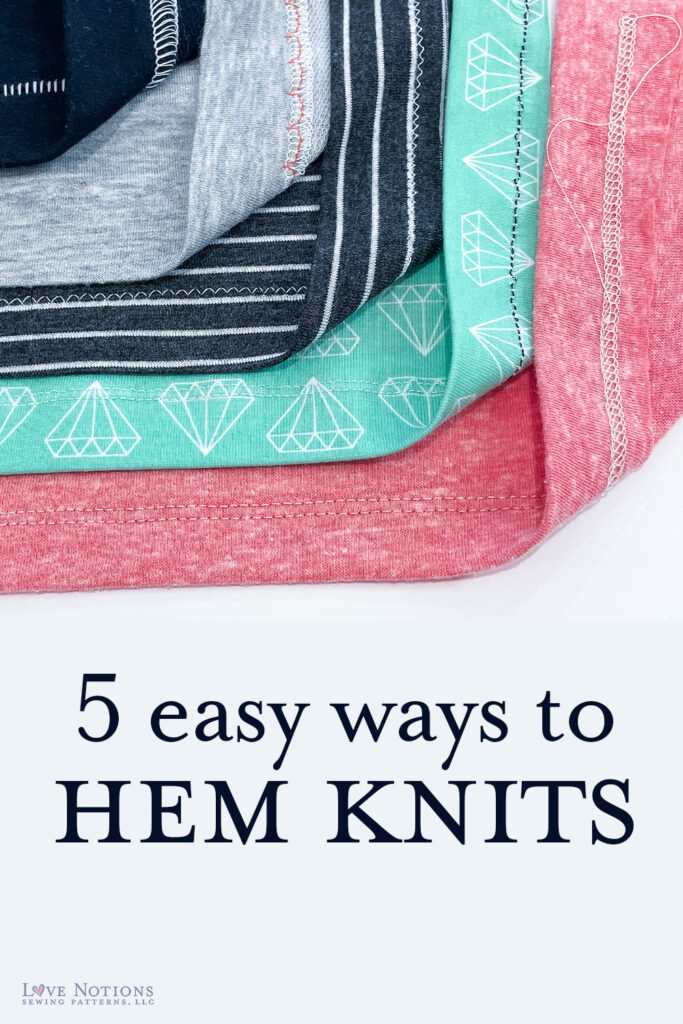
Welcome to sewing school! Today’s lesson is all about hemming knits, but first a little background.
I love sewing with knit fabric. The projects tend to be faster, and the fit is usually more forgiving than a woven garment. However, I admit, sewing with knits used to intimidate me, that was until I learned a few tips and tricks to make it all more manageable. Annick already wrote a blog post about working sewing knits with a sewing machine, so for this post we are going to just focus on a few different ways to hem knit fabrics.
There are many different options when it comes to finishing your garment. The method you choose is really a personal preference depending on what machines you have access to, what fabric you are using, and the overall look you are going for. In fact, you can even leave your projects unhemmed if you’d like a more casual look.
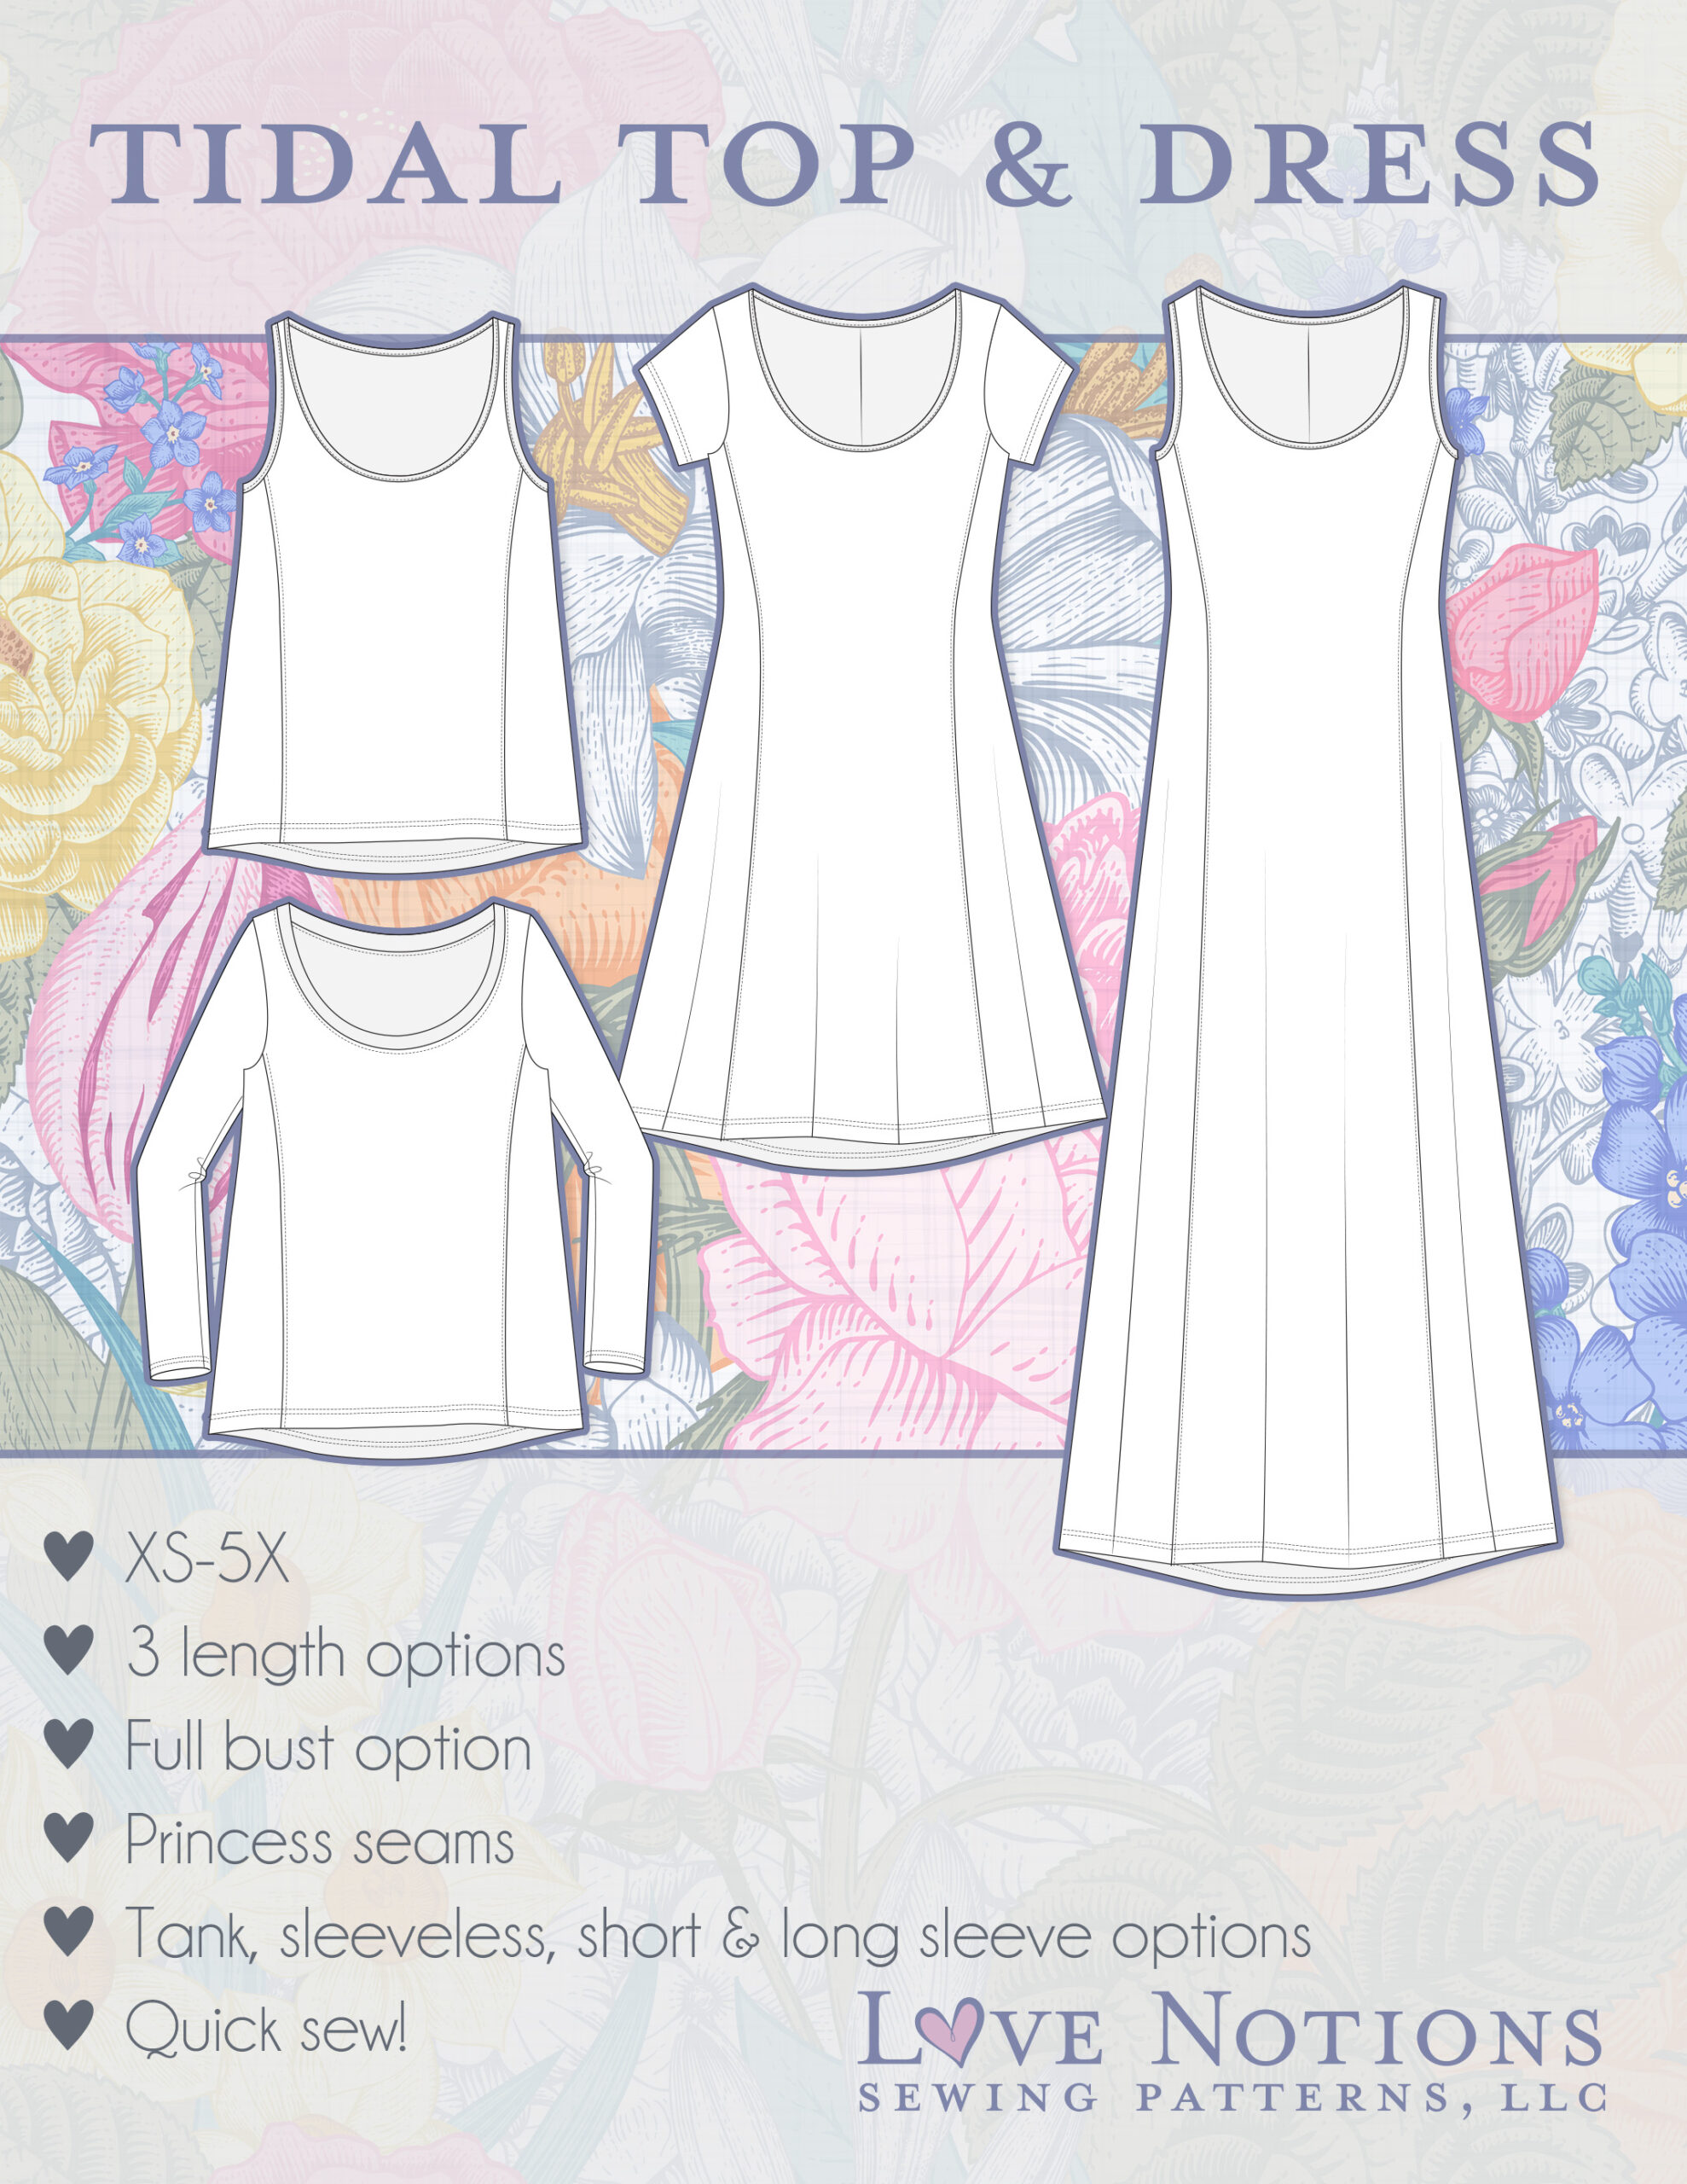
A pattern with lots of hem potential
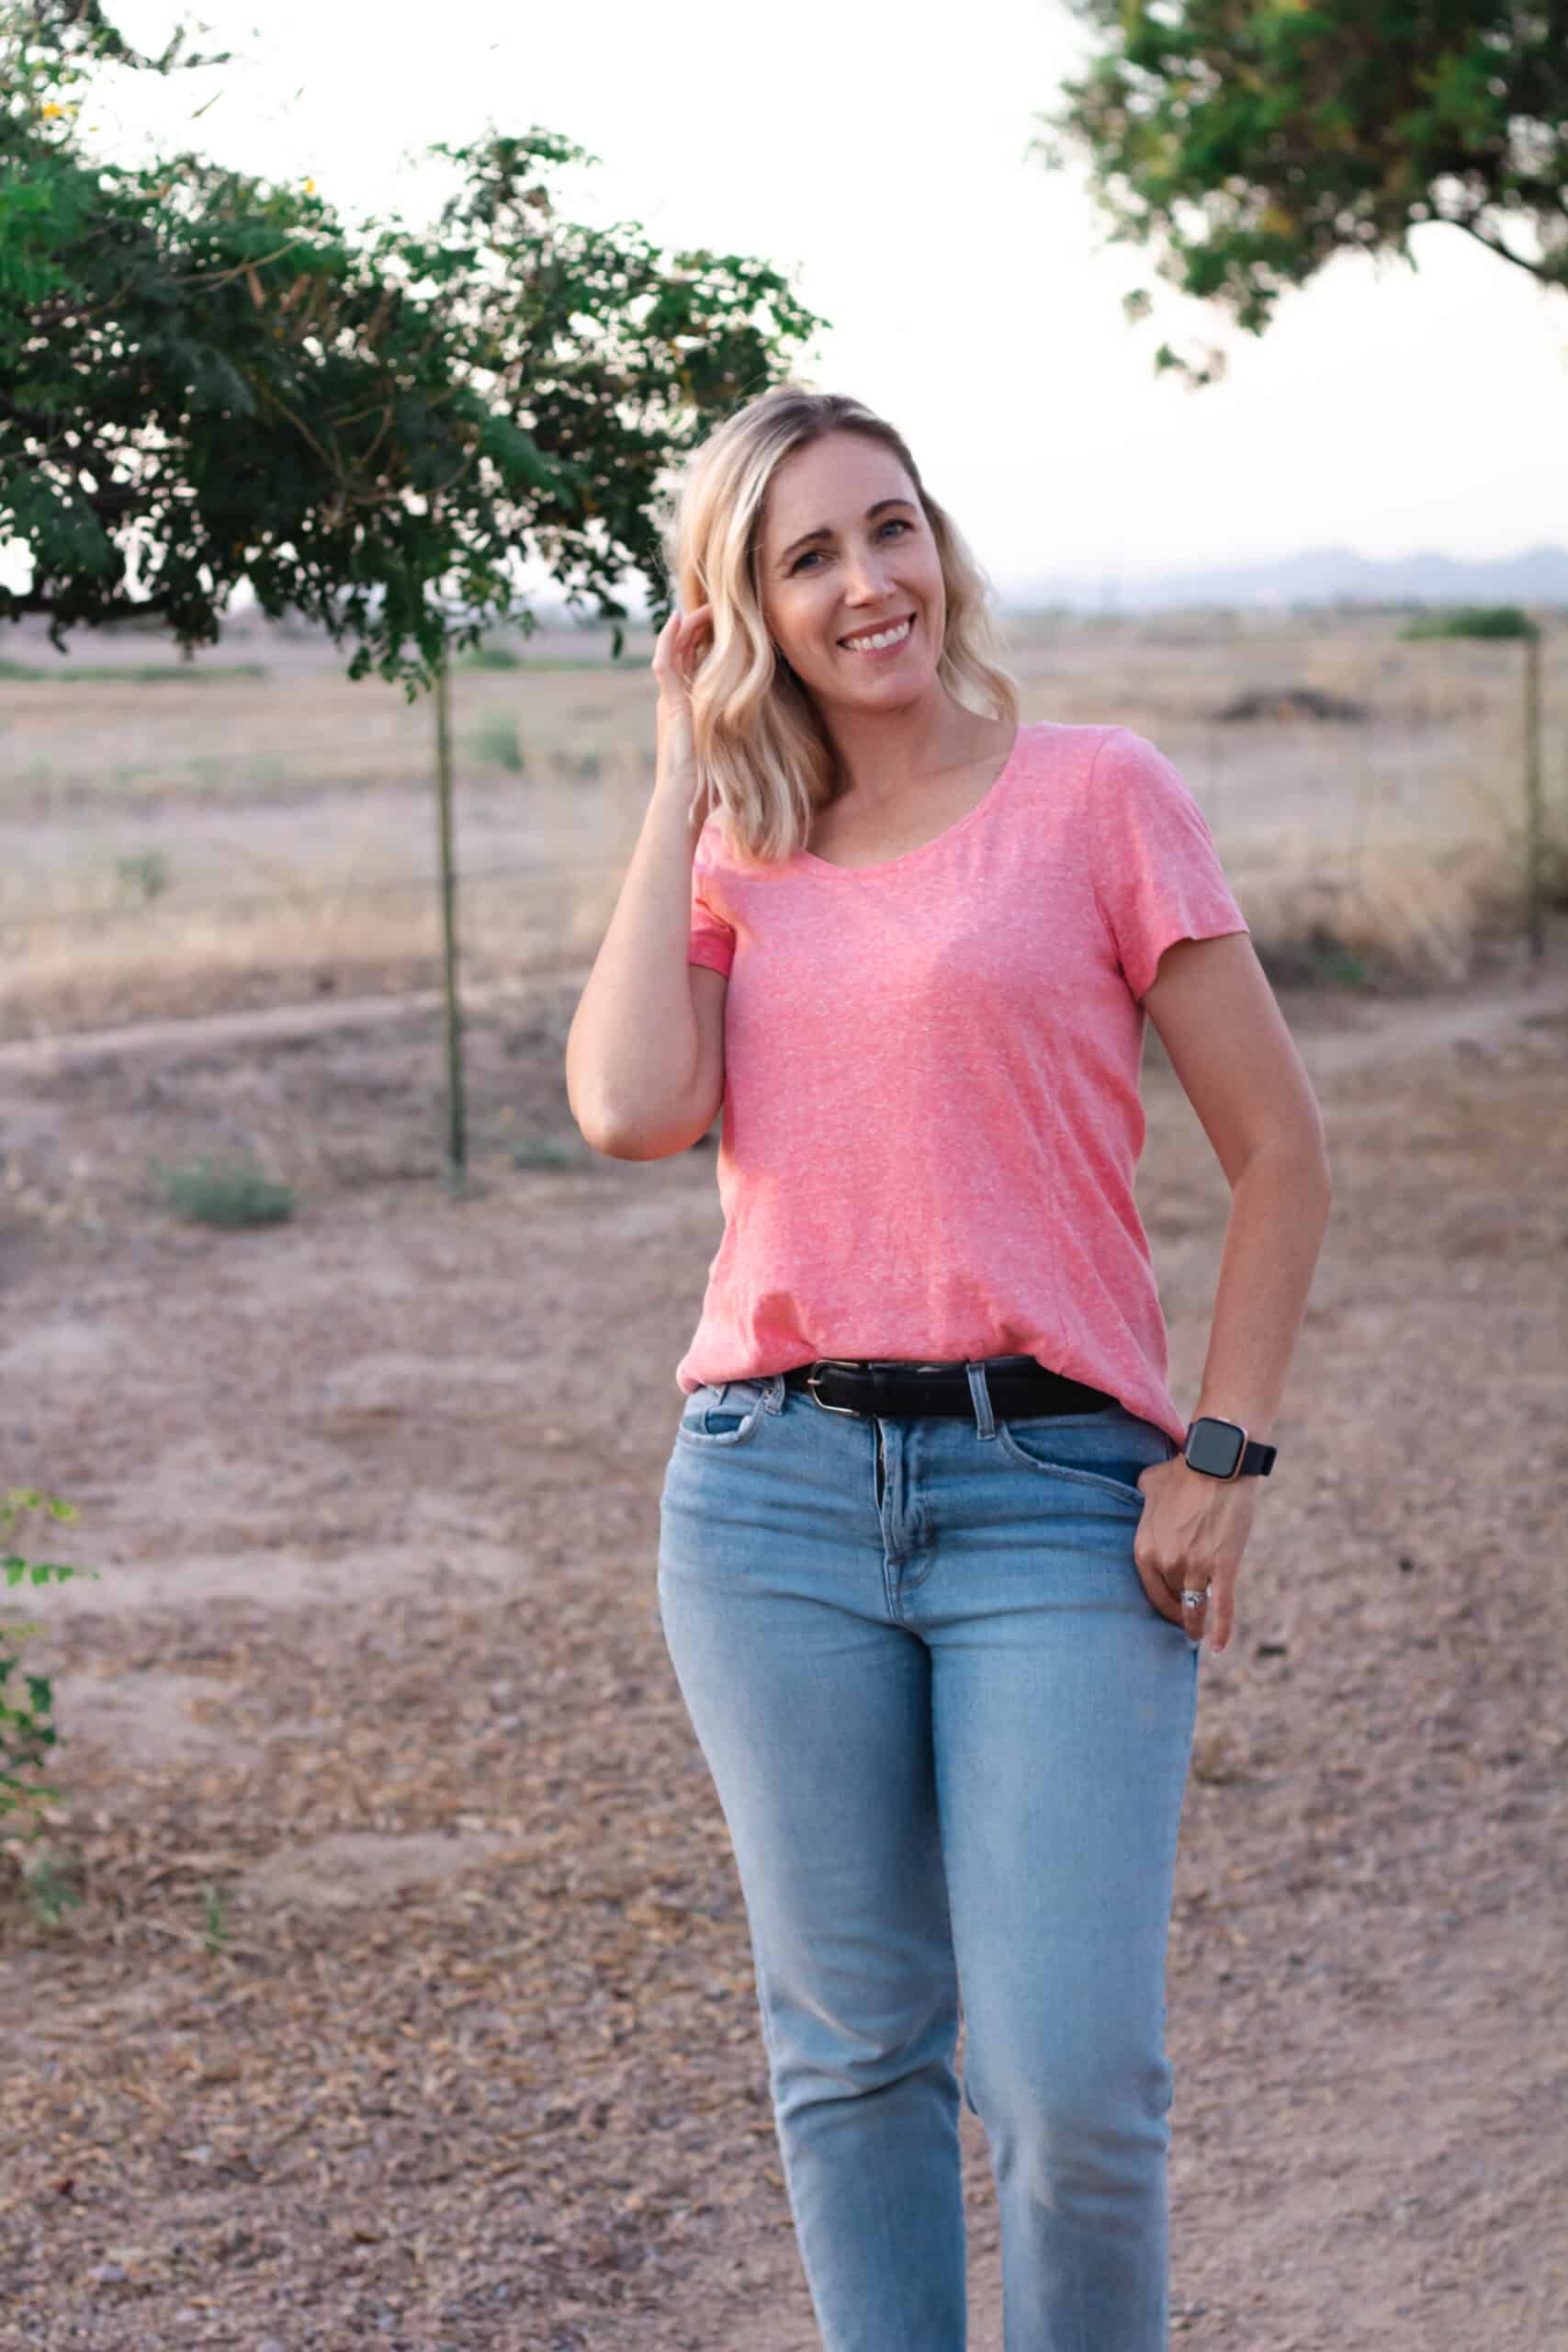
So before you start playing around with hems, you might need to find the perfect easy and fun pattern. May I recommend the Tidal Top and Dress? It’s just been updated for sizing XS-5X and has a full pattern and tutorial facelift. This is a great option for something super super quick – and it’s a great pattern for using up scraps and showcasing fabrics. You can use any of the hems discussed in this post!

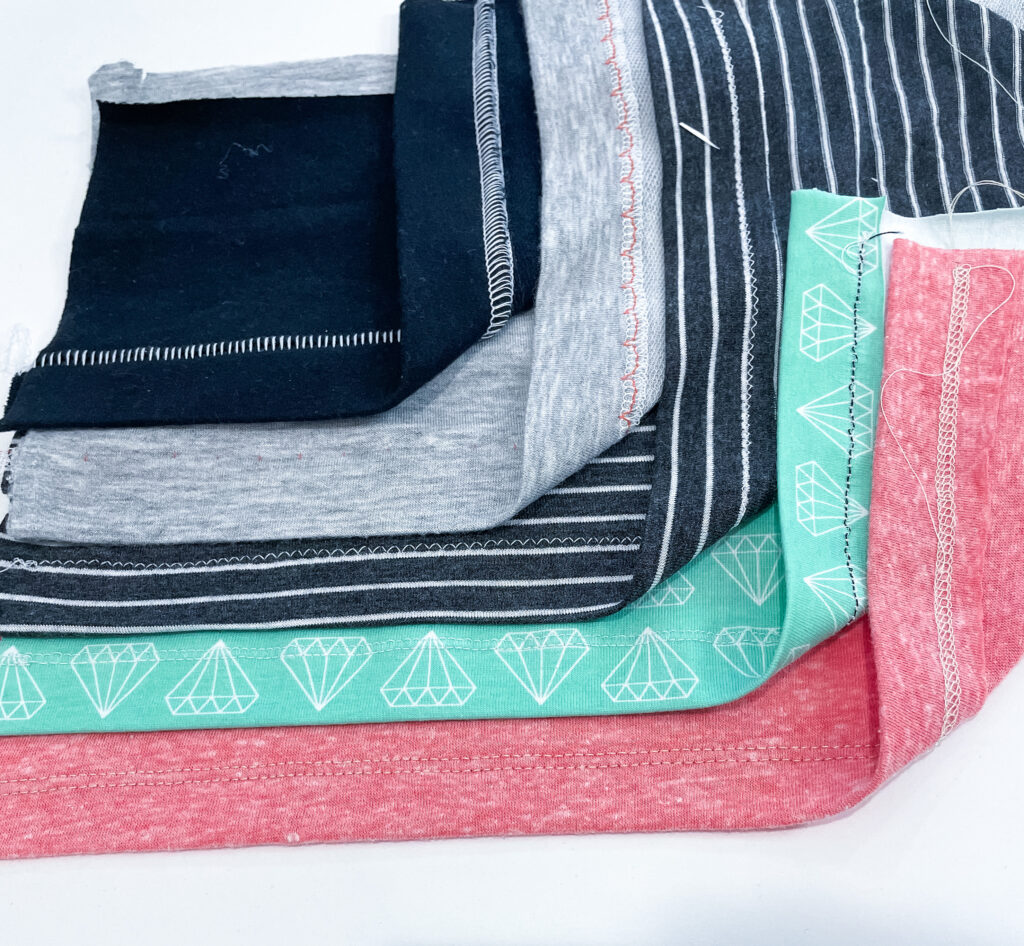
Helpful tools to hem knits
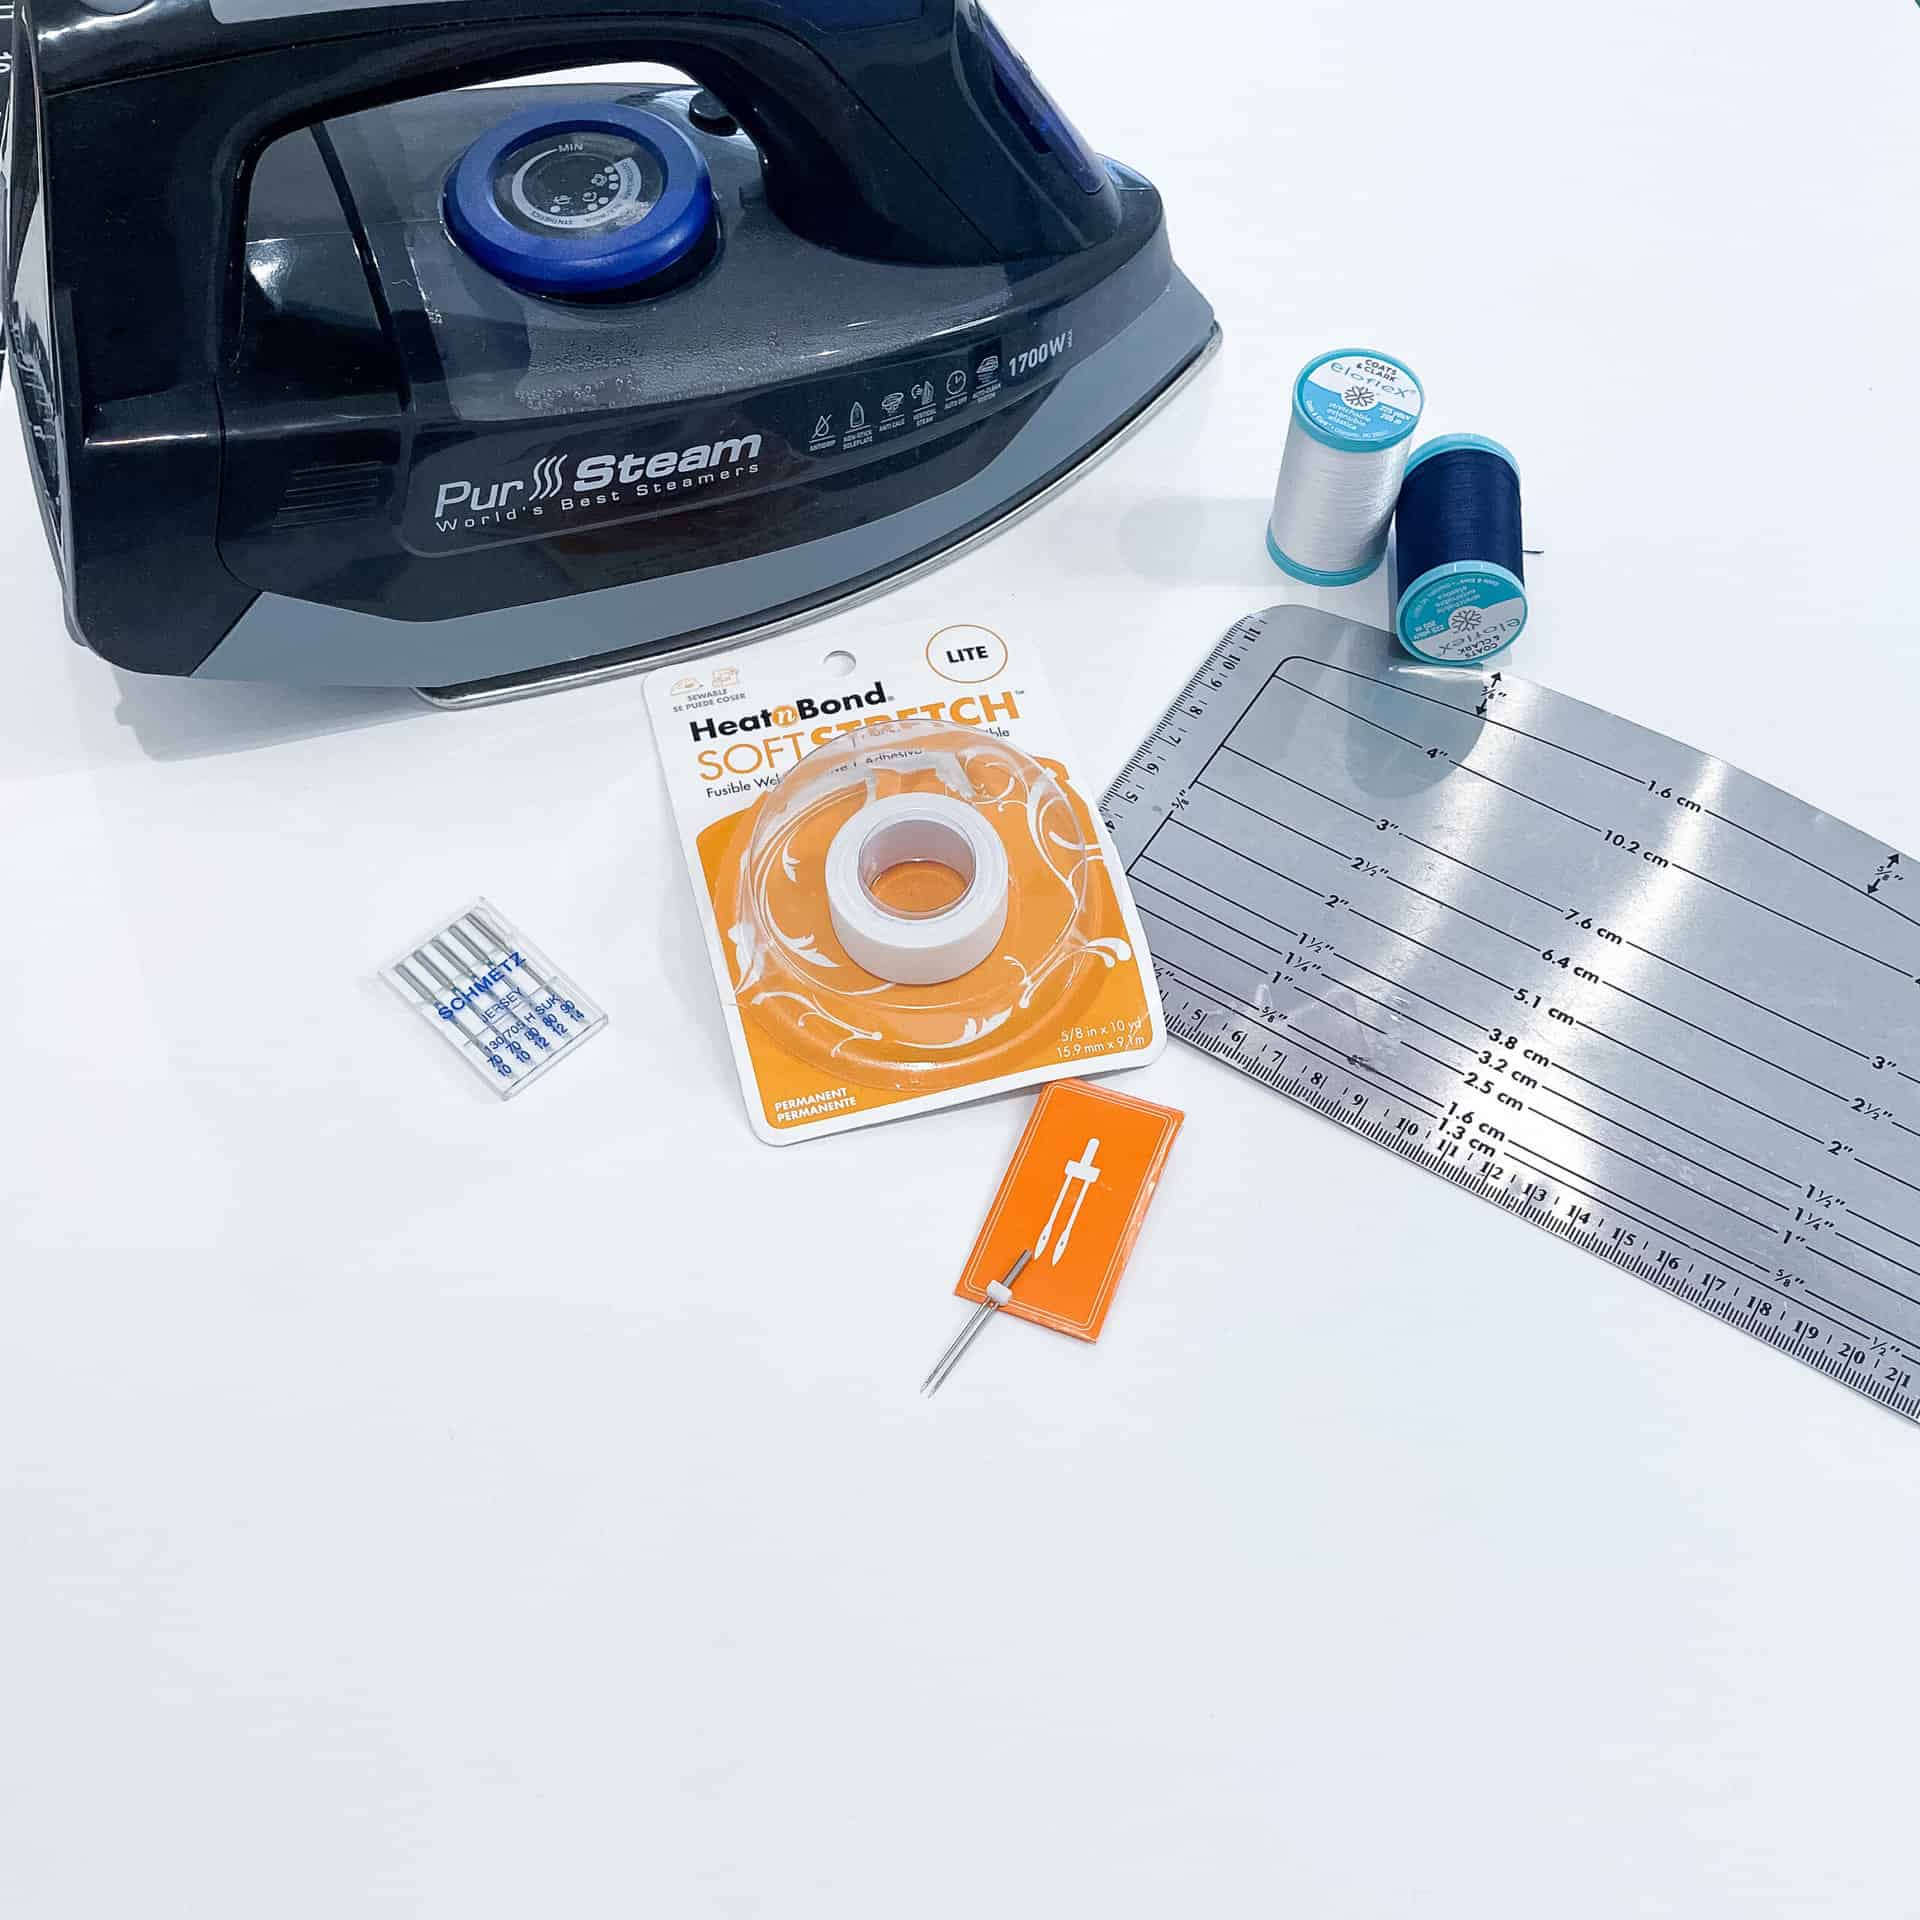
But before we talk about the different methods of hemming, I wanted to mention a few helpful tools that you may want to consider.
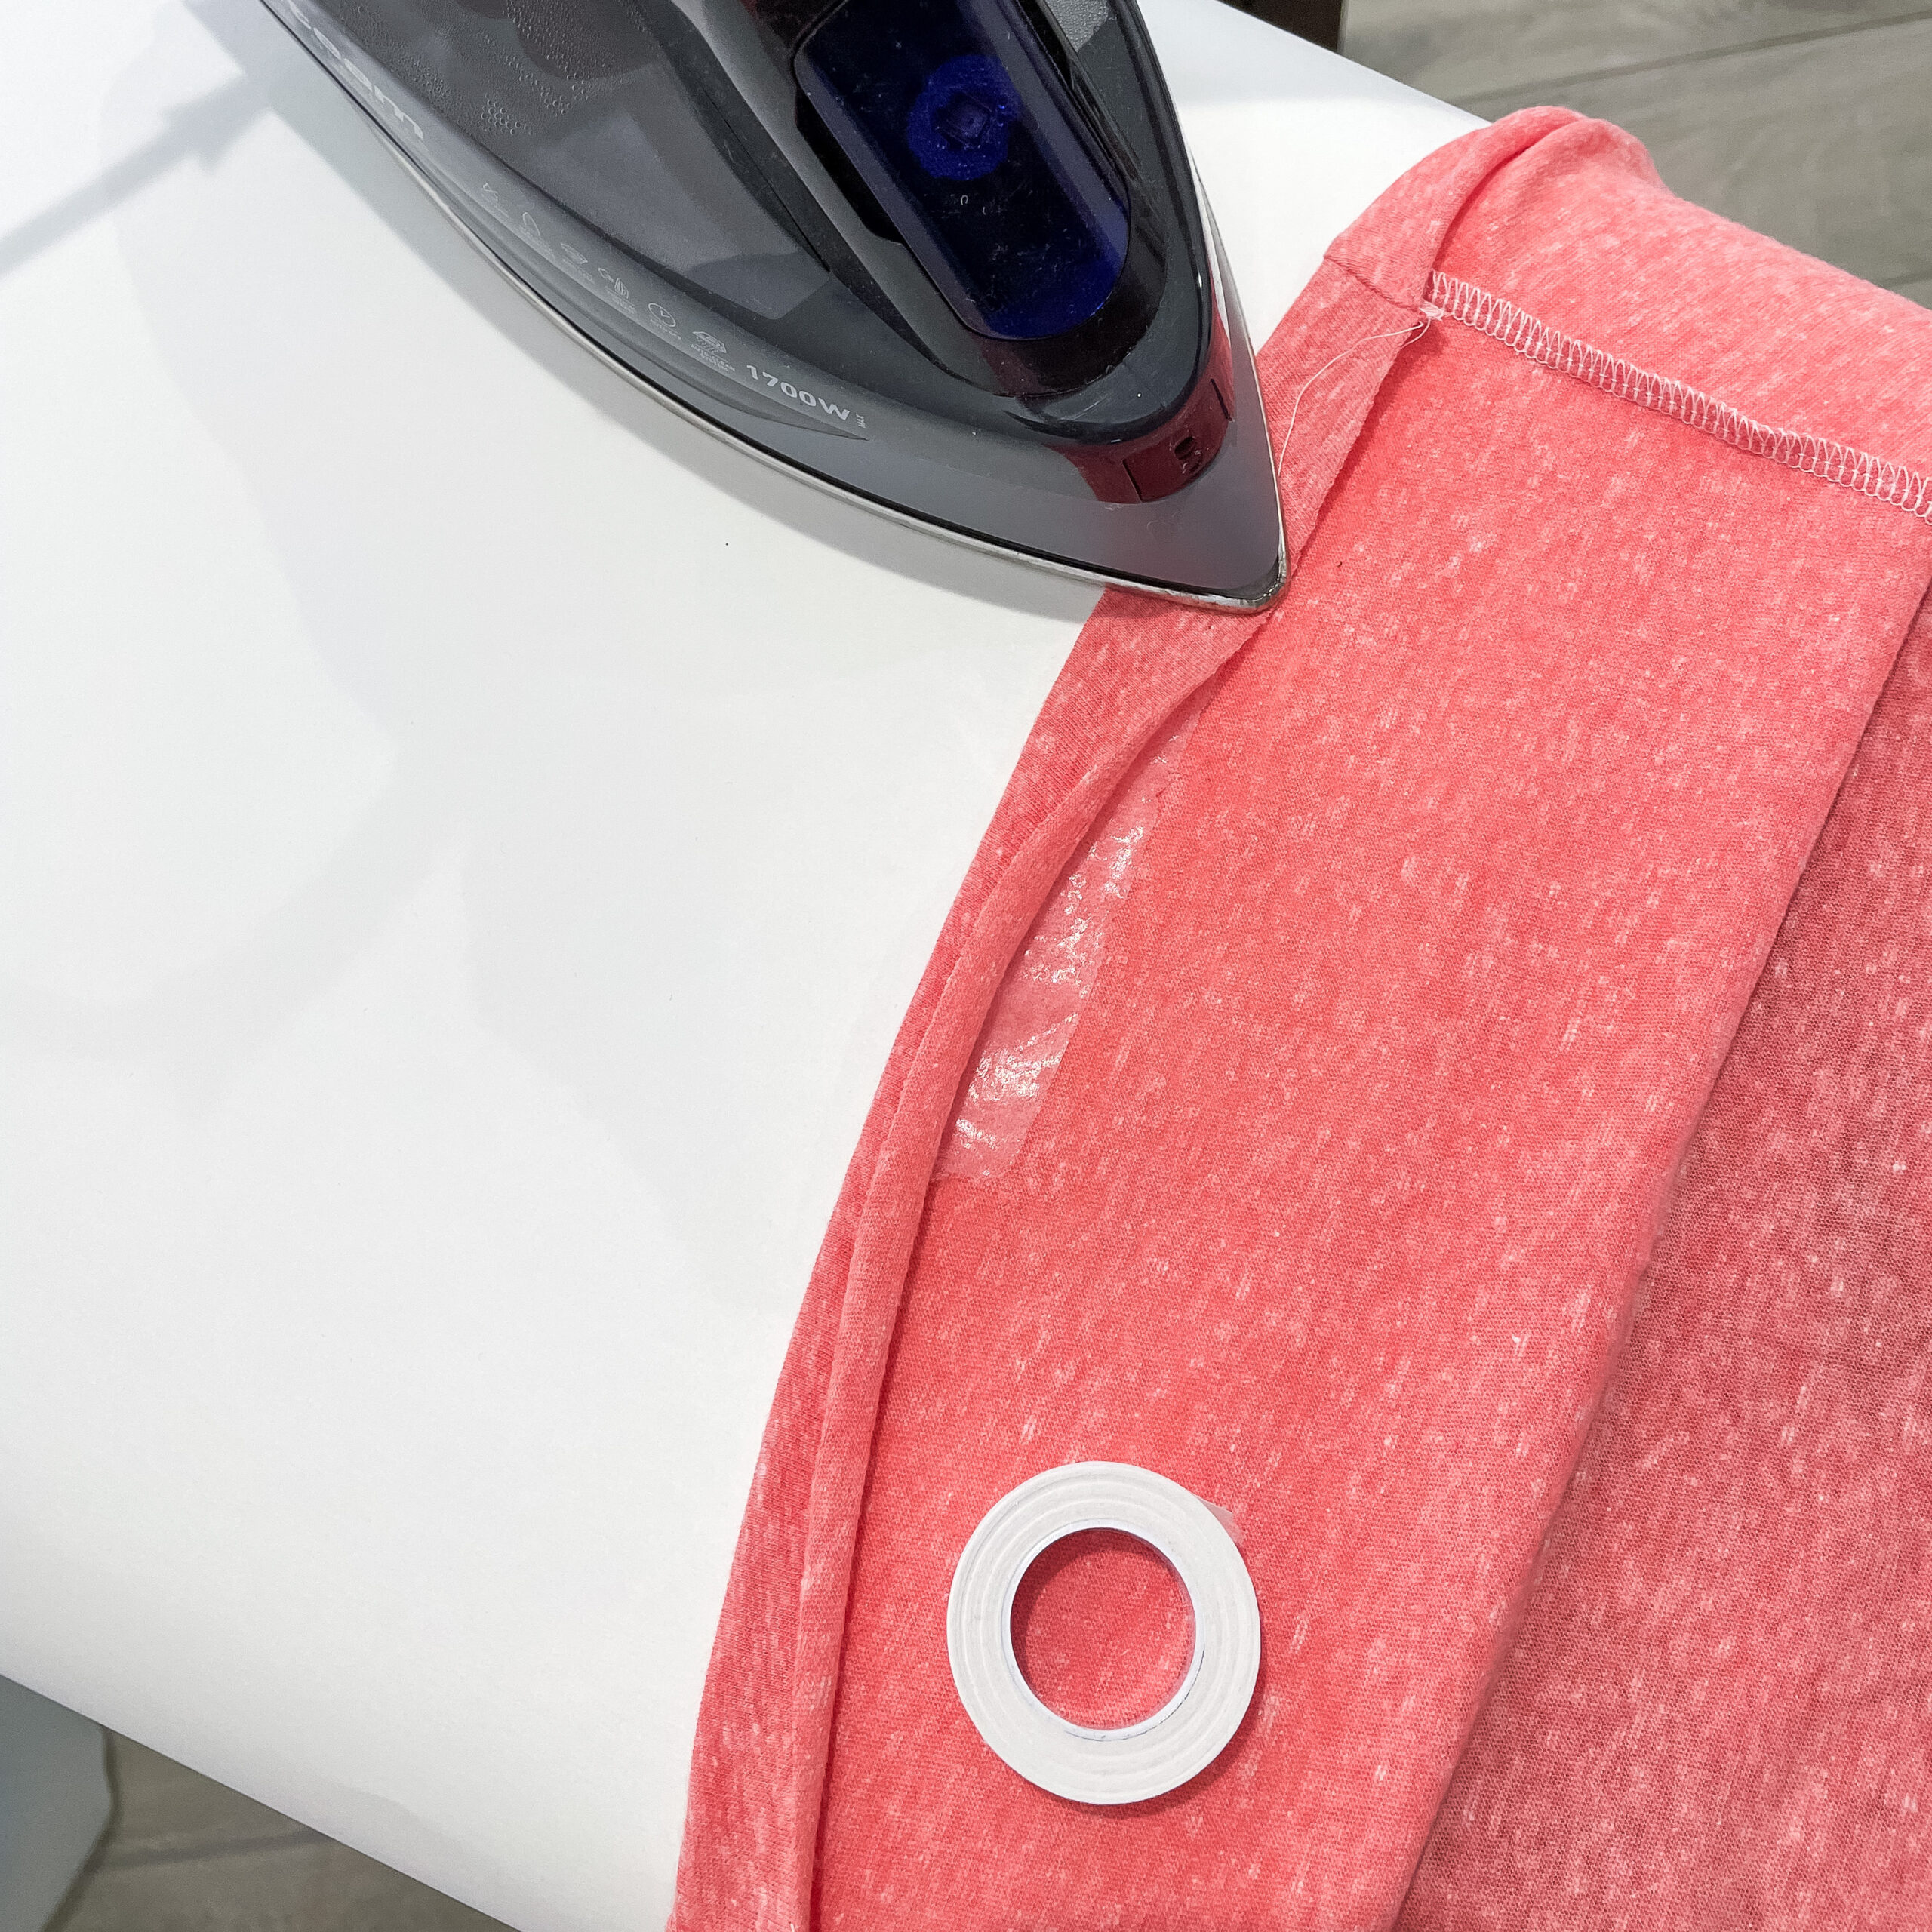
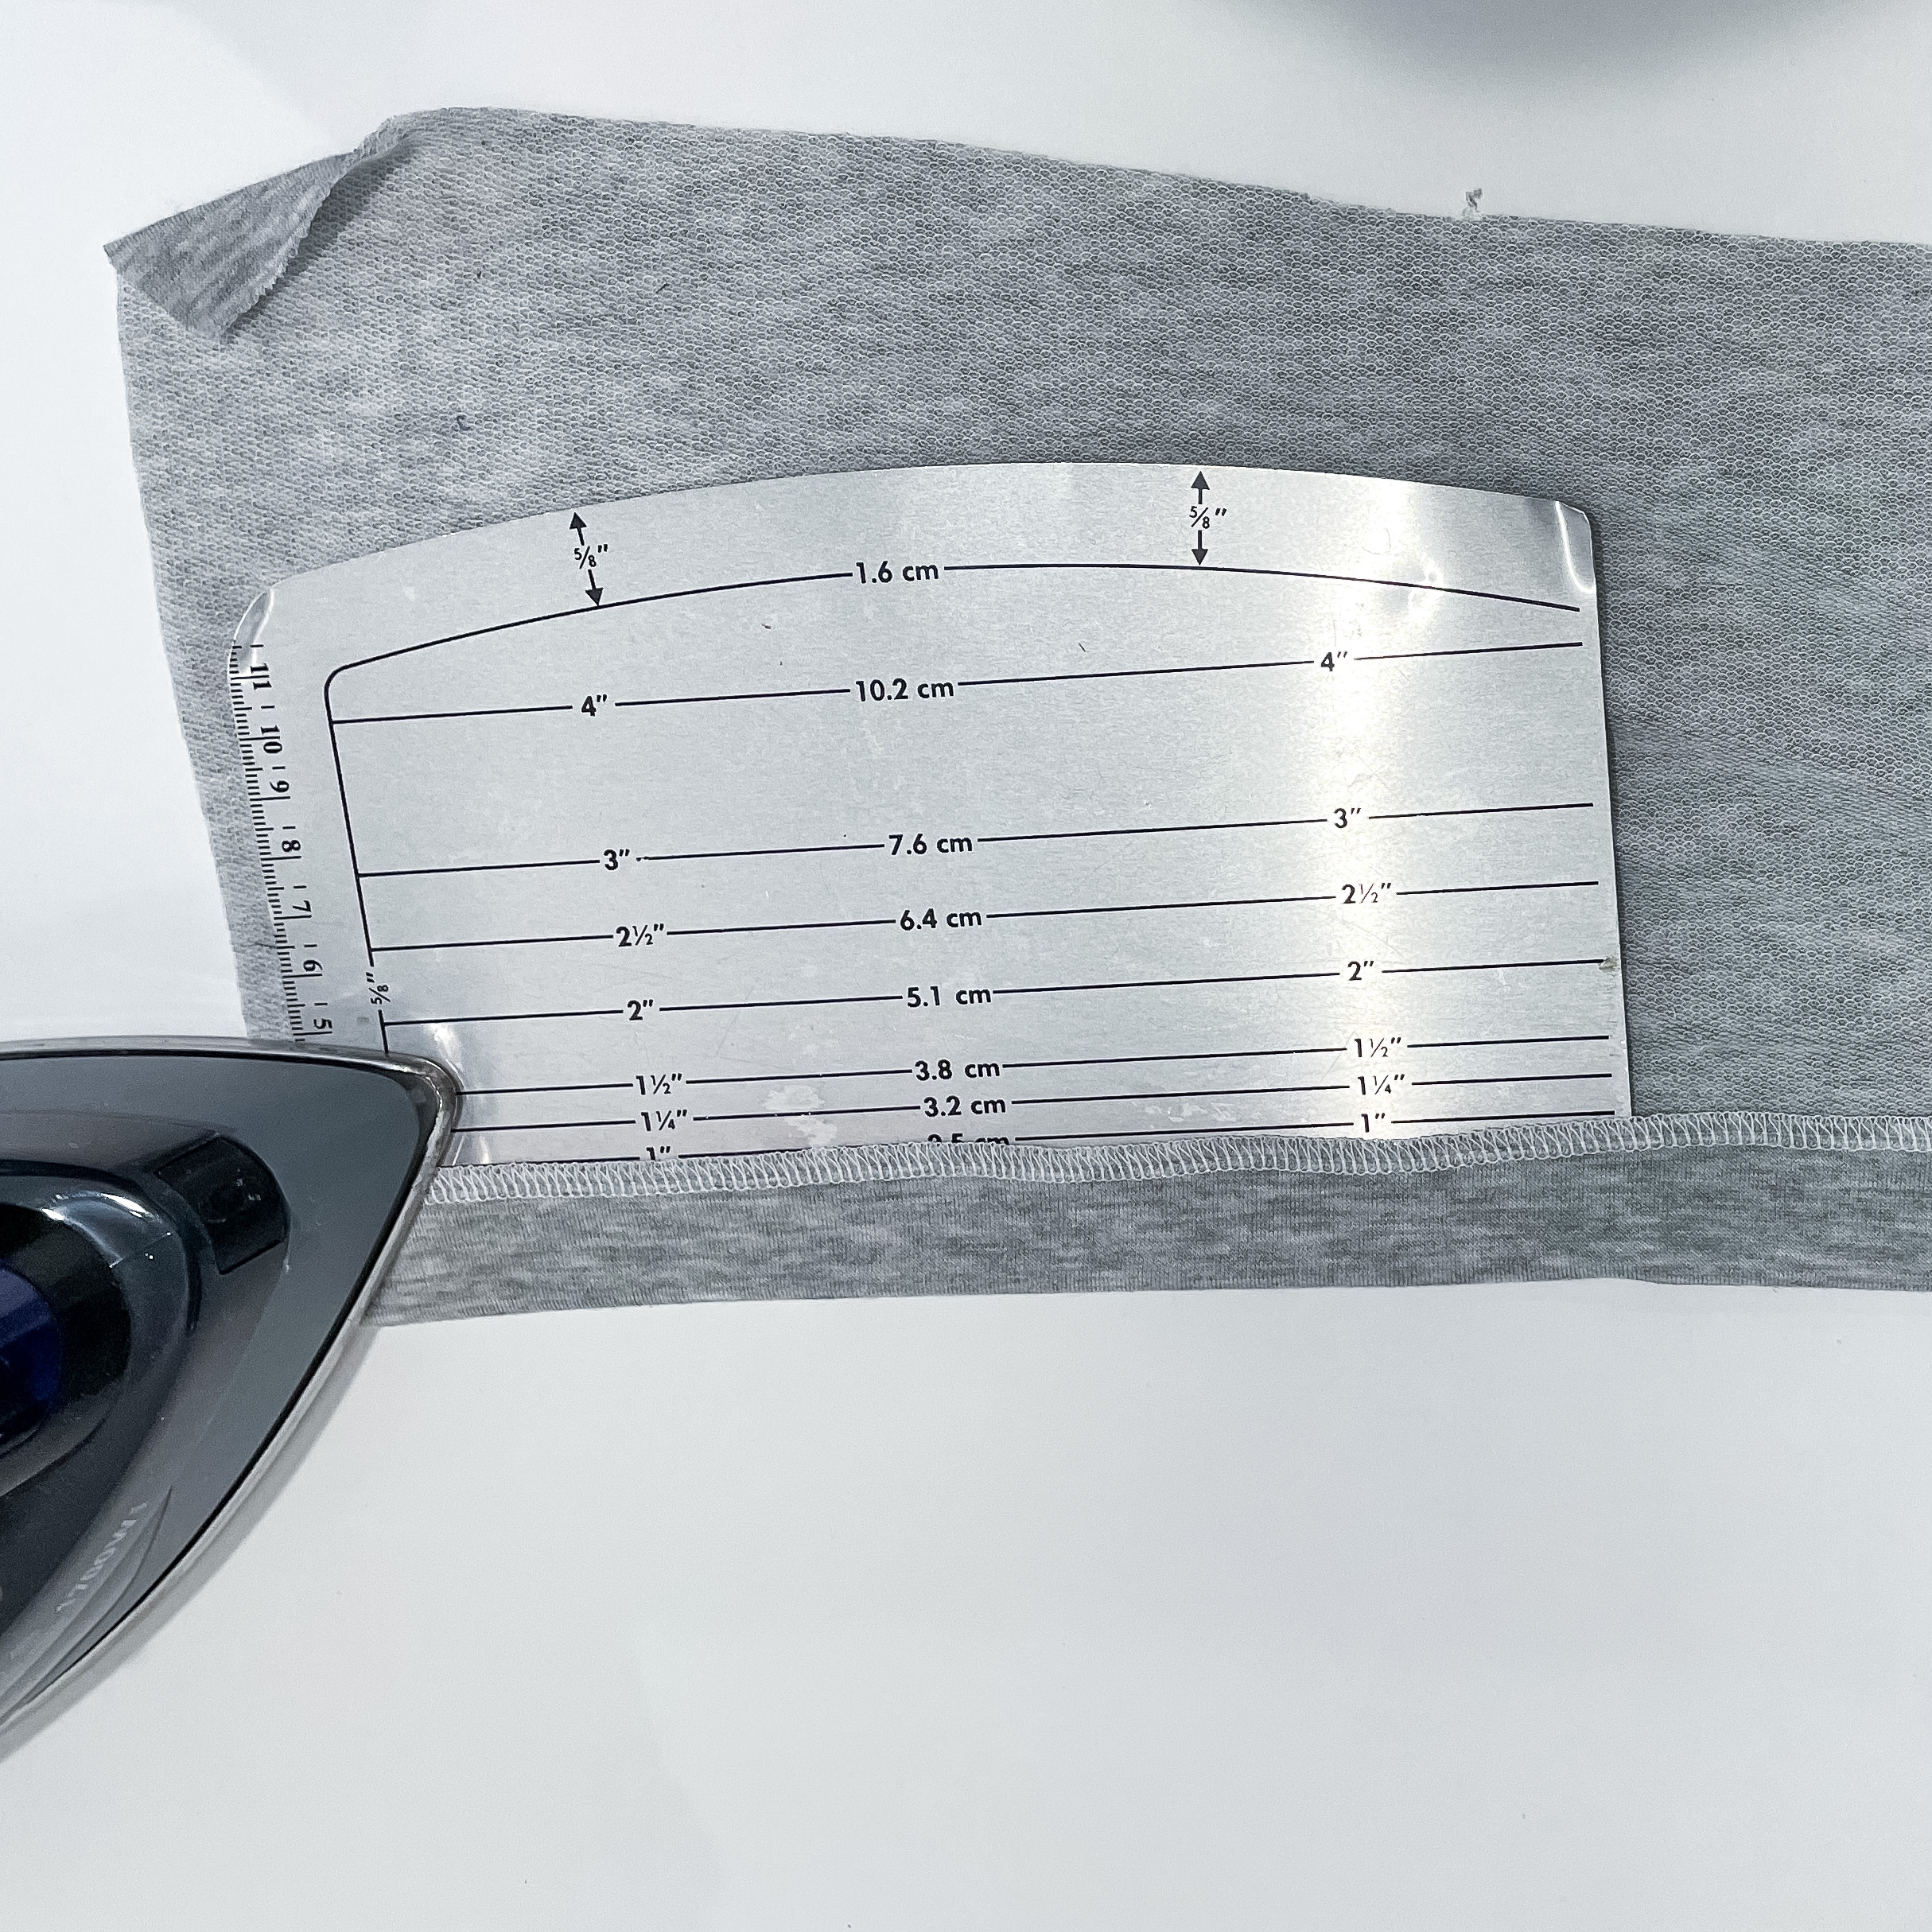
First, you will want to have an iron. I personally am a big fan of a steam iron, because it helps in getting a really nice, crisp hem in place before you start sewing. I also love my Ezy-Hem guide. It works great with a steam iron and it makes it much easier to keep your fold straight and even.
I also love Stay Tapes for Knits. I personally use HeatnBond Soft stretch, but I know there are several other options available. The Stay Tape helps keep the hem in place and also stabilizes the fabric, which can help a lot when sewing with knit fabric.
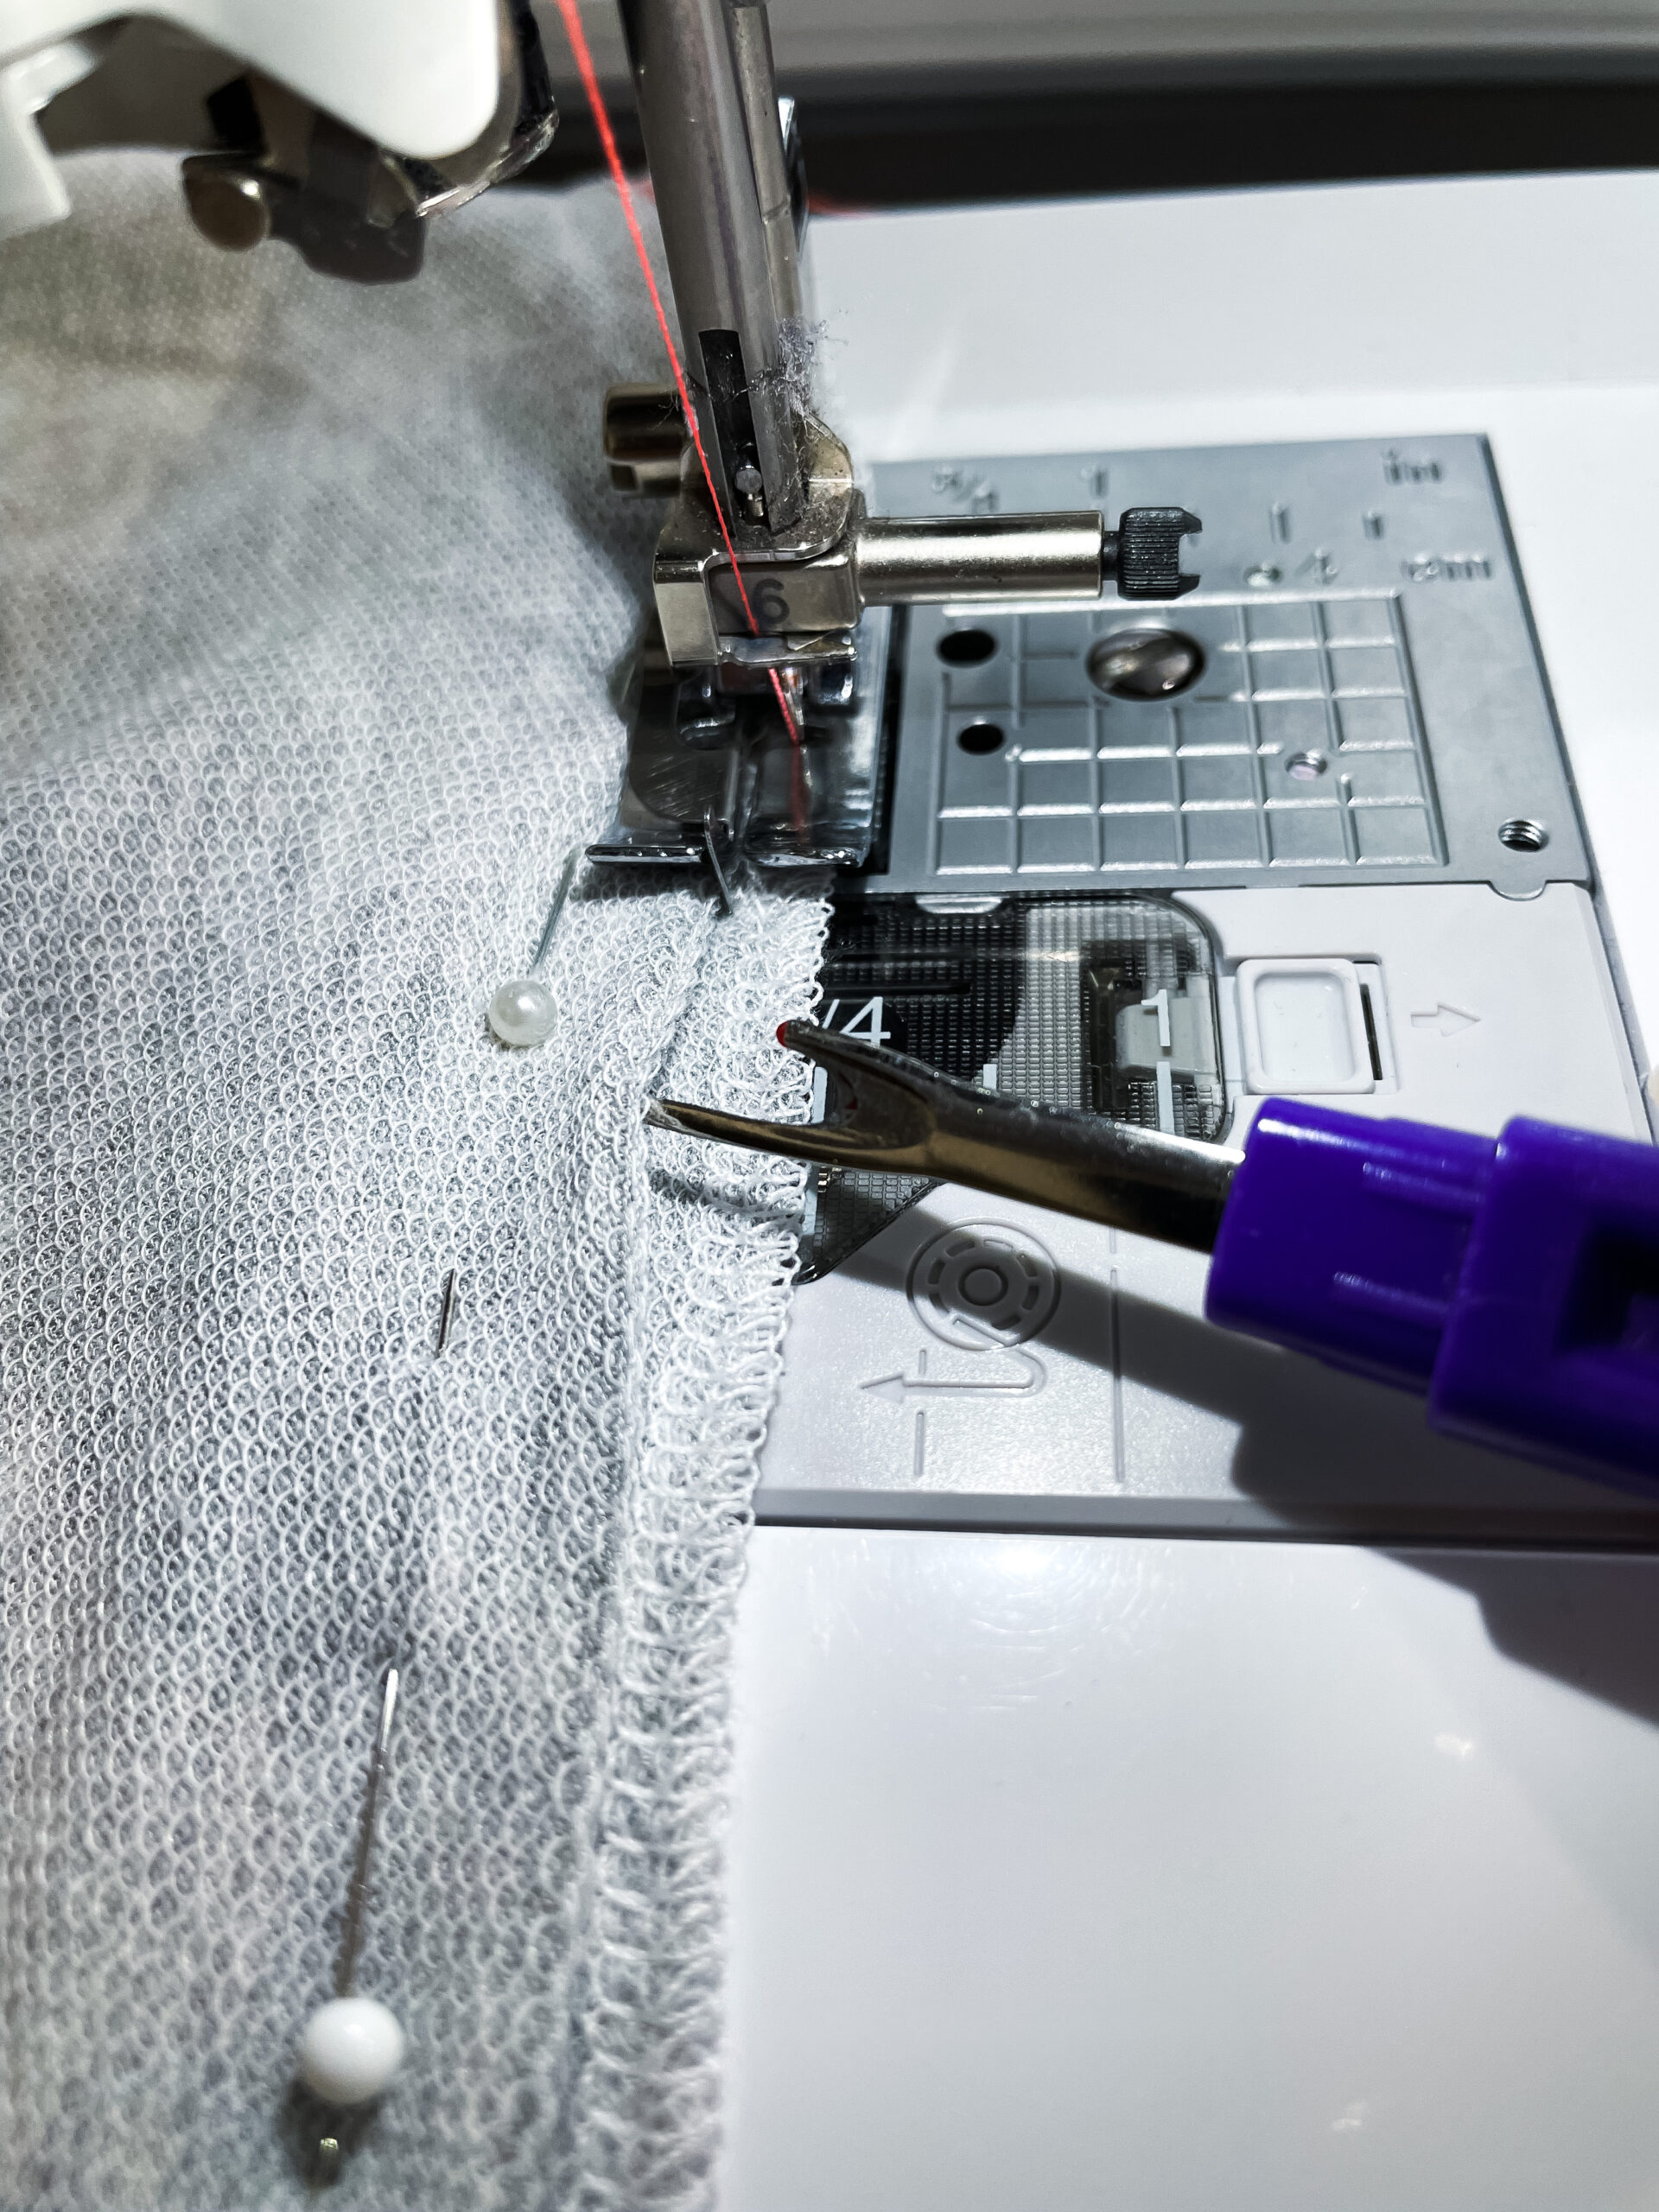
I also always use a walking foot when I sew with knit fabric on my regular sewing machine. A walking foot helps prevent the top layer of fabric from stretching and helps keep your fabric from getting wavy and rippled stitch lines.
You also want to make sure you have the correct needle, such as a jersey, ballpoint, or stretch needle.
There are also additional supplies that you may find to be helpful depending on the type of stitch you are doing and the fabric weight/content you are working with for your project.
Coverstitch Hem
If you own a coverstitch machine, then that is a great option for sewing almost any kind of knit fabric. A coverstitch machine is specifically designed to hem knits. It creates a professional looking hem that has two straight lines of stitching, but it also stretches with the fabric. Stabilizing the fabric with hem tape can still be very helpful even when sewing with a coverstitch machine.

Twin Needle Hem
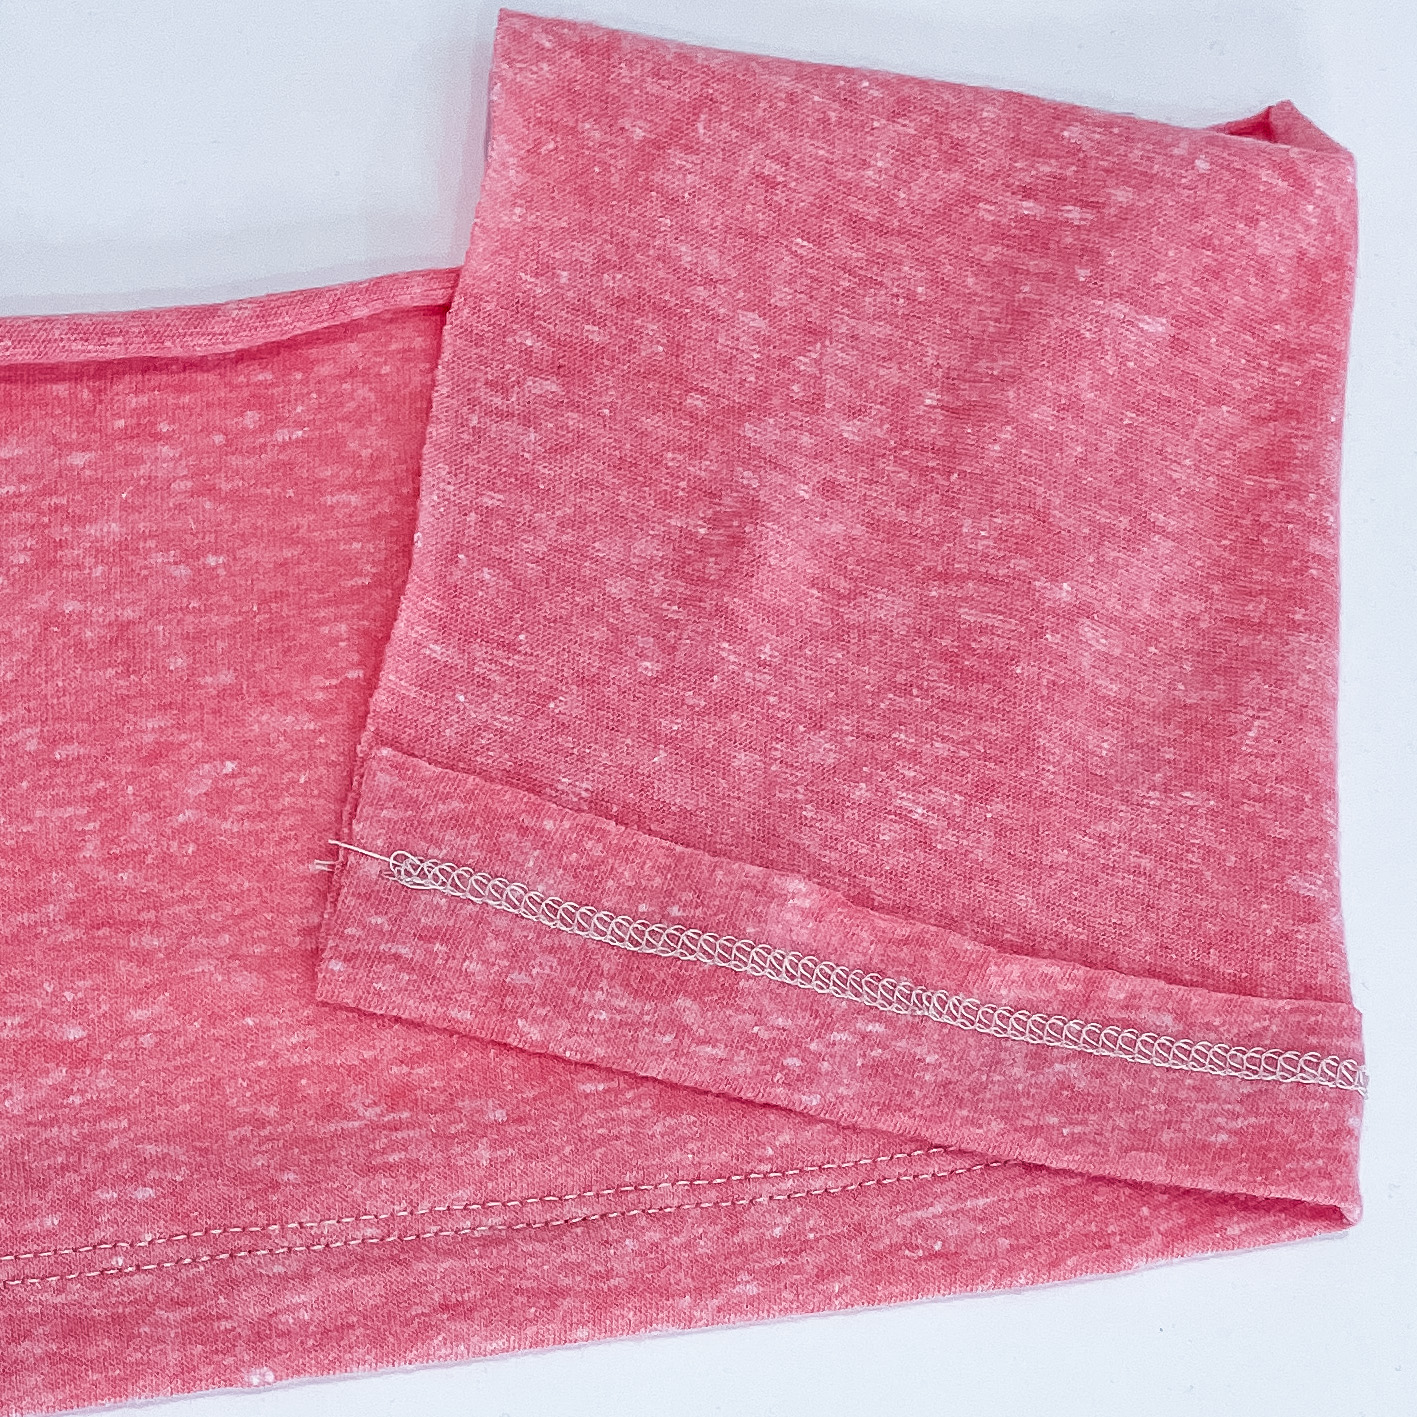
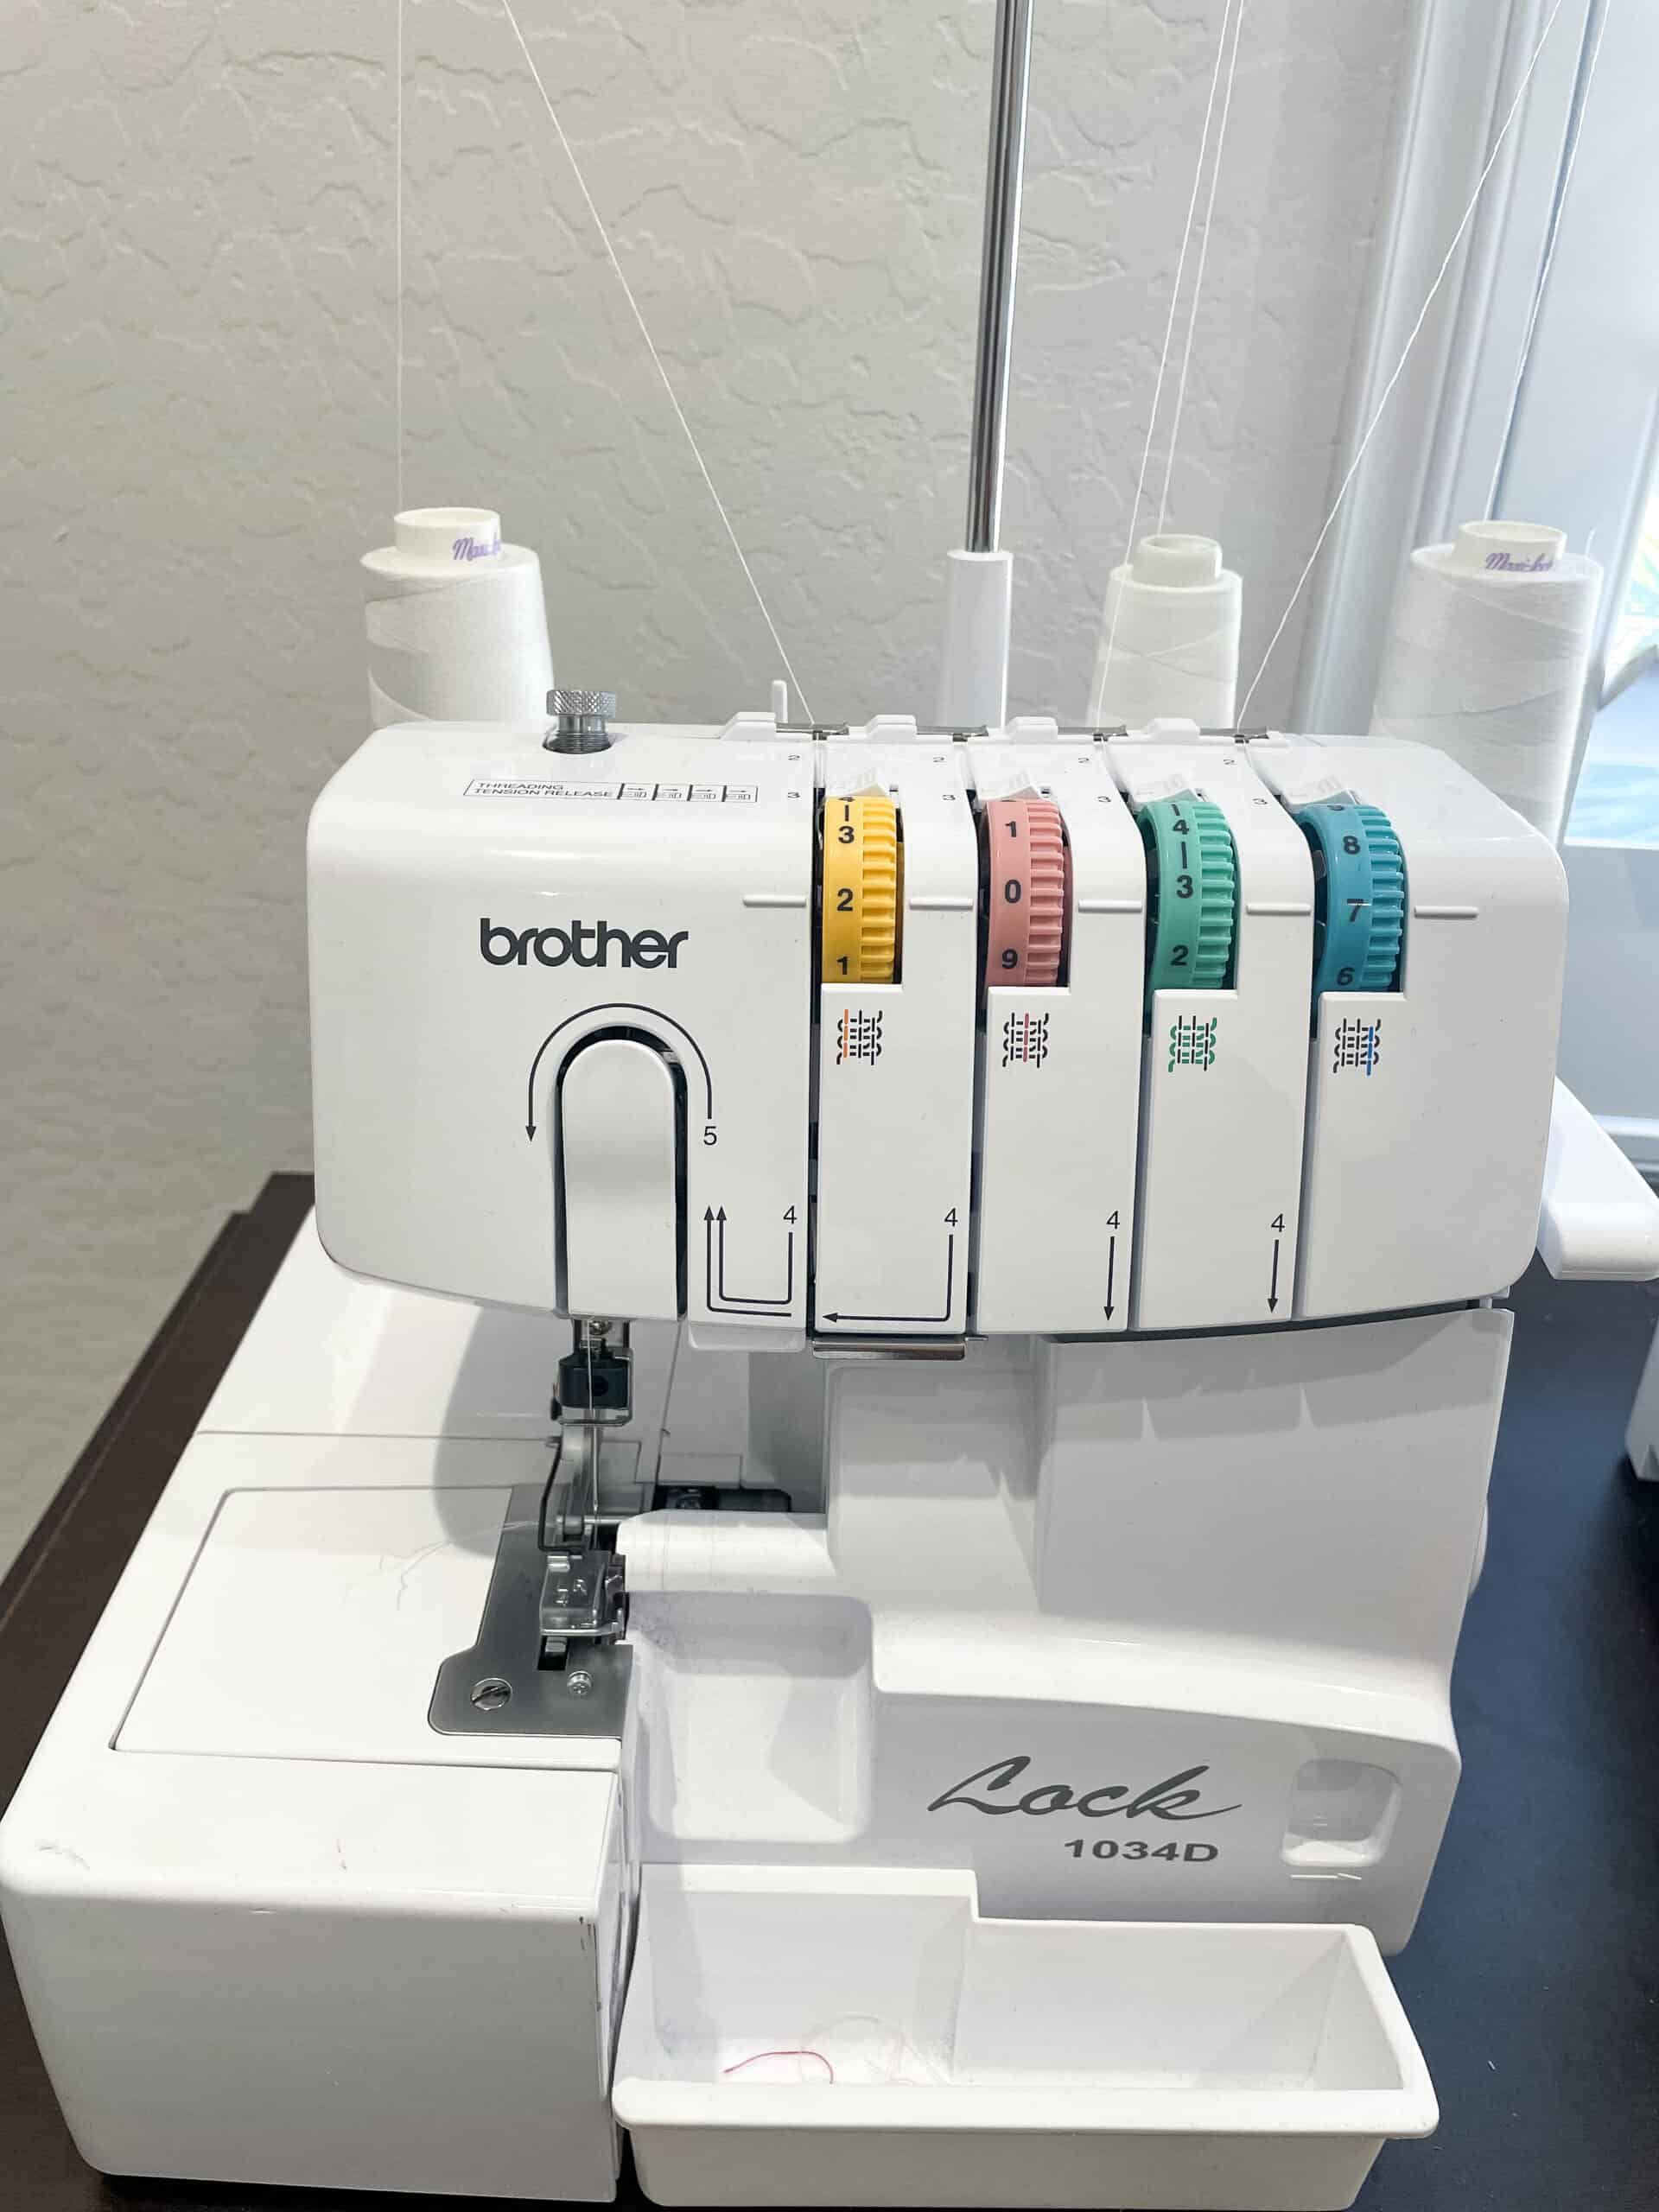
A twin needle, or a double needle, can be used on a regular sewing machine and it mimics the look of the coverstitch machine. The twin needle will install in your machine the same way as a single needle, since the two needles are attached to a single shank. Twin needles can be found in various needle sizes and widths.
Since you have two needles to thread, you will need two top threads. Most machines come with an extra spool pin that can attach to your machine. I typically do not have multiple spools of thread in the same color, so when I use a twin needle I just wind an extra bobbin and use that for my second top thread.
As I mentioned, twin needles mimic a coverstitch in that it will sew two straight lines on the top. The bobbin side of the hem will sew a zigzag stitch which gives the fabric the ability to stretch. A slightly longer stitch length will allow the hem to stretch more.
Admittedly, I do not always have the best of luck with a twin needle. My biggest struggle with a twin needle is that I get tunneling. Stabilizing the fabric with hem tape can help a lot. I have also found that if I use a stretch thread, such as Ecoflex or if I handwind woolly nylon thread on my bobbin, that can help reduce the tunneling. I also feel it is worth noting that some fabrics will work with a double needle better than others. I think lightweight fabric is more susceptible to tunneling, as opposed to a more stable fabric like cotton lycra and French terry.
Zigzag Stitch Hem
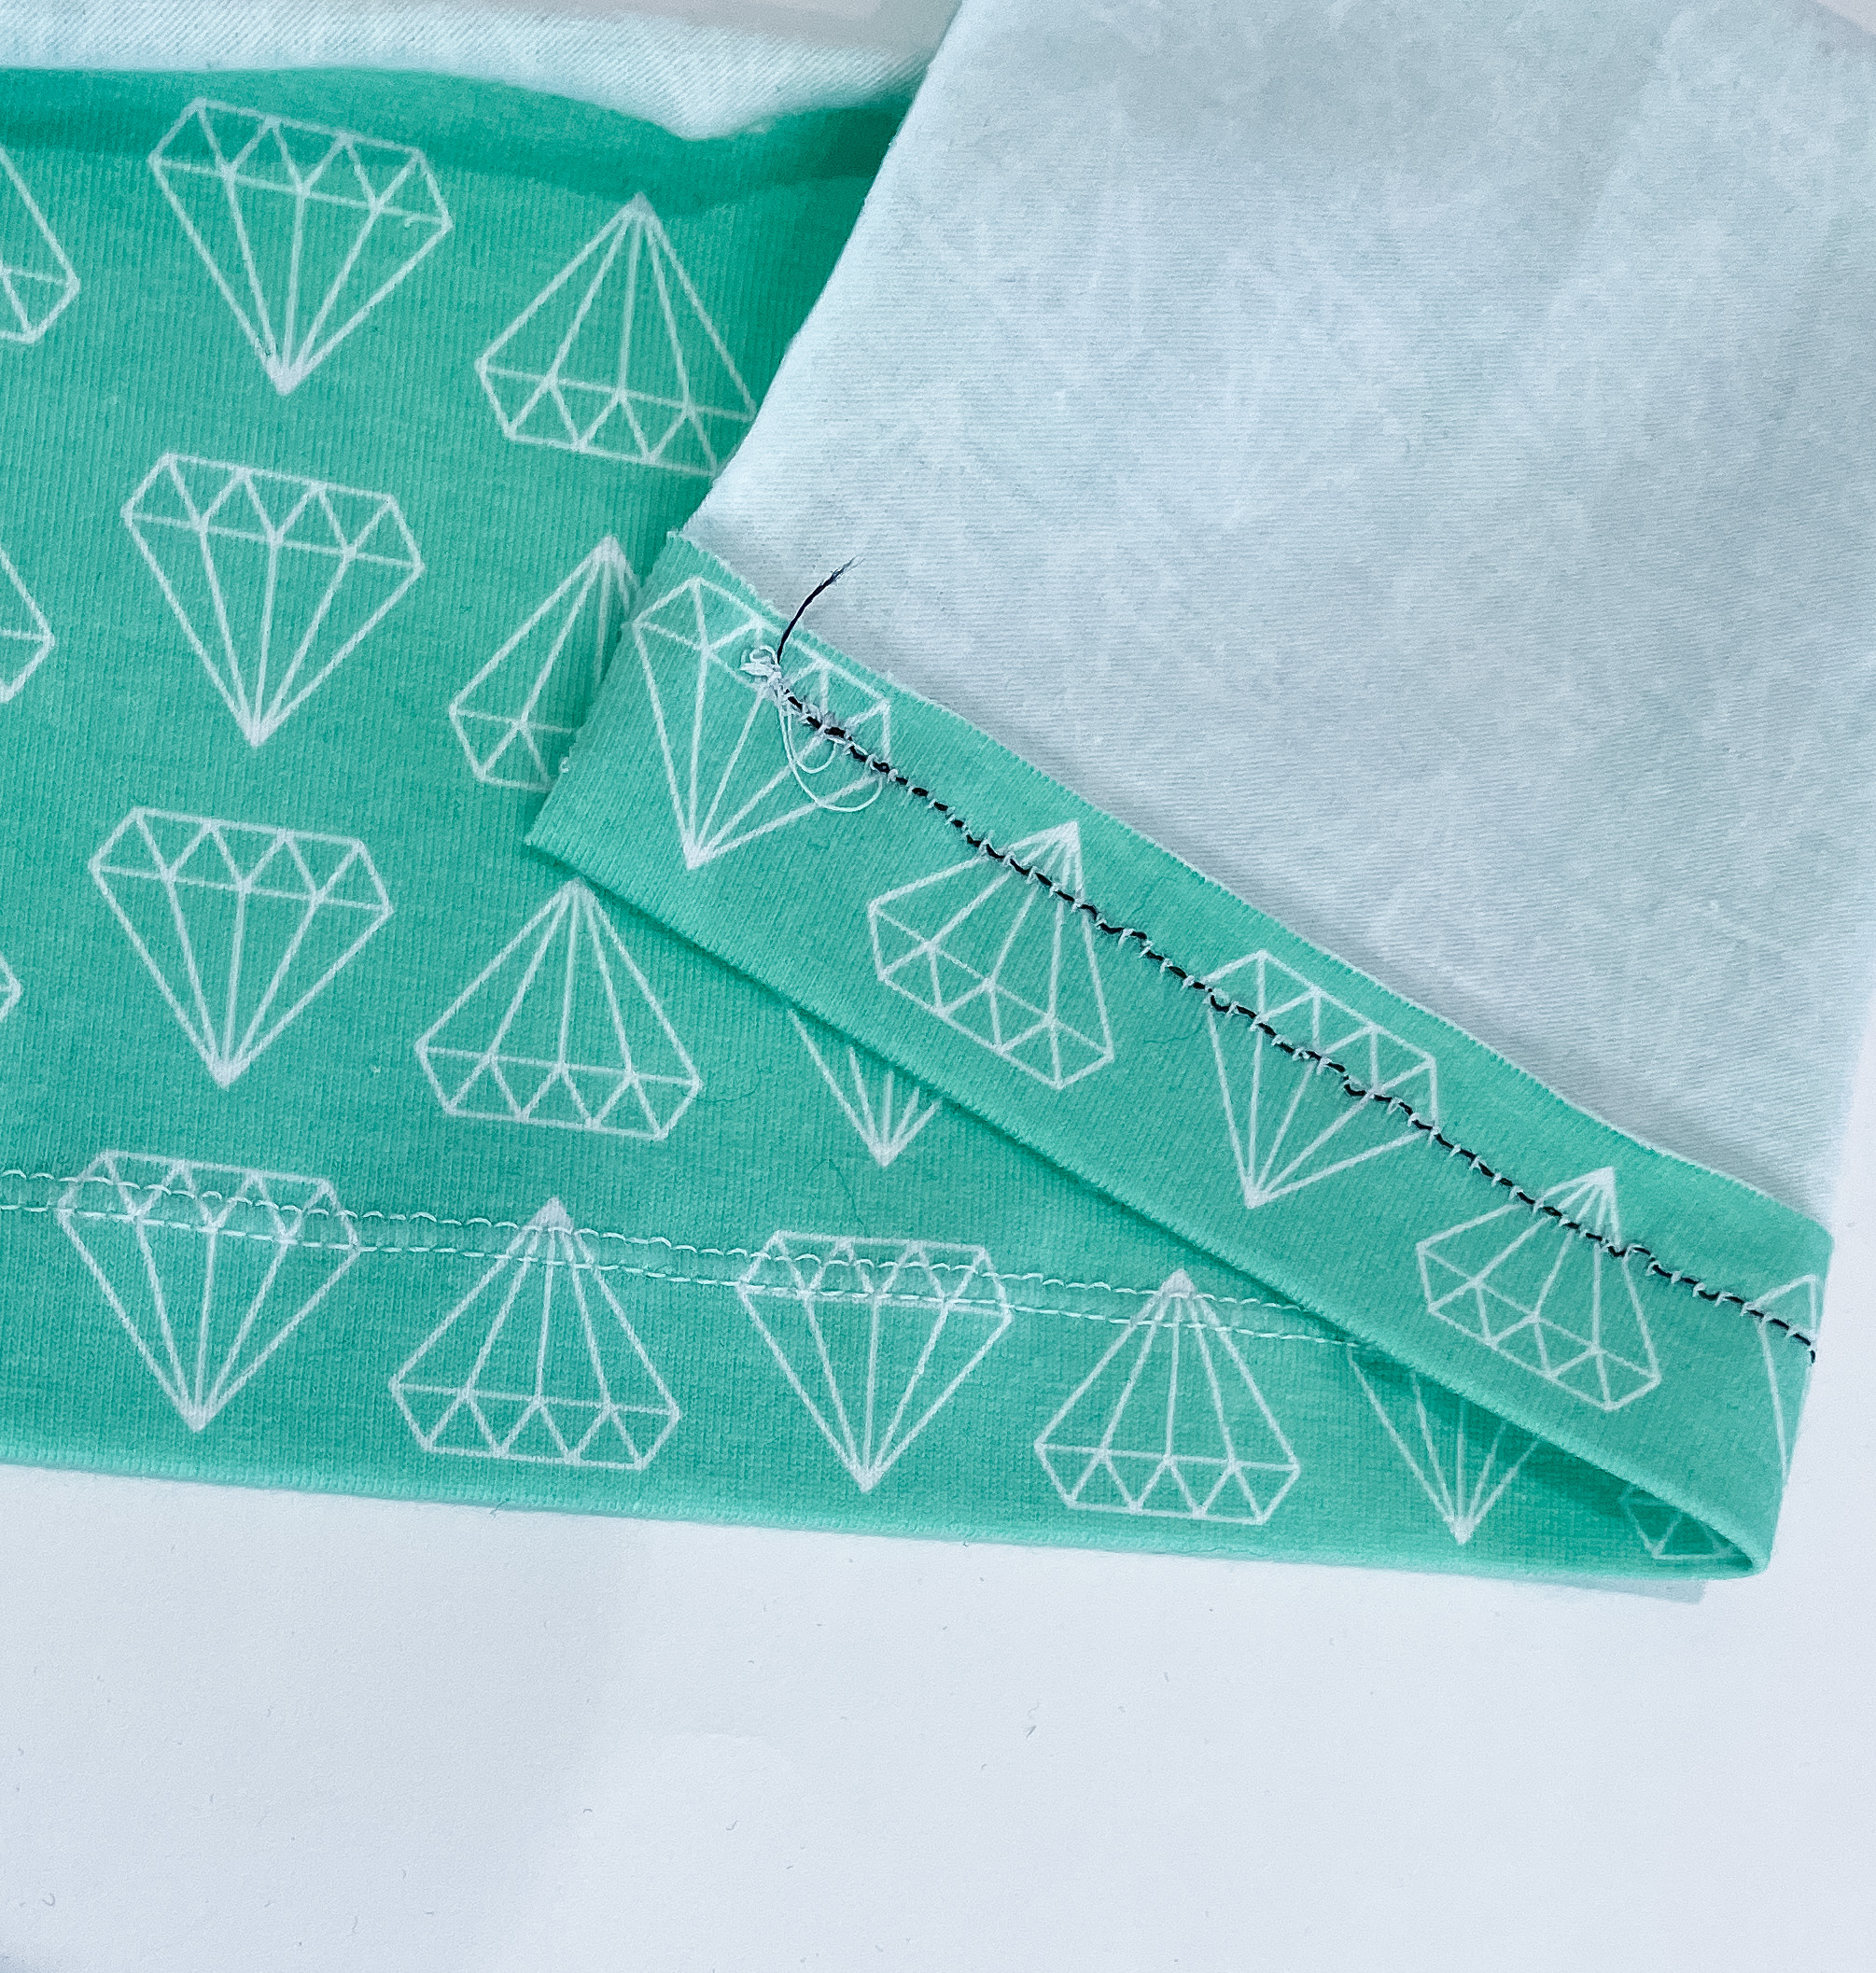
A zigzag stitch on a regular sewing machine is a great option for hemming knit fabric. When I am teaching a new sewist how to sew on knit, I usually have them use a zigzag stitch for the hems. One nice thing about hemming with a zigzag stitch is that you have the option to sew the seam upside down, meaning you can see the edge of the fold, which can be very helpful.
I like to set my machine to a medium width (around 3.0) and a medium length (around 2.5 – 3.0). Some very stretchy fabrics will work better with less width, so as always, it is best to try it on scrap fabric first. This is another stitch that could benefit from stabilizing the hem with hem tape.
Blind Hem
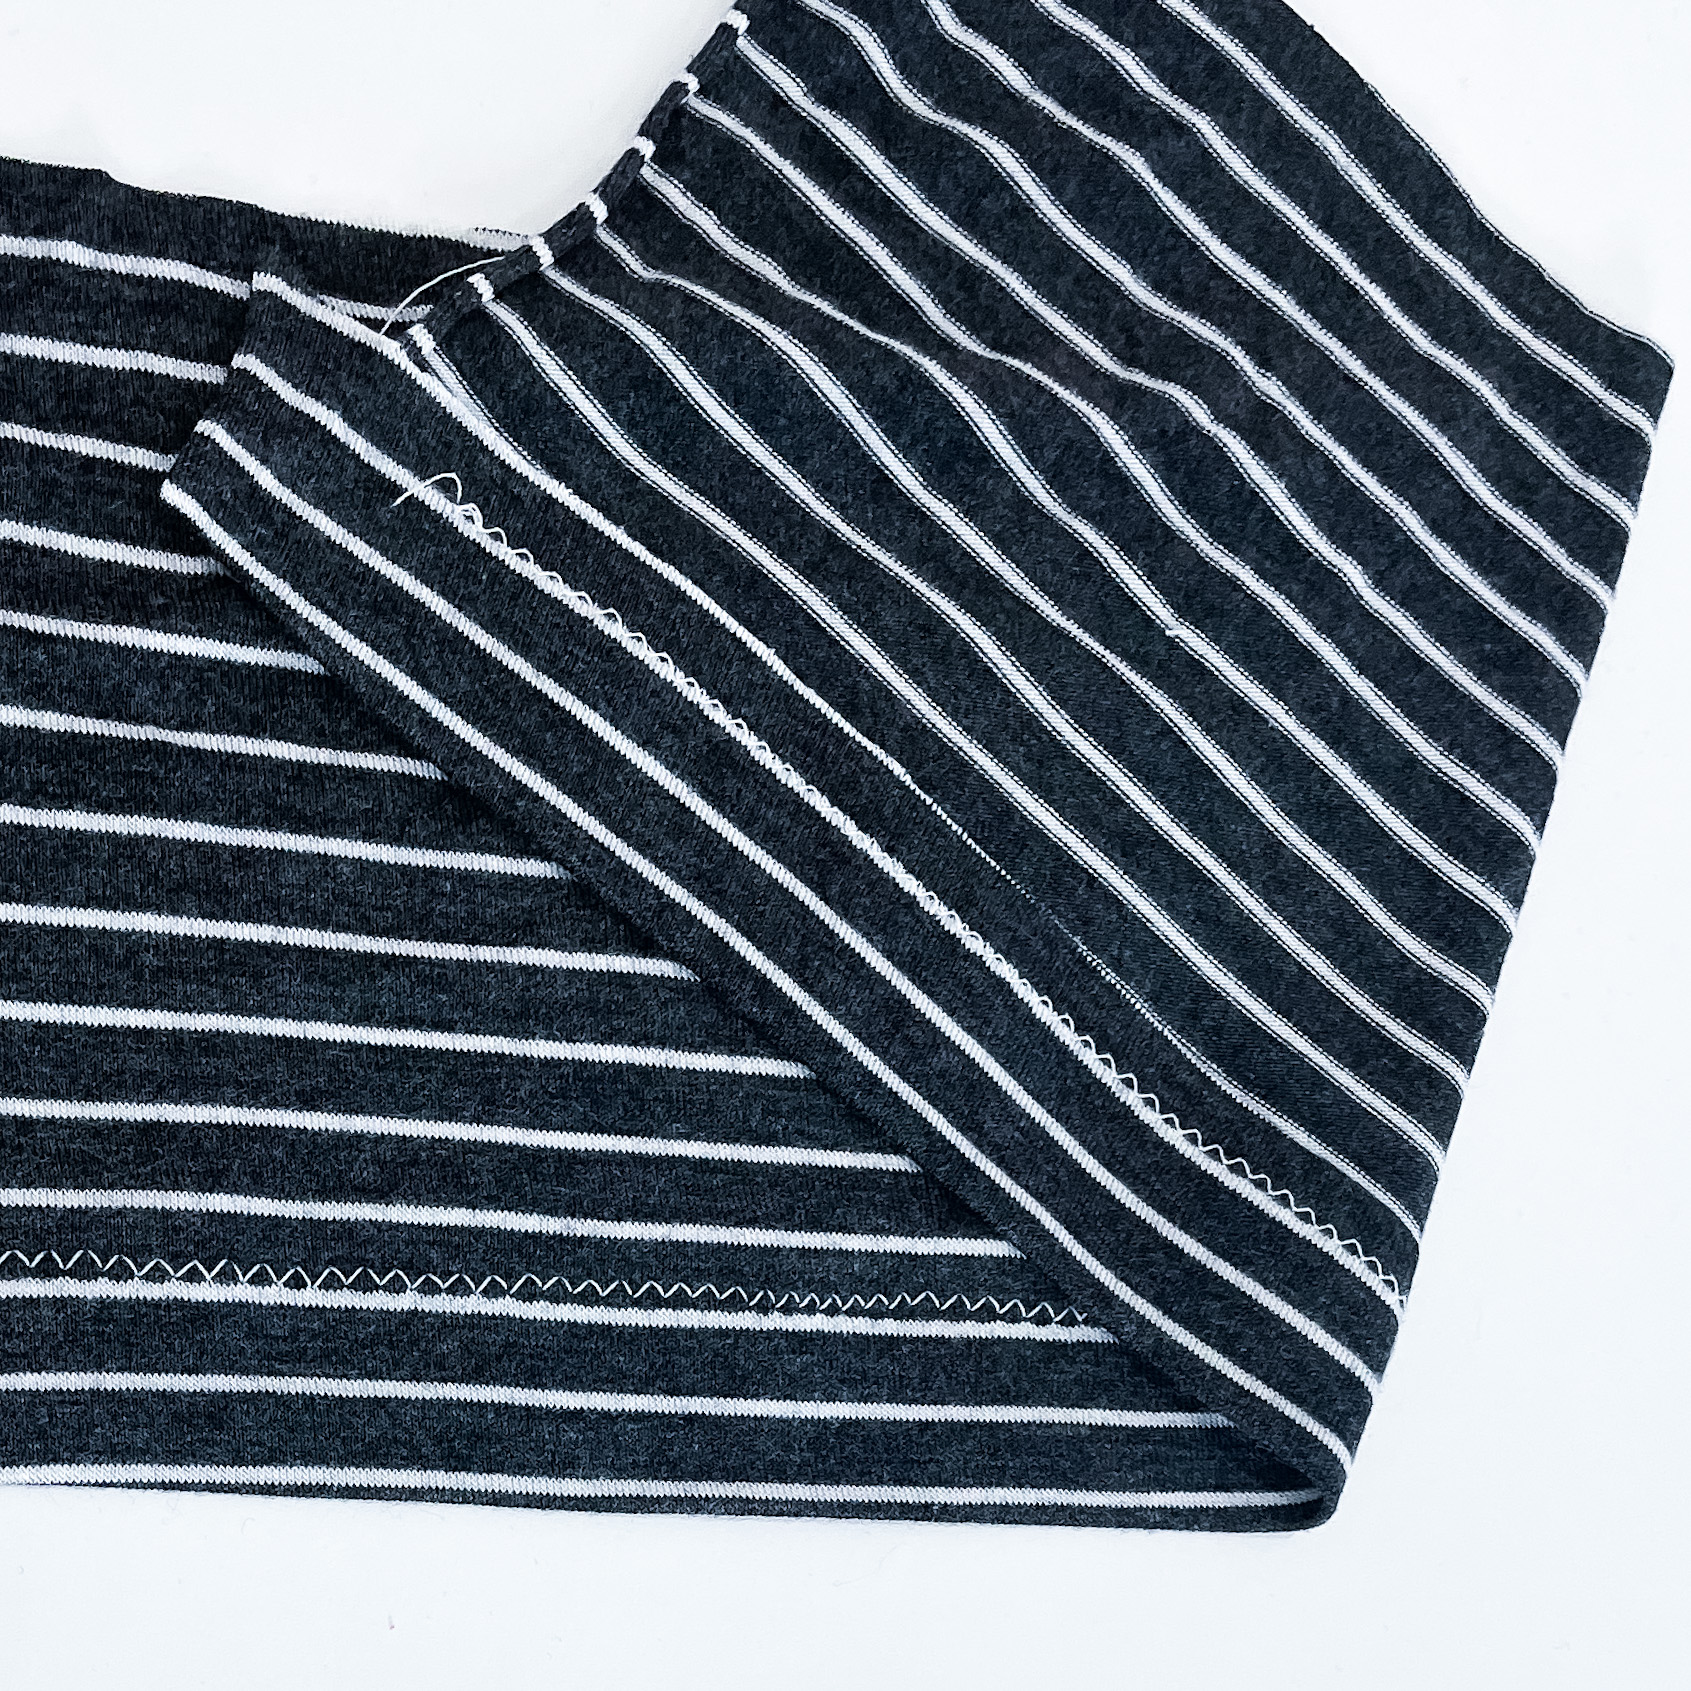
A blind hem is often used on more formal clothing, or perhaps even drapes, but did you know that it is also a great option for hemming your knit fabrics? Many machines have the option to sew a blind hem with a narrow zigzag that will not interfere with the fabrics’ stretch. Just like a blind hem on woven fabric, the blind hem stitch will apply intermittent deeper zigzags that will bite into the fold of the fabric leaving a small visible stitch. If your thread matches your fabric color then it will blend right in.
This is a great option for those articles of clothing that you would like to look more polished such as a pencil skirt or blazer. This is a very quick and easy stitch that works great for many types of knit fabric. I do prefer to serge the edge of my fabric before setting up the blind hem. Serging the edge of the fabric stabilizes the edge and helps prevent the fabric from rolling.


Faux Flatlock Hem
This is a really fun way to hem a garment, and maybe even add a fun splash of color. It works particularly well on more stable fabric, like a cotton lycra or French terry since you pull the fabric to separate the fold and therefore expose the parallel stitching.
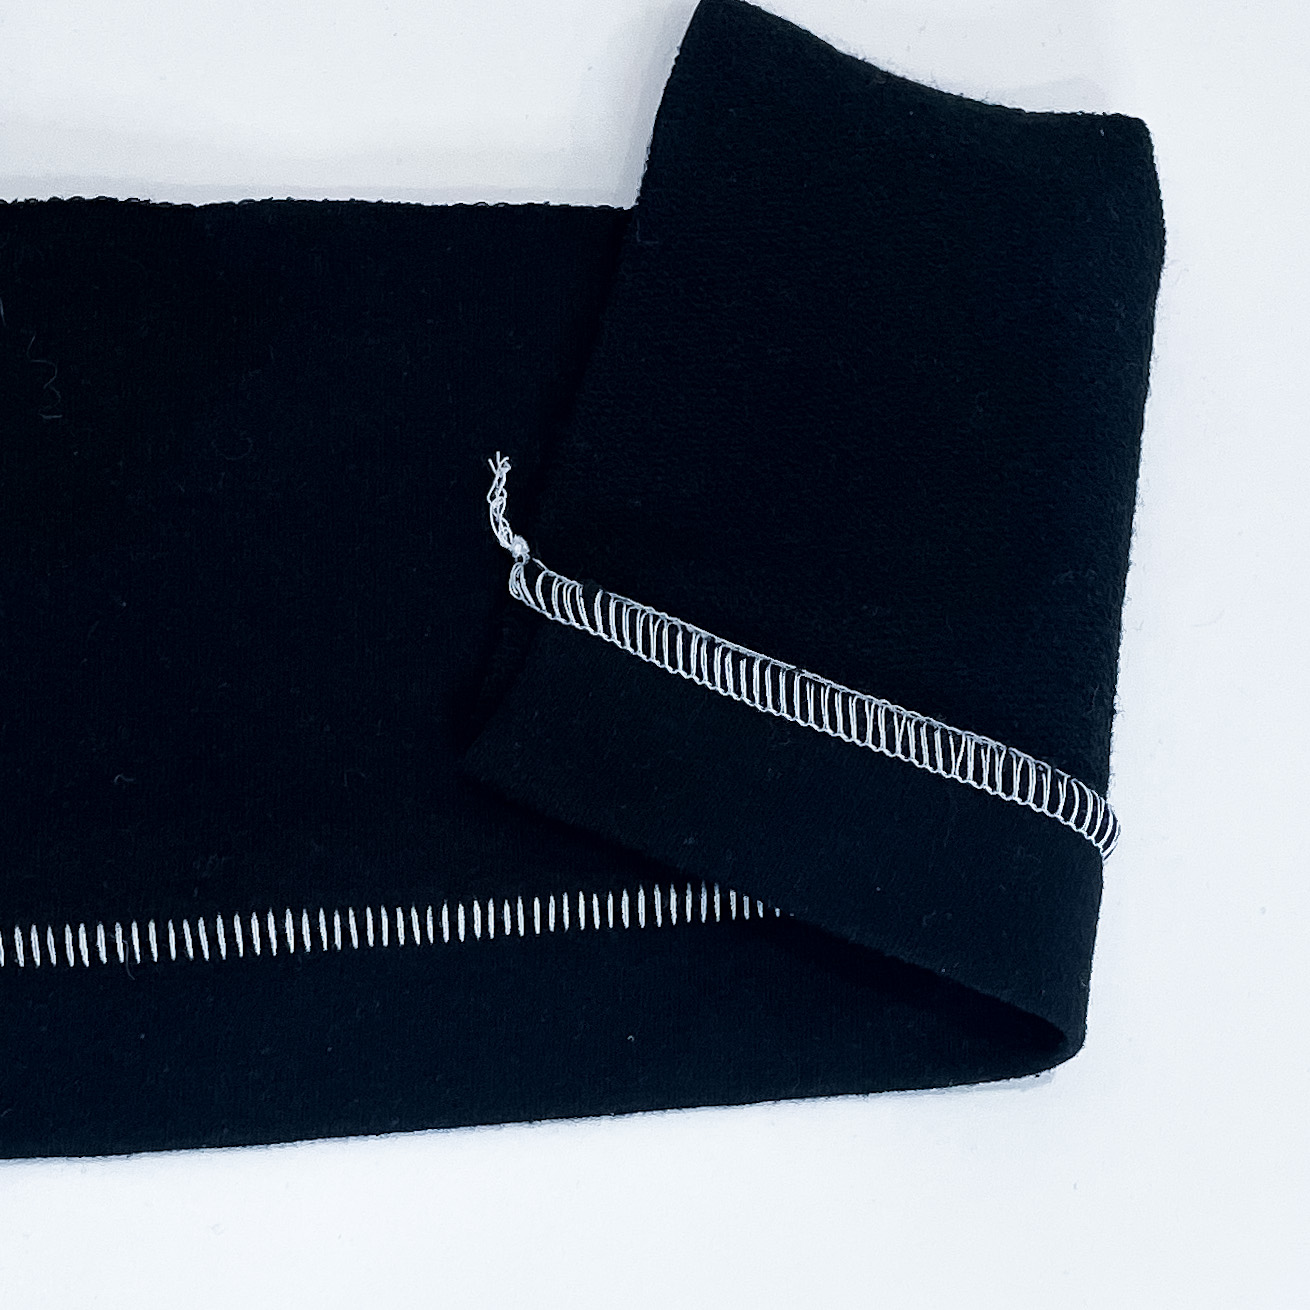
The faux flatlock hem that I am referring to is created by using a serger. You do need to play around with the needle tensions, especially since each machine is a little different, but I wanted to give you an idea as to how I set up my serger to achieve this stitch. *I have a Brother 1034D serger.
- Remove one needle (I personally removed the right needle).
- Drop your cutting blade, so the machine will not cut the edge of your fabric.
- Loosen your needle tension (mine is at 2)
- Loosen your upper looper slightly (mine is at 3)
- Tighten the lower looper (mine is at 7)
*You may also need to adjust your differential feed and/or stitch width; however, I personally did not need to make adjustments.
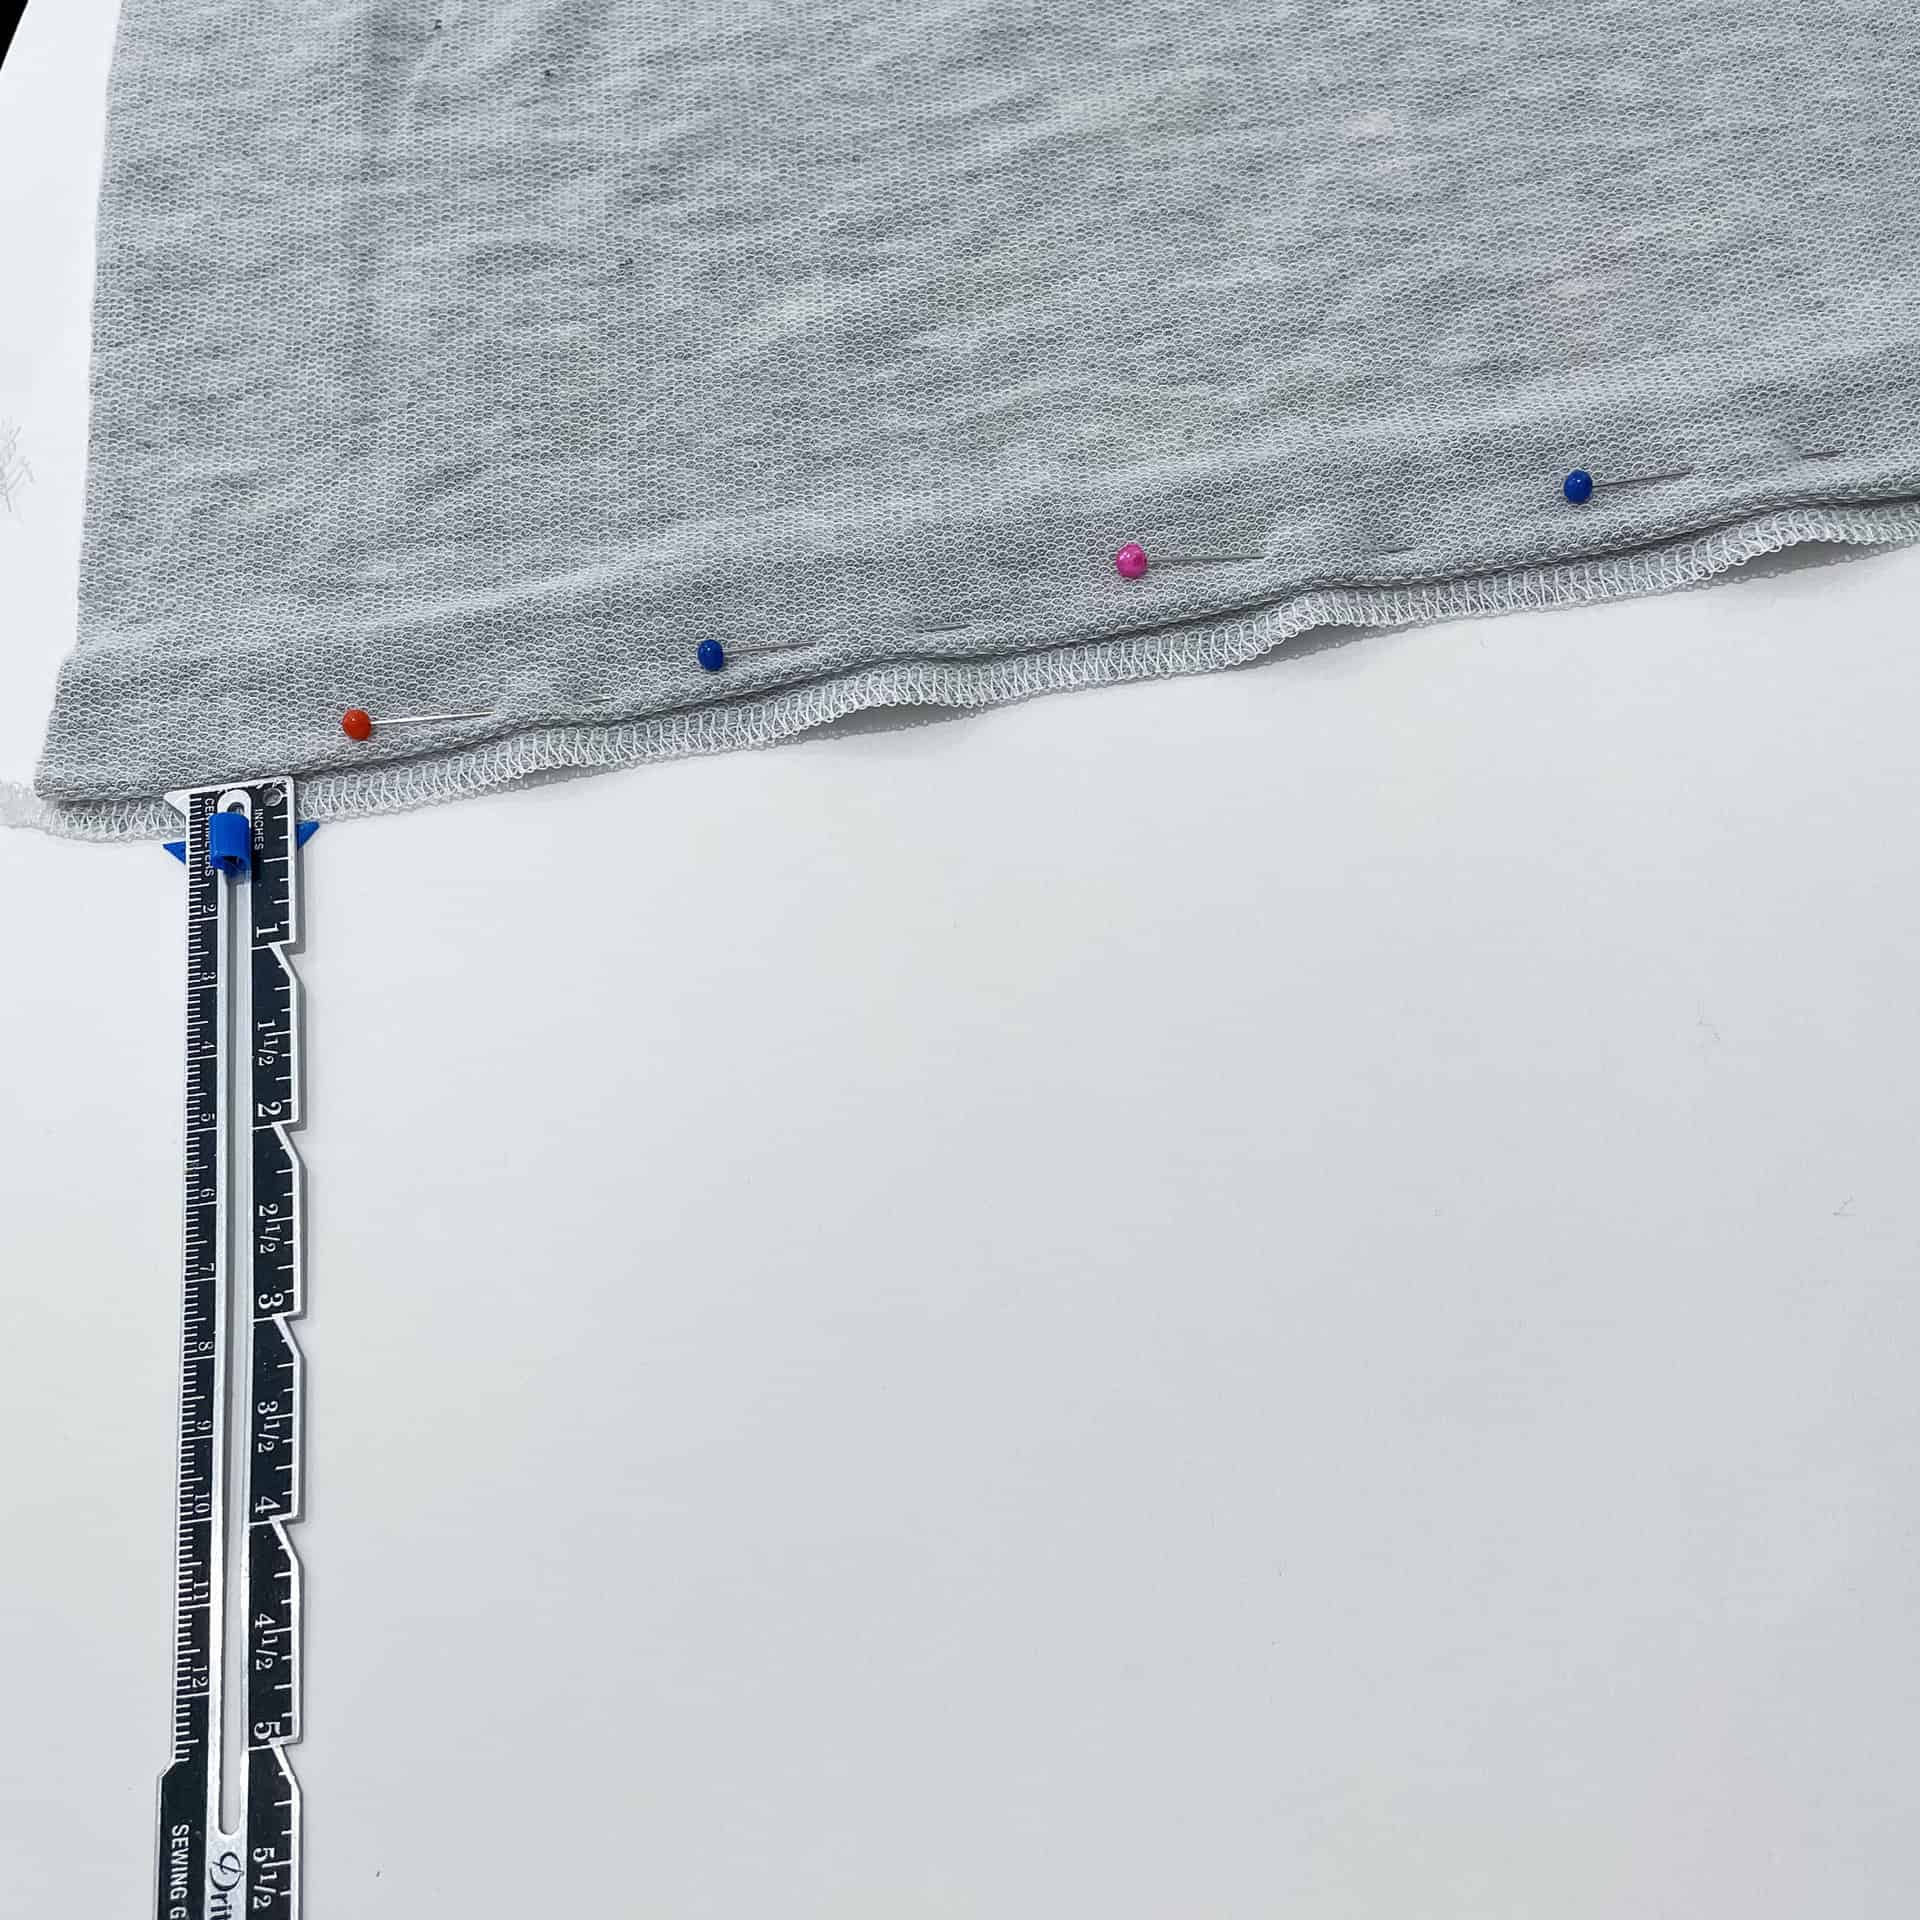
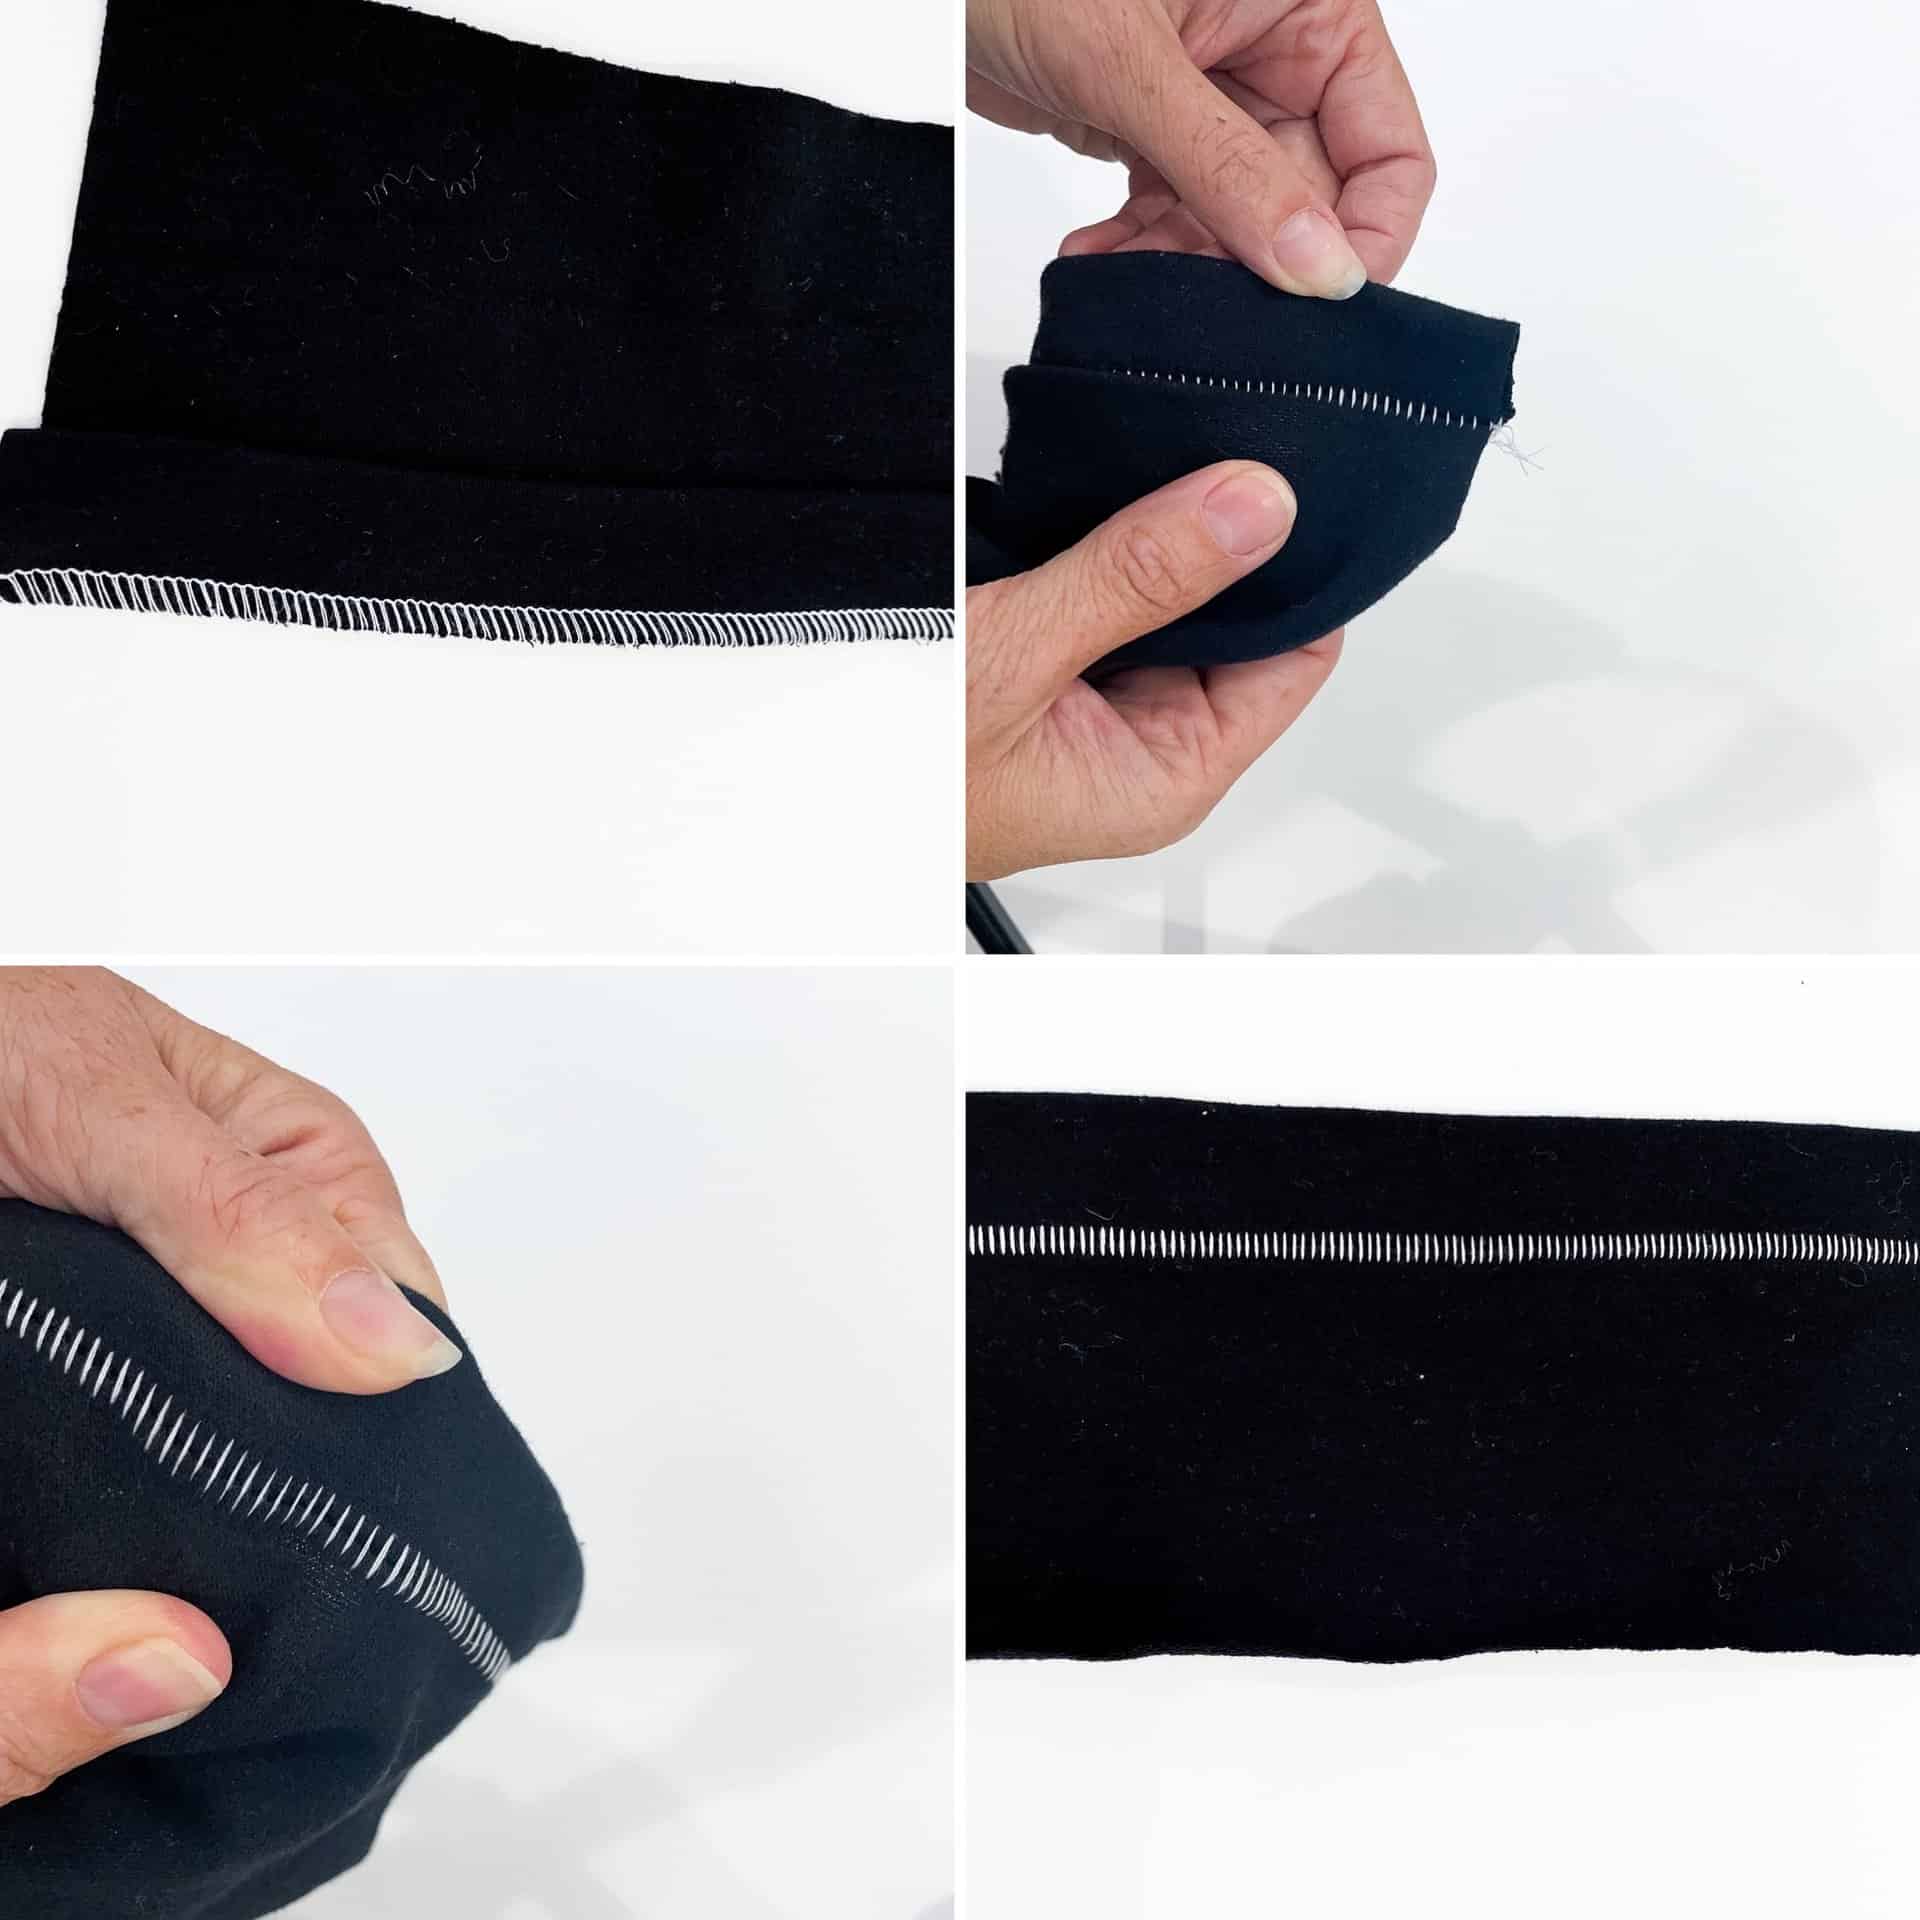
To prepare your fabric, you will first iron your hem in place. Depending on your fabric, you may want to baste your hem in place or use stay tape if you fabric is particularly unruly, but I typically do not need this extra step. Once the hem is pressed in place, you will do a second fold. You will fold the hem “accordion” style so you have the cut edge of fabric on top of a fold.. I use pins to hold the fold in place.
When you are ready to sew, you will place the fabric edges under the presser foot so the edges line up just to the left of the cut blade. When you sew, you should notice that the thread loops hang slightly off of the fabric.
Once the stitch is complete, I like to knot the threads to secure the stitch. To finish, you will unfold the hem and pull the fabric to expose the parallel stitch lines.
Have fun hemming your knit fabrics!
These are just a few ways to hem those knit fabrics. I love that there are different options and styles available to try. I know that hemming is not always our favorite part of sewing, but a nice hem can really give your garment a nice, polished look.
Thank you for reading!!
Save this article to your sewing Pinterest board:
