Going Green with Monaluna: How to sew a market tote bag
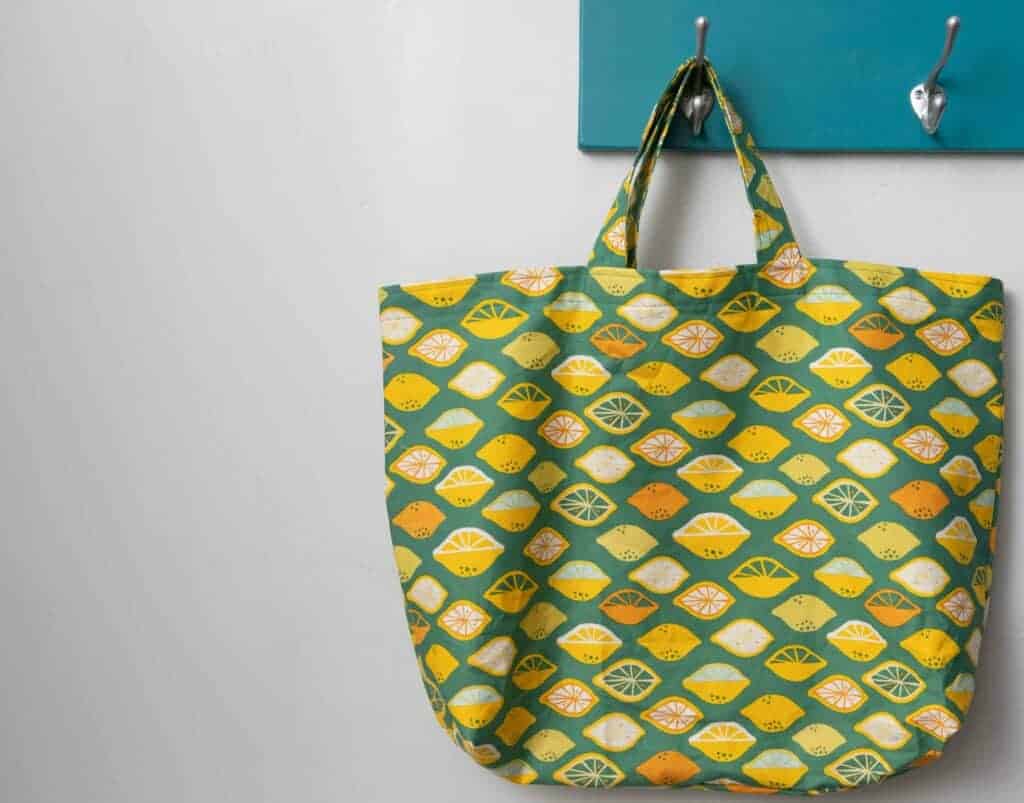
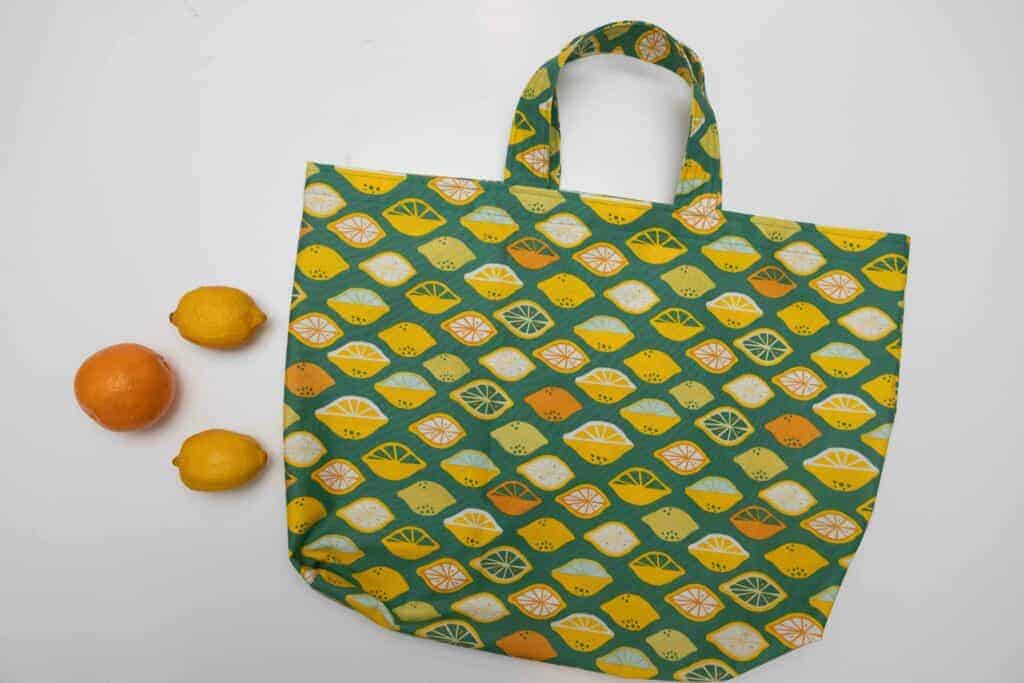
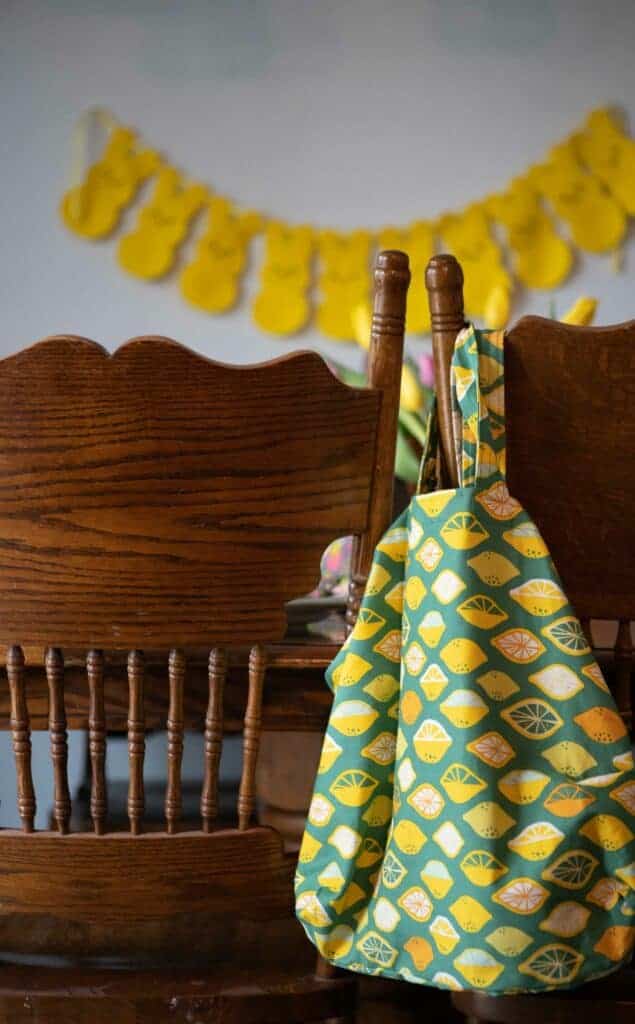
Today is the final day in our Going Green with Monaluna Series and I feel like we are going out with a bang. I love tote bags!! We have so many it’s crazy. And MOST of the time, I do pretty good remembering them when I go into the store. And with all these tote bags, I do have ones I prefer to use over others. However, none are perfect. Until now. I am so in love with the tote bag I designed for you guys and I hope you love it as much as I do!!
This tote bag is perfect for trips to the grocery store, library, or the farmers market!
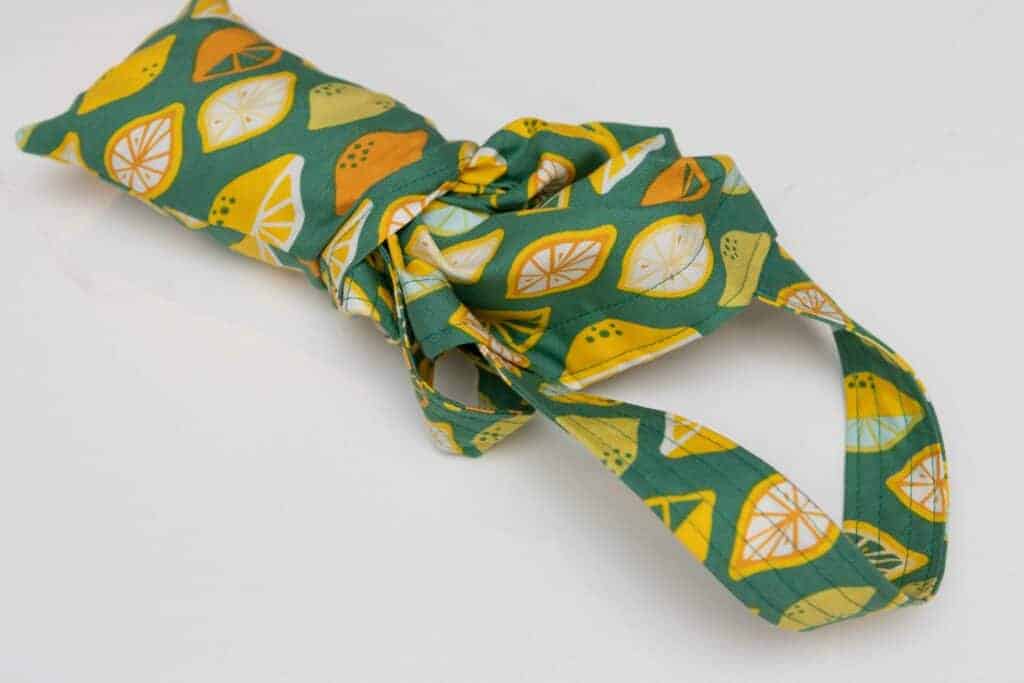
It’s also a great size for tossing a beach towel, some sun screen and a water bottle and snack into and hitting the beach. It holds a LOT and the straps are long enough to carry the bag in the bend of your arm, but not so long that the tote drags on the ground when you carry the bag in your hands. And then, I took it a step farther. I added a pocket that you can stuff the bag into so that it can be tossed into a purse, backpack, or suitcase for if you need it on the go. This is the last tote you will ever need.
Supplies needed:
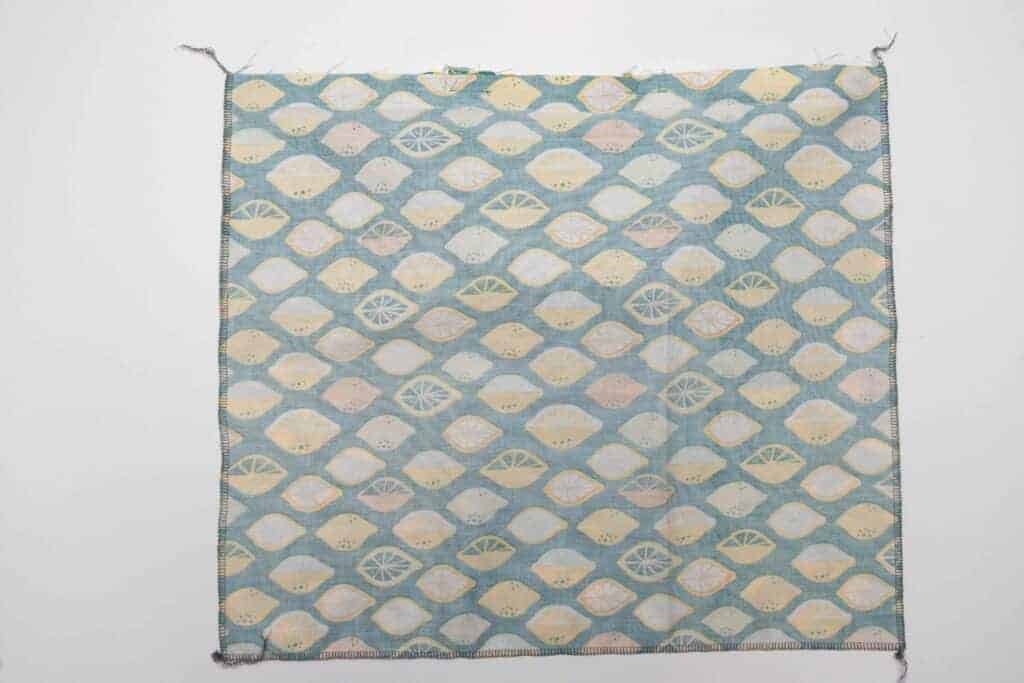
- One yard of fabric. Bottomweight fabrics are best but any woven fabric will work. I’m using Monaluna’s organic cotton canvas in Lemon-Lime from the Juicy Collection.
- Basic sewing supplies
Cut your fabric to size.
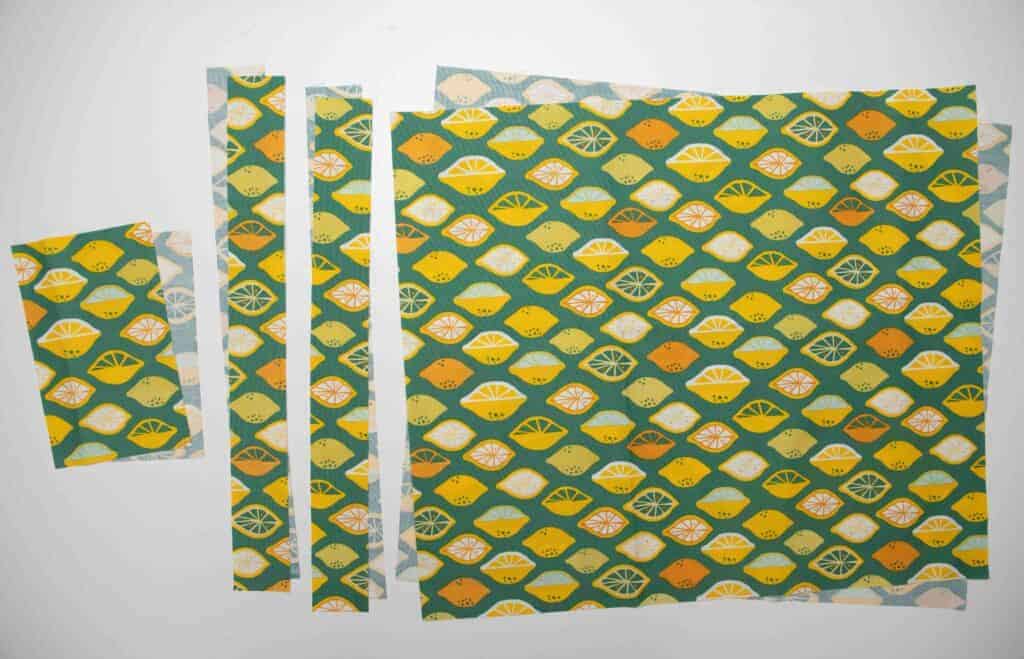
- Cut 2: 18″ tall x 22″ wide (front and back of tote)
- Cut 4: 2″ x 18″ (handles)
- Cut 2: 5″x8″ (optional pocket)
Assemble the handles
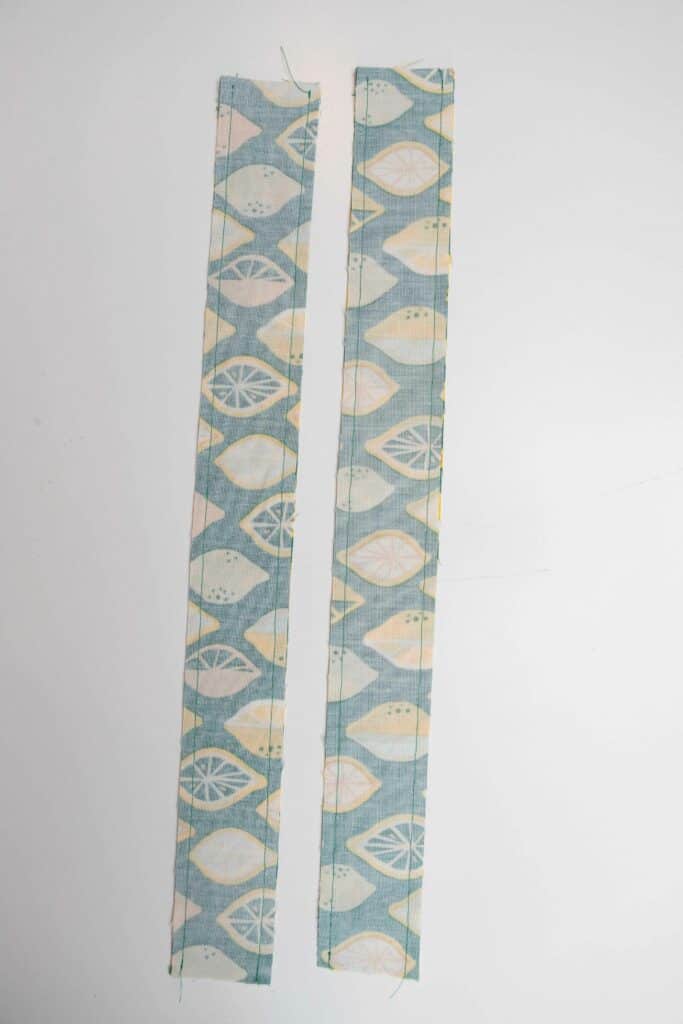
Take two of the 2″x18″ rectangles handle pieces and place them right sides together. Sew together along both of the long sides using a 3/8″ seam allowance. Repeat with the other two handle pieces.
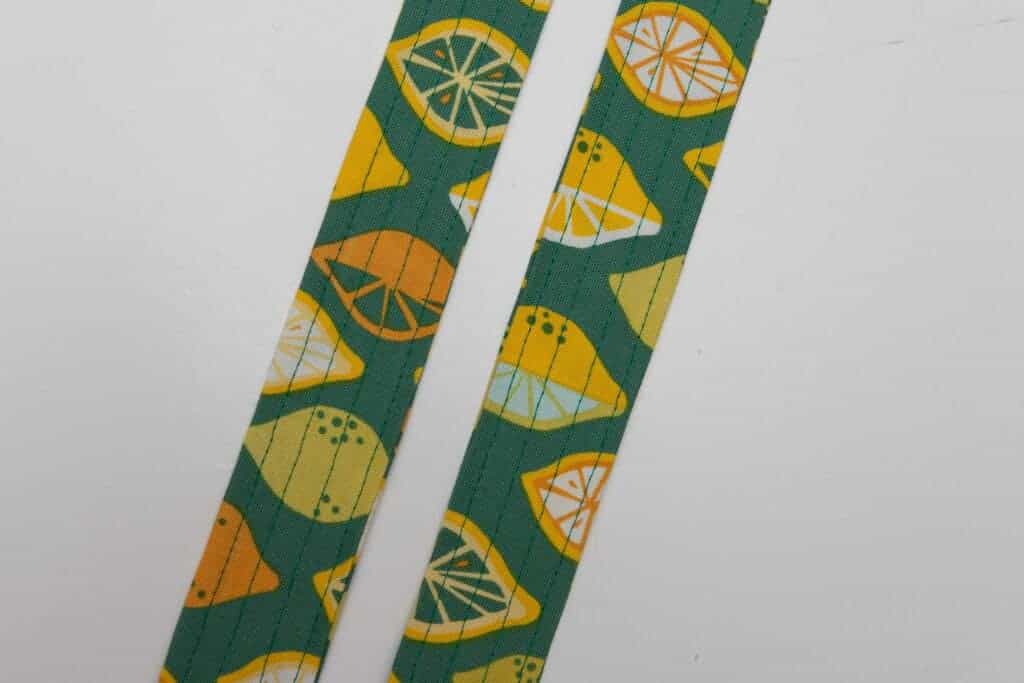
Turn handles right side out. Topstitch four rows of stitches the length of the handles. Set handles aside.
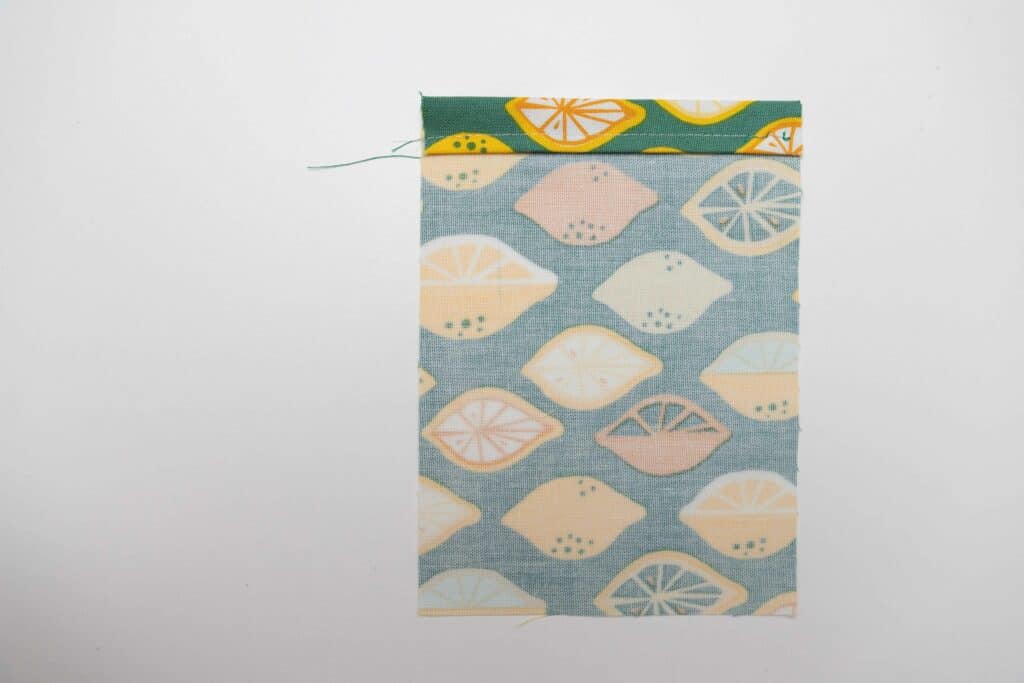
Assemble the optional pocket. Take one 5″x8″ pocket piece and fold the top short edge over to the wrong side 1/2″. Fold over to the wrong side again to encase the raw edge. Topstitch hem in place.
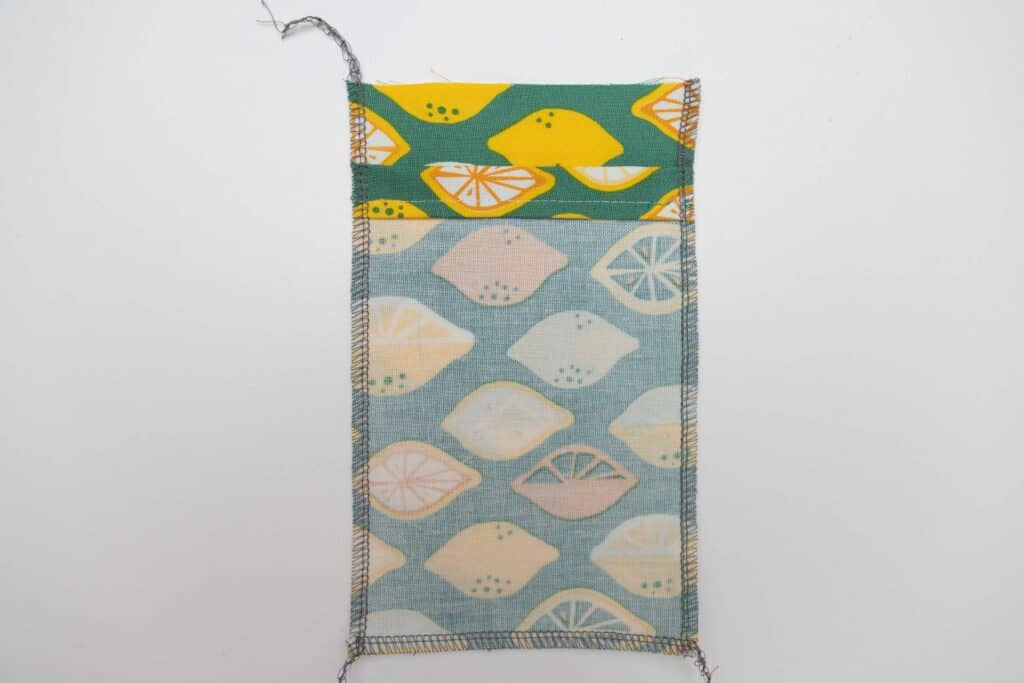
Take the second pocket piece and place it right sides together with the pocket piece that was hemmed aligning the bottoms and sides. Stitch together with a 1/4″ seam allowance. If you do not have a serger, finish the raw edge with a zig zag stitch or pinking sheers.
Turn pocket right side out and press. Set aside.
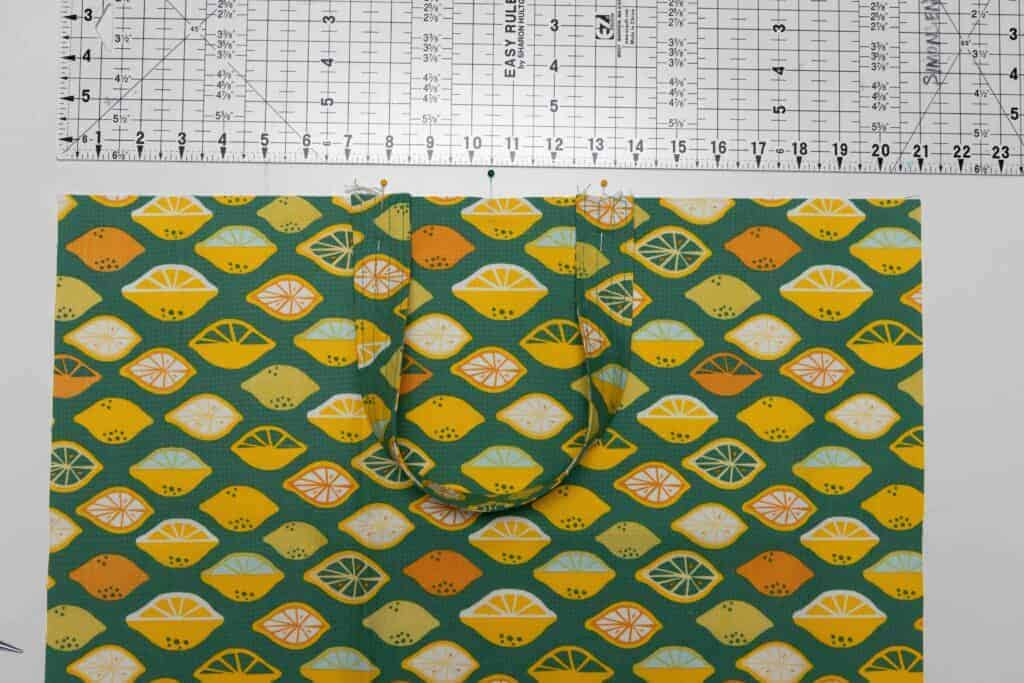
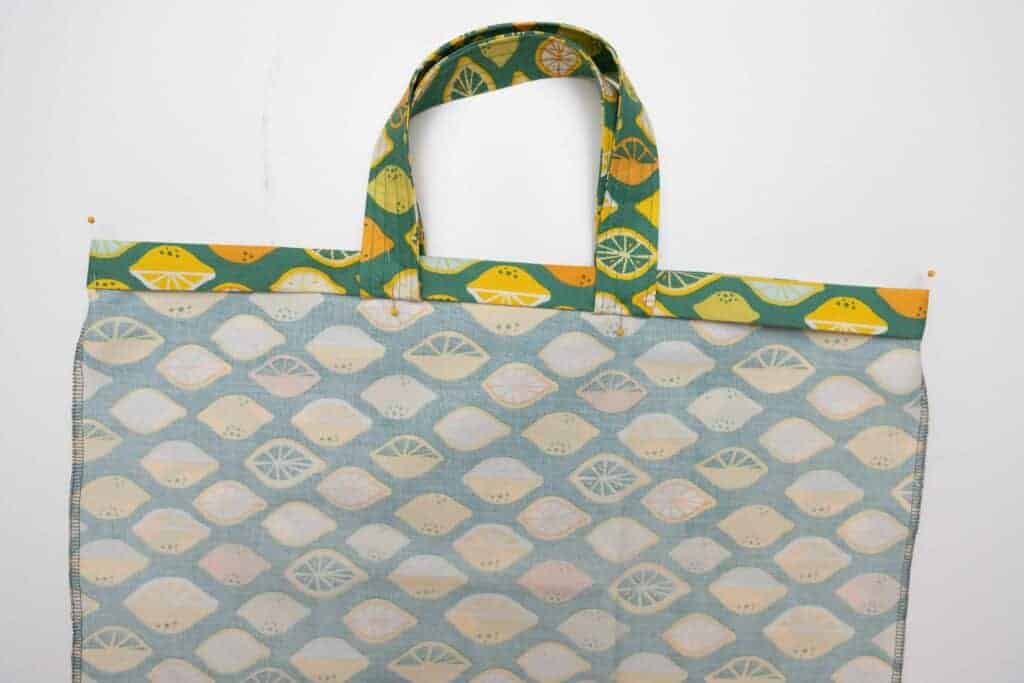
On the right side of the front piece, position the outside edge of the handle 7″ from each side. There will be 4″ between each end of the strap. Sew handles in place half an inch from the raw edge. Repeat with the other handle and back piece.
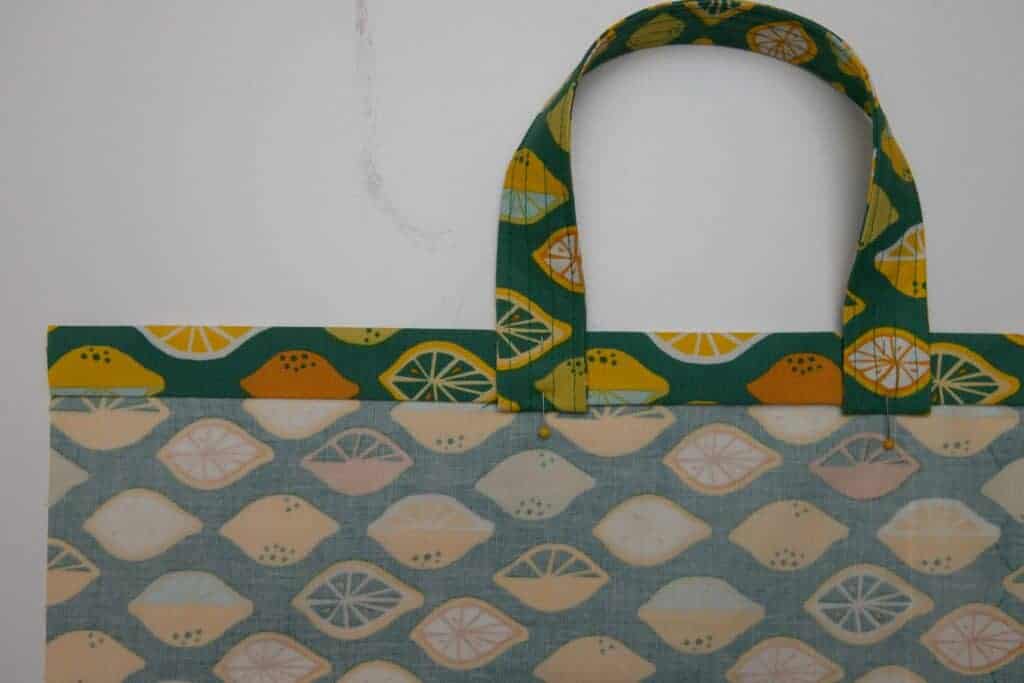
Fold the top down 1″ to the wrong side and press.
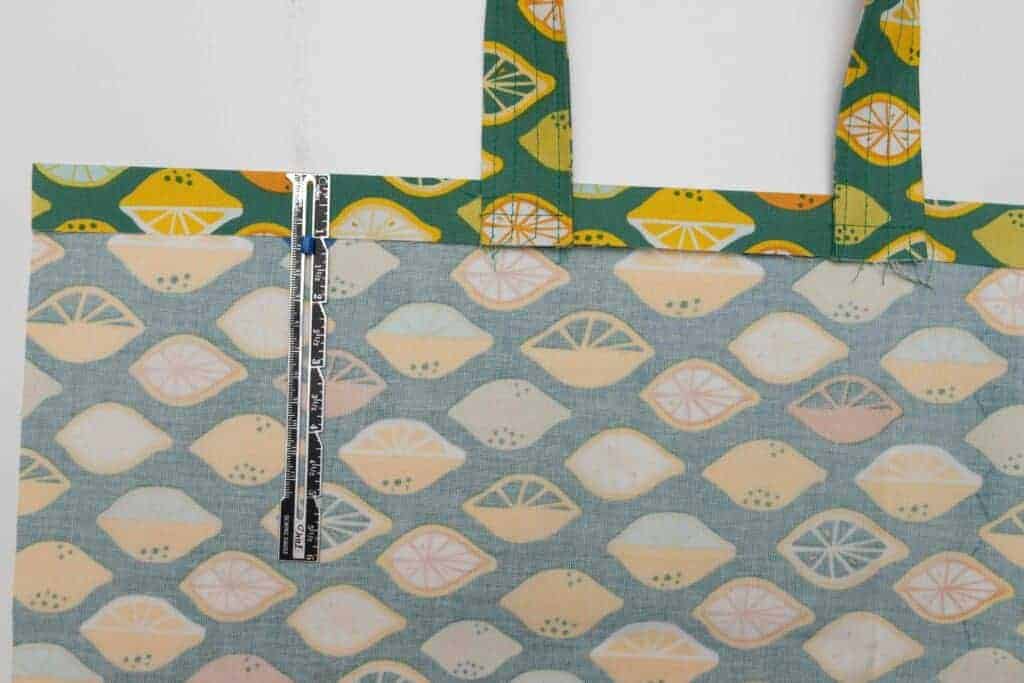
Fold the hem over once more to encase the raw edges. Fold the handle upward and press. Do NOT stitch into place yet! Repeat pressing the top hem into place with the other piece.
Unfold top hem. Place front and back right sides together and sew along the sides and bottom with a 3/8″ seam allowance. Finish the raw edges with a zig zag stitch if you do not have a serger.
Create the box corners
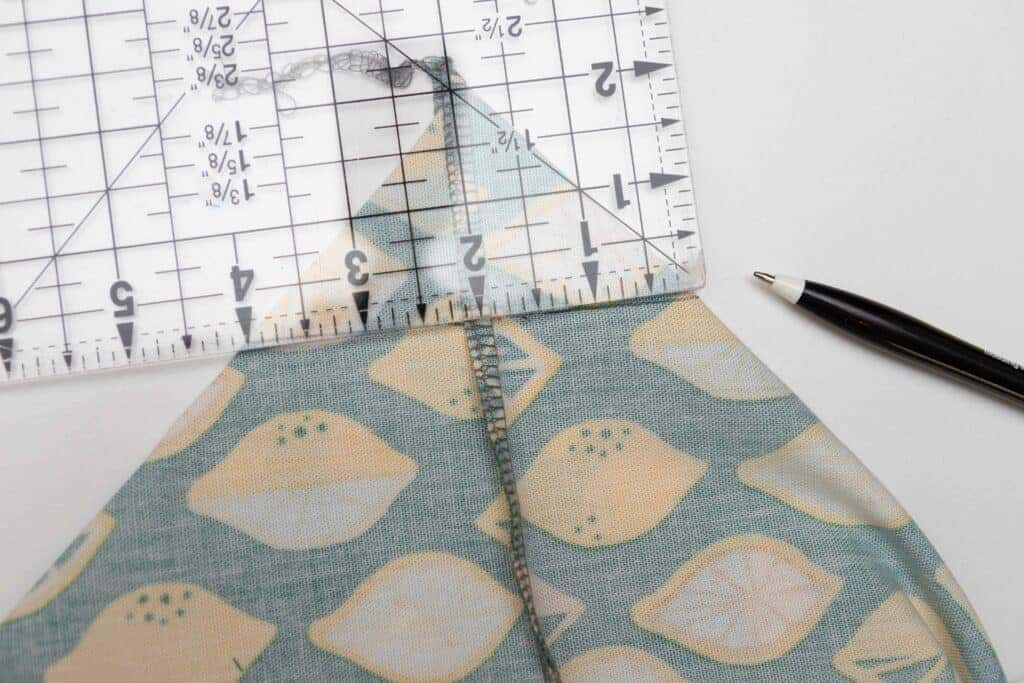
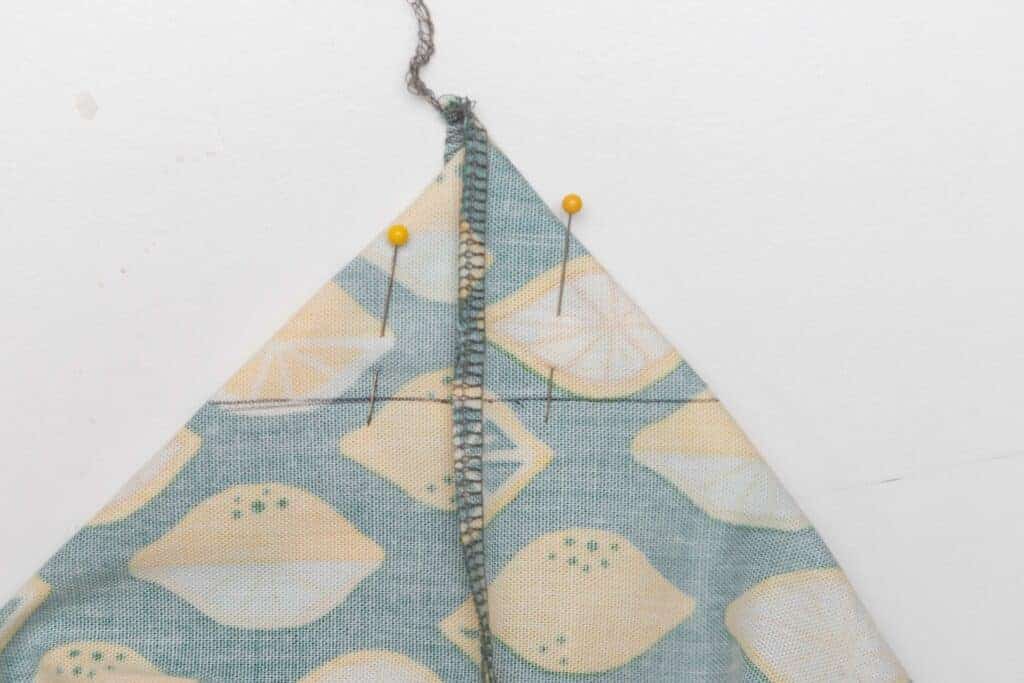
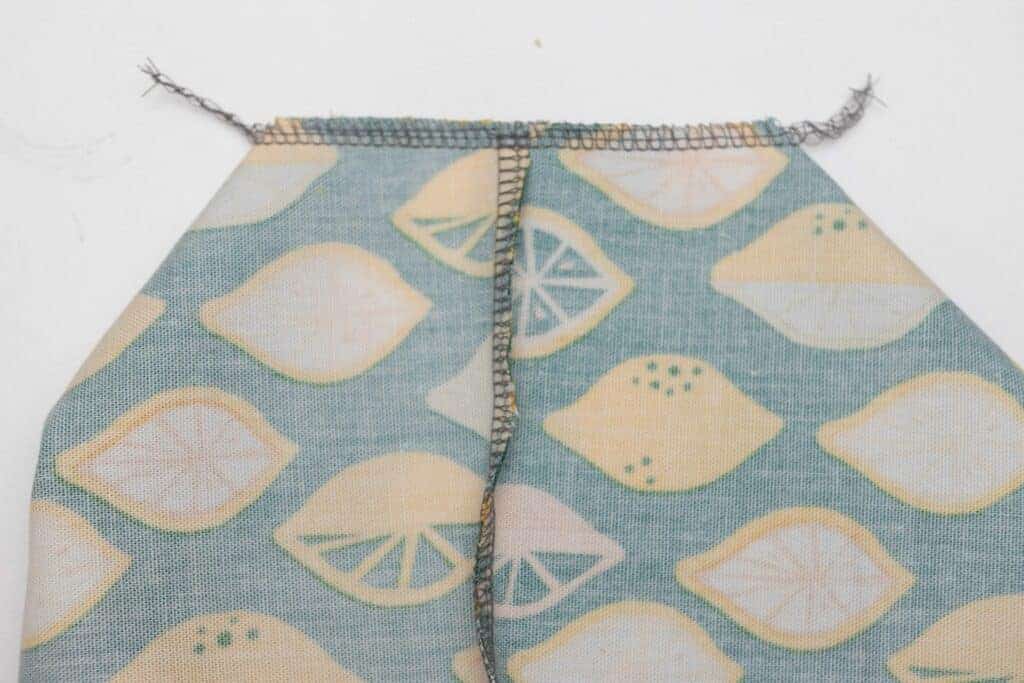
Fold the bottom corner so that the side seam lines up with the bottom seam of the tote bag. Measure 2″ down from the corner and mark. Your line will be 4″ long.
Pin into place. Repeat with the other corner.
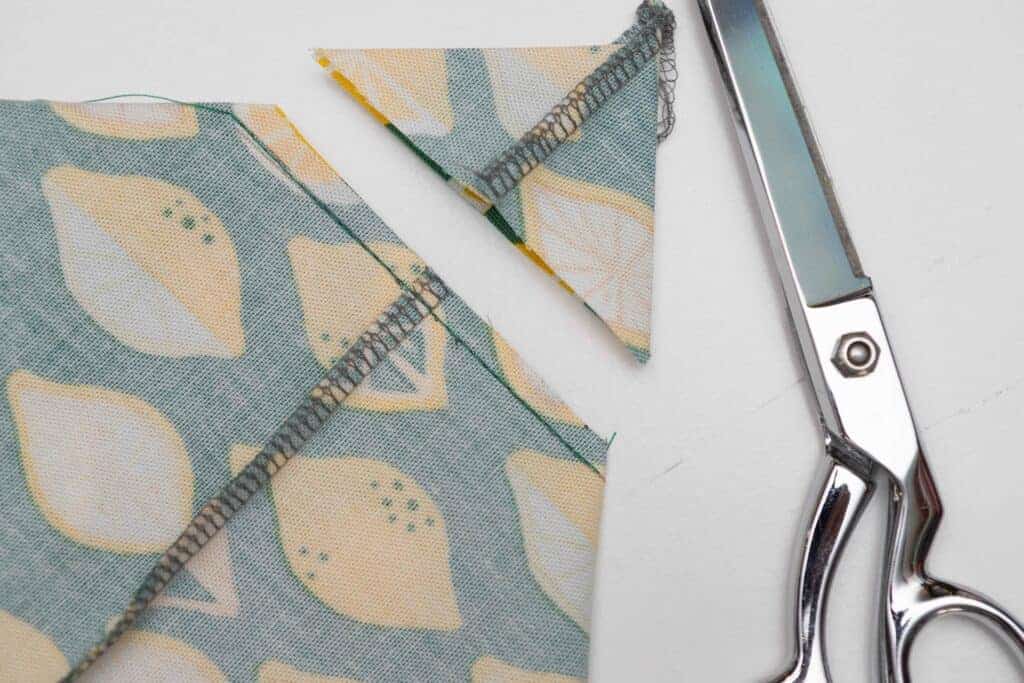
Sew both corners along the line you marked. Be sure to backstitch at the beginning and end of each seam! Trim the excess corner off from both corners.
Finish the raw edge with a serger or zig zag stitch. You can sew this with just the serger, but I prefer to sew it with the machine first to ensure my seams line up properly.
Hemming the top of the tote bag
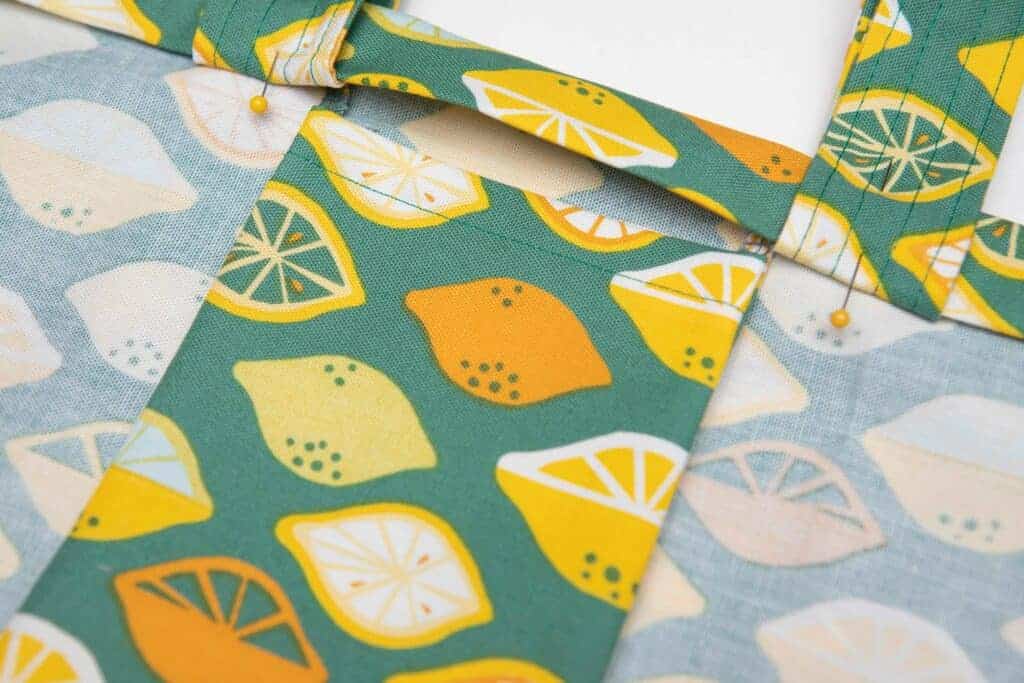
Refold the hem and handles and pin into place.
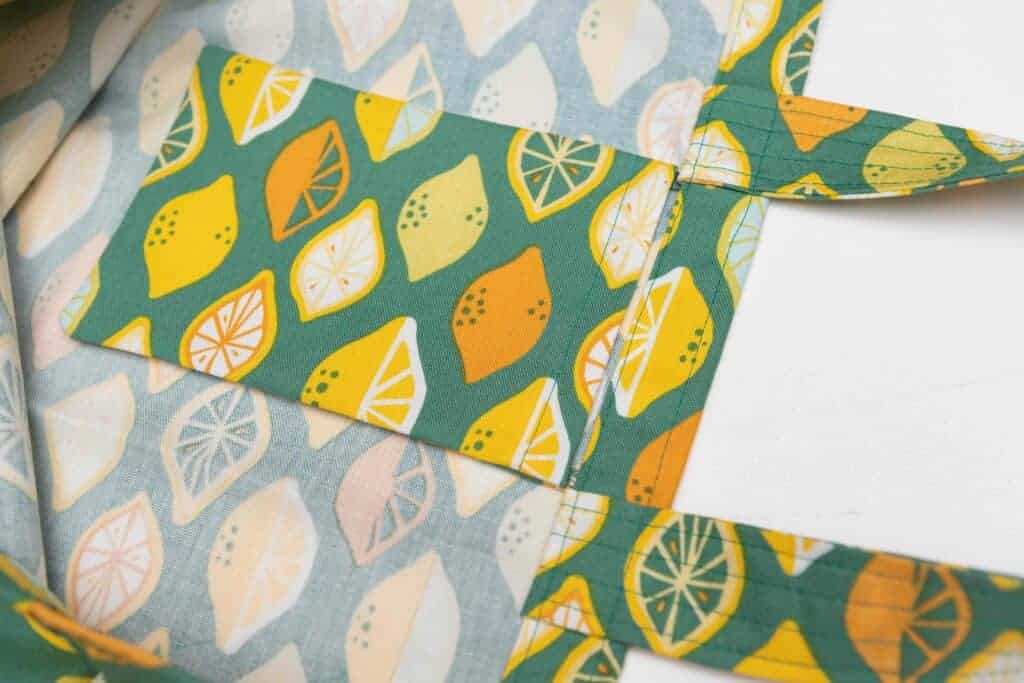
If adding the optional pocket, slip the top 1″ of the pocket under the hem between the handles and pin into place.
Topstitch the hem into place with two rows of stitching along the top and bottom of the hem. When you topstitch the hem, you will also sew the handle in place in an upwards position.
You now have your new favorite tote bag!
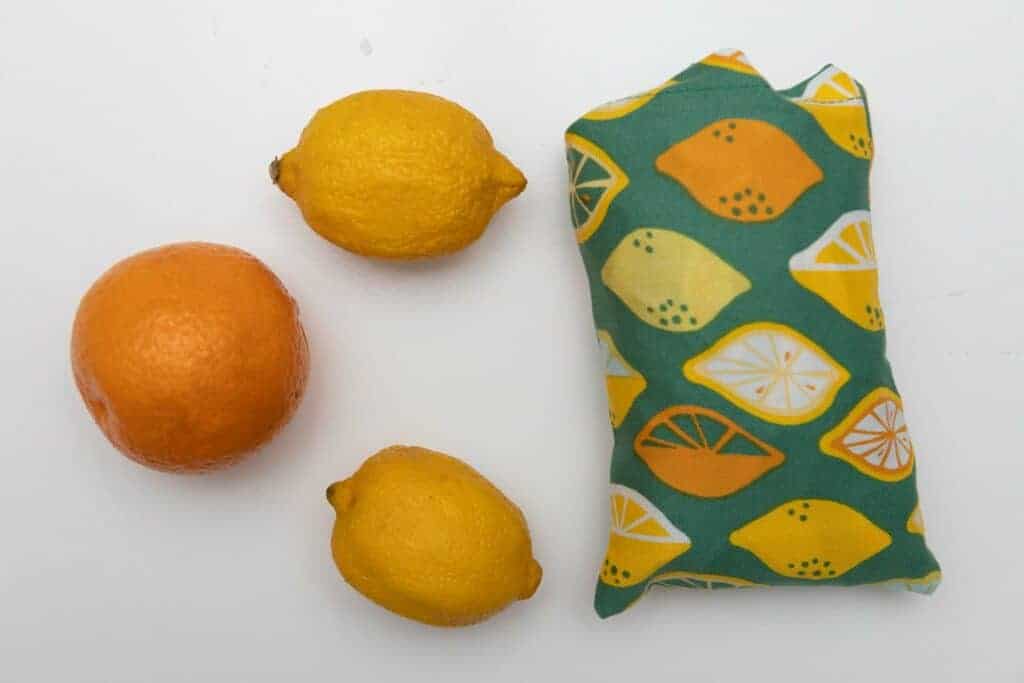
The pocket is perfect for stashing your keys or phone in while browsing flea markets or the grocery store. But it’s also a great way to store the bag! Just shove the bag into the pocket when you aren’t using it!
I tried folding it nicely, but really, stuffing worked best. Once it’s all shoved inside, it’s perfect for tossing into a purse, backpack, duffle bag, etc for when you need it.
Tips for remembering to use your new tote bags
Sewing the bags up is the easy part. The hard part is incorporating using these bags in your daily life. I’ve learned a few tricks to help me remember my bags and maybe they will work for you also!
- I carry a sling bag as a purse. It has your typical mom things in it. My wallet, bandaids, chapstick, phone, stainless steel water bottle and a couple of these bags. Being able to shove them into the pocket makes them compact enough to toss into my sling bag so I always have them with me.
- Second, I hang my sling bag with the totes in my house. That way, I have a visual reminder to grab the bags when I’m walking out the door. They are right there with my sling bag!
- Third, Don’t put them in the trunk of your vehicle. While you are learning the habit of using them, keep them where you can see them. I toss mine on the passenger seat with my sling bag. Or, if you have a small child with you, you can place the bags on the floor at their feet. When you get the child from their carseat, you will see the bags and remember them.
- Once you get into the habit of carrying the bags into the store, you can store them in the trunk of your vehicle. As soon as we unpack the groceries, I put the bags back in the trunk, if they aren’t hung with my sling bag that is.
- And don’t worry. If you forget the bags in the car. There is nothing wrong with loading the groceries back into the shopping cart and taking them to the car that way. Just load up the bags once you get to the car. No shame. We’ve all been there!
Going Green with Monaluna
Day One: How to sew reusable food wraps
Day Two: How to sew reusable snack bags
Day Three: How to sew cloth napkins
Day Four: How to sew tea towels


