Hip Hop Sew Along: Day Three
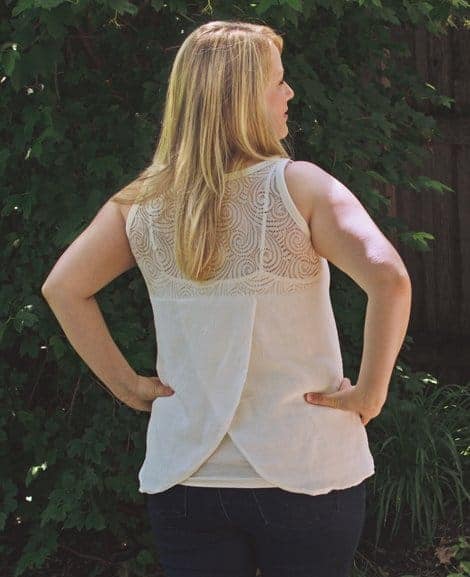
Day three of the Hip Hop Sew Along will focus on view B, the tulip back. I love how flexible this pattern is! The tulip back for the Hip Hop tank works great for a variety of fabrics. You can use a light weight woven with drape, like lace, satin, rayon challis, voile, or even go sporty with an athletic brushed poly like I did!
Sewing view B: the tulip back
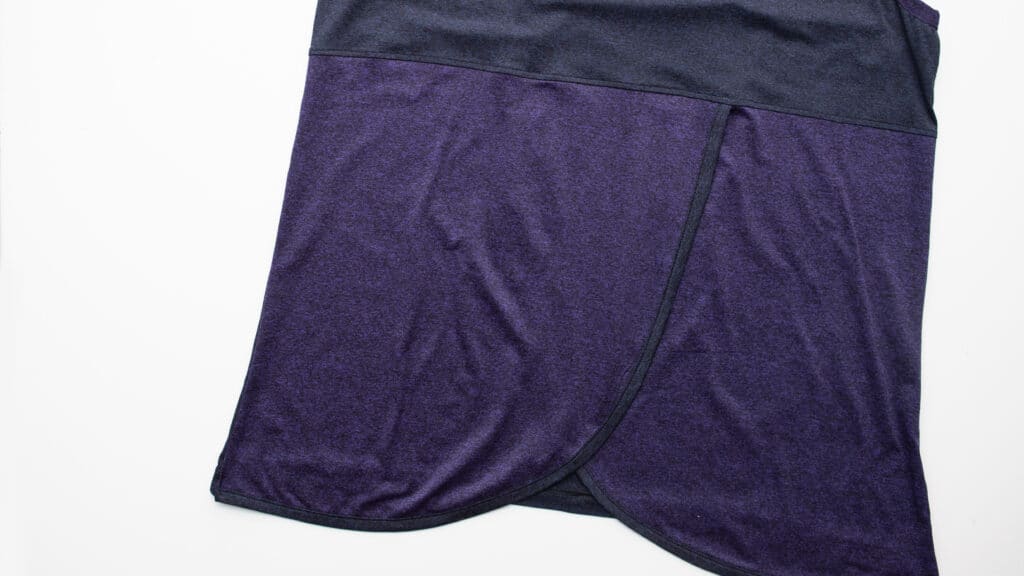
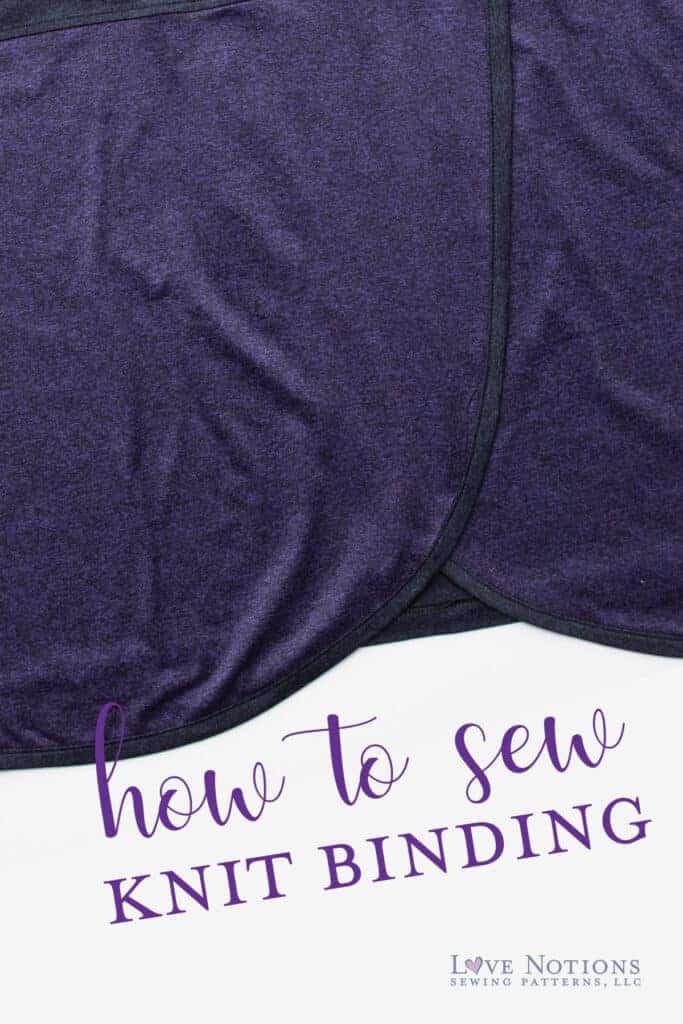
The tulip back of the Hip Hop Tank is created by sewing two panels right sides together and then turning right side out and pressing to enclose all the raw edges of the curved edge. This creates a beautiful finish, but it also uses a lot of fabric. What if you have only a small amount of fabric and you REALLY have your heart set on using it for the tulip hem? I’m going to show you how to use a knit binding to finish the raw edge. This knit binding also gives a nod to an athletic look that is so popular with today’s athleisure wear trend.
To sew a knit binding, you will need to cut a length of knit fabric, 2″ x the length of the curved edge of the tulip back piece. You want to cut this piece crossgrain, with the stretch going in the direction of the greatest length. Cut 2.
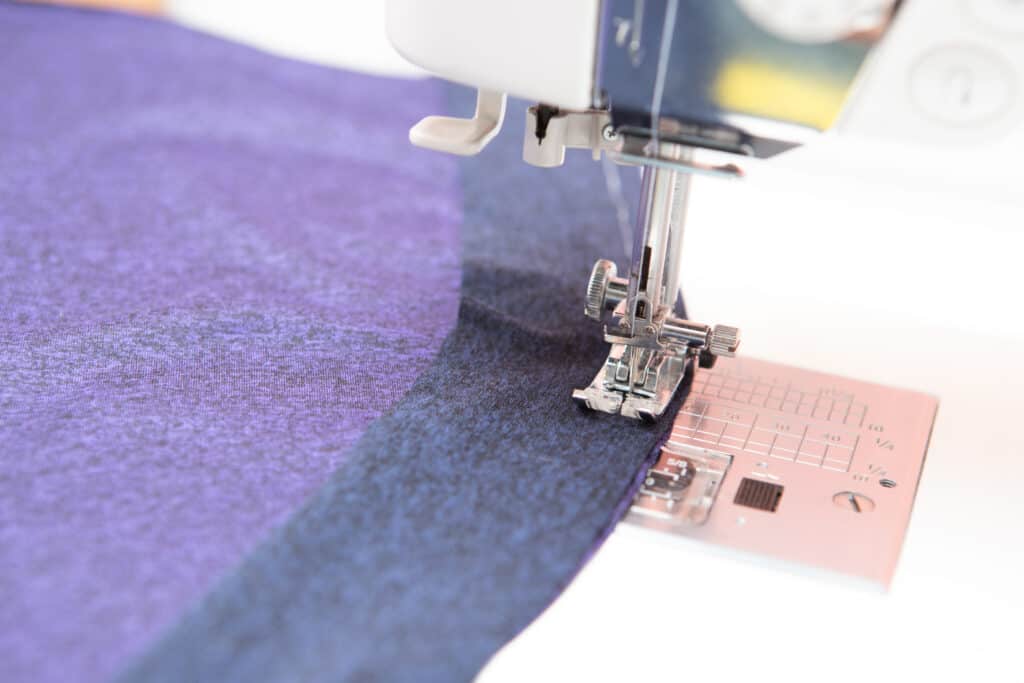
With right sides together, sew the binding to the curved edge of the tulip back with a 3/8″ seam allowance. Don’t stretch the binding as you go and be careful to follow the curve of the hem.
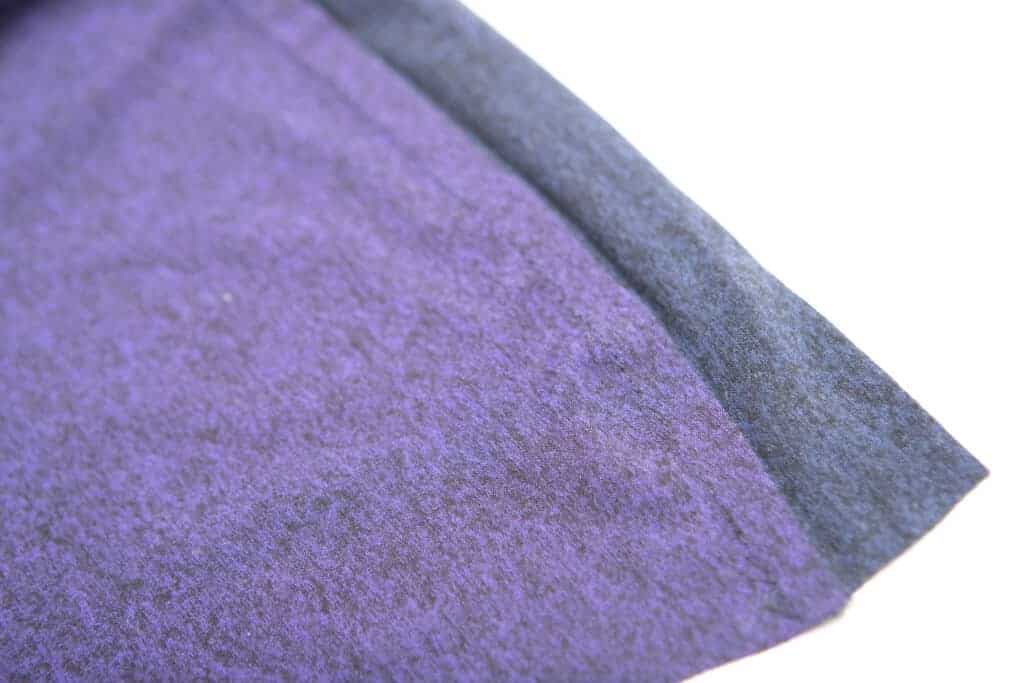
Press the seam allowance towards the binding.
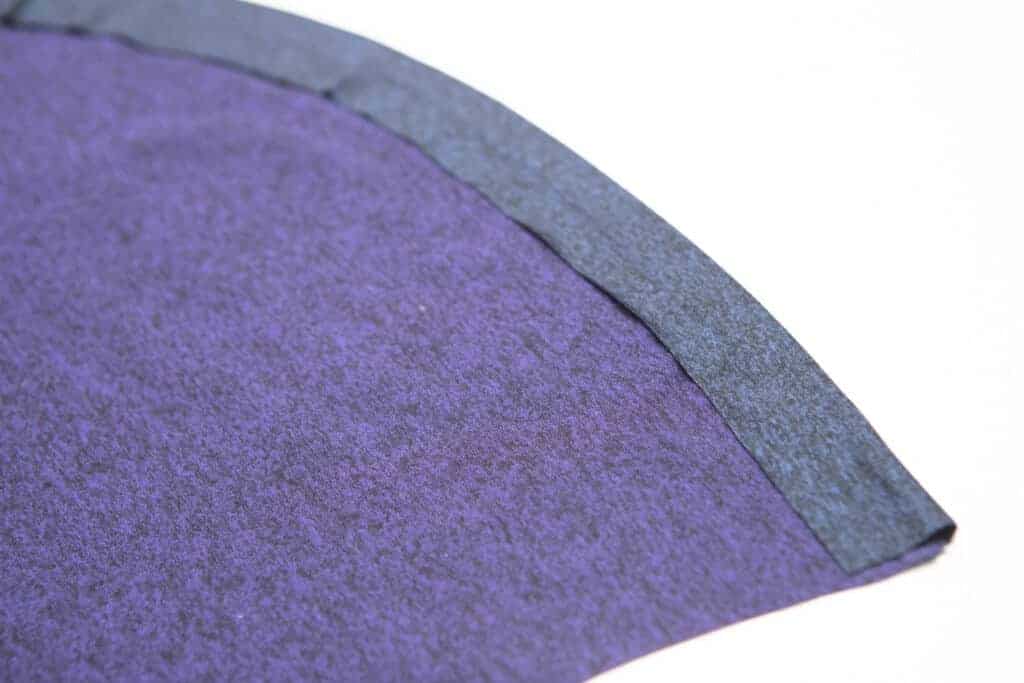
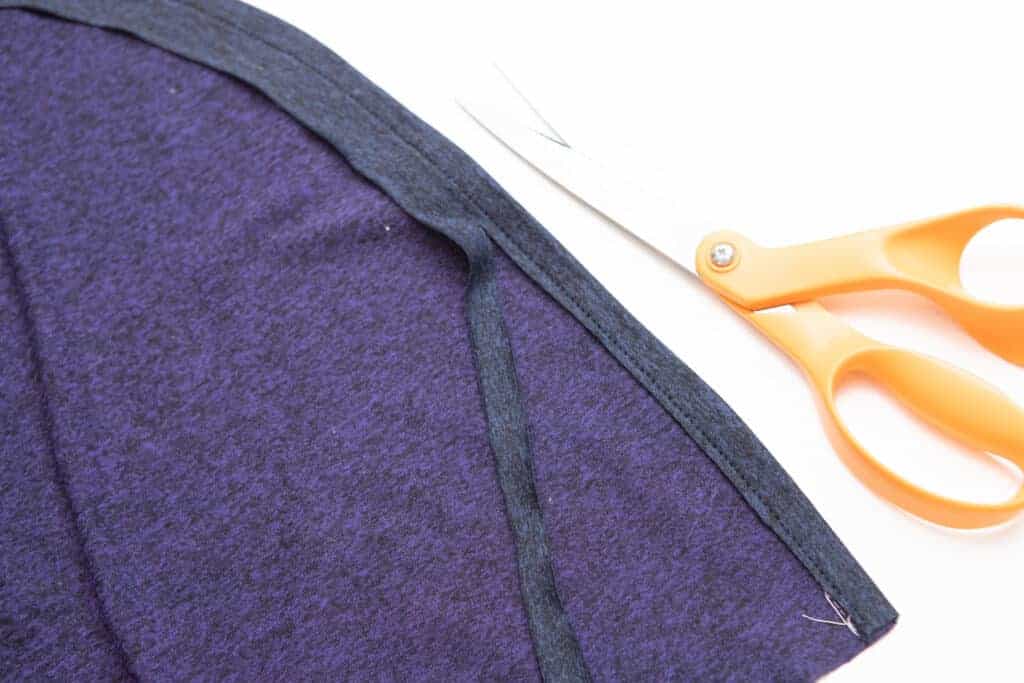
Wrap the binding around the seam allowance towards the wrong side of the tulip back piece. You will have excess fabric. Don’t worry about that right now, we will trim it off later.
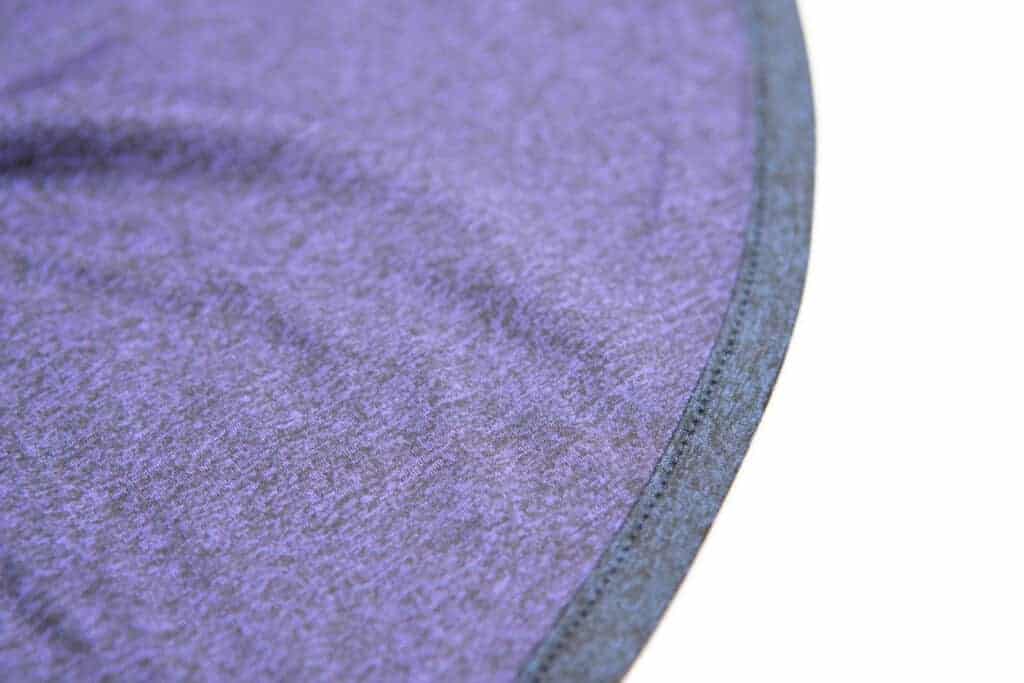
Topstitch the binding in place.
Trim the excess fabric to 1/8″ from the seam. Because the fabric is knit, we don’t have to worry about fraying. Take your time to get clean smooth cuts and avoid clipping into the body of the tank!
Remember to press smooth. Pressing when sewing is always important! Don’t skip it!
I like to use this binding method on the arm holes and neckline of the Hip Hop Tank as well. It provides a less bulky finished edge, that I prefer when using lighter weight fabrics. The video below shows how to use this same method for binding the arm holes and neckline. If you want to refer to the video for binding the tulip edge, just omit sewing the binding into a circle. And remember not to stretch the binding for the hem.
That’s all we have for today!
If you love to sew along with friends, join us in the Facebook Support Group. There you will find live videos each day of the Sew Along and how you can enter our Sew Along give away! One winner will receive a $50 gift certificate to Love Notions and a $50 gift certificate to Surge Fabrics!
Day One: Pattern Assembly, picking fabric
Day Two: Sewing the basic tank, hood hack


