Let’s tackle the bust dart today – and understand how they can drastically affect your overall fit in sewing.
Focus on Fit: Bustlines, boobs, and apexes!
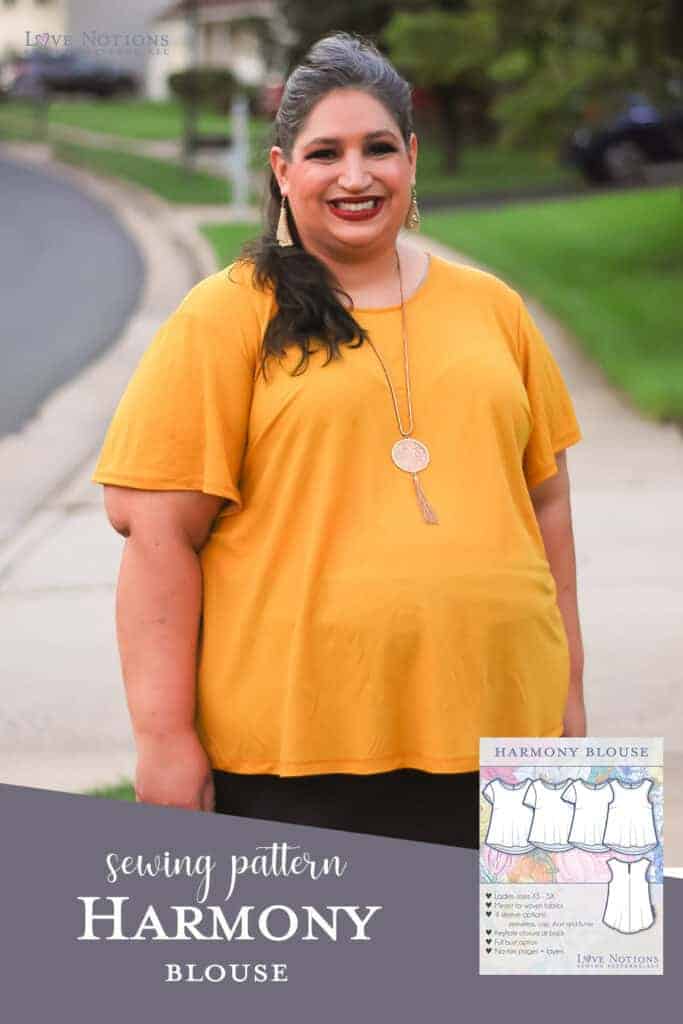
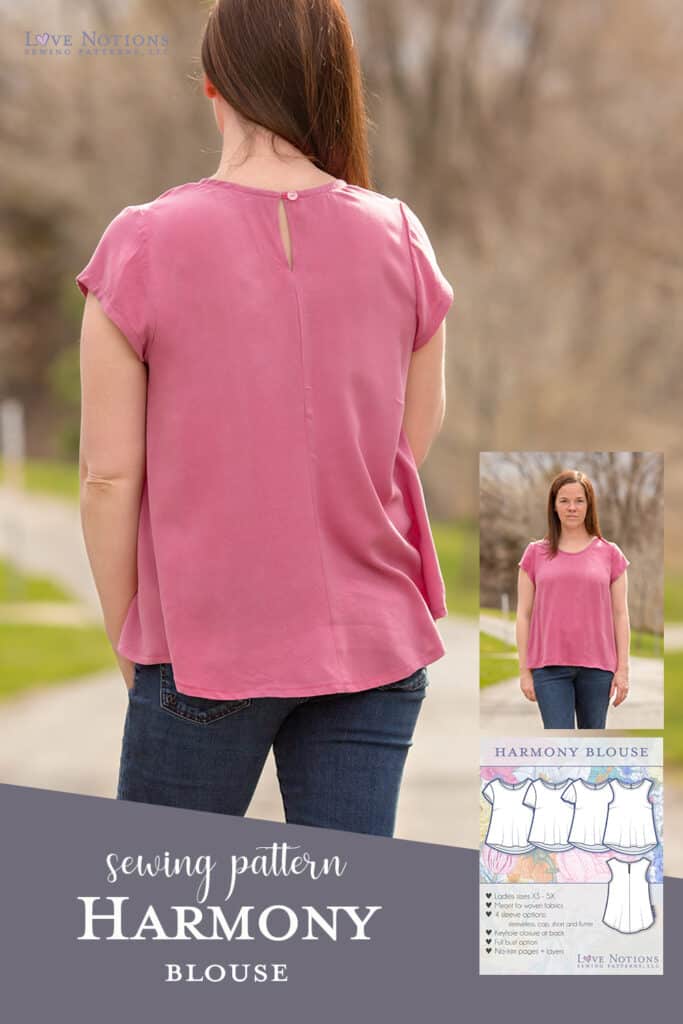
I am so happy you’re joining me for this segment of the Focus On Fit series that has been happening here on the Love Notions blog! We are going to be discussing darts and consequently bustlines, boobs and apexes today. I’m especially excited that we are using the Harmony blouse, which is not only this week’s feature Friday pattern but is also being released in the new expanded size range.
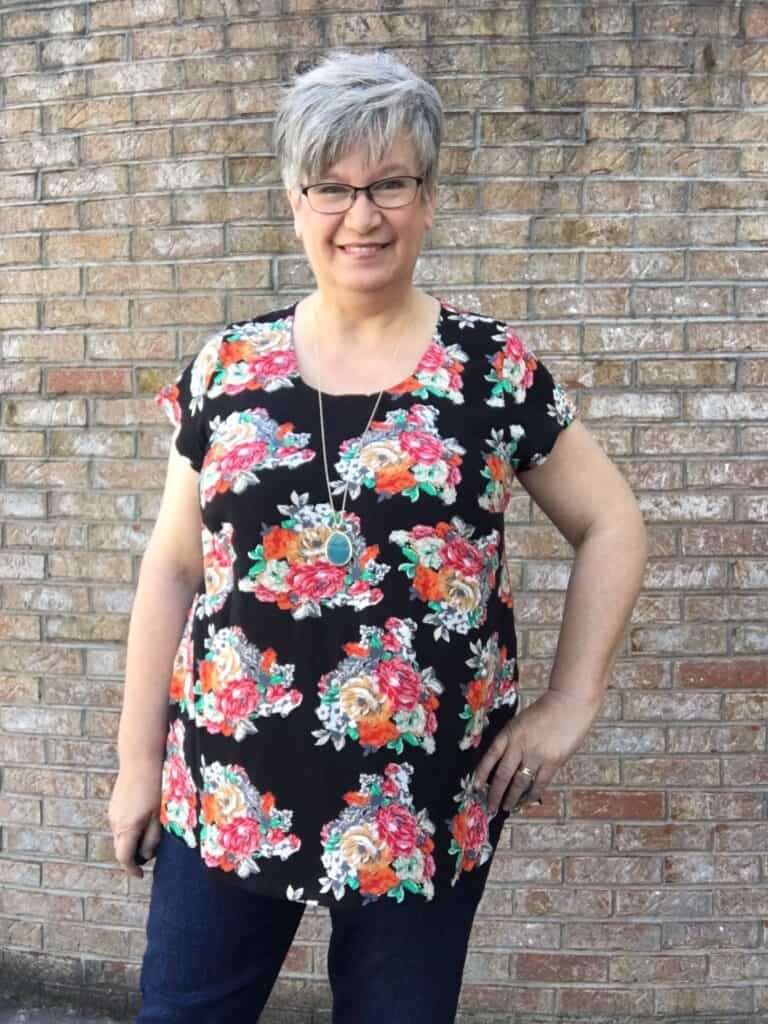
Learning to fit my body
Learning to fit my (ever-changing) body as I sew for myself has been a journey. What I’ve come to realize is that when I don’t know where I am going, I end up going the wrong way, correcting the wrong things and landing in the wrong place. That makes not just fitting frustrating, but sewing discouraging. It’s not unusual for many of us to need at least one pattern adjustment. I think I remember reading once that it is normal for a person to need anywhere from 2 to 8 different adjustments to get a perfect fit.
That makes not just fitting frustrating, but sewing discouraging. It’s not unusual for many of us to need at least one pattern adjustment.
As I age, I am starting to shrink, my back is becoming rounded, my chest hollow, my bustline is moving downward (Gotta love gravity!), and my waist has disappeared. But I think we can get into trouble if we race ahead assuming we need every adjustment for every pattern. This is why measuring each time we get ready to make a new pattern and making a muslin or practice of a garment is so important. In the words of Maria VonTrapp in The Sound of Music; “Let’s start at the very beginning, a very good place to start.”
Muslin to Understand Fit
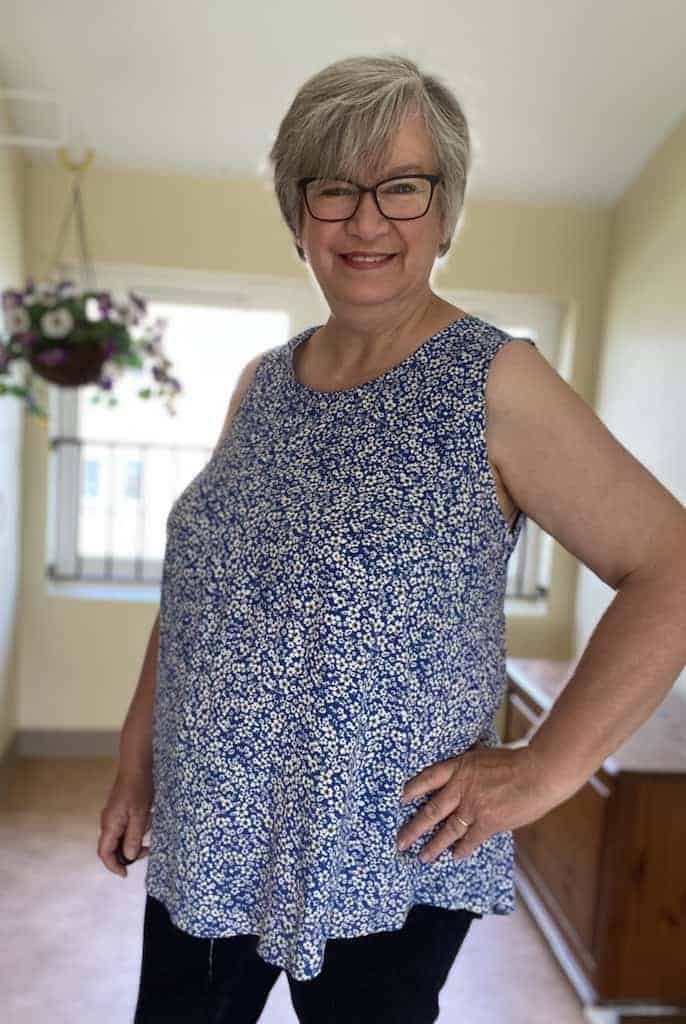
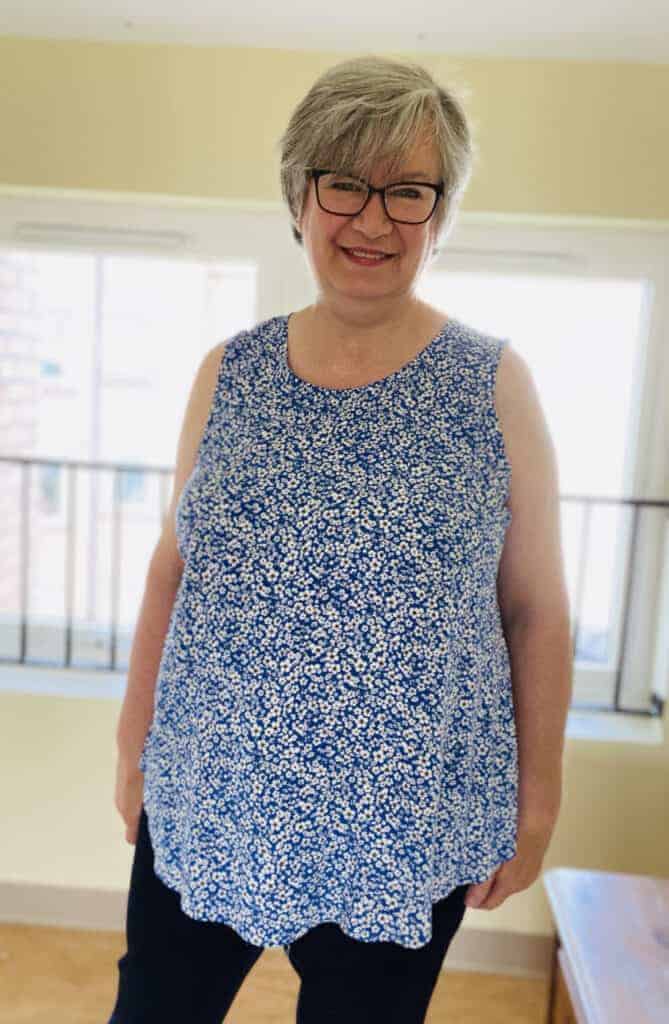
First thing I did was I cut and sewed a Harmony exactly like it is drafted with no adjustments. I used my highbust, full bust, waist and hip measurements to find my size in the size chart that’s included in the tutorial for the pattern. That put me in an XL Full Bust. So what do you think? To be honest, at first glance I could be happy with this top.
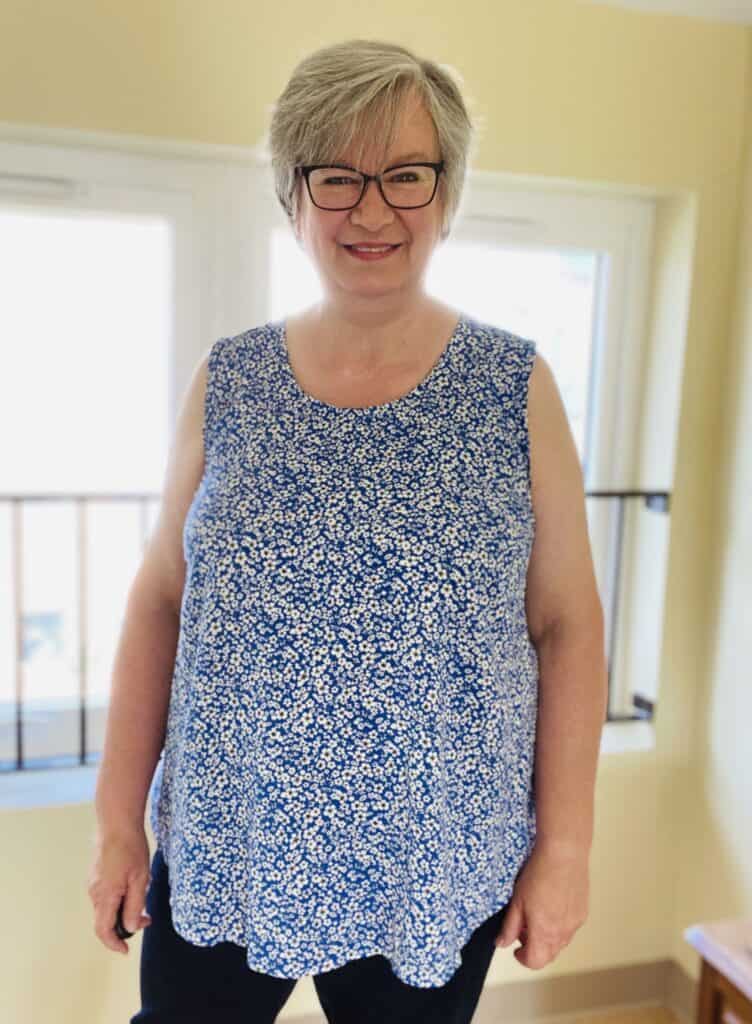
But let’s look a little closer. I find it helpful to turn the top inside out to evaluate, especially the darts.
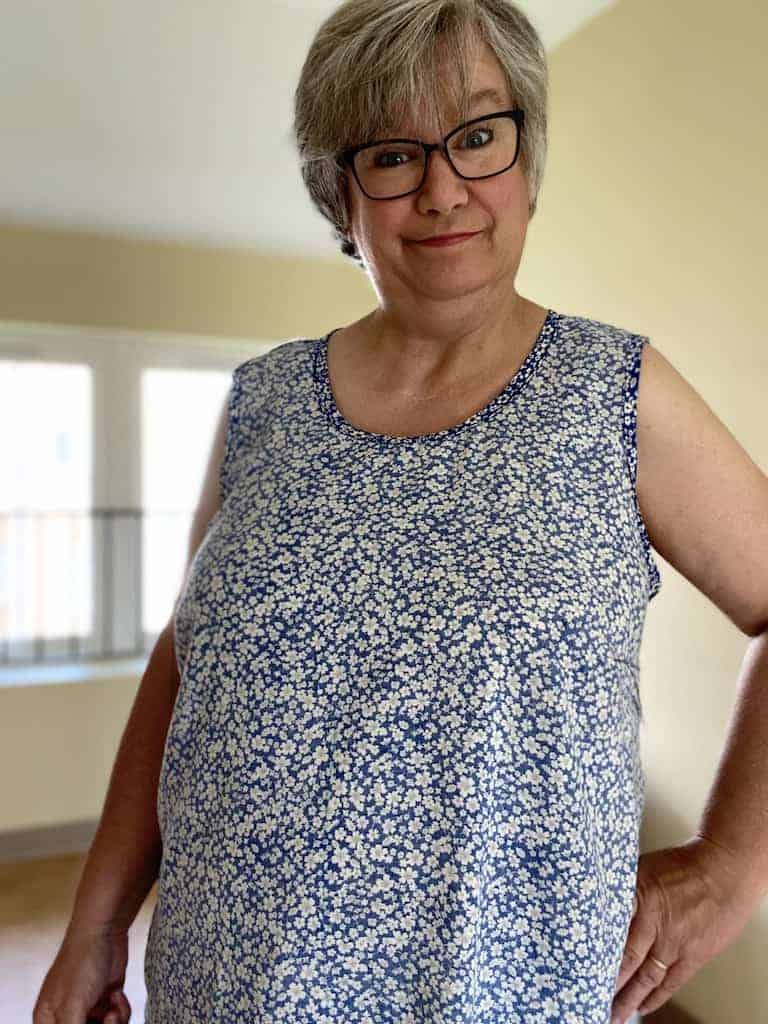
Understanding Fit Issues
This shows some issues so much more clearly! Look at the funny waviness in the fabric around my bust and there is no real shape to the garment. You can also see how it gaps under the arm. Usually our first thoughts in these situations is more room in the bust and taking it up under the arm. Hang in there with me and I hope to show you that we are missing a piece of the puzzle when we think this way first. I can also see that my shoulder position is off.
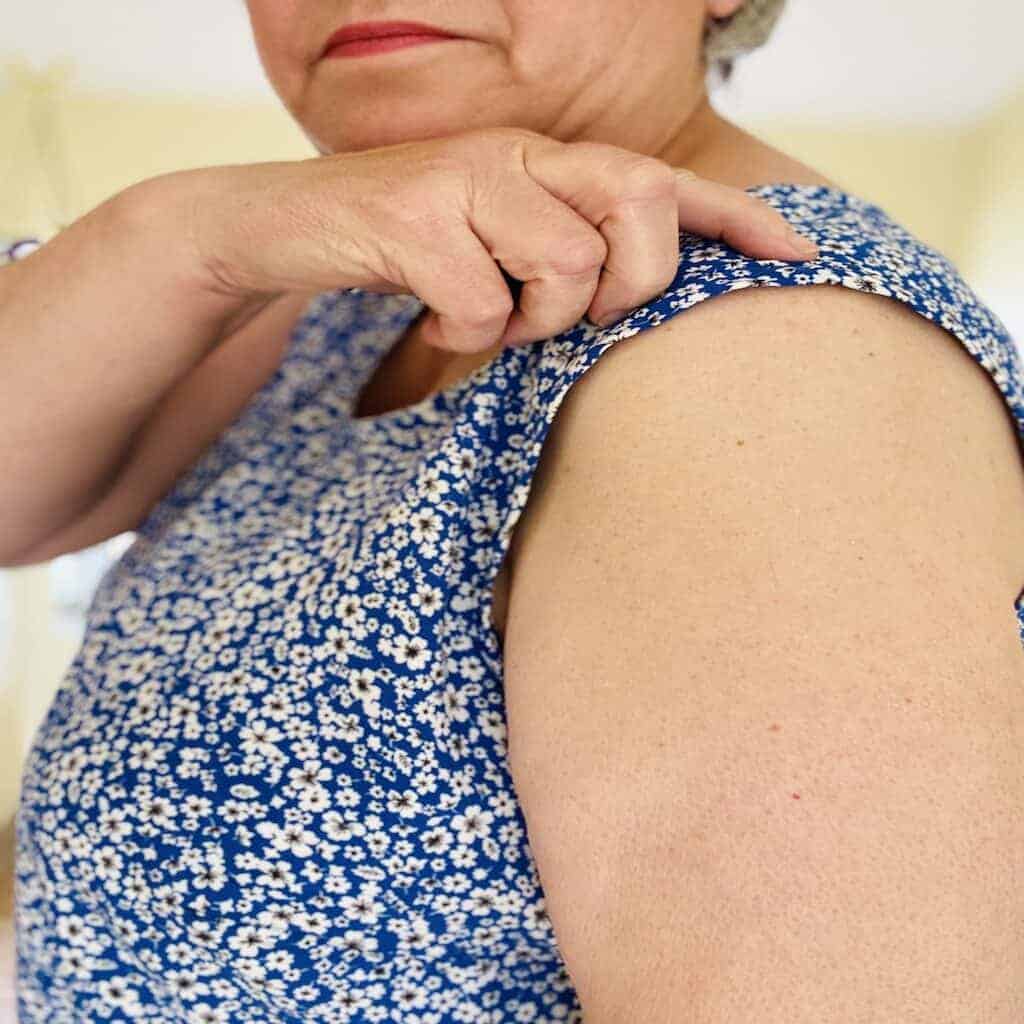
For some, this means a forward shoulder adjustment but for me, I know that this is a high round back issue pulling the shoulder seam to the back. Lastly, let’s look at those darts, the apex and their position.
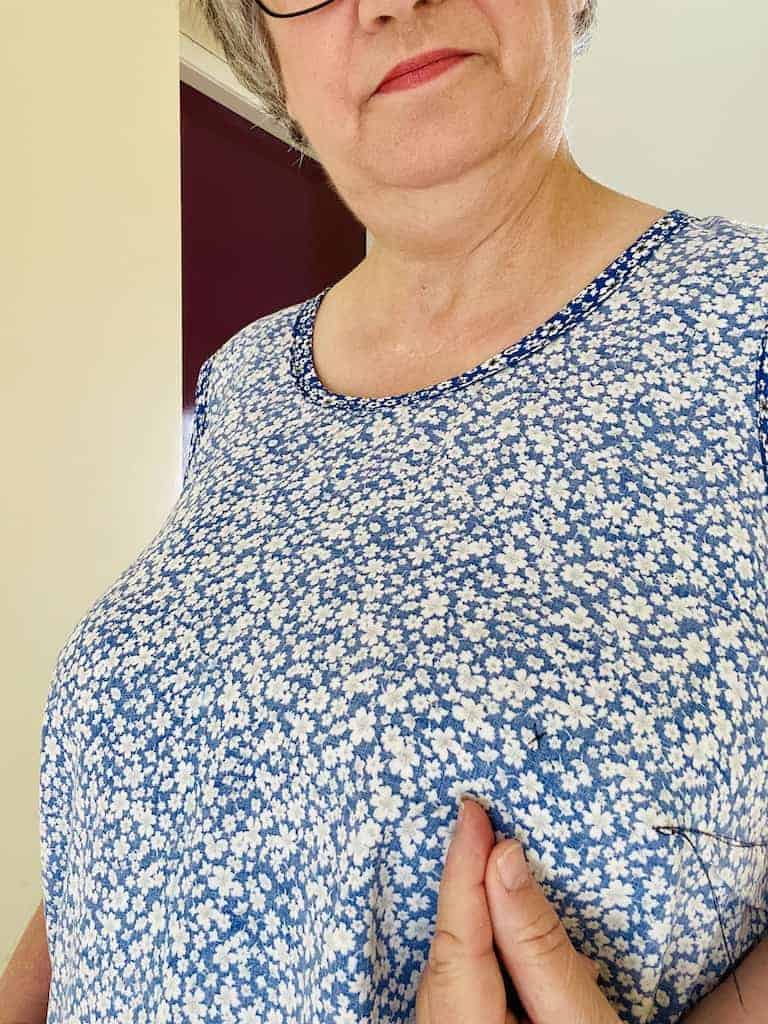
You can clearly see in this photo that the pattern apex and my apex (where i’m pointing) are really quite different! Here is the tricky part though. It looks like the dart itself is actually pointing to where my apex is but that just shows you that you can’t make this fitting adjustment call with the dart position alone. The apex is really the key here. The angle of the dart is meant to have a line that follows through the dart from the outside through the apex. So what looks ok here is really showing a dart angle that is completely off. No wonder there is no shape to my top! Where our boobs sit in proportion to the rest of our body is, I think, widely forgotten.
Bust Darts: Sometimes you must move the bustline of the pattern!
Remember the sample above and the commonly suggested adjustments? You try them, sometimes all of them and while sometimes you get the fit sort of right, it’s still not really right. It’s because we aren’t talking about the one thing that will actually fix it and that is moving the bust line of the pattern to where it is on your body!
It’s because we aren’t talking about the one thing that will actually fix it: moving the bust line of the pattern to where it is on your body!
That pooling around the bust and under the arm is the extra room or ease, designed into a pattern to accommodate the fullness of the bust. If that is not where your fullness is then you’re going to have extra fabric there and it will be tight across the bust. So to be honest, when you get tightness across the bust you might not actually need an FBA but you just need to get your bust in the proper place!
Patterns are flat and two dimensional and of course our bodies are anything but. Darts are triangle shaped wedges of fabric that when sewed together turn the 2 dimensional into 3 dimensional. Where the darts land in relation to our bust, on tops, is important as they are what makes the shape we need. Since we have assessed the fit issues on this Harmony, let’s get to work fixing them.
Supplies for bust dart adjustments
Here are some supplies you are going to need:
Your pattern, scissors, pen/pencil, ruler, measuring tape. You will also need some clear tape and a scrap of paper.

Measuring is a must
Now that we know we need to know more about our busts position than just the circumference of our high and full busts, let’s get to measuring. We need to know 2 specific measurements. First, let’s talk about the apex of the bust. The apex is the center of the fullest part of the bust and it is often but not always where your nipple is. We need to know:
- the distance from the shoulder to the apex
- the distance from apex to apex
If your garment has a waist, especially waist darts, like the Lyric, you will also need to know the distance from apex to waist as well. It’s really important to get the best measurements that we can. Katie did an awesome post a few weeks ago about getting accurate measurements and we are going to add these two new measurements to our list.
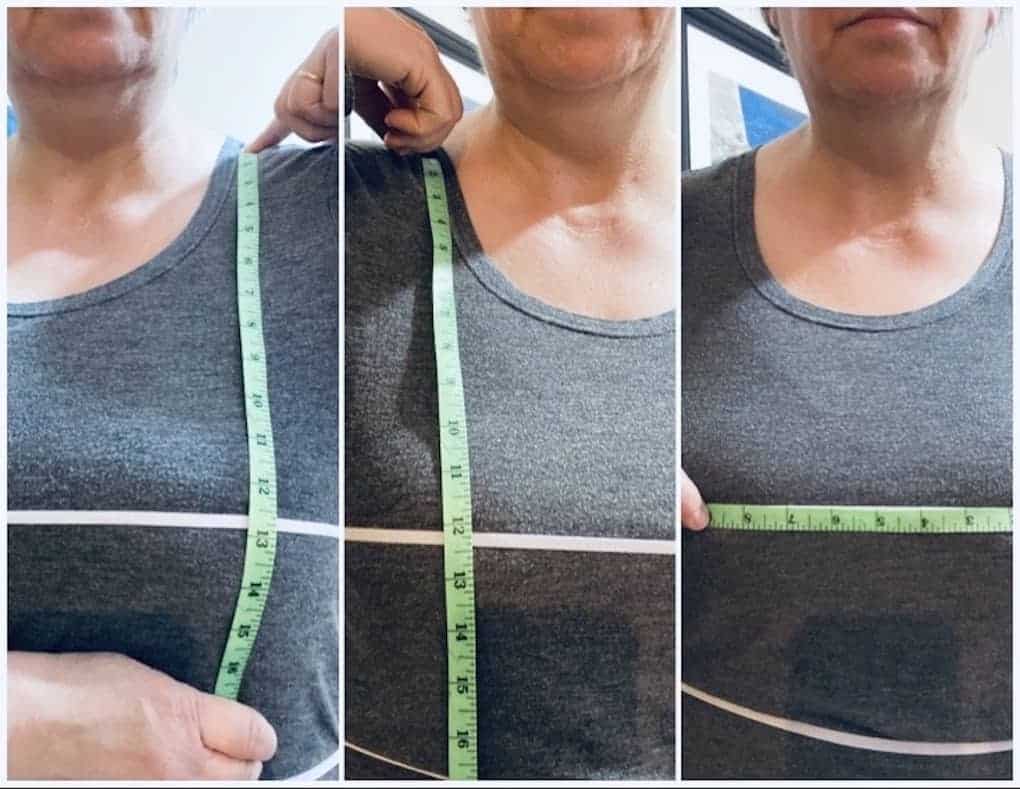
I used a piece of elastic to go around my bust and waist and then by using selfie mode on my camera, I can see the numbers on the tape measure! To find where your bustline falls, measure from the inside shoulder to apex for each breast. Don’t be surprised to find they are different!. (you can see mine are!) What bra you wear (or don’t) will really make a difference in these measurements so wear the bra that you will wear with this garment. Once you know these numbers it is time to alter the pattern. I want to pause here to stress how important it is to work on your fitting from the top down. If you need to adjust the shoulders do that before you do any of the following bust adjustments.
I want to pause here to stress how important it is to work on your fitting from the top down.
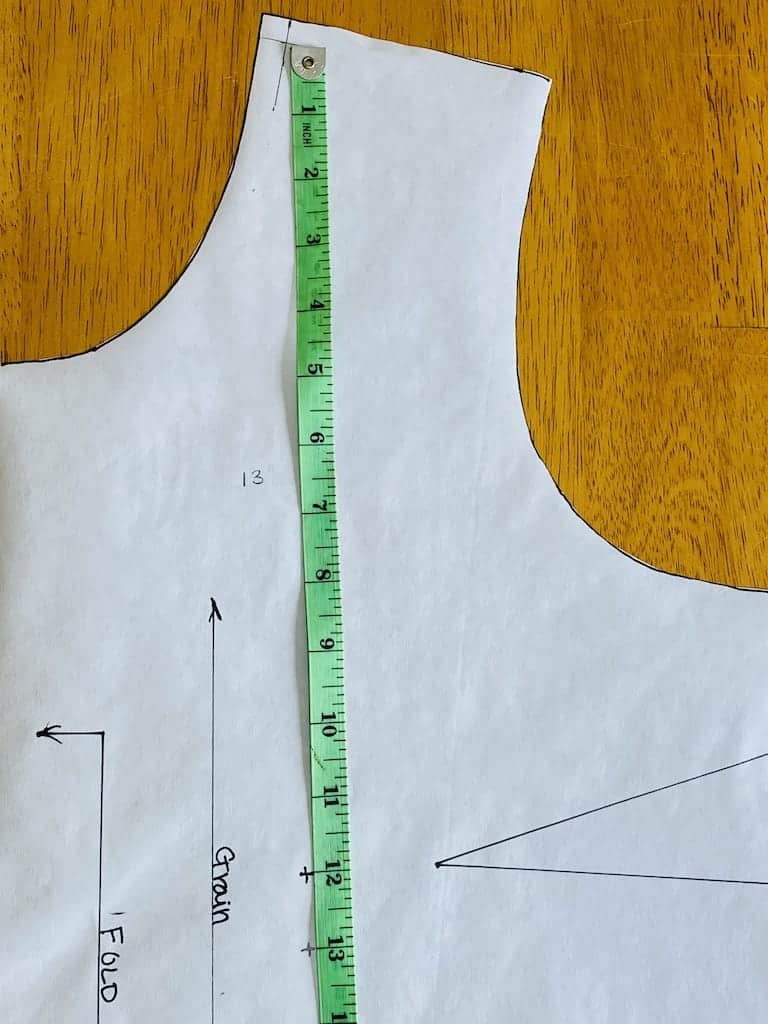
Mark your seam allowances at the inside neck and shoulder on the pattern and then measure down from there through the original apex and mark where the new apex will be using your measurements that you gathered earlier. If your individual measurements are significantly different then you might like to do two different front patterns.
The distance between the original mark and the new mark is how much you will need to move your dart. This could be up or down. Draw a box around the dart leg, cut it out and move it the distance required.
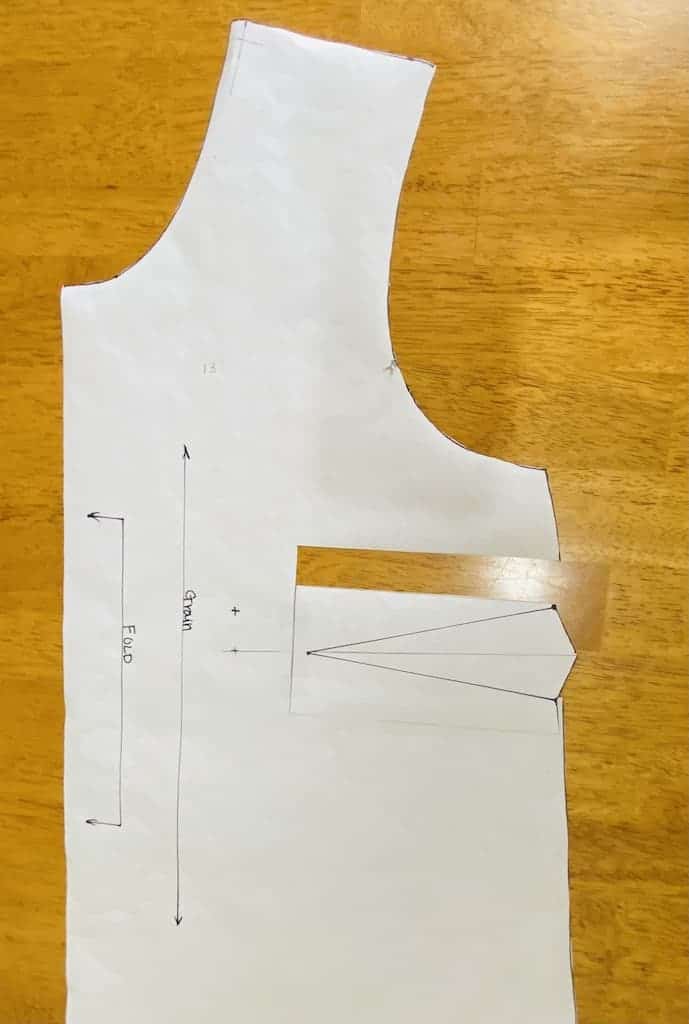
Next, we will adjust the width. My bust apexes are 9 inches apart. We are working on half the pattern so I need my apex to be 4 ½ inches from the center front.
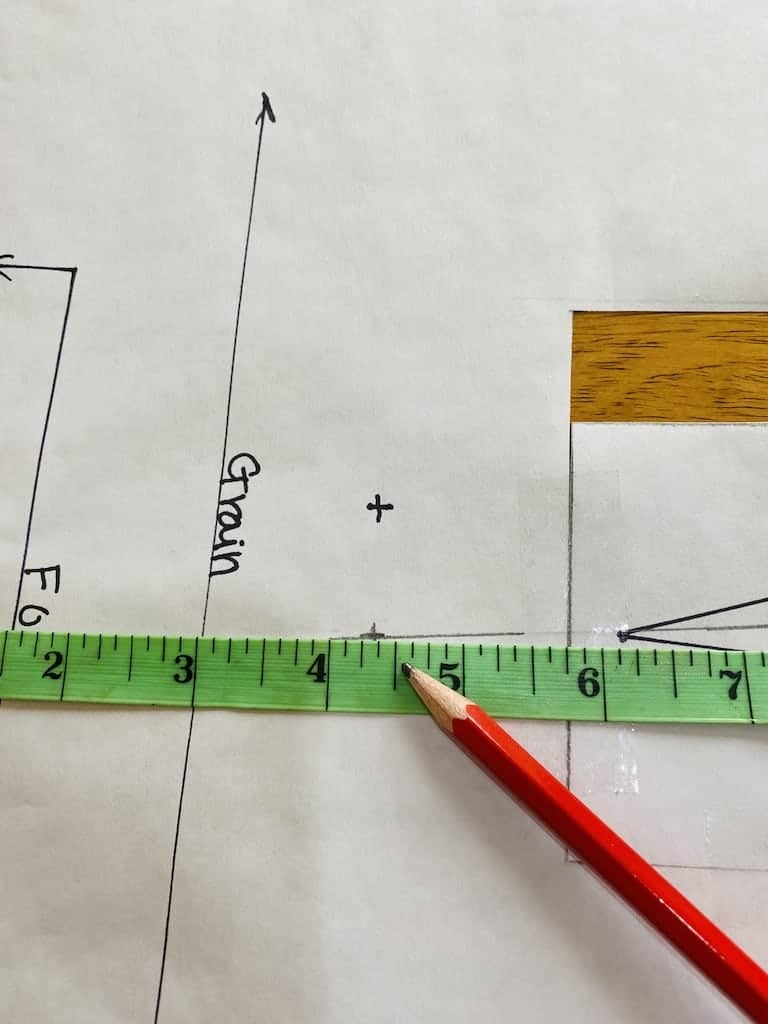
If you need to make this adjustment, you will also need to change the dart leg. The general rule of thumb is that the dart should end about 1 ½ inches from the apex. I measured that distance, added the new dart point and redrew the dart legs.
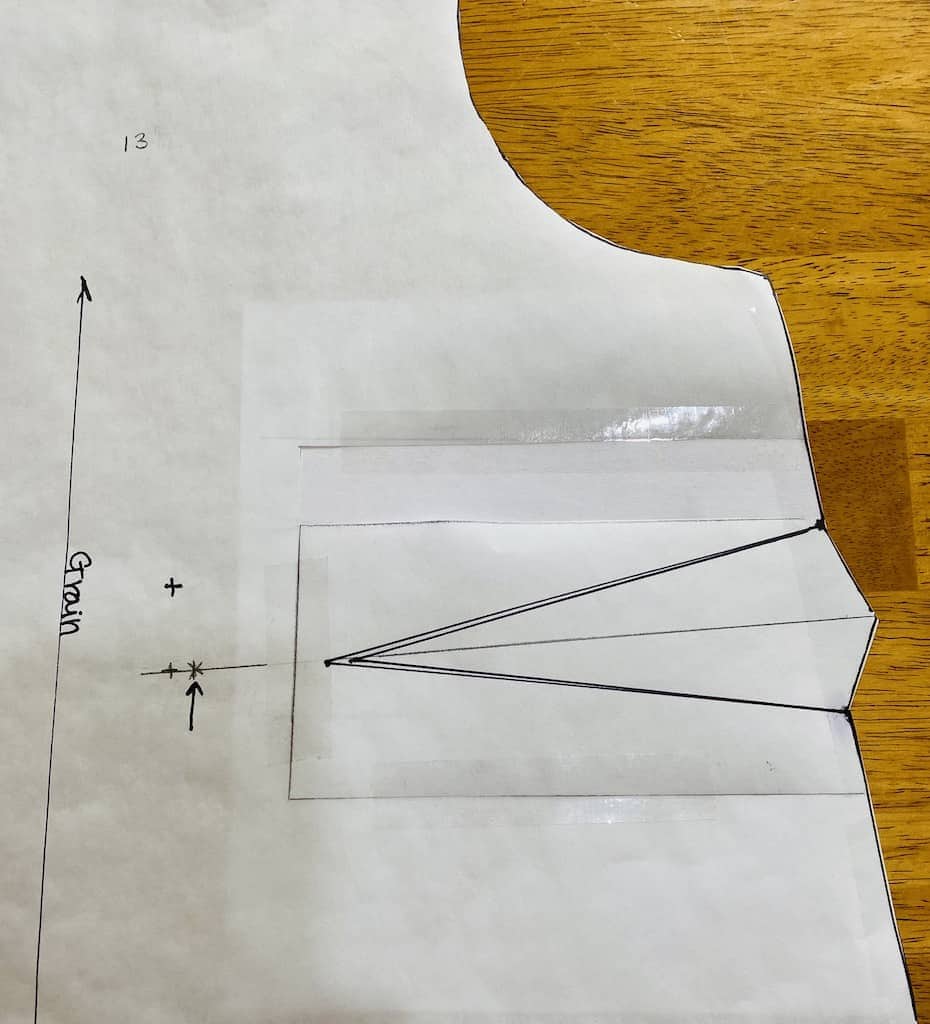
That’s it! Fill in the empty space with a scrap of paper and then true up (or straighten) your side seams. See that bit of the pattern that I’m trimming off? That’s going to make the underarm fit so much better because the fullness is moving down to where it belongs!
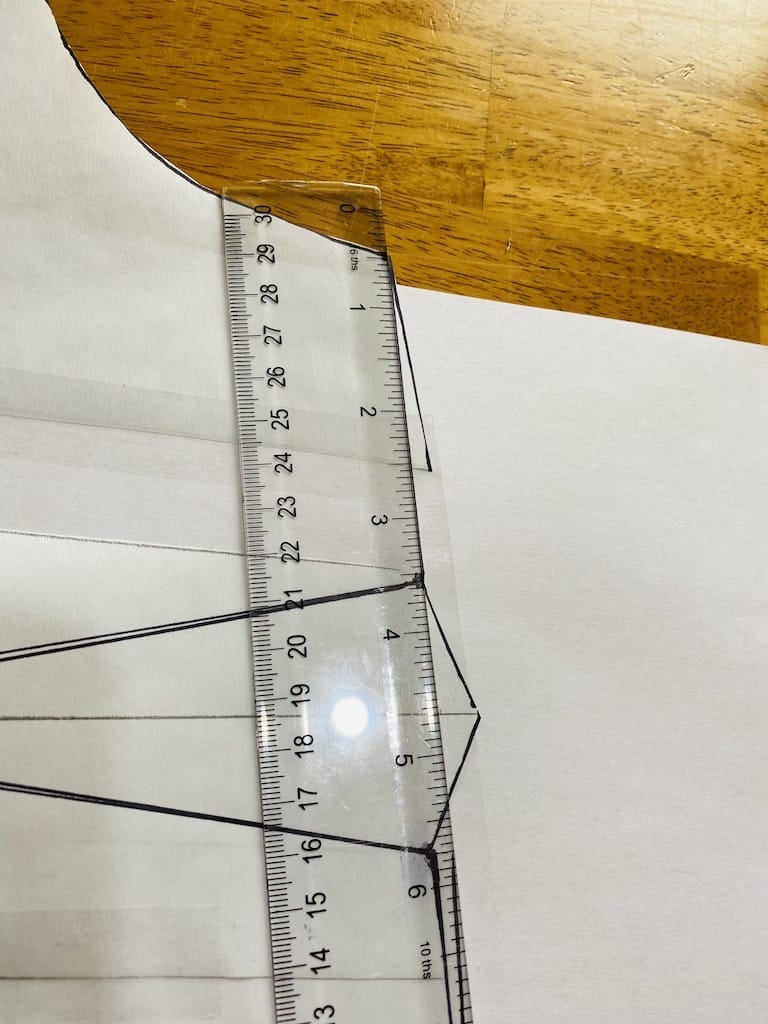
Mark the new bust dart
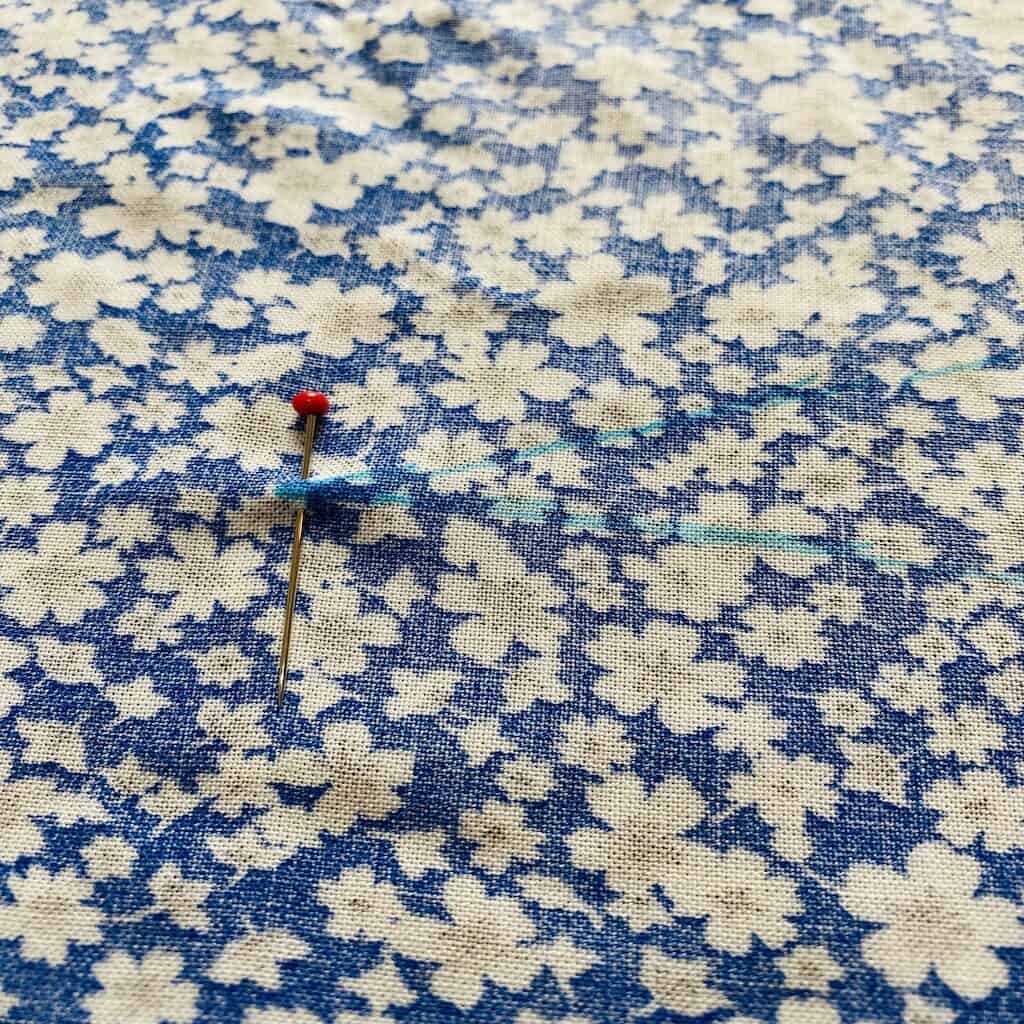
Before I cut out my new pattern, I cut out a few sections of the dart including the point so that it’s easy to mark.
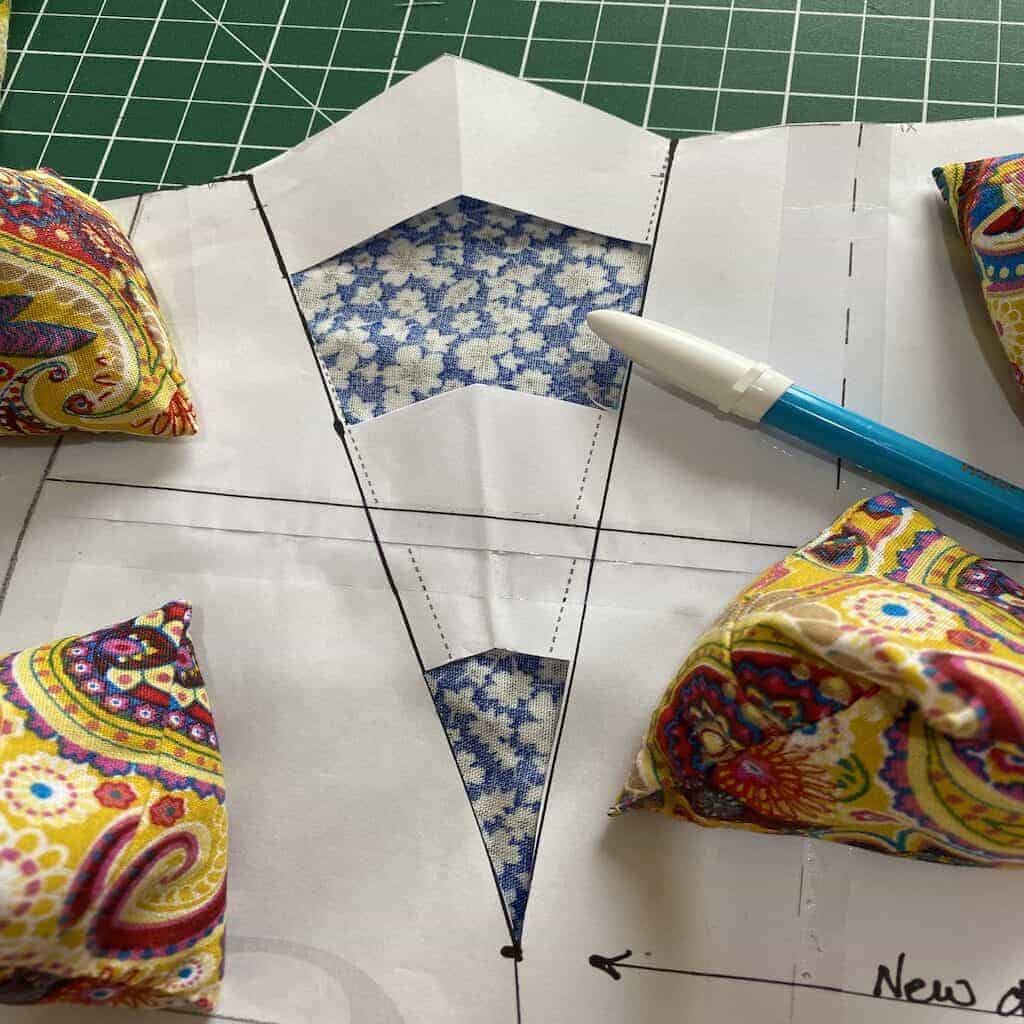
I just use a water soluble pen to trace those lines and then use a ruler to fill in the marks after I’m finished cutting.
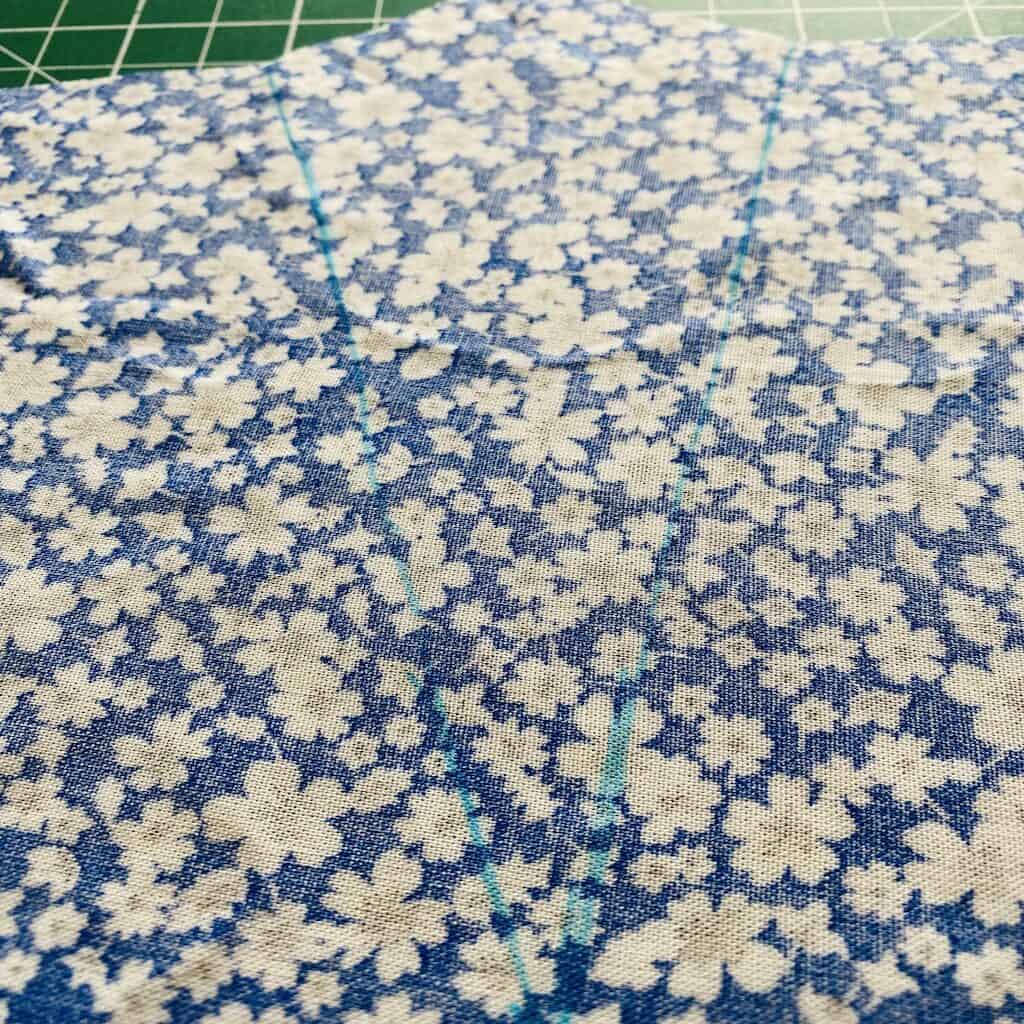
There are other ways to mark darts but I find this method fast and easy. I mark one side and then flip it over and mark the other.
How to pin, sew, and press the dart
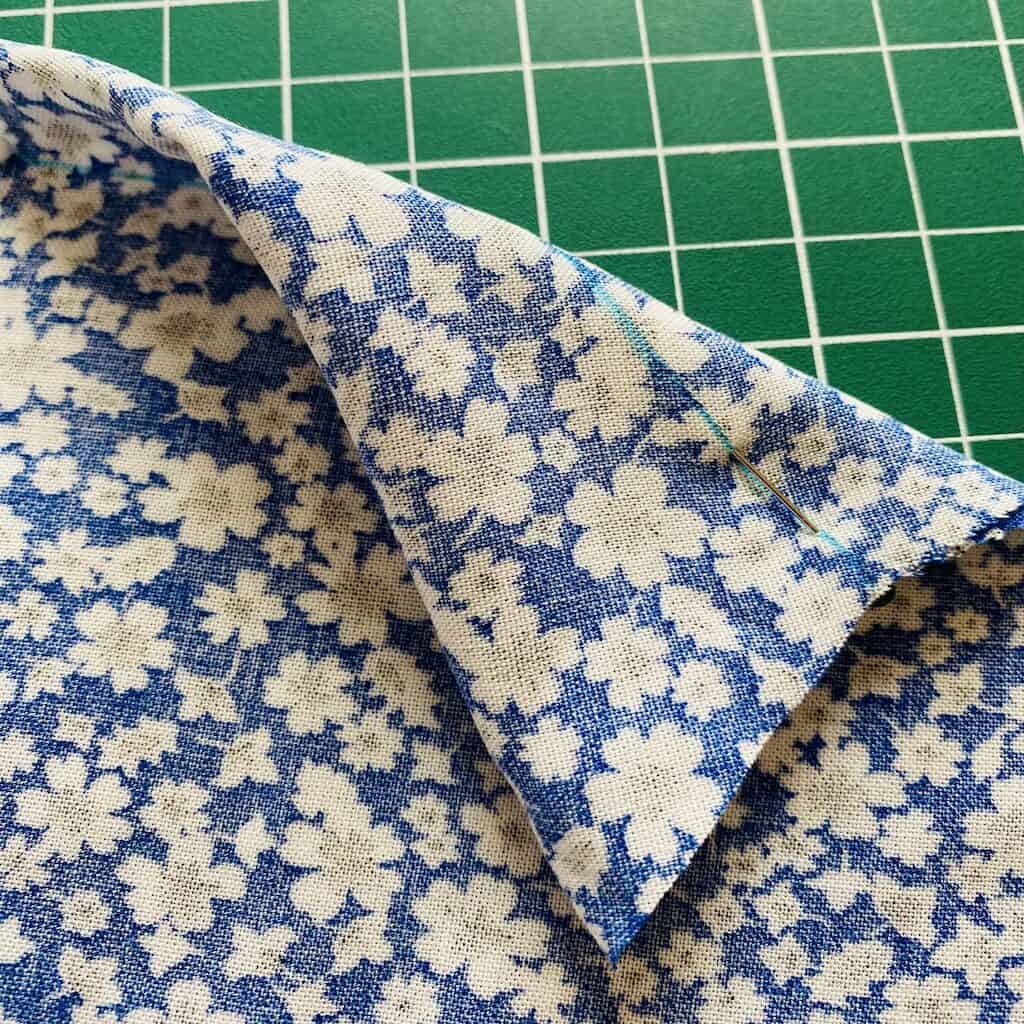
Pinning, sewing and pressing the darts properly is so important. Put a pin in the point of the dart and then starting at the outside match the lines front and back all the way down the dart leg. Take your time to get it matched well.
Pin the point. Match the lines.
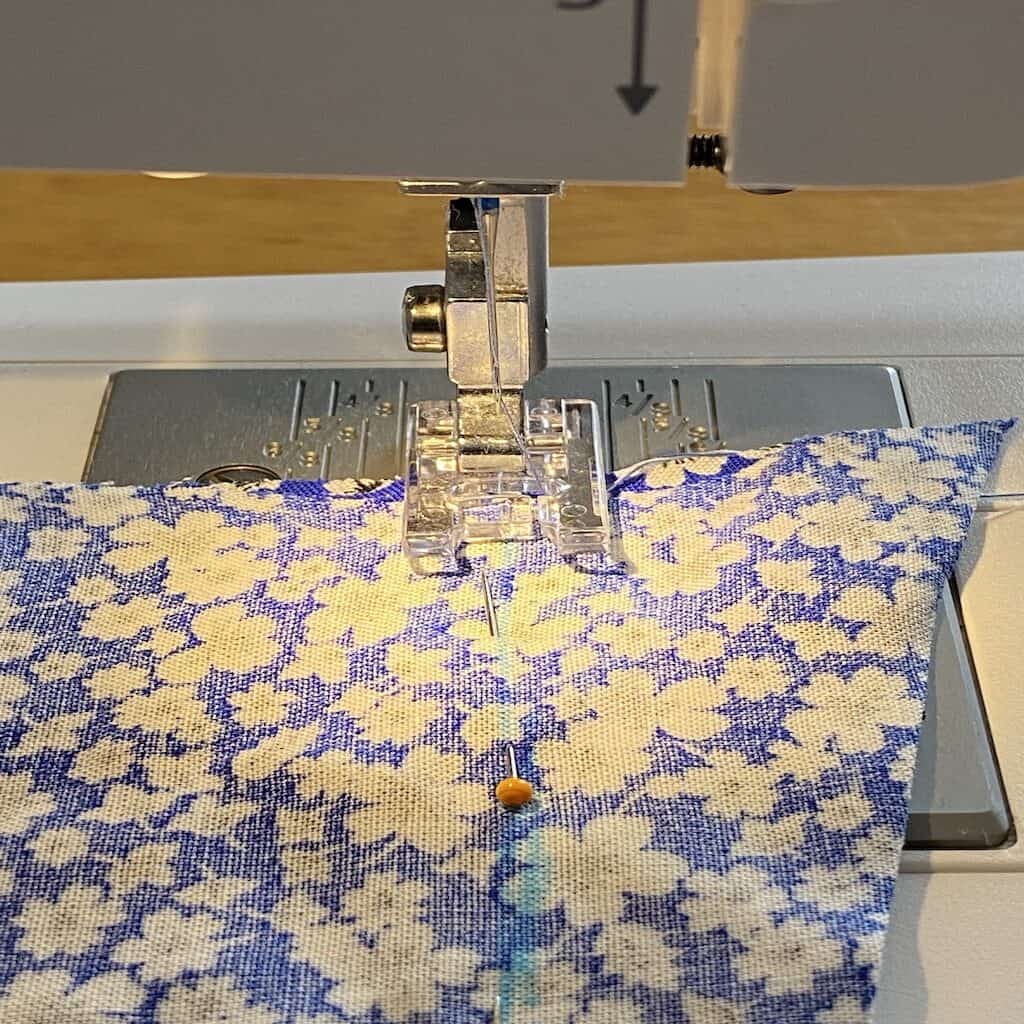
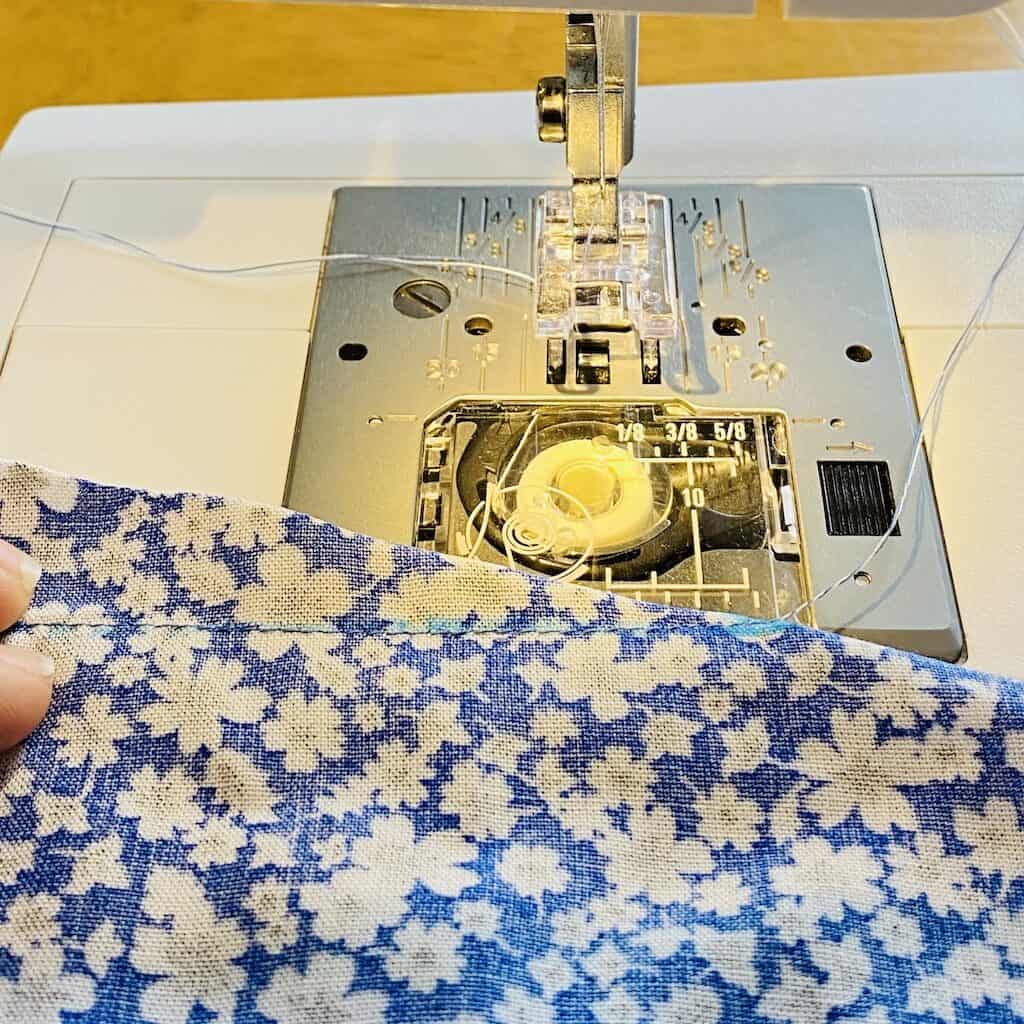
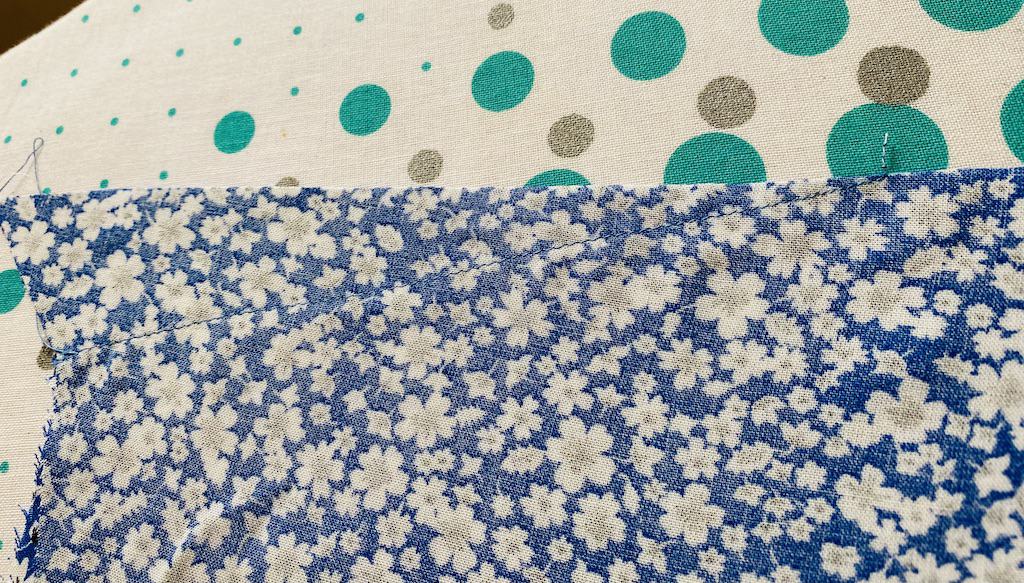
Sew the dart starting from the outside, along the line to the point but don’t stop! Make sure to sew off the fabric! Sew right off the edge and leave a nice long thread to tie a knot in. We don’t want to back stitch here as it will add bulk to the point and can deform the dart. Give it a good press, nice and flat. Isn’t it pretty!
Start at the side seam. Finish off the fabric. Finishing the dart.
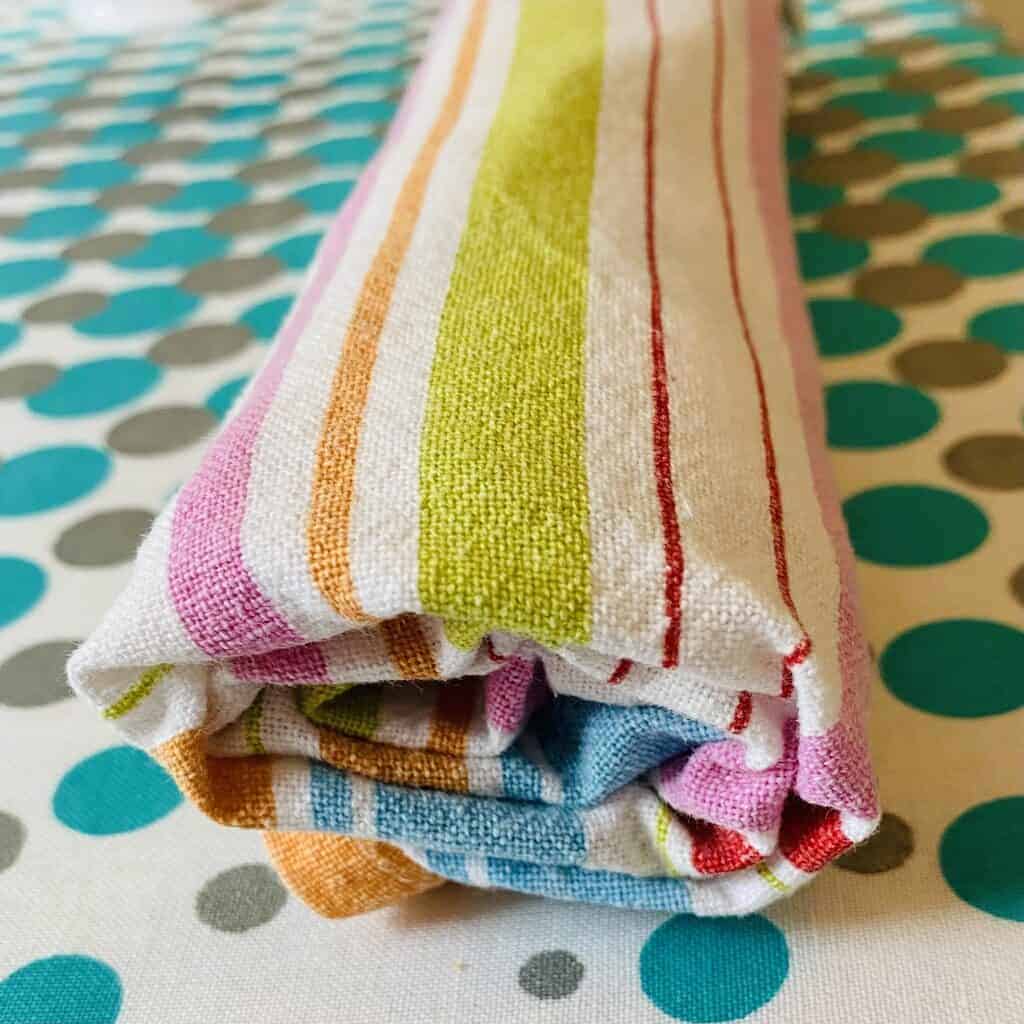
Pressing the finished darts might be the most important part of all. This is where you are really going to get a nice shape into your Harmony blouses. A pressing ham is helpful but if you don’t have one, do not worry. You can use a rolled up towel. I used this cotton tea towel.
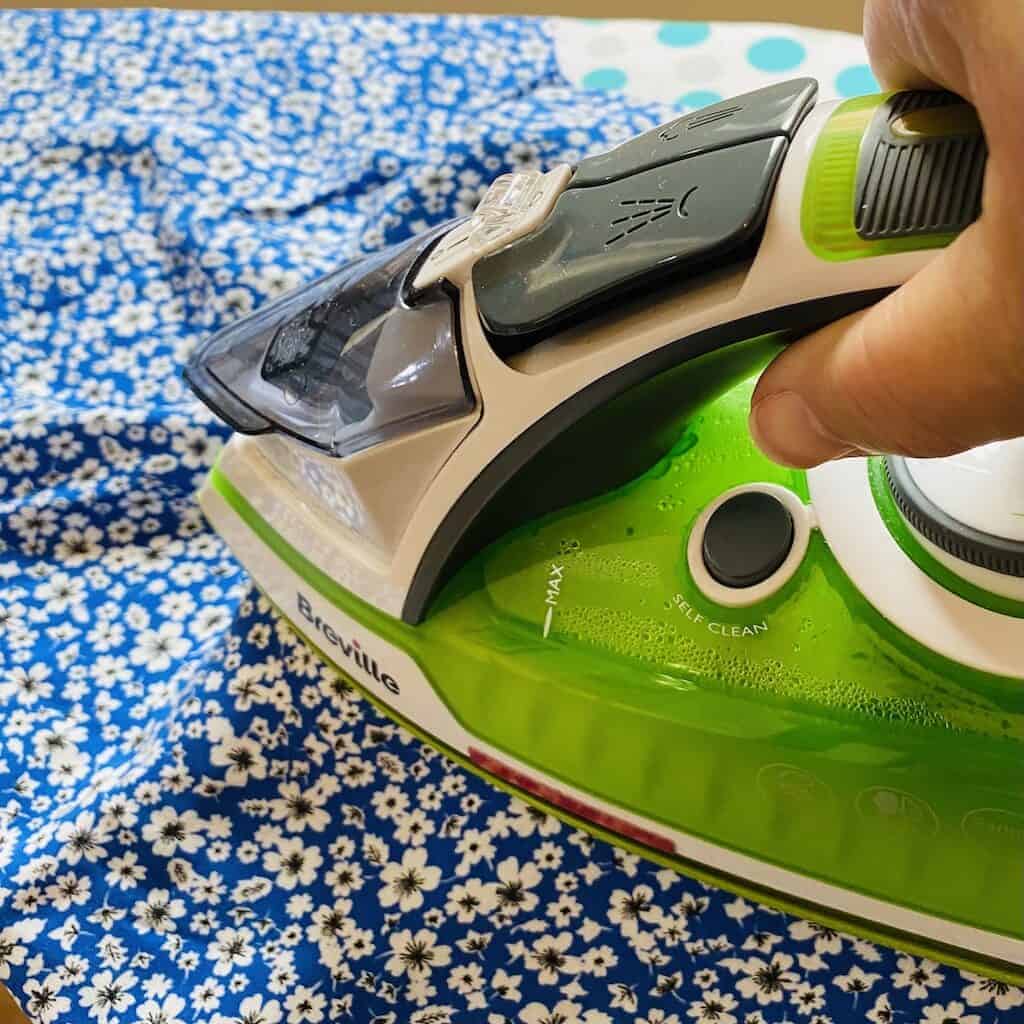
Tea towel. Press over the curve.
Place the dart over the ham or towel and use the iron to press down and over the dart. You should not be getting a sharp point but a lovely rounded shape. Now you are ready to finish sewing your blouse as per the rest of the tutorial.
Let’s compare my first and second Harmony blouses.
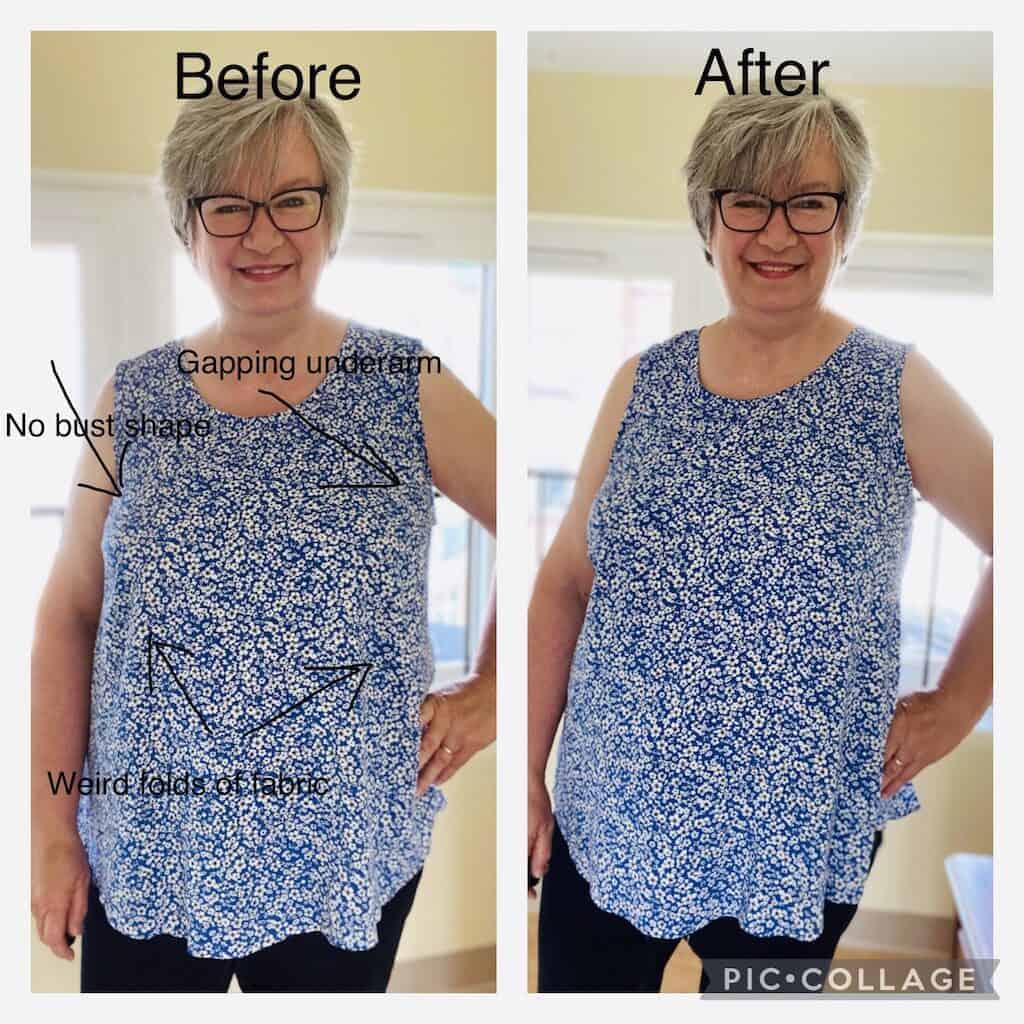
No arm gap. The dart is perfect.
For the record, I love this pattern! It has a flattering silhouette, easy fit and I think it’s a really straightforward sew. (honestly, I fondly refer to it as the LDT for woven fabrics!)
Thanks for sticking with me today. I hope I’ve broken the silence on bustlines, boobs and apexes and debunked some fitting myths. I think moving these adjustments up the ladder in our fitting priorities is critical to successful garment fitting. I know I don’t want average fitting clothes. I can get those in any high street shop. I want MY fit and I want you to have yours as well!
I know I don’t want average fitting clothes. I can get those in any high street shop. I want MY fit and I want you to have yours as well!
This is my link to the pattern (aff):
Save this article to your sewing Pinterest Board
