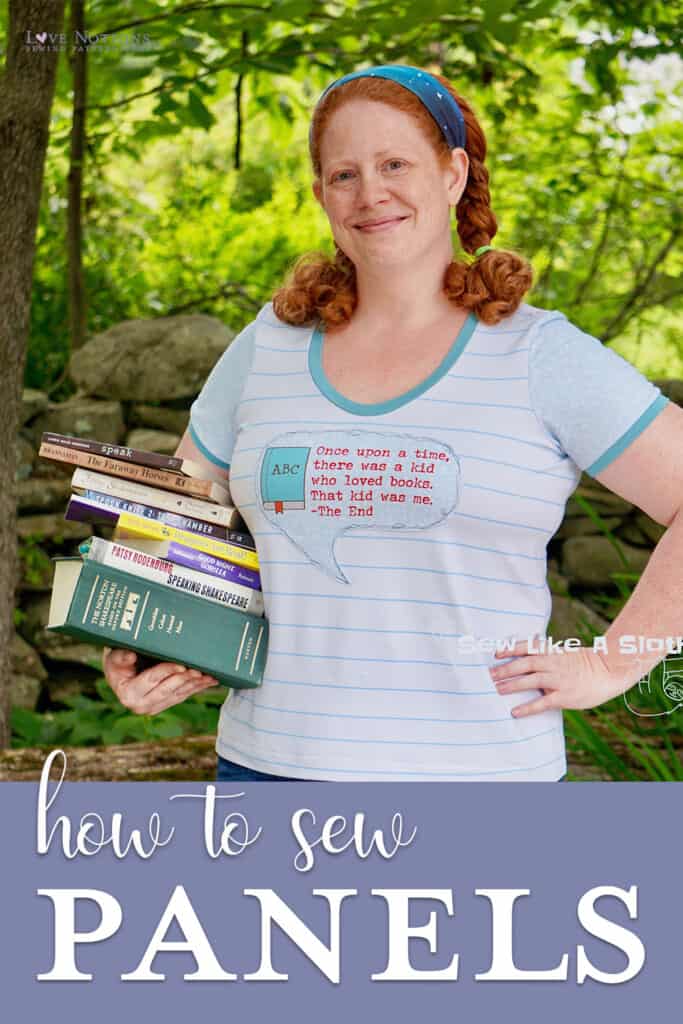
Hello there sewists! I’m Caroline, one of the Love Notions Ambassadors. Today I’m going to give you an overview of one of my favorite things: fabric panels. I consider myself something of a panel aficionado. I love them! They are versatile and can be bold, fun, sassy, and always give a special pop to your garment. In this post, we’ll talk about what they are, how to use them, patterns they’re perfect for, and I’ll share some of my tips for sewing with them. Love Notions is having a 30% off site-wide sale January 4th – 8th, so now is a great time to grab some patterns to use with your panels!
What is a fabric panel?
First things first. A fabric panel is a small cut of fabric – usually a fat half or less – with a single design (image and/or text) on it. Blanket toppers/panels also exist and are fabulous, but I’m not addressing them in this particular post since they aren’t necessarily relevant to garment sewing. Fabric panels are commonly available to order in custom fabric groups. They are most often available in cotton lycra, but you can find them in just about every fabric base out there – it just depends on the fabric host. See the bottom of this post for a list of some of our ambassadors favorite places to order panels! Panel sizes range from infant to adult plus, and available sizes vary with each fabric shop. There are even panels specifically designed for underwear! I usually purchase panels in a fat half/adult (30” x 36”) or child size. I find those to be the most versatile for my purposes because I’m usually sewing for myself or my kids.
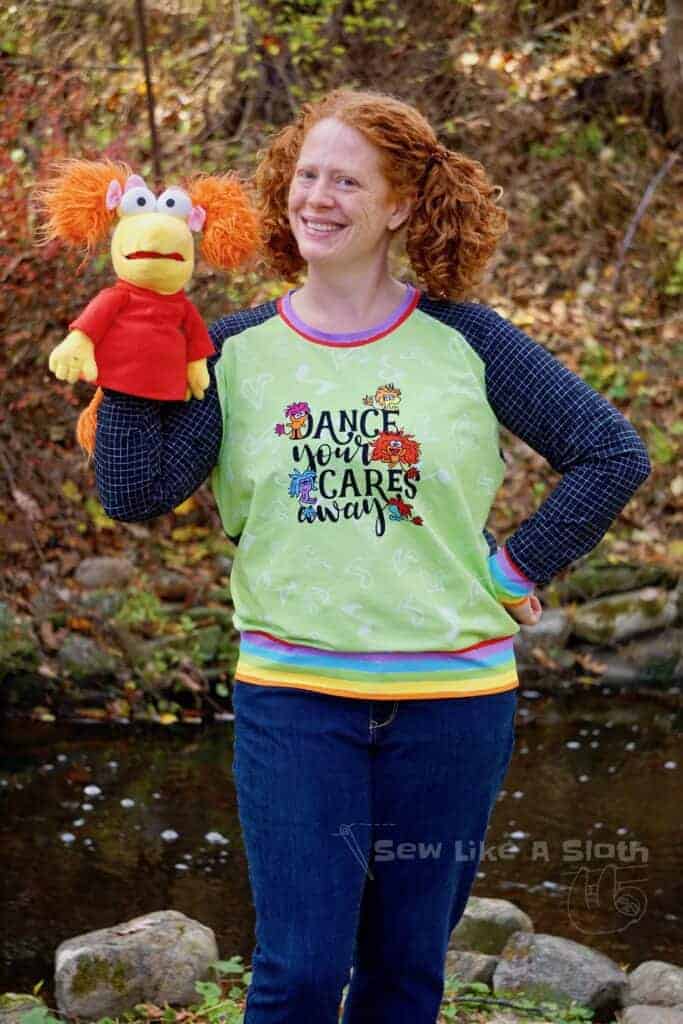
Tip: When ordering a panel, check the image size as well as the panel size. Sometimes the image is HUGE and you may lose some of the design if you’re envisioning it being used on a smaller pattern piece like a kid-sized shirt or a hood piece.
I have an awesome fabric panel. Now what?
I see so many people say they bought a fabric panel and now they have no idea what to do with it. If you are one of those people, I hope this post offers you some inspiration! The bottom line is that a panel can be used anywhere fabric can be used (as long as it meets the fabric requirements for the pattern). You can integrate a panel in three basic ways:
- Use it as your fabric for an entire pattern piece (ex., a shirt front)
- Colorblocking
- Applique
Colorblocking is always a fun and versatile option and as for applique, you can cut out a panel’s image and appy it anywhere. You just need to add a little fusible web, iron it on to your main fabric, and stitch. Viola!
This post will focus on how to integrate panels into garments as an entire pattern piece.
Where can I use a fabric panel?
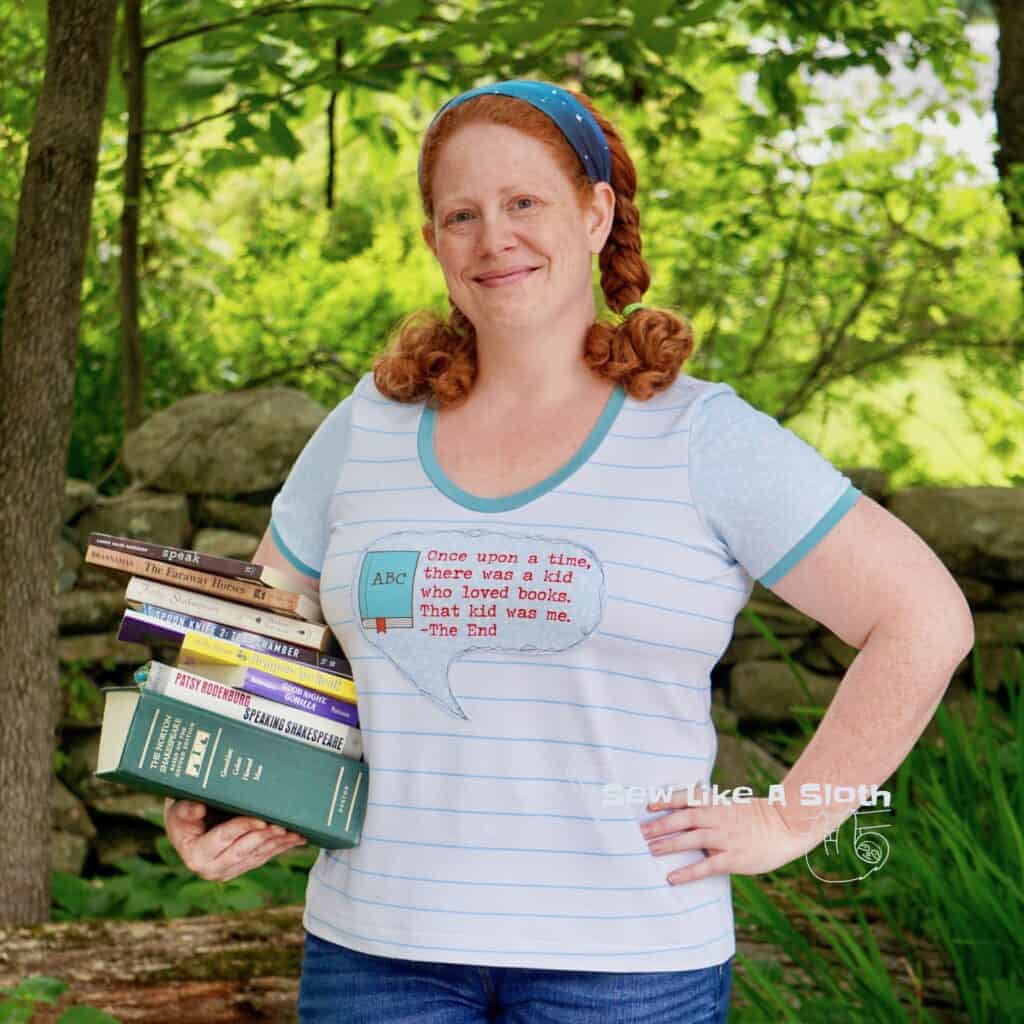
As long as the fabric panel is large enough for your pattern piece, you can use a fabric panel anywhere. It can be a sleeve, a hood, a shirt front or back, a pant leg (or a pillow, a purse piece, a mask, a quilt block, a placemat, an apron…) and more! As a sleeve, hood, or pocket, panels can be a fun unexpected accent piece that adds some personality to your sew. Most often, I use large panels as the front or back of a top, which gives a graphic tee kind of feel. It’s the 90’s grunge kid in me. I just love me a graphic tee! 🙂
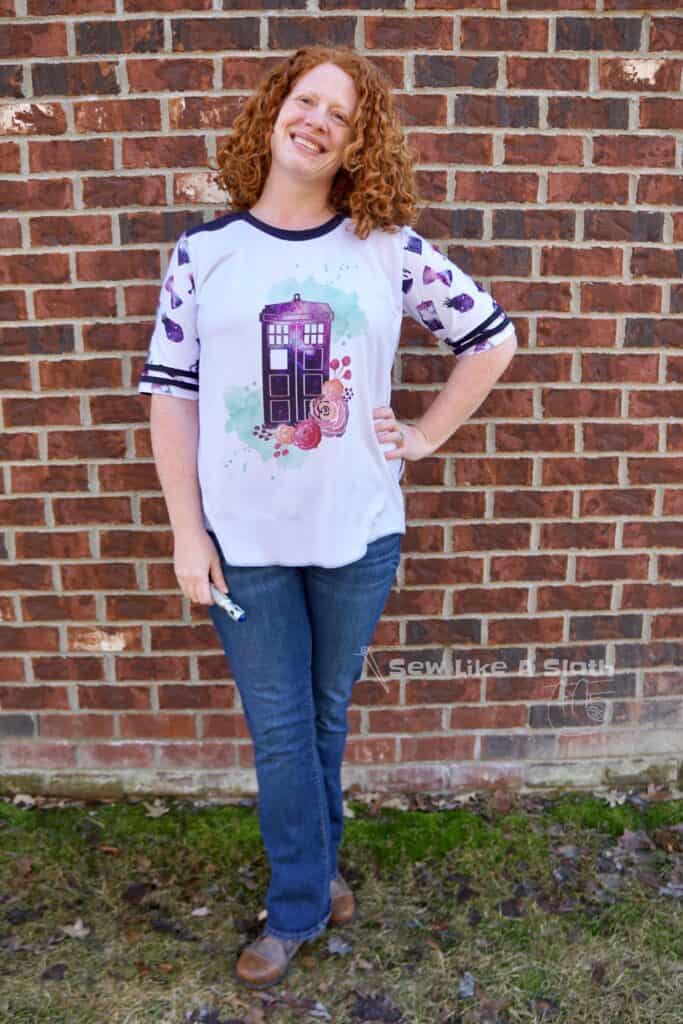
Tip: First things first. Before I get my heart set on using a panel for a pattern, the first thing I always do is lay my intended pattern piece on the panel to eyeball whether it will fit.
Then, check the sizing and layout
If I am using a panel for a pattern piece that is NOT cut on the fold, I will often trace my pattern piece onto Swedish tracing paper or something semi-transparent so that I can center the image on the panel. A projector makes this a snap, if you have access to that! If I’m too tired to do that, then I fold my pattern piece in half to mark the center point. Then I align the center of the pattern with the center of the panel image.
Tip: When centering your image, make sure you are lining up the pattern grainline marks with the fabric’s grainline.
If I am using a panel for a pattern piece that IS cut on the fold, I double check that my panel will work by folding it and laying the pattern piece on top. Like any fabric, panels are not always perfectly on the grain. Also, sometimes the image is not directly centered in the panel due to mass printing. So I fold my panel piece on the grain at the approximate center of the image and then lay the pattern piece on top to ensure that fabric will actually accommodate it.
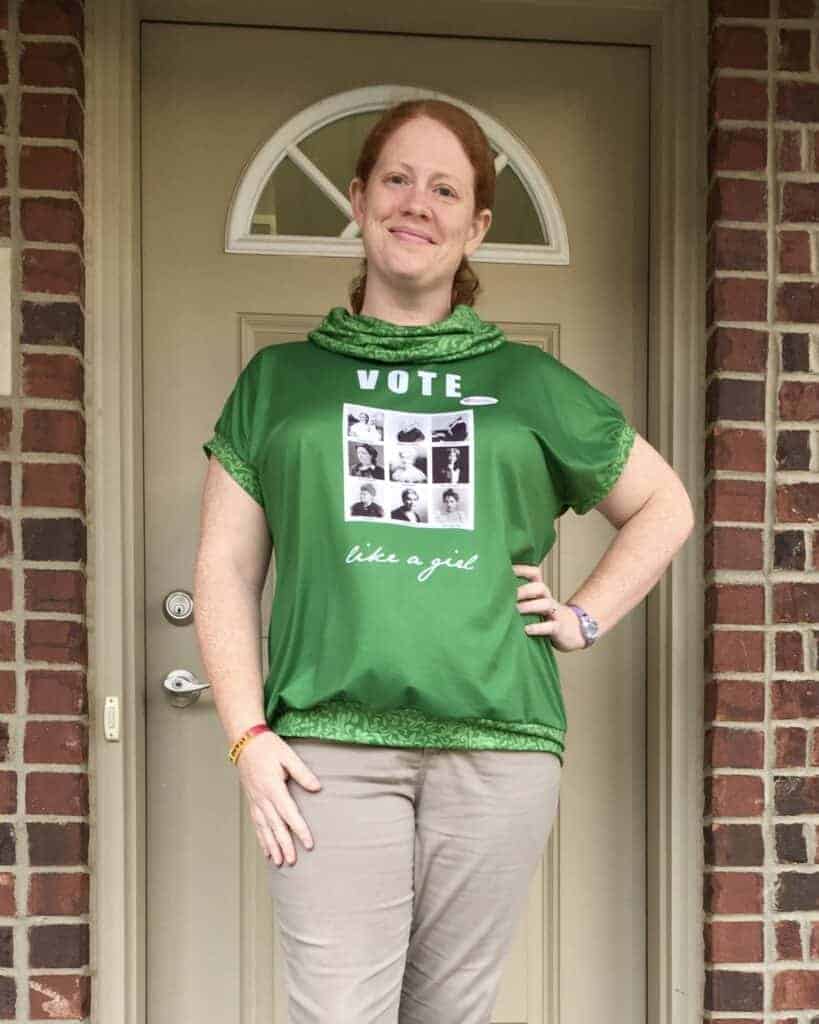
If I am using a panel for a shirt front, I aim to put my graphic around my upper bust. I don’t want it so high that it’s up against my neckband and I don’t want it so low that the image is on my stomach. In truth, I could measure this and do it very exactly, but I don’t. That does not bring me joy. Haha! I eyeball it. Shortcuts are good if they work and they facilitate your enjoyment of the process. I line up the top or somewhere in the upper third of the image (it really depends on the image) with the bottom armscye point. I follow roughly the same guideline if I’m using the panel for the back.
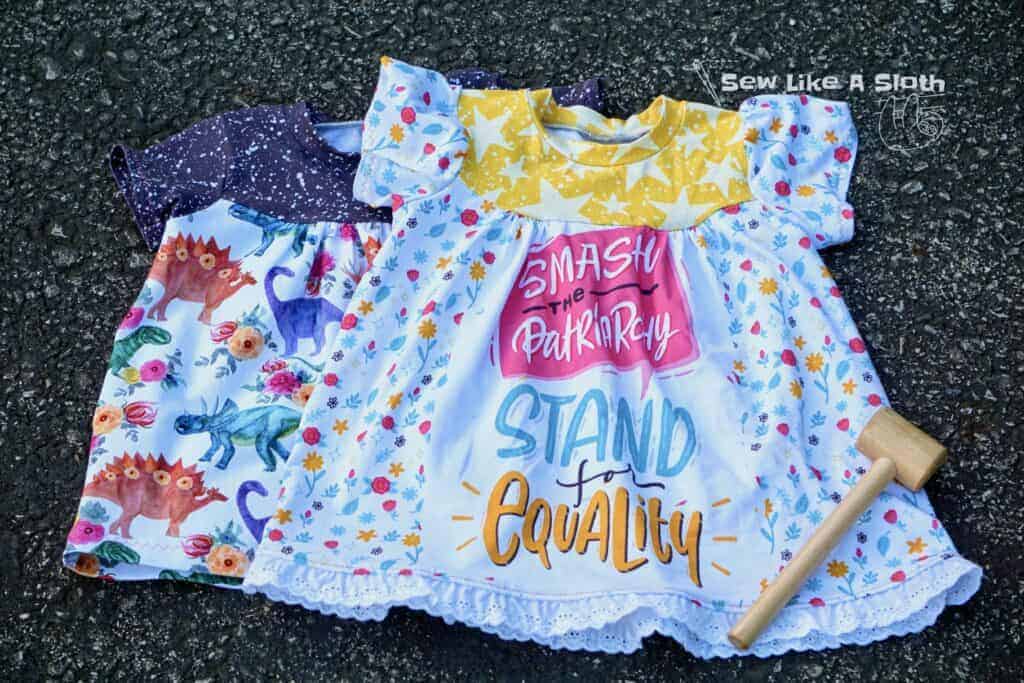
Tip: Be aware of your neckline. If you’re using a cowl neck or using a panel on the back bodice of a hoodie, you may want to lower the image a bit to accommodate the extra fabric draping down.
Patterns, patterns patterns!
Remember, you can put a panel anywhere your heart desires! Unleash your creativity and have fun with it. 🙂 But some patterns are more conducive than others. This is my list of Love Notions patterns that work particularly well with panels.
Classic choices
These patterns give a classic RTW graphic tee look when used with a panel. They offer simple ways to utilize a large panel for the front or back body piece.
Create the quintessential sweatshirt look! Large panels work well for front or back piece.
Small panels can be used for the optional hood or kangaroo pocket. You can add some pizazz and draw more focus to the panel by using the included yoke pattern piece.
Rockford Raglan and Wrigley Raglan:
A panel goes together with a raglan like peanut butter and jelly. It creates such a classic look. I usually use the panel on the front with a coordinate fabric for the back and complimentary fabric for the sleeves. You can use a large panel for front or back piece on any view. If you’re using one of the Rockford Raglan views with a flowier bottom, I don’t recommend using a CL panel or one on more structured fabric.
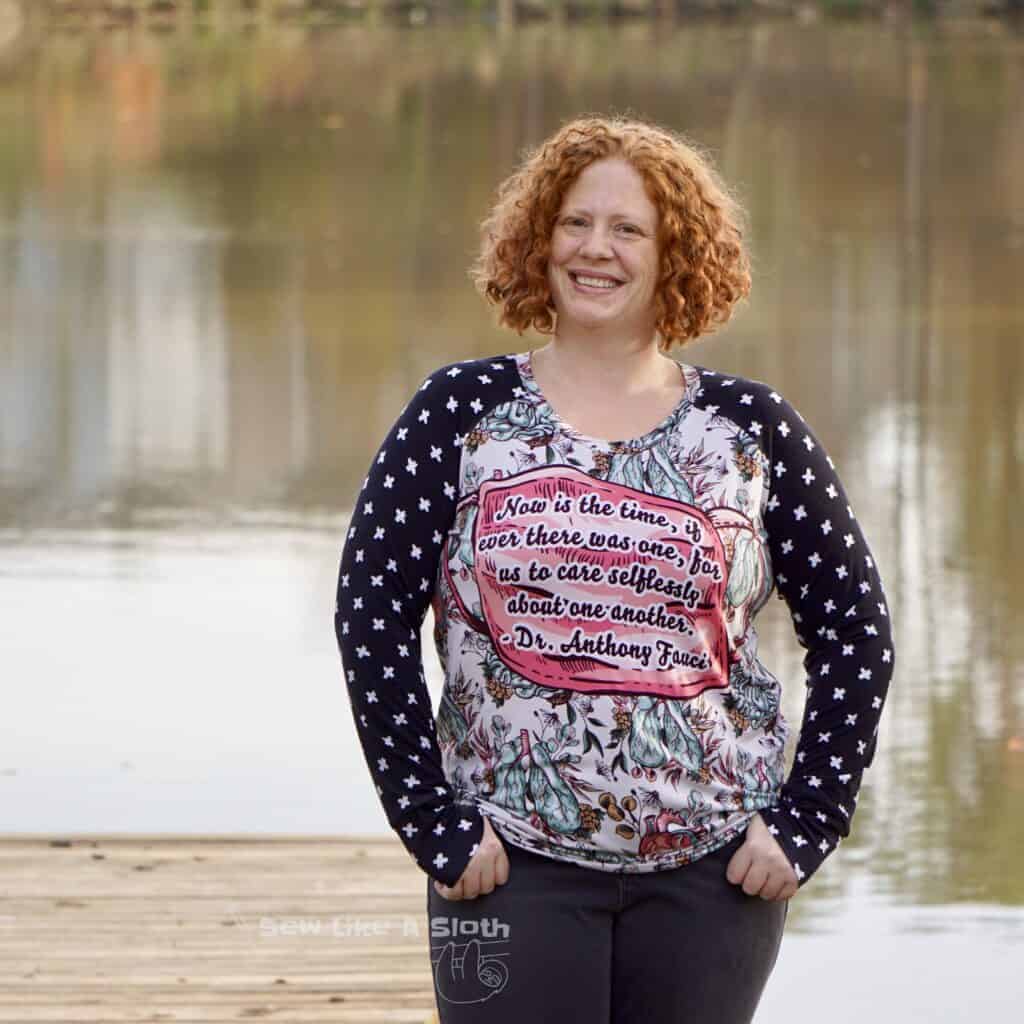
Classic Tee, Driftwood Henley, and Dockside:
Use a large panel on the front body piece and you’ve got your very own handmade graphic tee (using the plain front option for Driftwood/Dockside)! You could use it on the back piece as well (or, of course, you could also use a small panel on a sleeve, if you’re feeling sassy). My husband is one of the cover models for the Dockside. He’s very proud of this fact. Haha! 😉
Game Day Jersey (Women’s or kids or Men’s):
Use a large panel for the back main body piece and you’ve got an authentic jersey look! You can also use a large panel on the front.
LBD offers effortless style and is a simple sew. Incorporate a large panel as the front of your shirt and you’ve got a style statement. The LBD is perfect for bold, graphic panels that would be too busy with a lot of pattern embellishment.
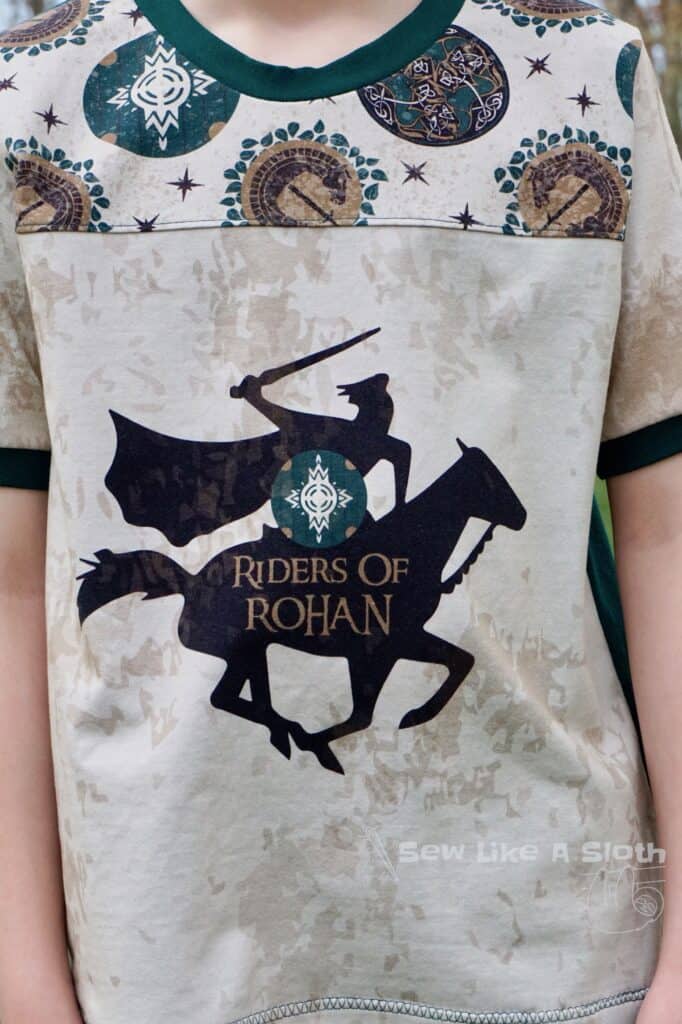
Vanguard top (kids):
Use the option with the top yoke and make your panel pop! If your panel image fits, you could also use it as the center strip in the three-piece colorblocked option.
Mix-It Up
Here are some pattern options that offer more unique ways to use your panels.
Constellation, Navigator, and North Star Hoodie:
Small panels are perfect for one of the upper bodice pieces (where the zipper is), for the pocket, or for the hood pieces. Use a large panel on the back for a super awesome team jacket style look!
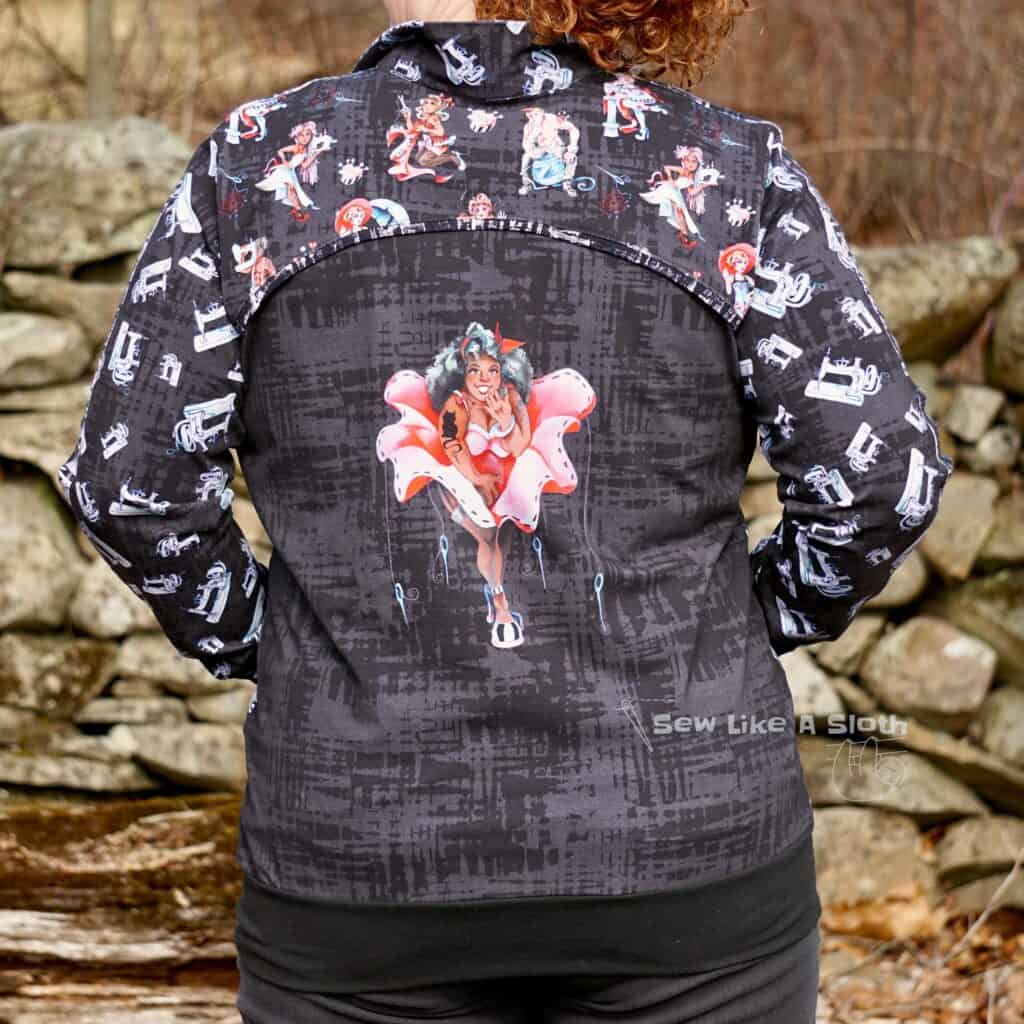
Kick your panel up a notch by pairing it with the fun peplum skirt of the Margot or Maggie! Depending on panel image size, you can incorporate it as the full bodice piece or as the main bodice piece in the princess cut.
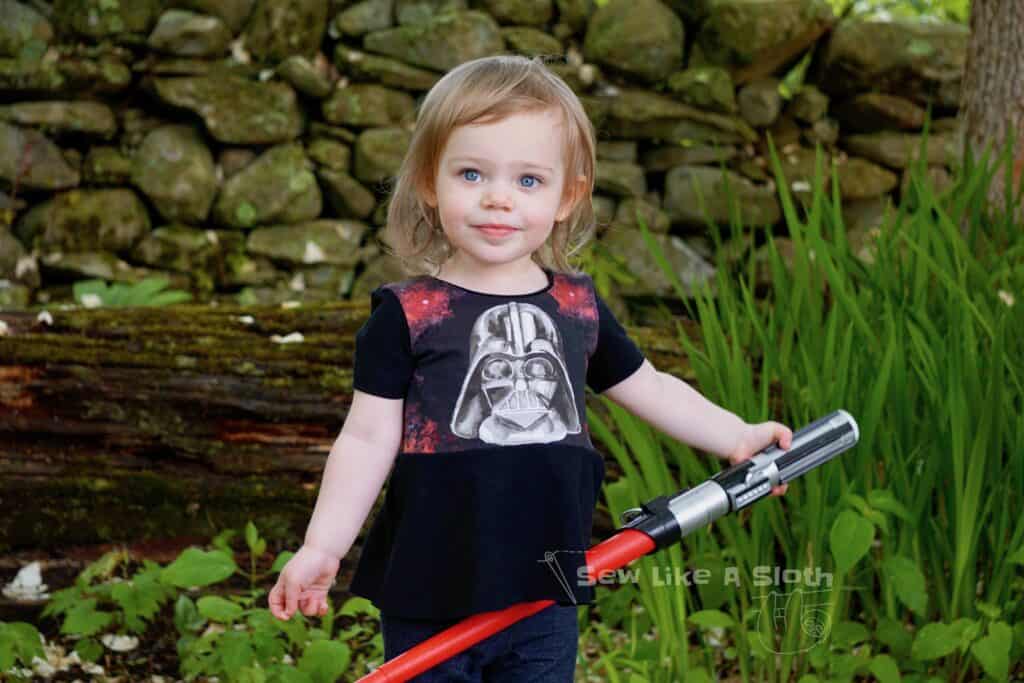
Tidal top and dress (adult and kids):
This is admittedly one of my FAVORITE ways to highlight a panel. The princess seaming draws your eye and makes that panel pop! Add some piping detail to the seam for an extra accent.
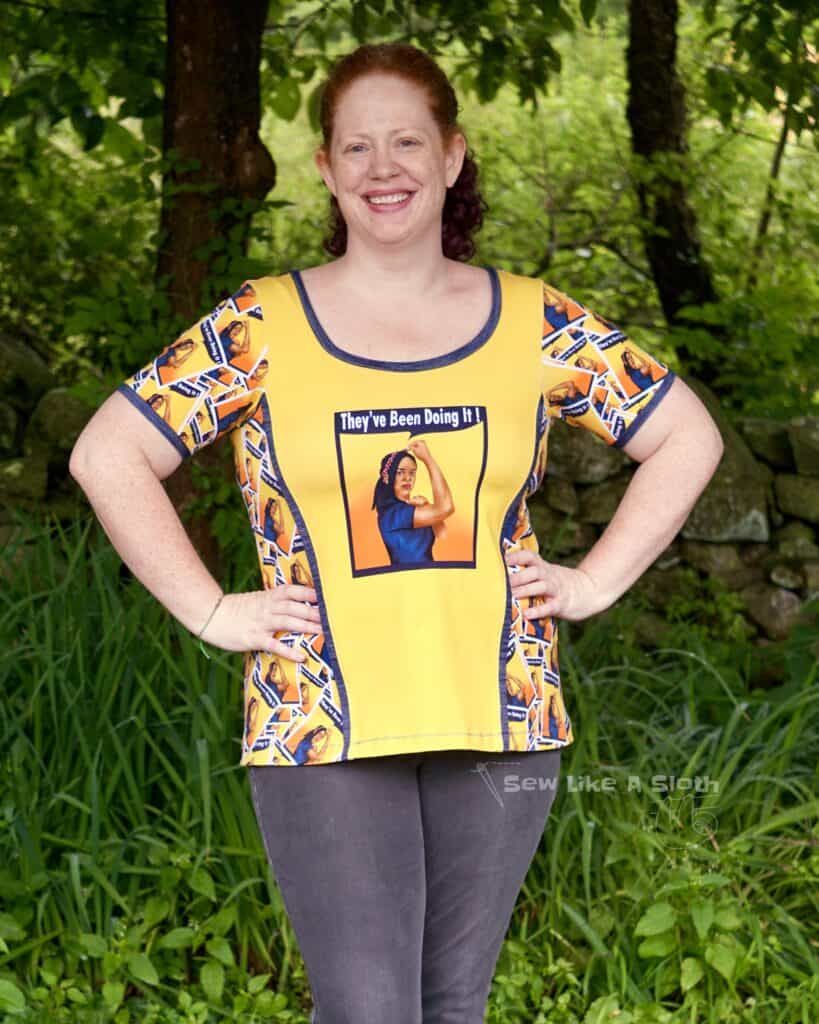
Remember, these are just some of the Love Notions patterns that work well with panels. I’ve used them with Tabitha, Sprint Muscle Shirt, Forte – I’ll put a panel anywhere! Haha! 🙂 I encourage you to play and explore new, fun ways to integrate them into your creations. The sky…or, in this case the Love Notions pattern catalogue, is the limit! 😉 I can’t wait to see what you make!
Where to buy panels
Is your fabric collection sadly lacking in panels? Never fear! The Love Notions Ambassador team is here! This list is a few of our favorite places to get panels. The name is linked to their Facebook group or to the website to order.
Wolf & Rabbit Organic Euro Knit Fabrics
Panels can ignite your creativity. There are so many fun ways to use and apply them. I hope this post was helpful and I hope you enjoy your next panel creation. Have fun and happy sewing!
Save this post for later!
