I don’t know about you, but my closet has more cardigans than anything else. You can never have too many! Today, my tester Tammie Schaefer is going to show us one more way to change up the Canyon Cardigan. This time as a cocoon! Read on to see how easy this pattern hack is.
It’s finally fall and time to start sewing all the cardigans!
If you’re anything like me, you love them, but don’t love assembling the patterns! Well…you’re in luck! I have made 5 Canyon Cardigans (yes 5) from the same pattern pieces and each is a little different. I’ll snap a picture of the different options I’ve tried for the end of the post, but this is all about my latest love…the cocoon hack. I was dying for a cocoon cardigan pattern, but honestly didn’t want to pay for or assemble another pattern, so I used a very simple mod – let me repeat, this is a VERY simple mod – to transform the Canyon Cardigan into what I “needed” so badly. Here’s what I did:
First, cut out all of your pieces according to the pattern except for the neckband, we will do that later. I’m doing the view A, with pockets of course because everything should have pockets, and I have lengthened it to accommodate my almost 6’ self.
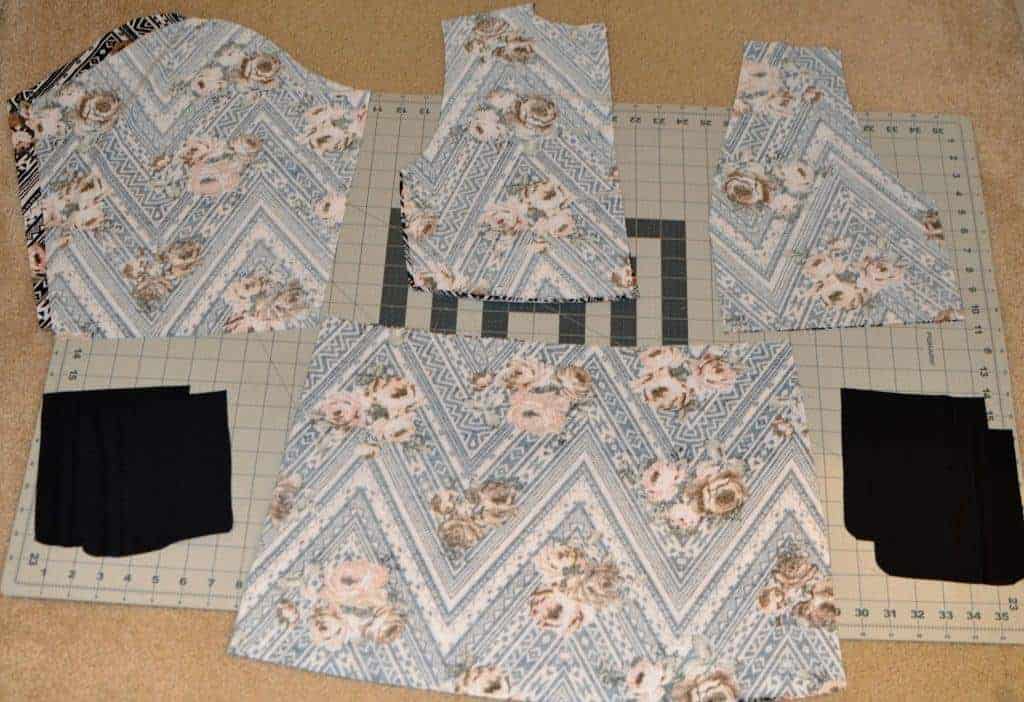
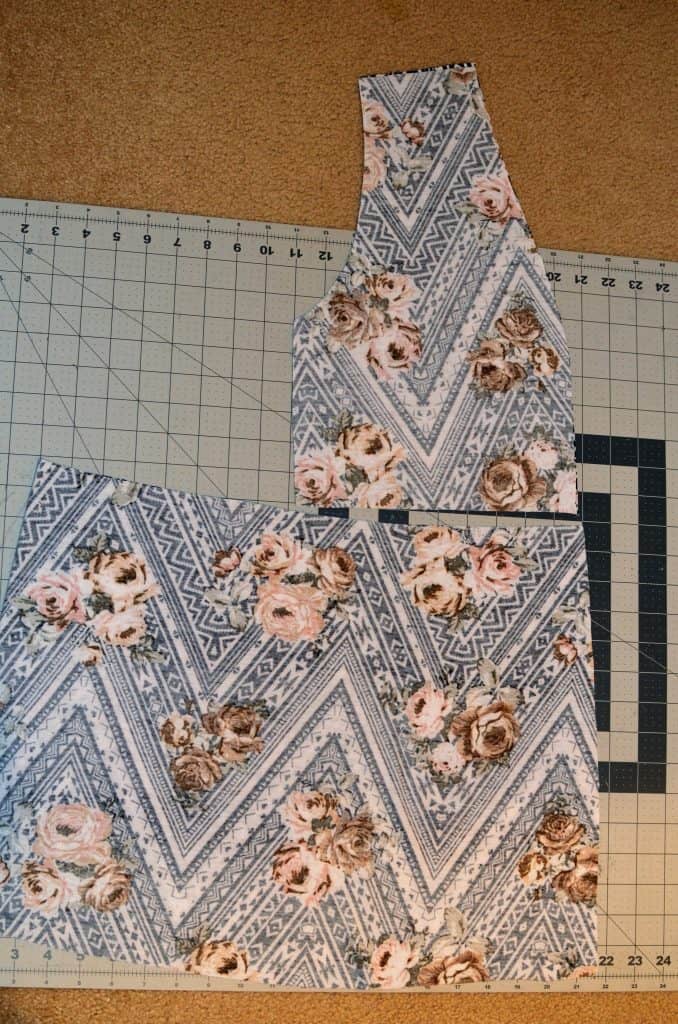
Next, line up the bodice pieces with the skirt piece, this is where the magic happens. I like to get a visual for how it’s going to flow when it’s all put together.
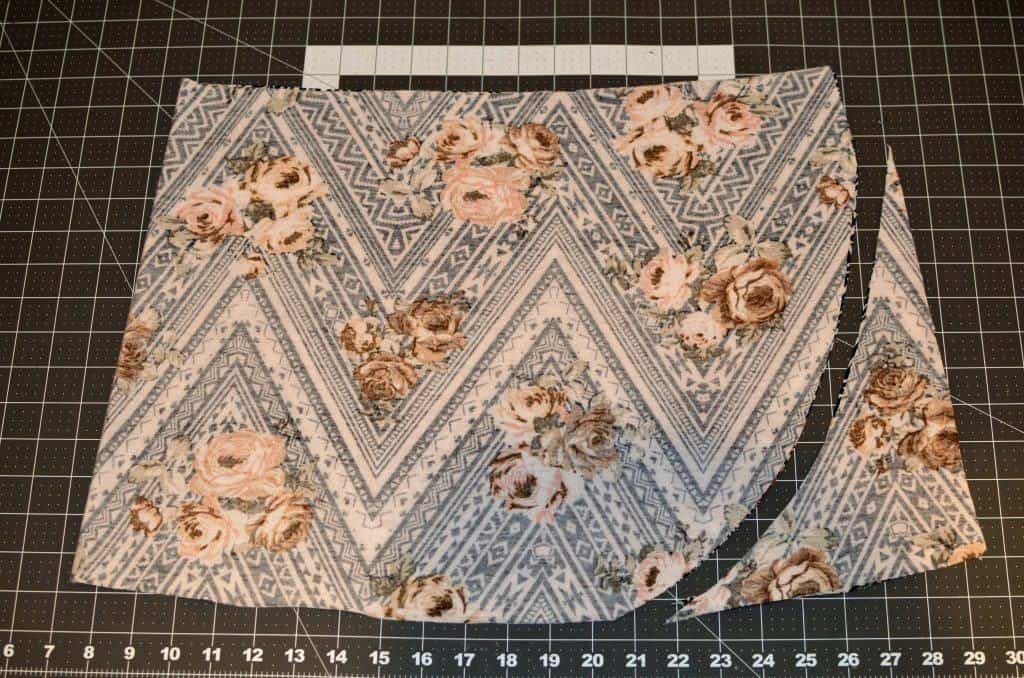
Here is where you make the cocoon shape happen.
I started about 2” down from the top of the skirt piece (this is where the skirt attaches to the bodice) and cut a gradual curve to round off that corner. A couple of tips here… (1) you want to make it as gradual as possible to prevent bunching/bulging out of the band when you attach it, and (2) make sure you don’t go too deep because you don’t want your pockets poking out the sides. After you make this change to the skirt pattern piece, construct the cardigan as it calls for in the pattern except DO NOT put on the neckband. You haven’t cut that yet, though so that should be easy to remember! ☺
After you assemble the cardigan (except for the neckband), try it on to see how your curve turned out. If you don’t like it, there’s still time to adjust it here! Just make sure you cut both sides evenly. I happened to love the way it looked, so I went to the next step! Another side note here, I haven’t tried it yet, but you could just hem the entire edge all the way around at this point if you don’t want to add a band. See, yet another look you can get with this pattern!
Ok, so you decided you want a neckband, me too!
So here’s how we’re going to do it…You need to measure all the way around the cardigan to see how many inches around it is. By making that curve, we now essentially have a huge circle on the edges of our cardigan. The size Small I made (remember I added length though so don’t take my word for it) was 104” around. Depending on how stretchy your material is, I like doing about 3-4” less than the total length. You don’t want to be stretching the neckband except for the part that goes around the back of the neck. If you don’t stretch that part at all, you’ll have gaping, trust me!
So…cut your band 3-4” less than the total length you measured using whatever width you like. This one I decided to go with a little thicker than the pattern piece width, but the one I made with the leaves (posted below) was the same width as the pattern piece, just to give you a reference.
I happened to be fortunate enough to squeeze this whole cardigan out of a yard, so I did have to sew a few pieces together (3 to be exact). For the leaves one I made I used 2 pieces.
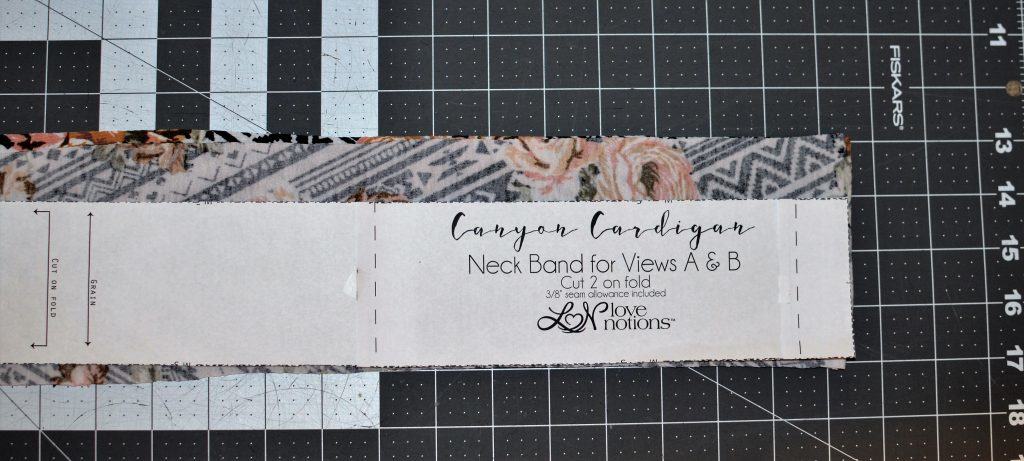
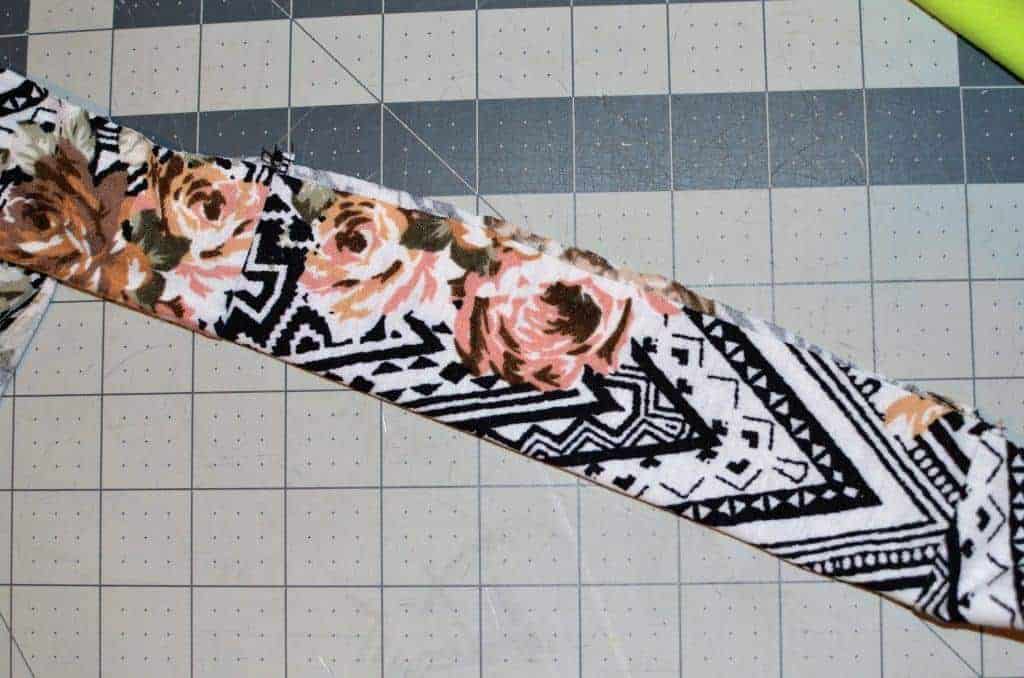
Here’s a picture of my pieces before I sewed them together.
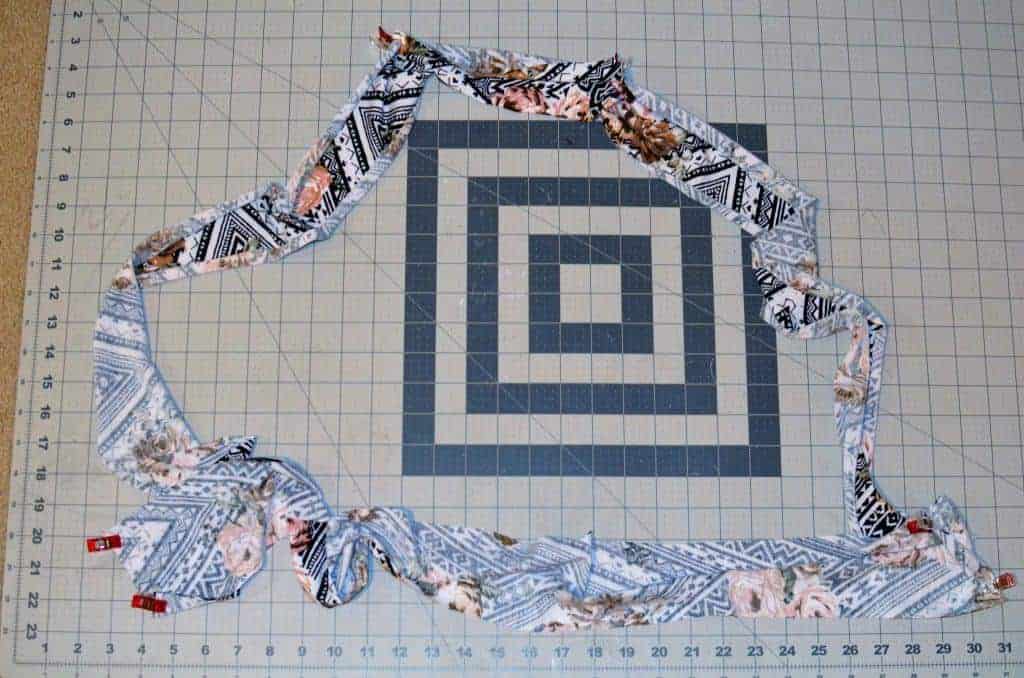
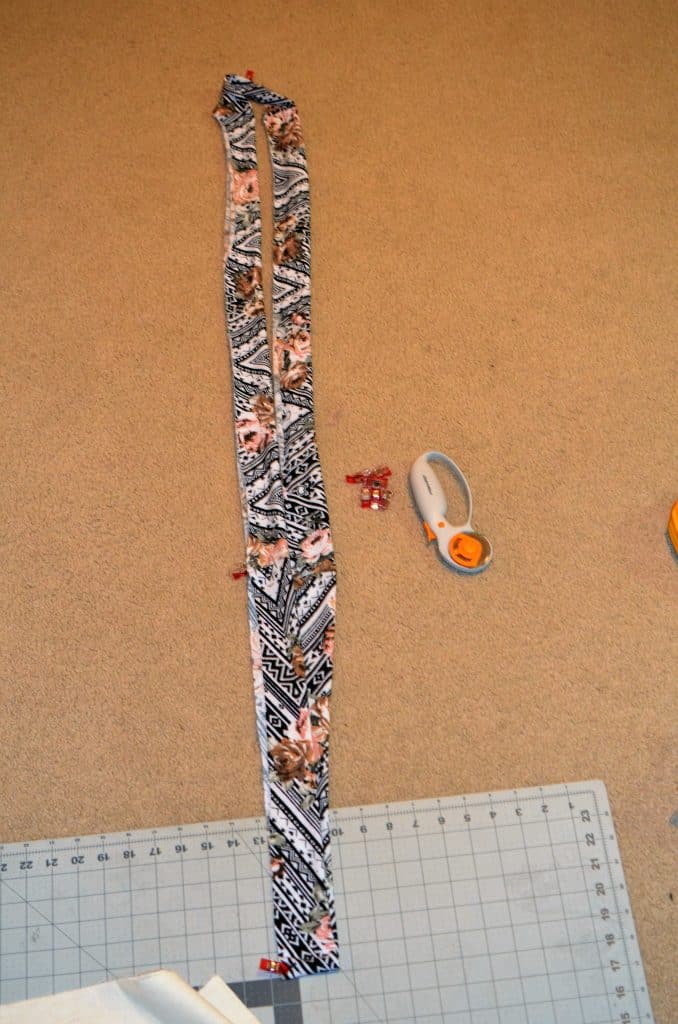
Once you sew all of your pieces together, you’ll have a big circle, which is good because that’s what we have for the edges of our cardigan too! Fold the neckband in half wrong sides together so that the raw edges match.
You’ll have a really long piece like this!
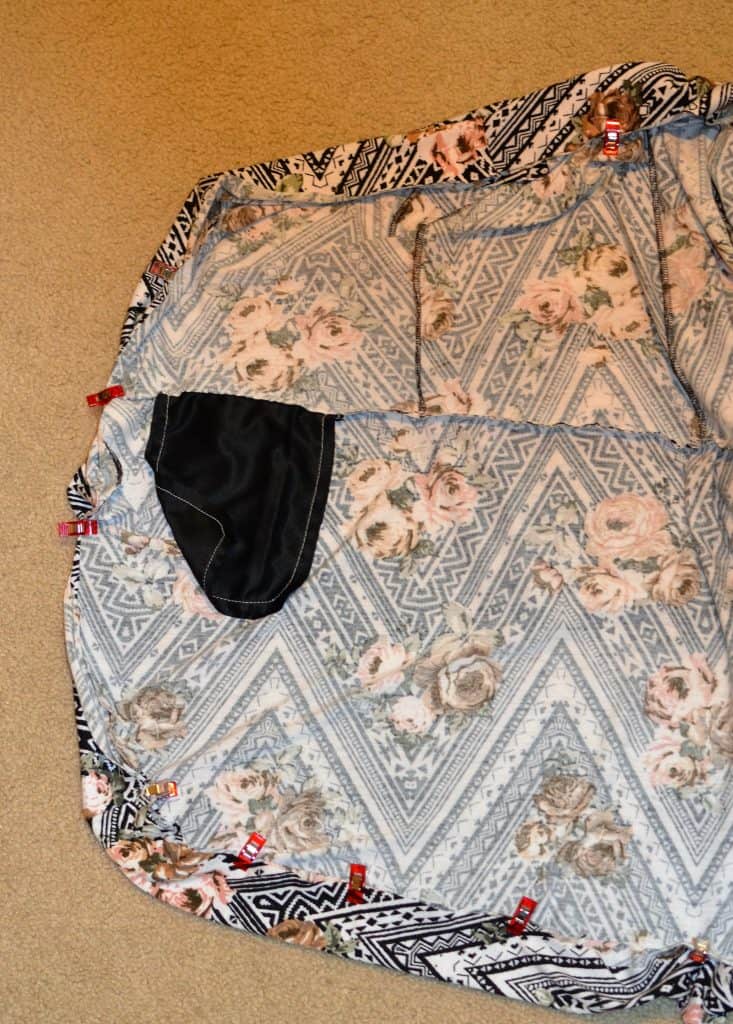
Now pin the neckband all the way around the cardigan. I start by matching the halfway points at the middle back and neck to make sure both sides are even. Then, starting at the middle of the back, I went up each side pinning without stretching until I reached the notch from the pattern piece (you did transfer all markings right?!). From that point to where we pinned in the middle of the neck is where the stretching will occur. Repeat on the other side. After you’re all pinned, sew the band on! For a finishing touch, topstitch all the way around and/or give it a good iron. It’s amazing what a good iron will do! I chose not to topstitch, don’t judge. ☺ Now enjoy your lovely cardigan!
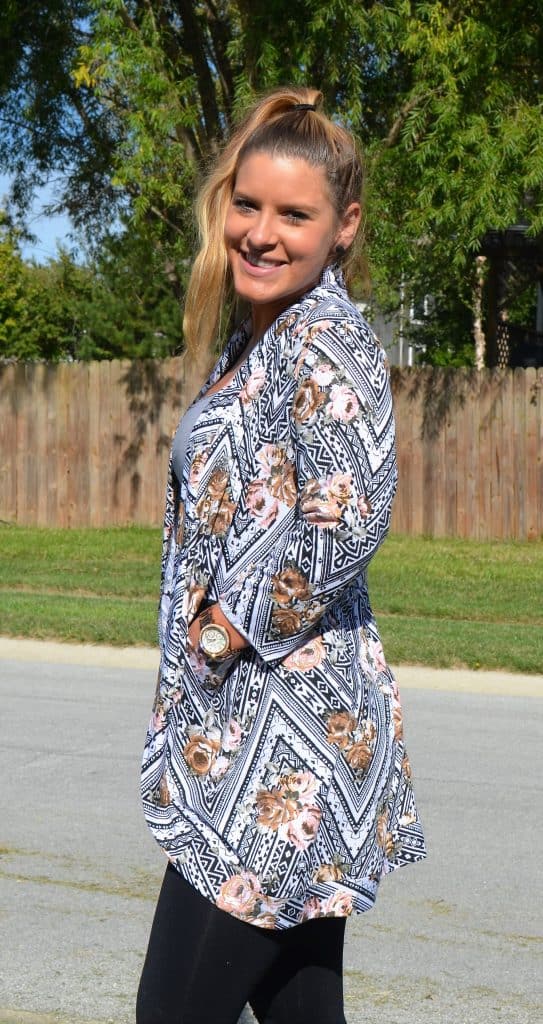
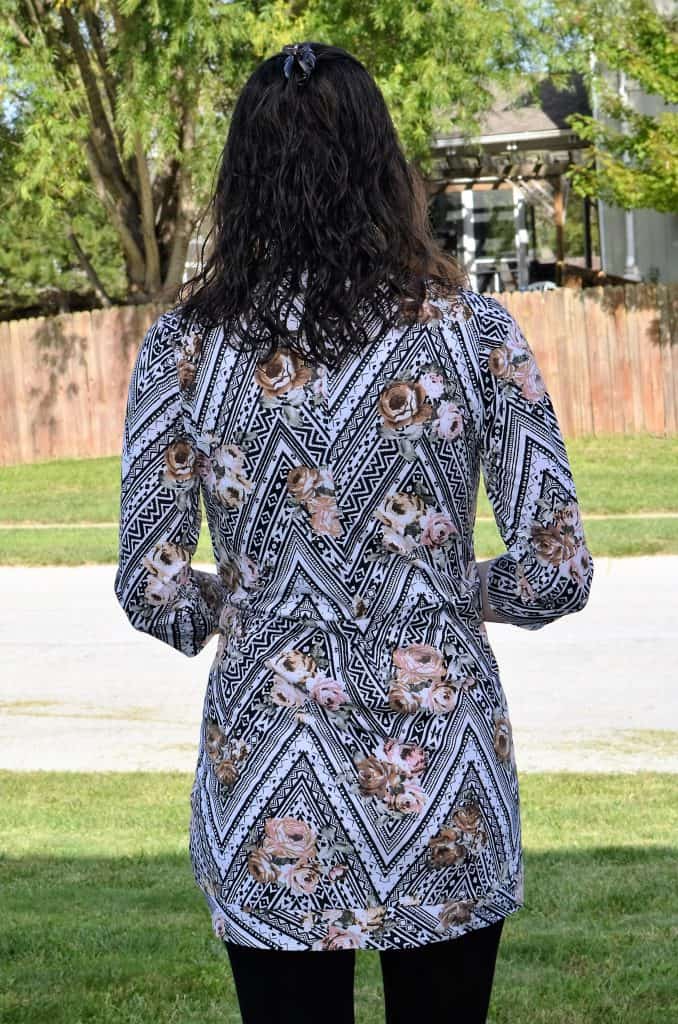
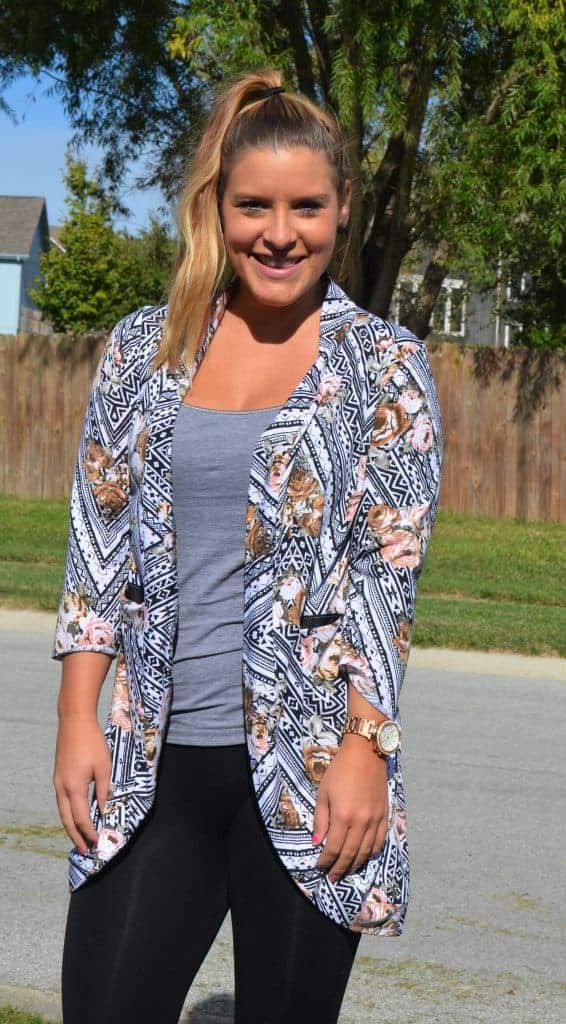
Here are some finished pictures of mine as well as a couple of pictures of my 5’1” sister I made model for me.

Thank you for that excellent pattern hack Tammie!
I hope you give this simple alteration a try. I think this would be a great first-timer pattern hack to try out.


