Lotus Blossom Sew Along: Day Five
Today is the final day in the Lotus Blossom Sew Along. We will wrap things up by hemming the sleeves and sewing the neckline in place. And after we finish that up, I have an amazing hack for you!
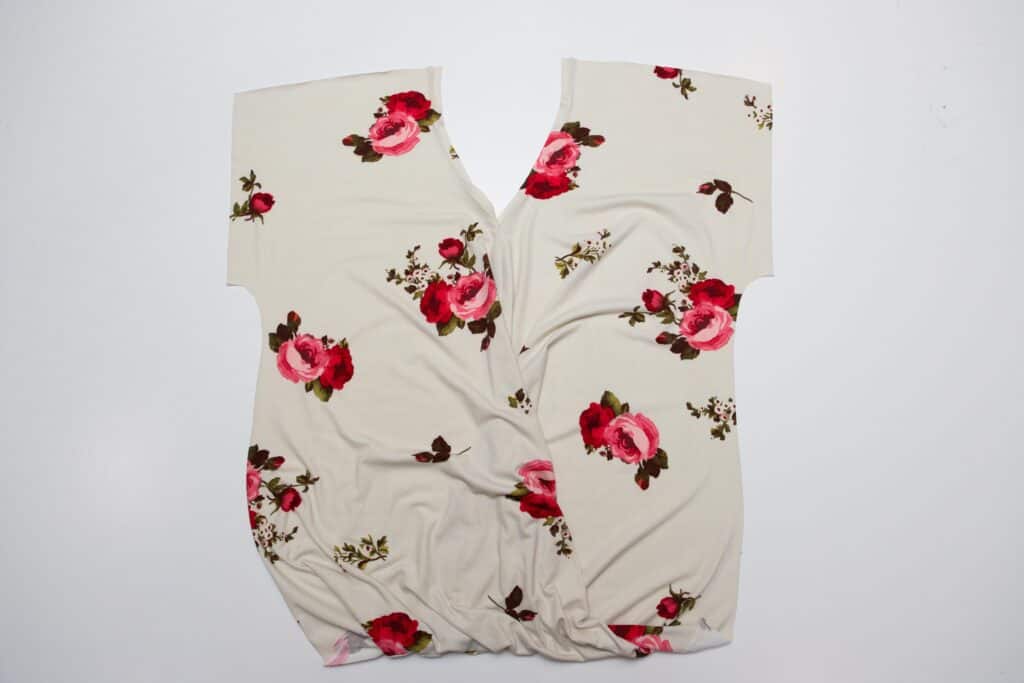
Yesterday we did the twist and assembled the body of the Lotus Blossom.
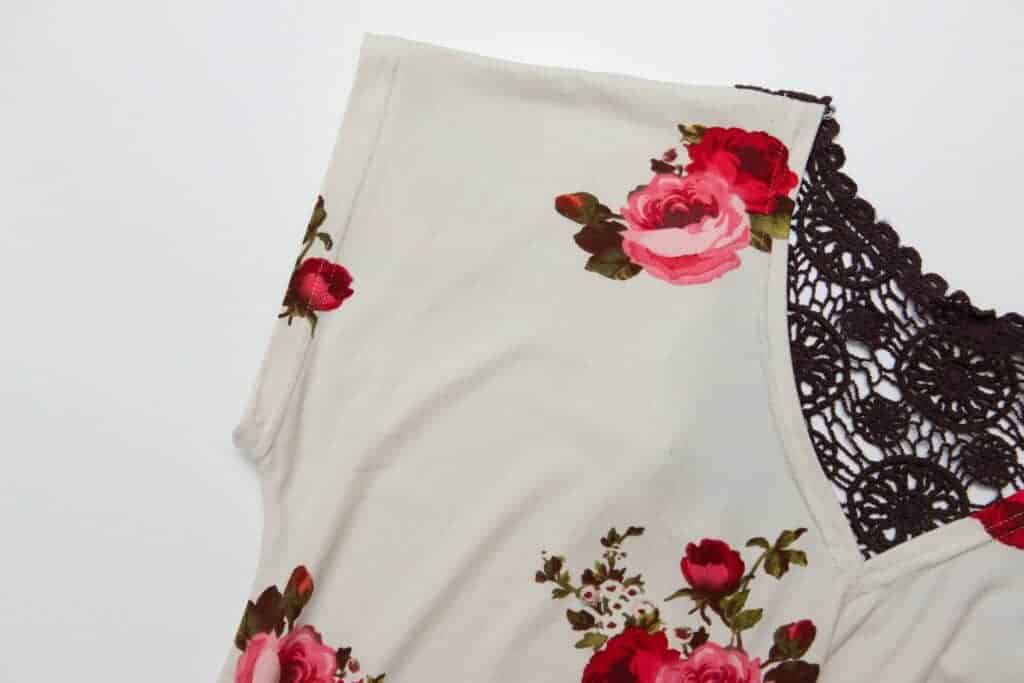
Let’s sew our neckline into place. If you sewed an applique back, you must sew the neckline before you assemble the body!
For the applique, fold the front neckline towards the wrong side and topstitch into place with a straight stitch, double needle or coverstitch machine. After you have the front neckline sewn, jump back to yesterday’s post to assemble the rest of the body.
For the inset or full back, after you have sewn together the shoulder seams and side seams from yesterday, fold the neckline into place. You will be folding the front on the creases made on day three. Fold the back down 1/2″ also as you go. Topstitch the neckline in place with a straight stitch, double needle or a coverstitch machine. If you are using a double needle or coverstitch, start at the bottom of the V and work your way around and end again at the bottom of the V.
Now it’s time to hem the sleeves.
Fold the sleeve under to the wrong side 1″ and topstitch into place. You can use some hem tape to keep the fabric from shifting around. Use a stretch stitch if you aren’t using a serger.
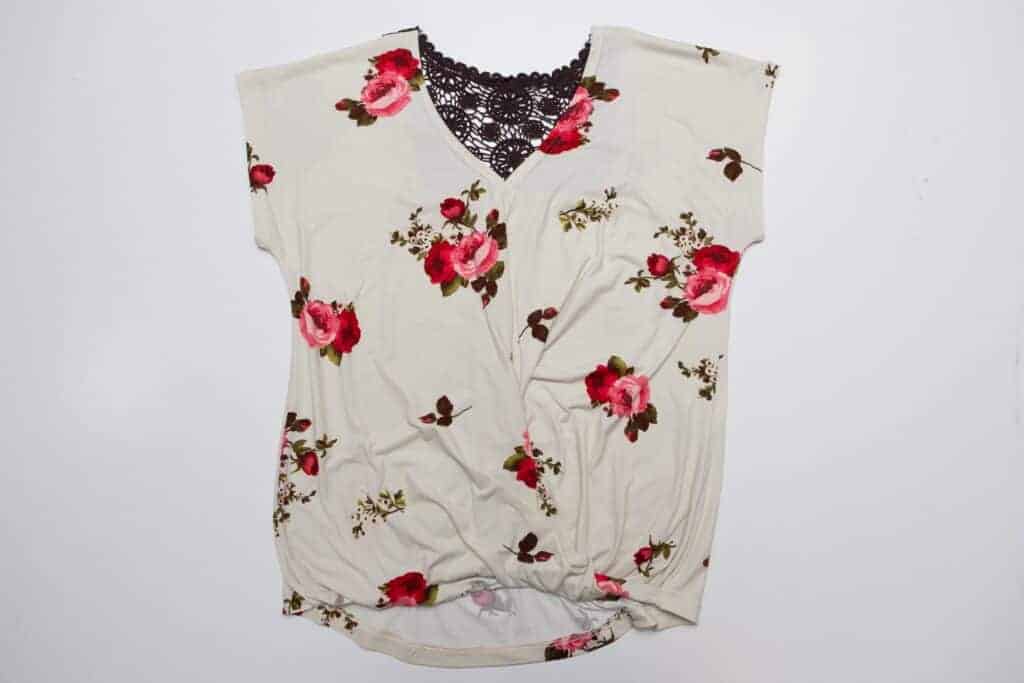
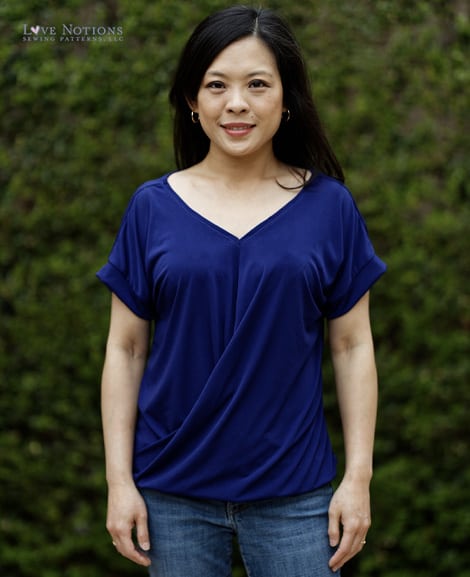
And just like that, we are finished with our Lotus Blossom!
Now for our hack.
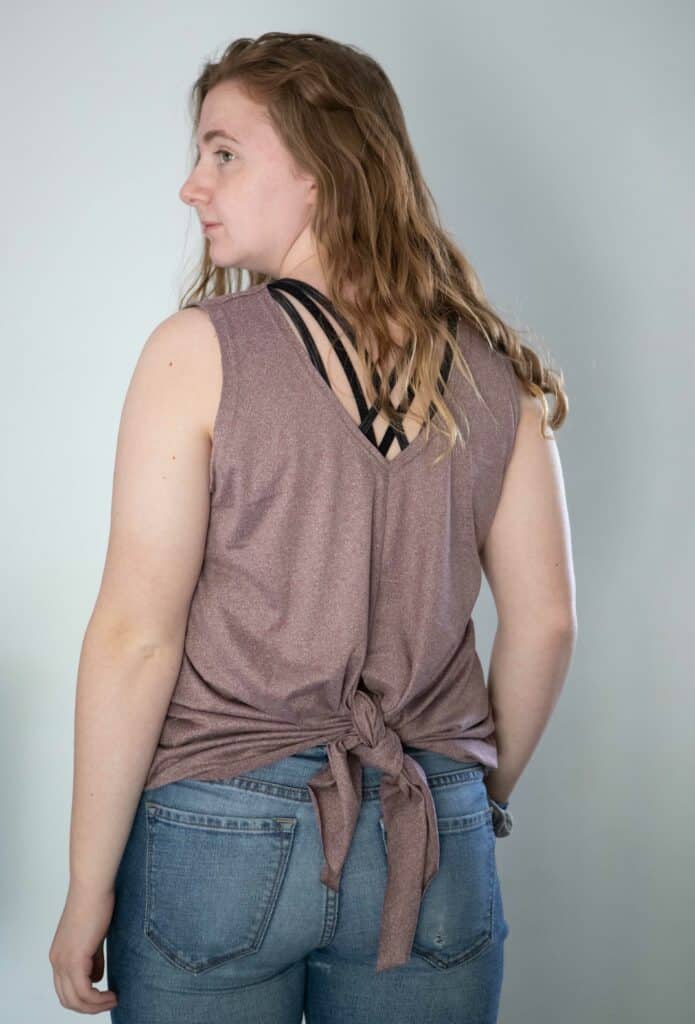
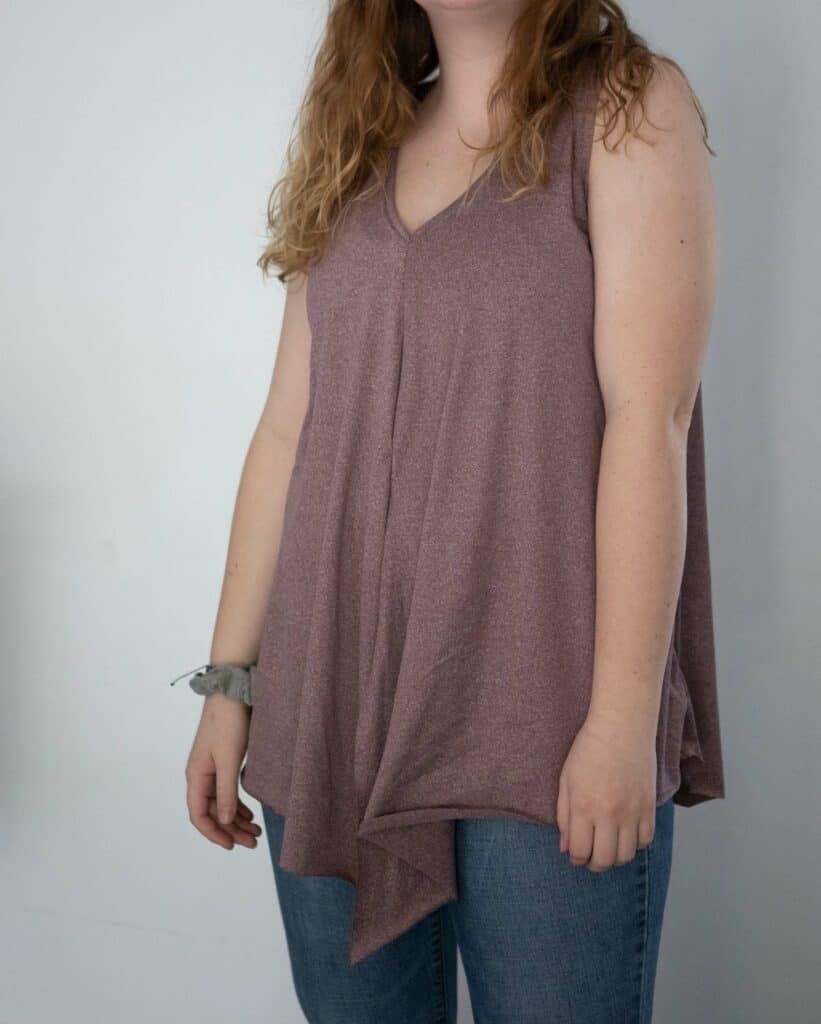
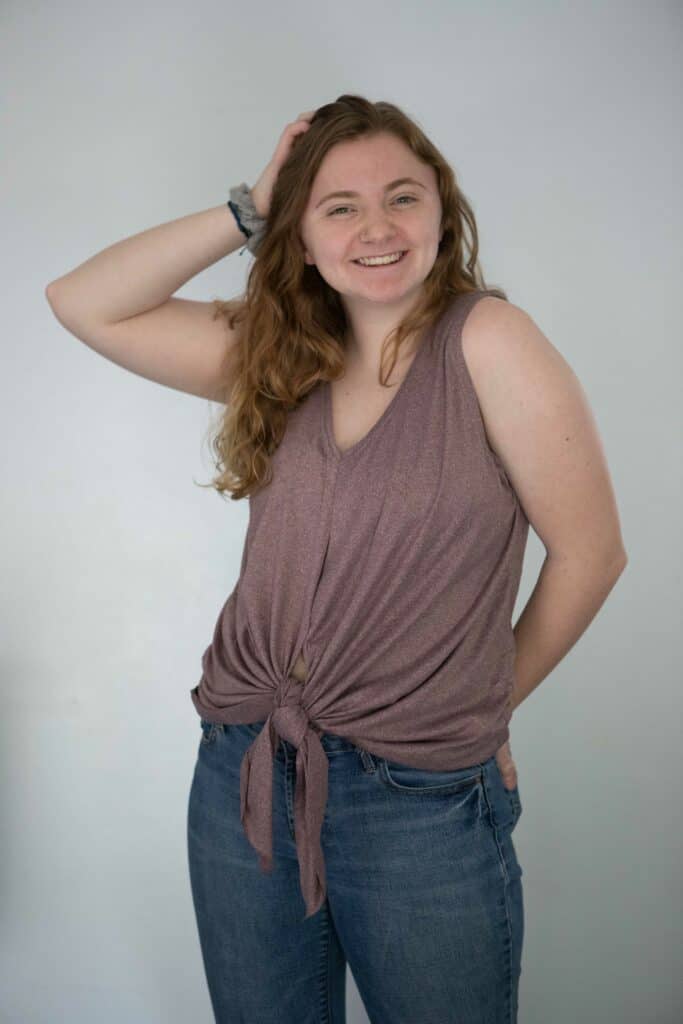
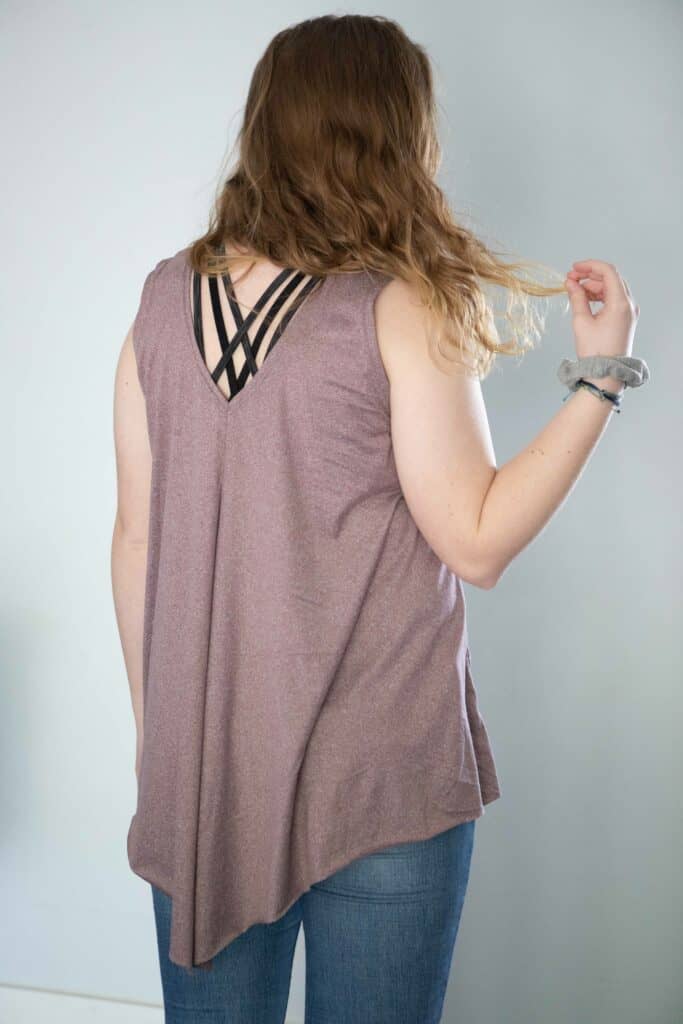
I’m going to show you how you can turn the Lotus Blossom into the everything shirt! Below you can see the same shirt styled four different ways! How amazing is that?!
The shirt above is made from an athletic brushed poly. It was perfect for the athletic look I set out to achieve for this look.
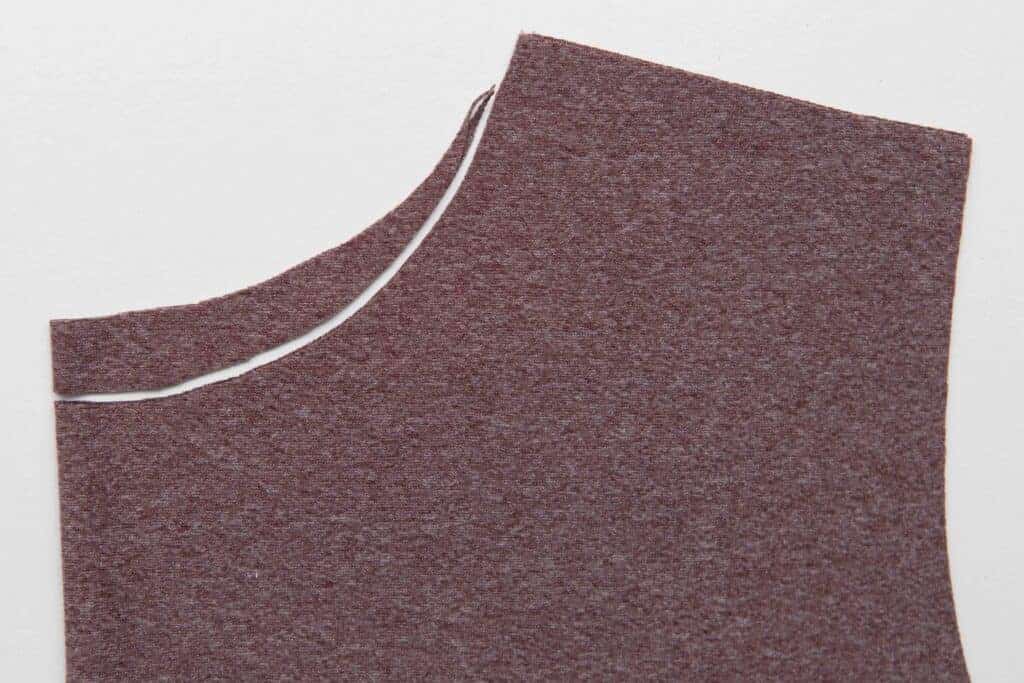
It was after I had it completed that I realized how versatile this hack is! And it’s so easy! I used the tank hack from Wednesday to create the sleeveless look. But you can leave the dolman sleeve or even add long sleeves if you like! I covered that Wednesday also. To make this shirt reversible, you may want to trim down the back neckline. I trimmed it down 1/2″. I liked the higher neckline, my daughter would have preferred it a smidge lower and agreed that if I would have lowered it another 1/2″, it would have been perfect for her.
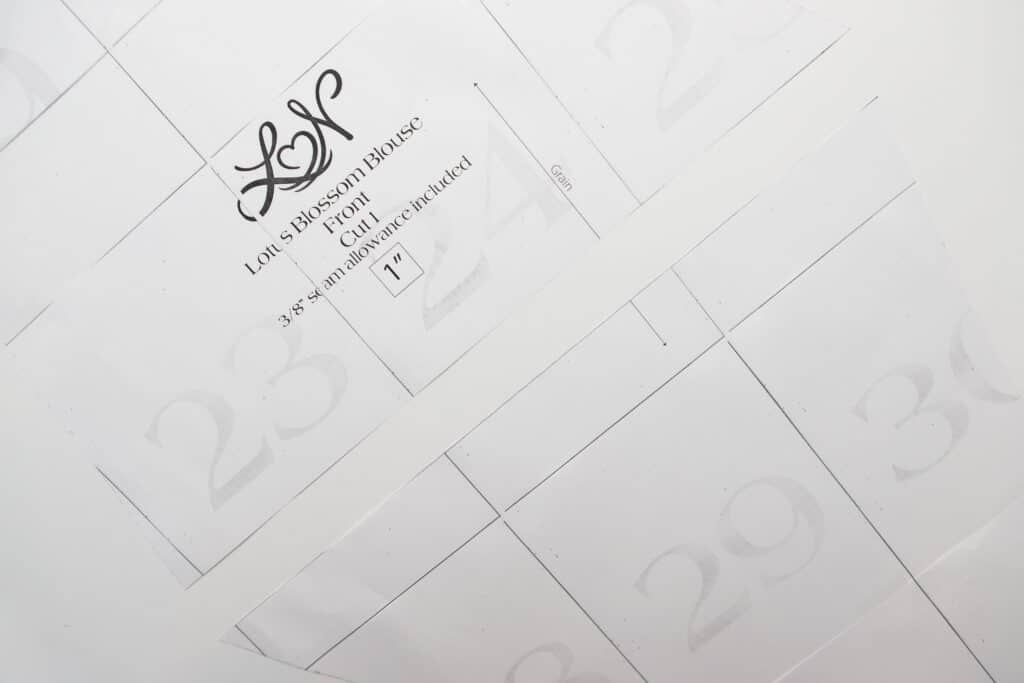
You will be cutting the front pattern in half, just like if you were using a fabric with one right side. Set one piece aside, you will only need one. Fold your fabric in half and cut two mirror image fronts.
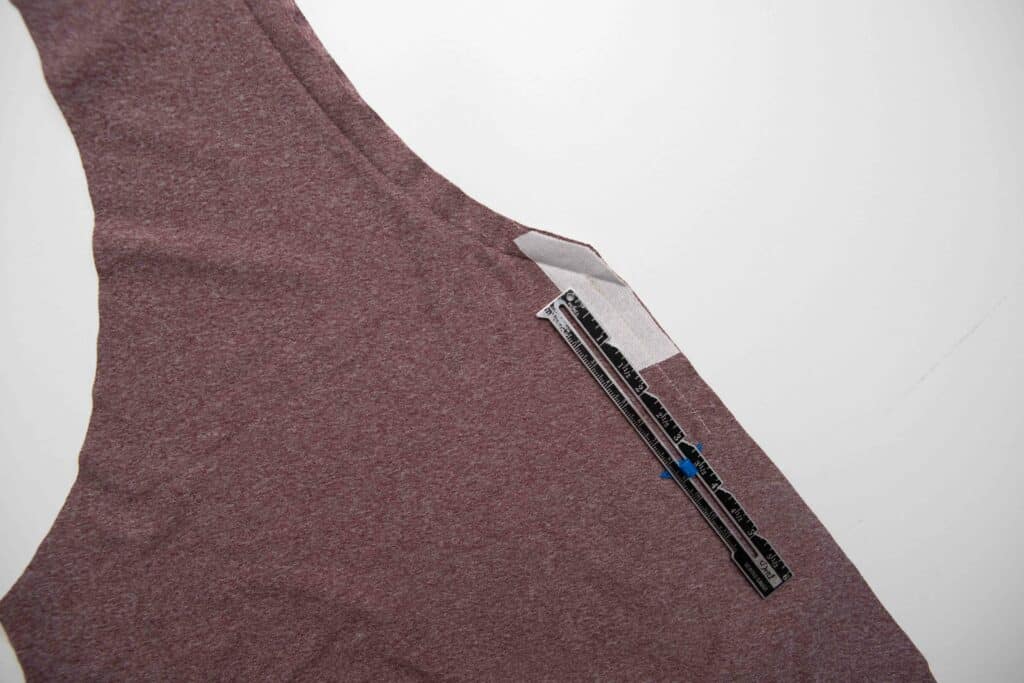
After you have ironed on your interfacing to the center, place your two fronts right sides together and line up the center seam. Sew down the center seam. In the athletic version I sewed, I sewed down 3 1/4″ from the bottom of the neckline. You can sew the center closed as much as you like! If I had intended on wearing this with the knot in front, I would have sewn down the front 8″. These measurements are for a size medium.
Follow the rest of the instructions as written. I did leave the front unhemmed. If you prefer to hem the front, wait to hem the back and hem all the way around in one pass. I also left the front unhemmed so that the fabric retained it’s drape.
Now you can decide HOW to wear it!
The open front would be great for nursing. Just wear a cami under it if you prefer to keep your midsection covered.
Or, wear the knot in front!
You can also wear the back open. It’s a great breezy shirt for runs on hot days. The length is nice for if you prefer to have your bottom covered while wearing leggings also!
I love the higher neckline! It keeps me from feeling like I’m flashing the crowd when I bend down at the gym to pick weights up off the floor. (or so I don’t flash my kids when I pick up the donut hole I dropped on the kitchen floor.)
And that’s a wrap on our Lotus Blossom Sew Along!
It’s more fun to sew with friends! Join us in our Facebook Support Group and share pictures of your progress, ask questions, and cheer on others as we all sew the Lotus Blossom together! Within the FB group, you will also be able to enter into our give away for a $50 Love Notions gift certificate and a $50 gift certificate to Boho Fabrics!
If you are just joining us, you can still catch up!
Day One: Printing, fabric, cutting
Day Two: Lace inset or applique
Day Three: Hemming and preparing the neckline
Day Four: The Twist and assembly


