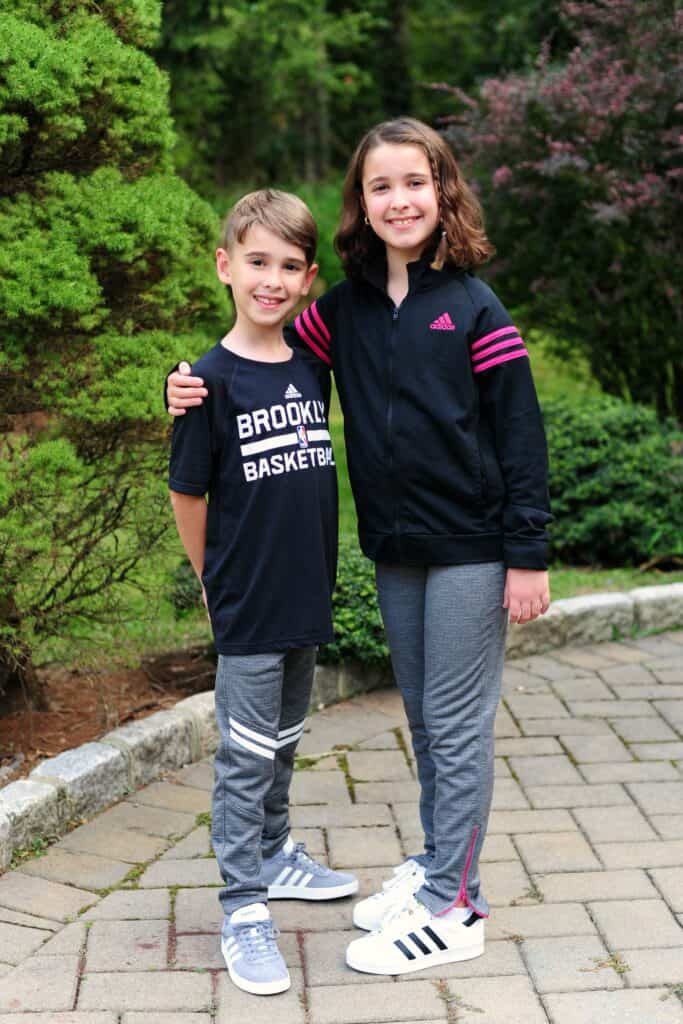
Hello and Happy Feature Friday! It’s Rachel again, with a focus on one of my all-time favorite pants patterns – the Moto Maxx (and Maxx-ine, too!). They are both just $5 today only for Feature Friday. I helped test this pattern when Archer was 2 years old, and have made it consistently since then as he’s grown and moved through the sizes. I tend to make more shirts than pants in general, so for this week I really wanted to take some time for pants and focus on the fitting and details for both kids.
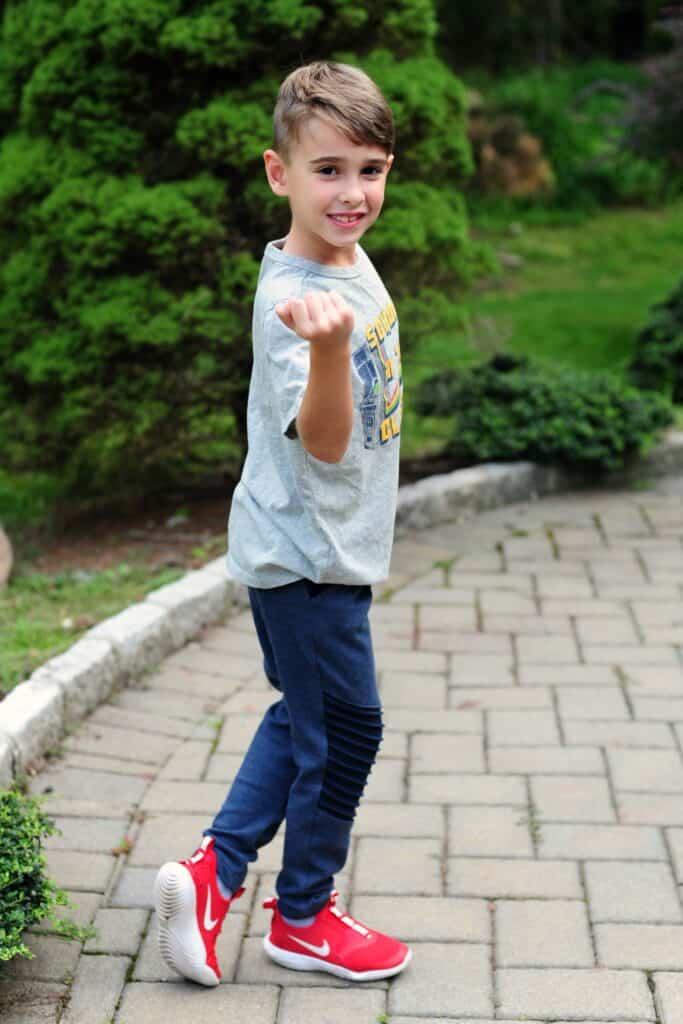
My little guy is 7 now, and even though he’s measuring in a 6 for waist/hips I made a 7 in these because I know the pattern is a pretty slim fit and they’ll last a bit longer this way. He’s definitely in a stage where he prefers to wear athletic-style pants instead of jeans, and calls polo shirts “being fancy.” For his new pants, I wanted to play around a bit with the knee panels and add some fun details that would offer a few new options.
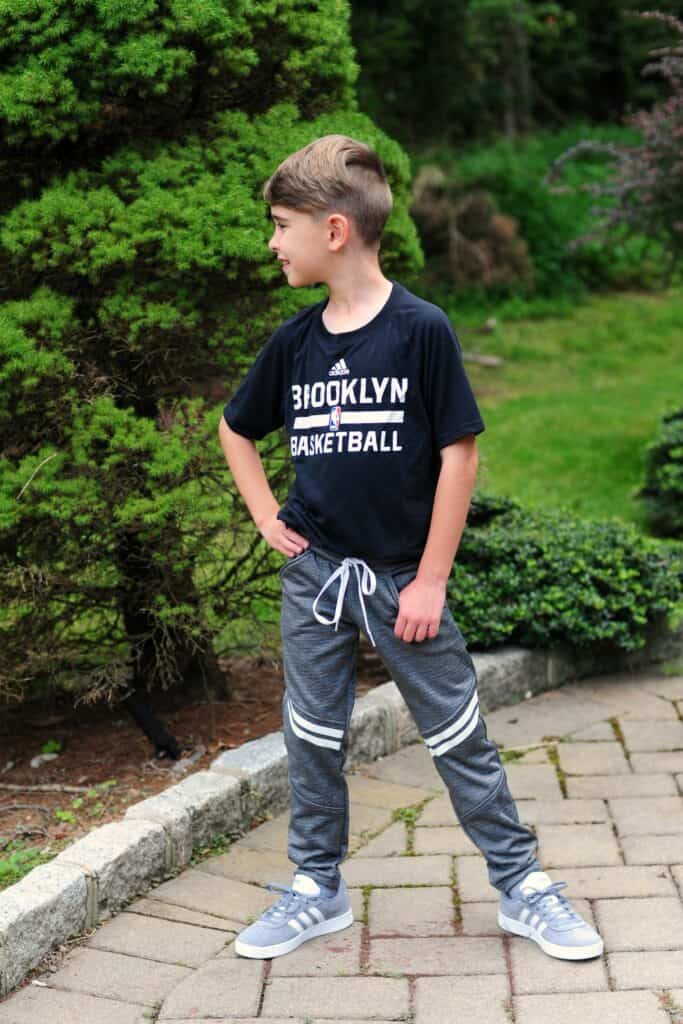
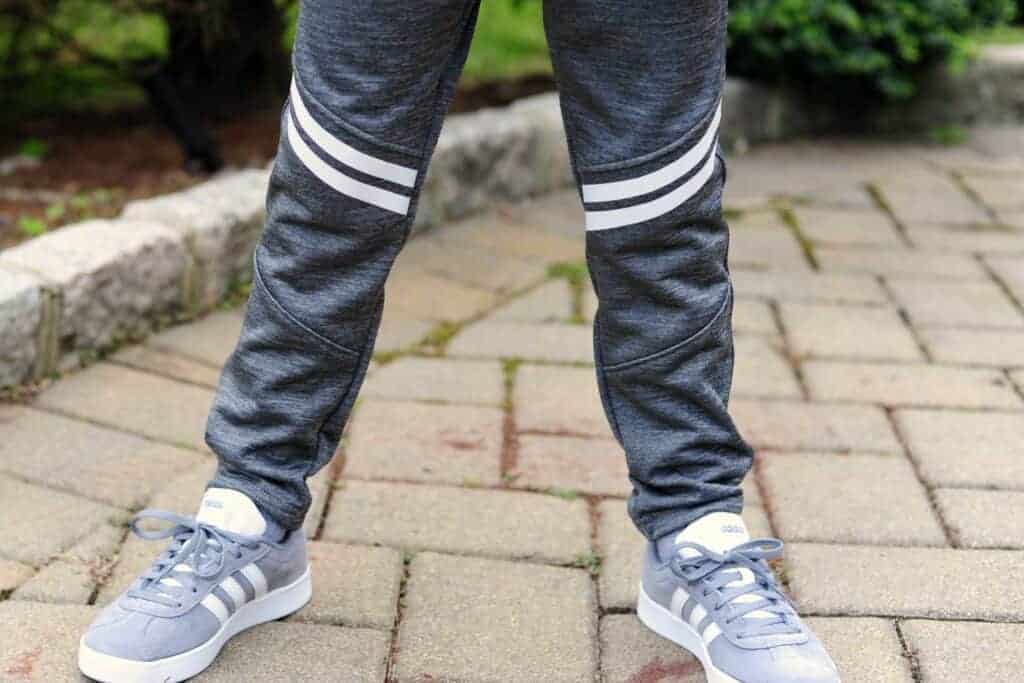
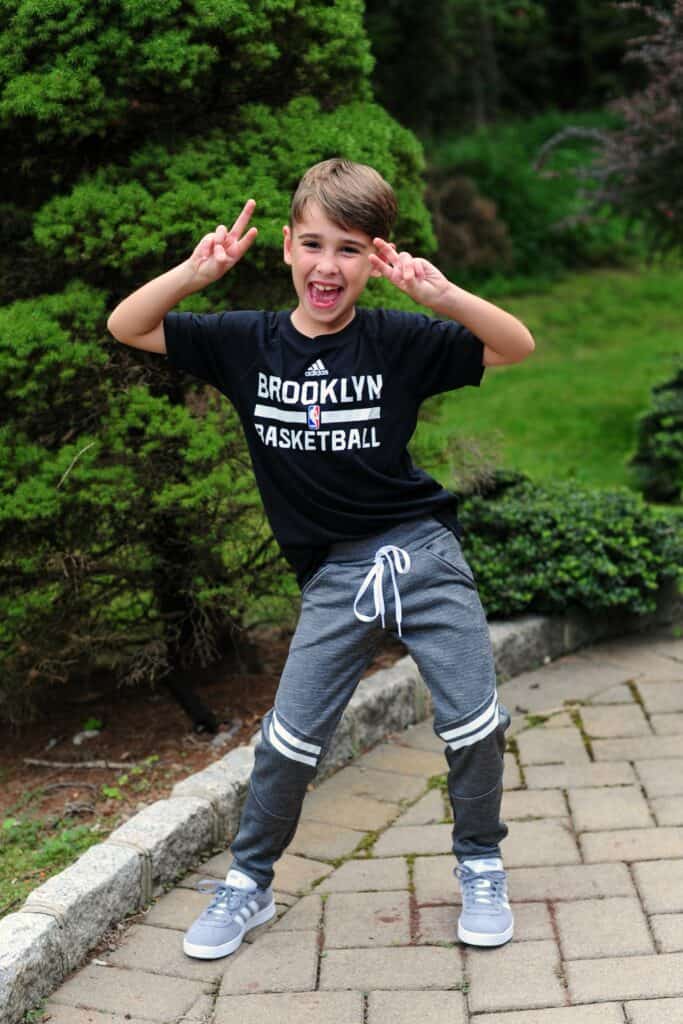
Moto Maxx with Knee Stripes
The grey ones are made from this fleece-backed performance fabric from Joanns, and I used stretch heat transfer vinyl for the stripes. I borrowed the pattern piece for the stripes from the brand new Game Day Jersey pattern, and applied them to the knee patches after sewing the front pieces together but before I stitched the front to the back.
This was a simple modification that made a big impact – and I would also emphasize the importance of topstitching (I use a long straight stitch for mine) the seams both to help keep the seams nice and flat and also to look more like a high end ready-to-wear garment.
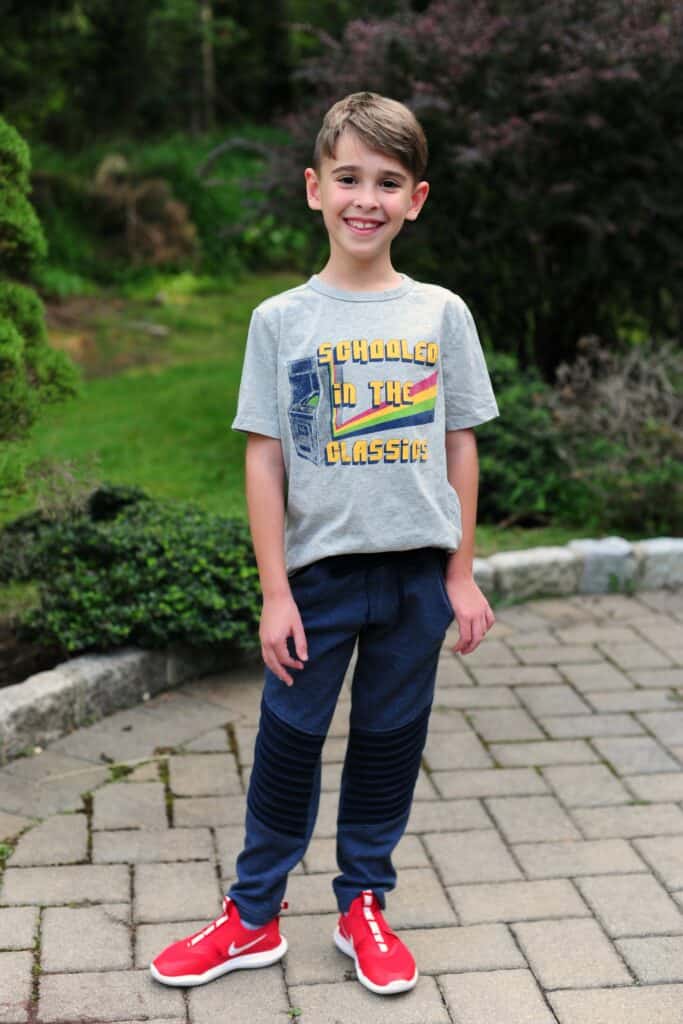
Moto Maxx with Pintucks
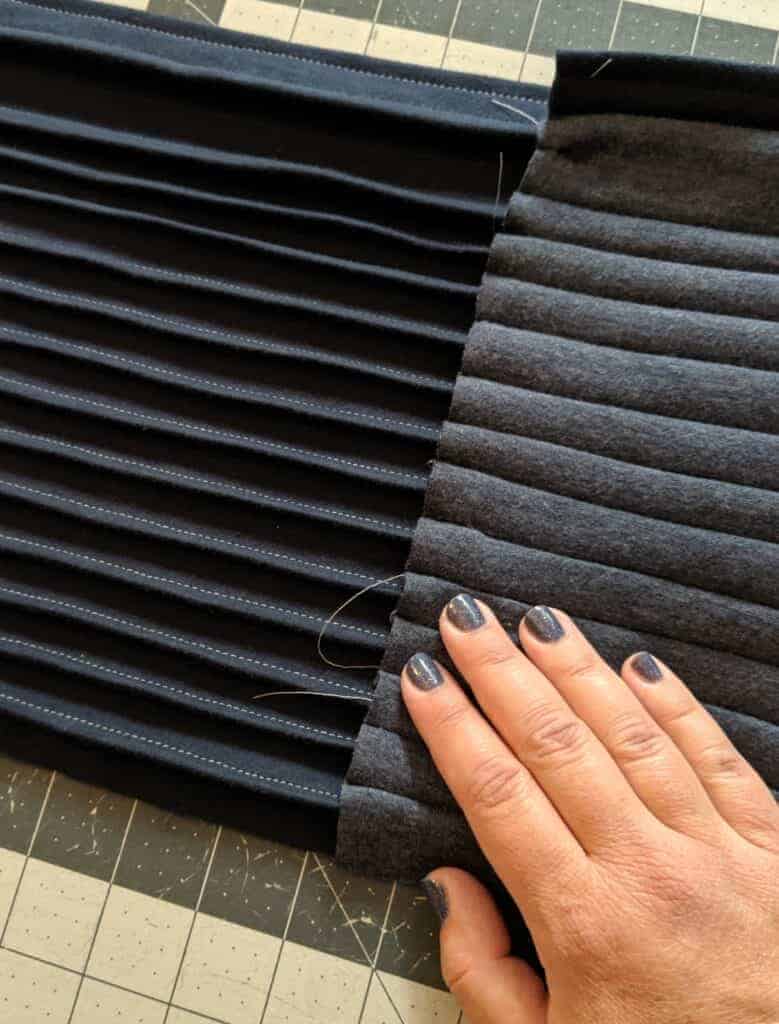
For Archer’s blue Moto Maxx pants, I used a double knit fabric that I purchased locally in the NYC garment district a few years ago. I wanted to do pintucks on the knee patches to really add texture to the moto styling of the pants.
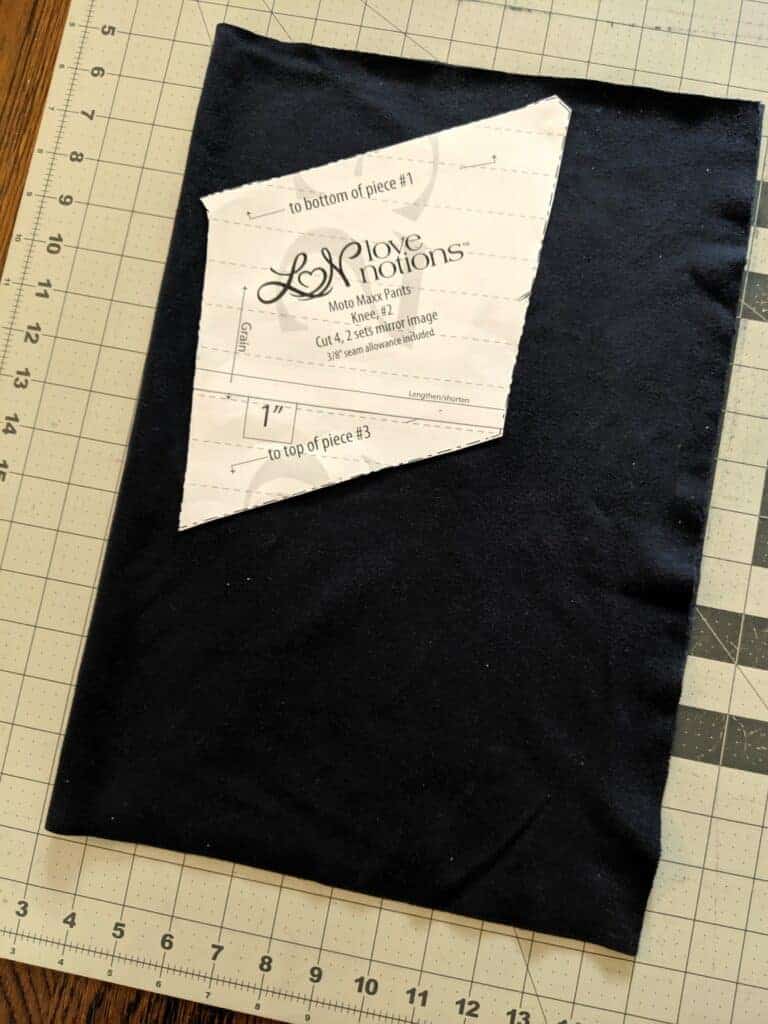
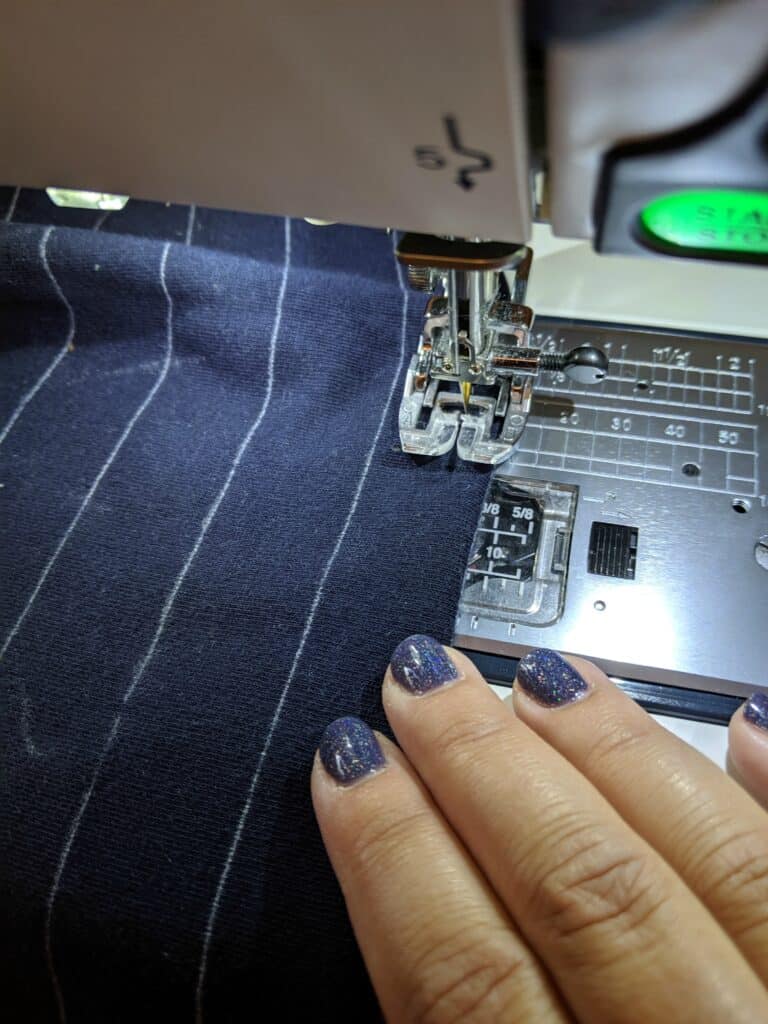
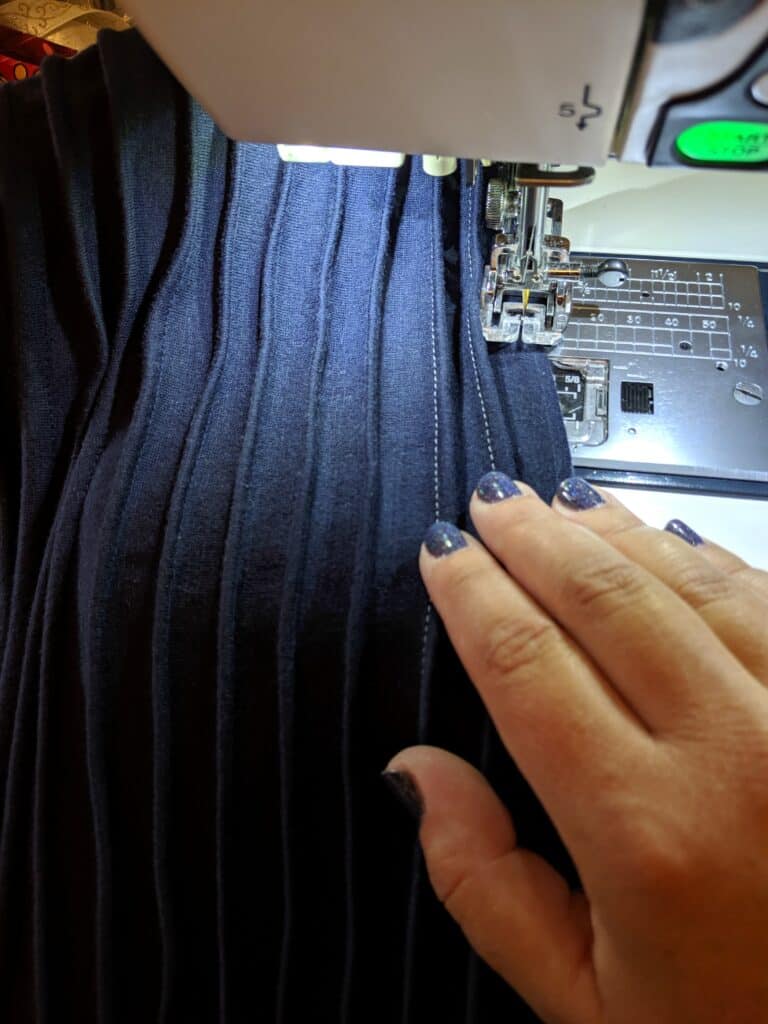
I did this by cutting a large rectangle (double the width of the pattern piece plus some extra fabric both lengthwise and widthwise) and marking 1” horizontal lines with my ruler and chaco liner. 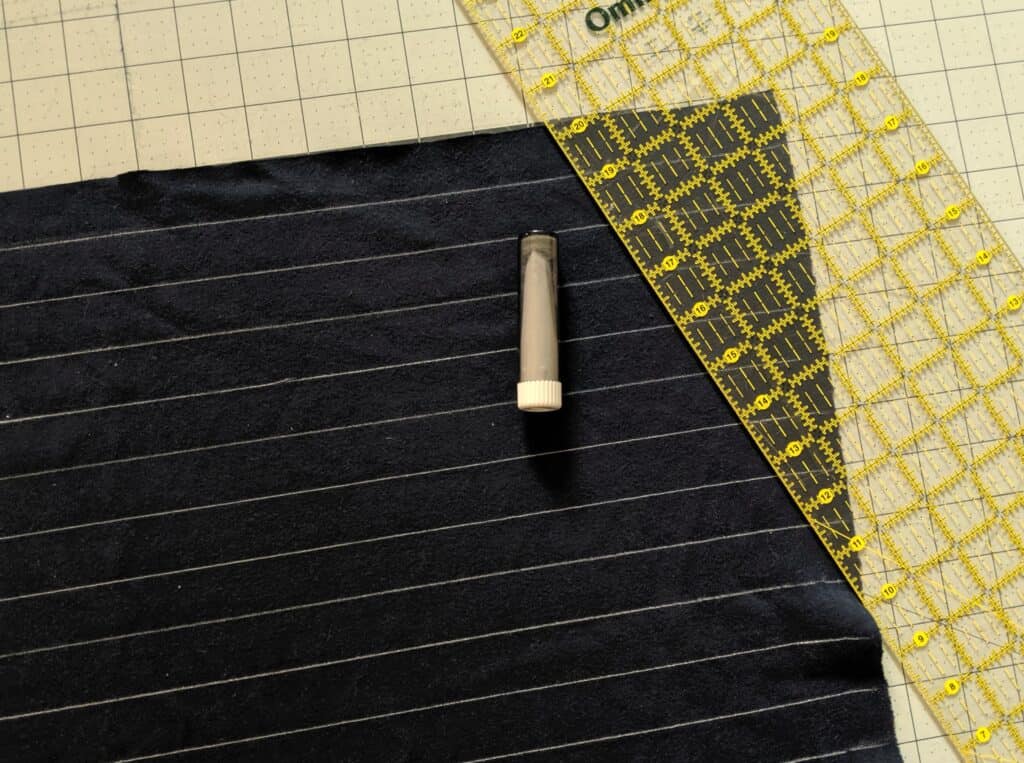
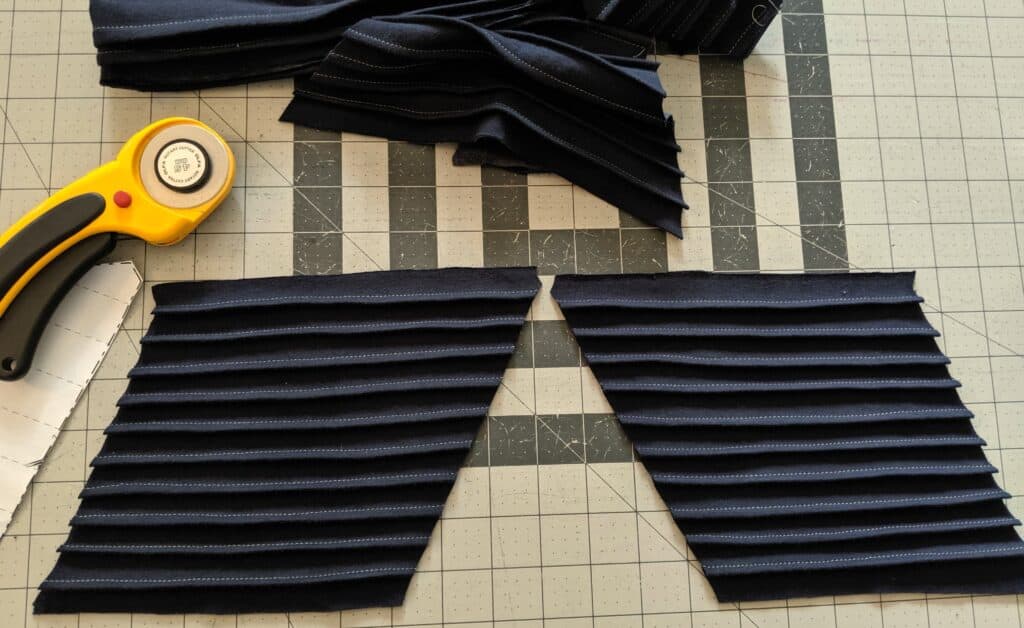
Press all of the pintucks in the same direction; then, using the pattern piece cut the knee patch pieces from the pintucked fabric piece.
Once this step is completed, assemble pants per pattern instructions. I was extra careful when I sewed the inseam and outseam to make sure that the tucks were all facing in the correct direction, but aside from that no additional steps are needed to complete this look.
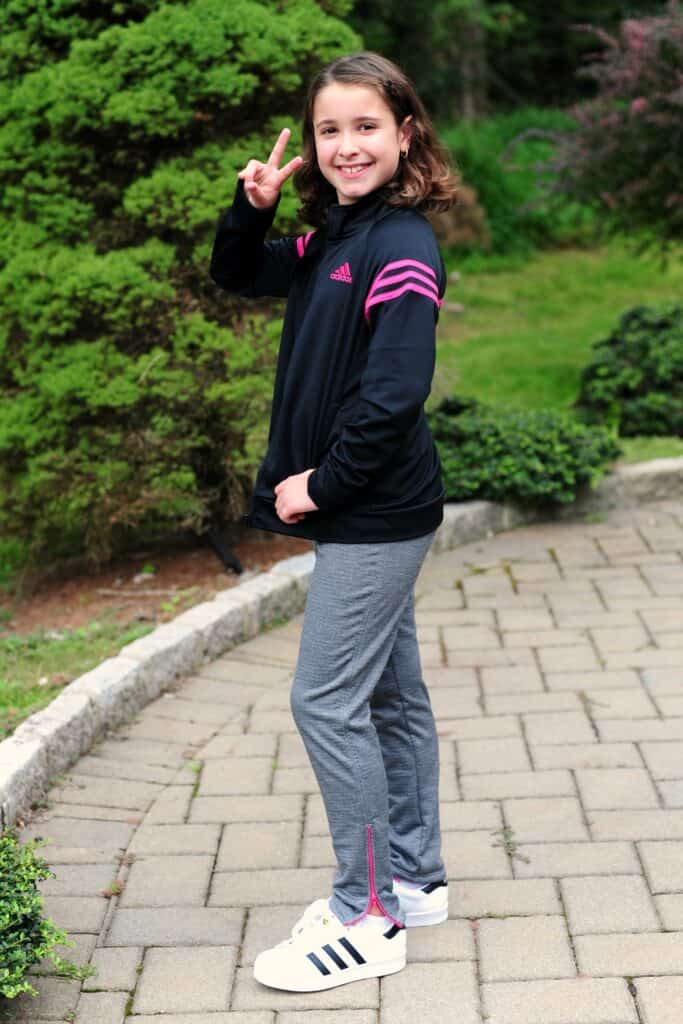
Maxx-ine Athletic Pants
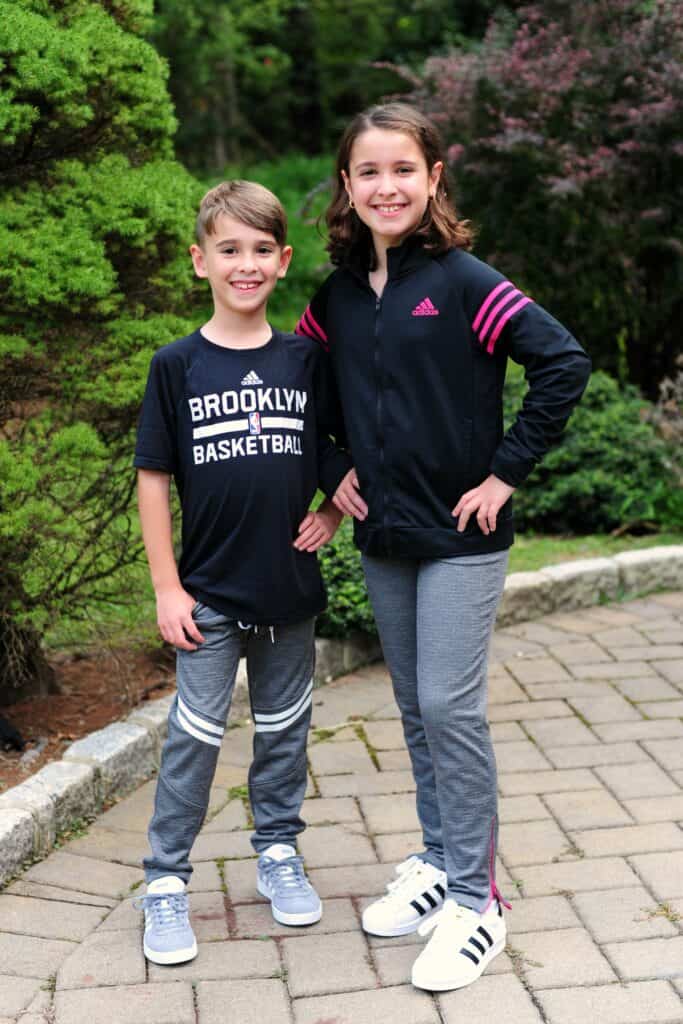
Miss P is almost 10 and has a very different style than her brother, but I knew I didn’t want to leave her out of the Maxx-stravaganza! I used the Maxx-ine pattern and the same grey performance fabric to make a pair of comfy athletic pants with zip hems for a fun detail and a pop of color.
I made the size she measured for these (a straight 10) but next time I’ll probably go up a size for extra length and a little more ease since she’ll be pulling these on over her dance wear between classes. The zippers are easy to install at the side seams and make for a great finish – I’ll be using them on pants for both kids from now on, not just her! The kids were amused that I used the same fabric for both of them but they ended up with very different looks. Just like their personalities. 😉
Moto Maxx and Maxxine
The only other mod that I made for all three pairs of pants was to use 1.5” elastic instead of 2” elastic, which I didn’t have on hand. I topstitched the elastic in place at the top of the waistband, and threaded a drawstring through the “channel” that remained at the base of the waistband from the excess space due to the smaller elastic width. They loved the finished look and I know they’ll both get a lot of wear out of these. I never have to worry about their LN makes getting worn – they’re the first garments that both kids tend to reach for out of the laundry!
I’m sure there are other fun embellishments for the Moto Maxx and Maxx-ine patterns that I haven’t thought of yet – come join us over on Facebook in our Love Notions Pattern Support group or tag us on IG (@lovenotions) and share your creations! We’d love to see what you’re working on!
2020 RETREAT UPDATE
Thanks to Rachel for that great inspo post and tutorial! Rachel is a great friend to Love Notions and we are soooooo excited to have her and the rest of the Love Notions Sew-cation team attend and support the retreat in 2020. The full website is finally up and running and there you can explore all the info. Just click here to read up on all classes, location, vendors, shops, accommodations, teachers, cost, and MORE.
If sewing with your Love Notions friends sounds like a great time to you, be sure to mark you calendars because on October 2, 2019 Love Notion’s Sew-cation Registration opens!
FYI In the past, the retreat has sold out within about 24 hours of registration opening. So it is important to sign up right away on the registration date.


