The No-Sweat Sweater Hack
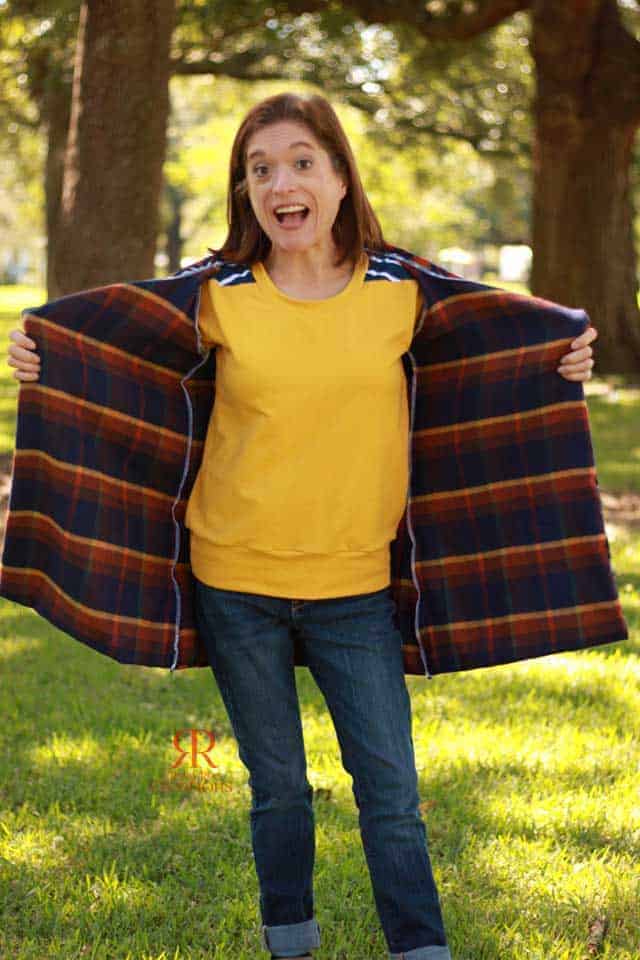
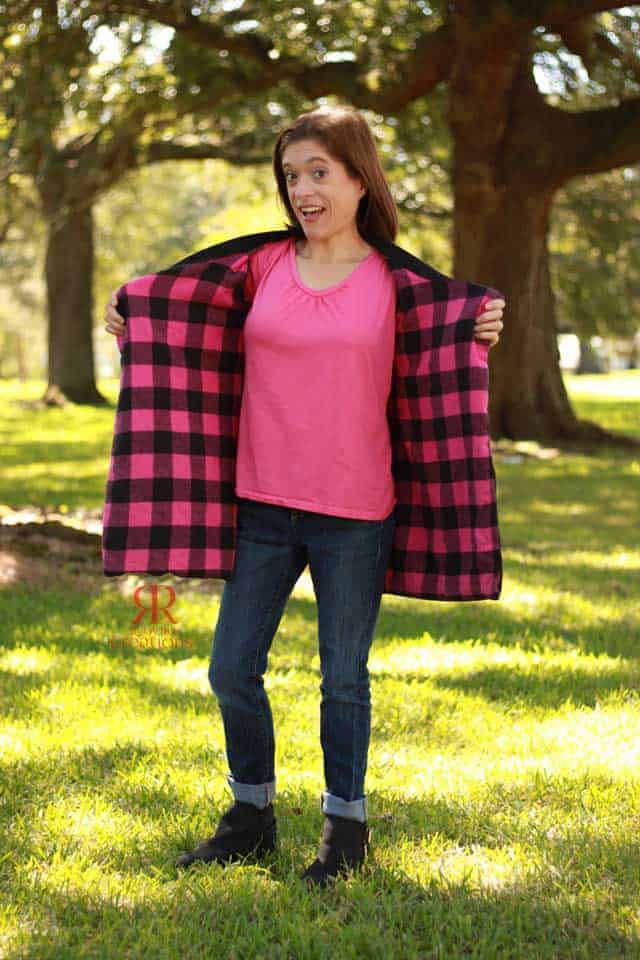
In case you haven’t noticed, I’m obsessed with Origami Tunic and Cardigan lately! I practically have an entire wardrobe of Origami tunics and cardigans and no two are alike! It’s been really warm in this early part of Fall and my attempt to entice cooler temps our way resulted in these fun, flannel-lined Origami Cardigans!
I wanted something a little more cozy than just the sweater knit for our roller coaster weather down South.
Before we begin construction, let’s talk lining. I chose to line my cardigans in flannel. You can choose to line it in a knit using the same techniques. Also, since our winters are warm one day and cool the next, I chose only to line the front pieces and the back, leaving the sleeves unlined. I’ve seen variations in online boutiques that have only the front panels lined. I haven’t had any problems with fit using the flannel lining, but I’m not 100% sure how this would work on all body types. So my advice it to make a muslin before using your yummy fabric!
For both cardigans, I chose the non-handkerchief hem option. I figured this would make it a little easier and I felt the thicker combination of fabrics would drape better with the straight hem. I’m sure there are lots of ways to make a fully lined cardigan; this is just the easy way that I figured out how to do mine!
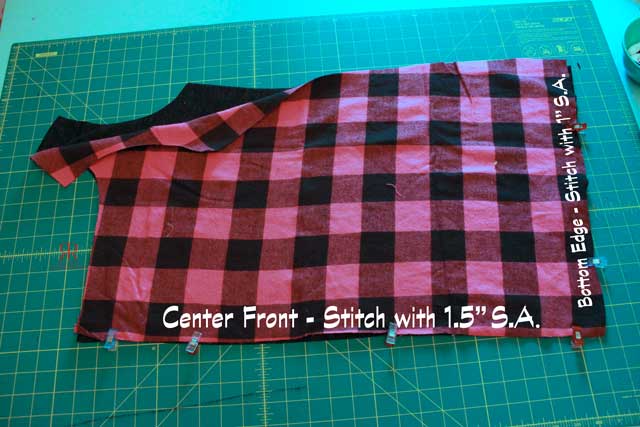
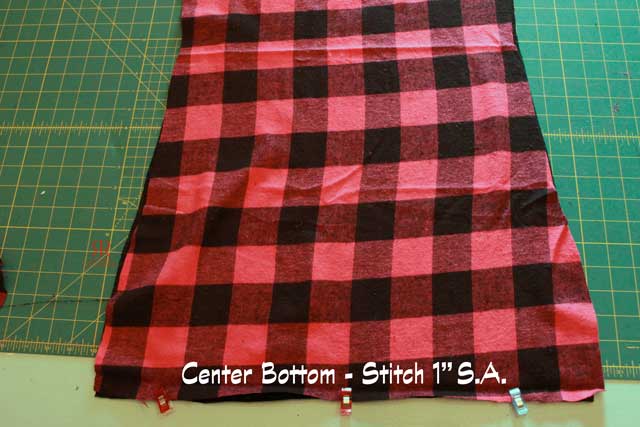
I started by cutting the normal pattern for the cardigan using the straight hem option with my sweater knit fabric. Then, I cut just the front and back pieces in flannel. I laid the front sweater fabric and flannel right sides together and stitched 1.5″ down the center front and 1″ along the bottom. I clipped my corner and turned the front pieces right side out. Then I repeated with the other side of the front.
For the back, I laid the sweater knit and the flannel right sides together and just stitched 1″ along the bottom edge. If you’d like, you can baste all of the other edges together for ease of construction…but I’m a bit lazy and didn’t!
Next, I stitched the shoulders of the sweater knit together (RST) and I stitched the shoulders of the lining RST. This way those seams are enclosed once sleeves are attached and the seam is a little less bulky.
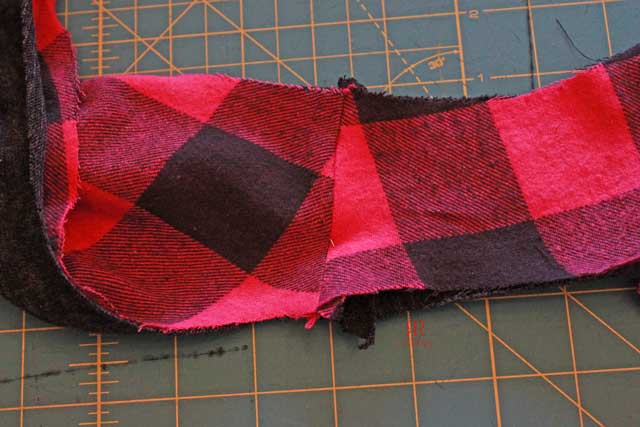
I then attached the sleeves and then stitched up the side seams as instructed in the pattern. For the neck band, I sewed the short sides as instructed. I then lined up the edge of the neck band with the center edge of my front. I sewed it on and then serged the edge to prevent fraying of the flannel. After that I topstitched that seam allowance down towards the body of the sweater.
And VOILA! You have a cozy, but not too bulky, lined Origami Cardigan!
Don’t forget that Love Notions is having a big birthday bash! Join the Love Notions Pattern Support Facebook Group to take part in the giveaways and contests! Also, don’t forget to grab the Origami Tunic and Cardigan for 50% off while you can!
Want to win a Silhouette Camo?? Post a selfie of yourself in the Pattern Support Group using your favorite sewing tool. Tag it with #favoritenotion. One winner will be drawn Friday!


