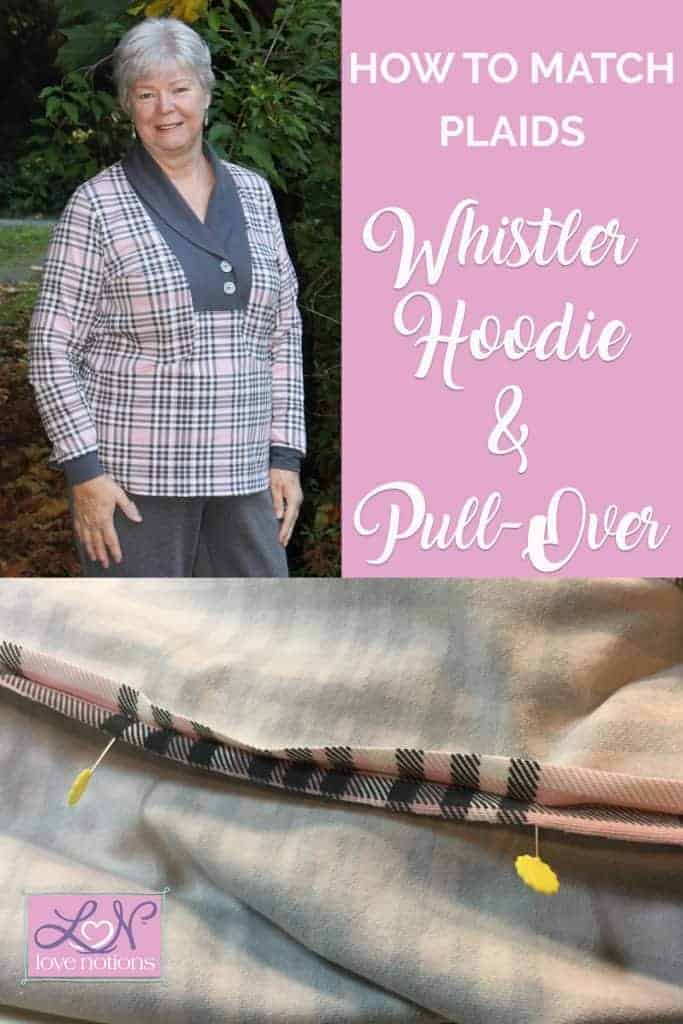
I am so looking forward to the cooler weather that’s now arriving with fall as it means I can pull out my Whistlers! It’s definitely one of my favourite patterns – stylish, a lovely shawl collar which looks tricky but really isn’t, multiple hemlines – and pockets! There’s even a hoodie! What more could you want? And if you think it looks too hard, think again!
Whistler Hoodie & Pull-Over
As usual, Tami has included a video that takes all the mystery out of the clever shawl collar insert. The Whistler is a definite asset to any wardrobe.
As with so many patterns, the fabric is key
You can use everything from sweater knits to sweatshirt fleece to get the right top for the season. My first one was made with royal blue French terry from l’oiseau fabrics – all one fabric. It’s lovely and cosy but still light enough for indoor comfort. The first time I wore it a friend was astonished that I had made it myself!
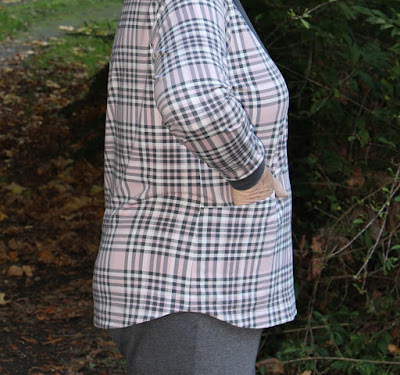
For my second one, I decided to mix up the fabrics and chose a patterned cotton/spandex for the body and light blue cotton/spandex for the collar insert, again from l’oiseau fabrics. And this one gets compliments all the time as well! And now with fall coming on, it’s time to make another and this time I had a length of lovely, light plaid cotton/spandex plus a plain charcoal from l’oiseau fabrics that I was eager to use. The construction of the Whistler does present a few hurdles for plaid, but I decided to give it a go, this time with the curved hem.
Working with plaids is not as hard as you think, here are a few pointers.
When you lay your fabric out, if you’re folding it before cutting, make sure your lines are matched up. My fabric was light enough that I could see the lines clearly through the wrong side. You can also do your pattern pieces full sized so that there’s no fold which ensures that the piece sits squarely in the plaid.
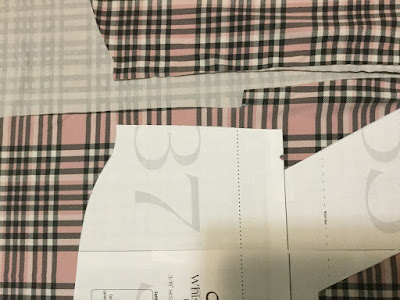
When you cut your first pattern piece, make note of how it sits on the fabric. I even snapped a picture with my iPad so I could see how the bottom side edge of the back piece sat in the plaid pattern.
Then I positioned the bottom side edge of the front piece so that it was sitting in exactly the same position. And to make doubly sure I was doing it right, I placed the cut out back piece right beside it for comparison.
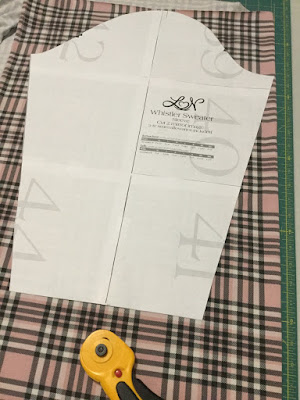
When I cut the sleeves, I matched the bottom edge with one of the horizontal stripes.
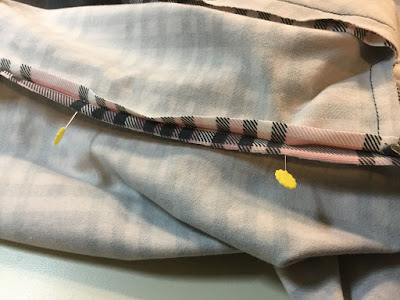
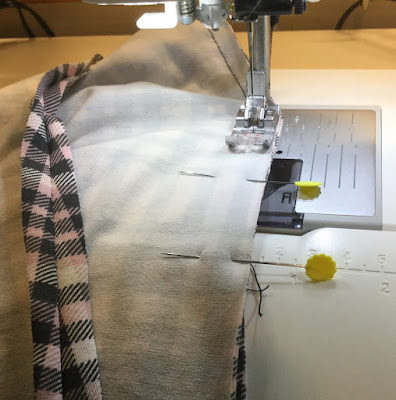
Carefully pin the sides together so that the horizontal stripes match up. Now to the sewing!
I have a serger, but sergers tend to move fabric – not what you want when you’re trying to match plaids! I got around this by basting the side and sleeve seams first with the 3/8″ allowance. And as you can see, the fabric stayed in place.
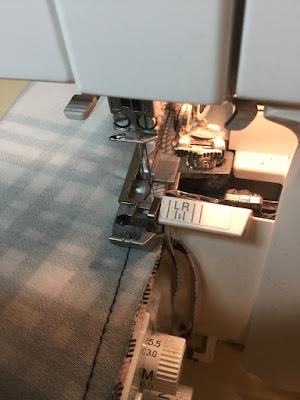
Now to the serger. I serged the seams, just keeping that basting line level with the left needle of my serger – there’s a mark on the nose of the foot for guidance.
Check out this stripe matching!
The Whistler has the usual options we’ve come to love and expect with Love Notions patterns
It’s hip length as well as tunic length. You can have a straight hem, curved hem or a band instead. There’s a flat front or a gathered front option. Do you want the shawl collar or would you prefer a hoodie? And the clever styling makes it maternity and nursing friendly. Throw in the range of fabrics you can use and it’s obvious why it’s my favourite pattern!
If you think it’s a hard pattern, don’t be worried – it’s rated Intermediate, but the video in the Tutorial walks through the collar insert. If you’re looking for a pattern that can be dressy or casual depending on your fabric, has the usual variety of Love Notions options, is comfortable to wear and brings you amazed compliments, then the Whistler is it!


