This post will help you create a Prominent Full Belly Adjustment for your sewing pattern. Keep reading to see how.
It’s Tailgate/Sideline Hoodie day!!
I was so glad when Tailgate and Sideline came out for the guys (and little lads!) I don’t sew for my hubby or sons often, but both are such a quick sew, it’s hard to say no!

They both have a relaxed fit, kangaroo pocket and hood options, and ALL THE BANDS! Which means….. no hemming necessary! You can make almost the entire thing on a serger (minus topstitching the hood and attaching the pocket,) and look perfectly polished! It’s a great sew as the cool weather threatens to take over while you’re out and about (or as it leaves, welcoming warmer weather in the southern hemisphere!) and can be made in all sorts of fabric! I’ve used sweatshirt fleece, brushed French terry, double brushed poly, cotton lycra, sweater knits, pointelle, I’ve even made myself a simple “tee” in rayon spandex! And while it was drafted with guys in mind, ladies wanting a roomier fit will have no trouble feeling comfy in this fab layering option! I’m all about the relaxed and comfy-cozy, so let’s sew one (or two?) up for me!
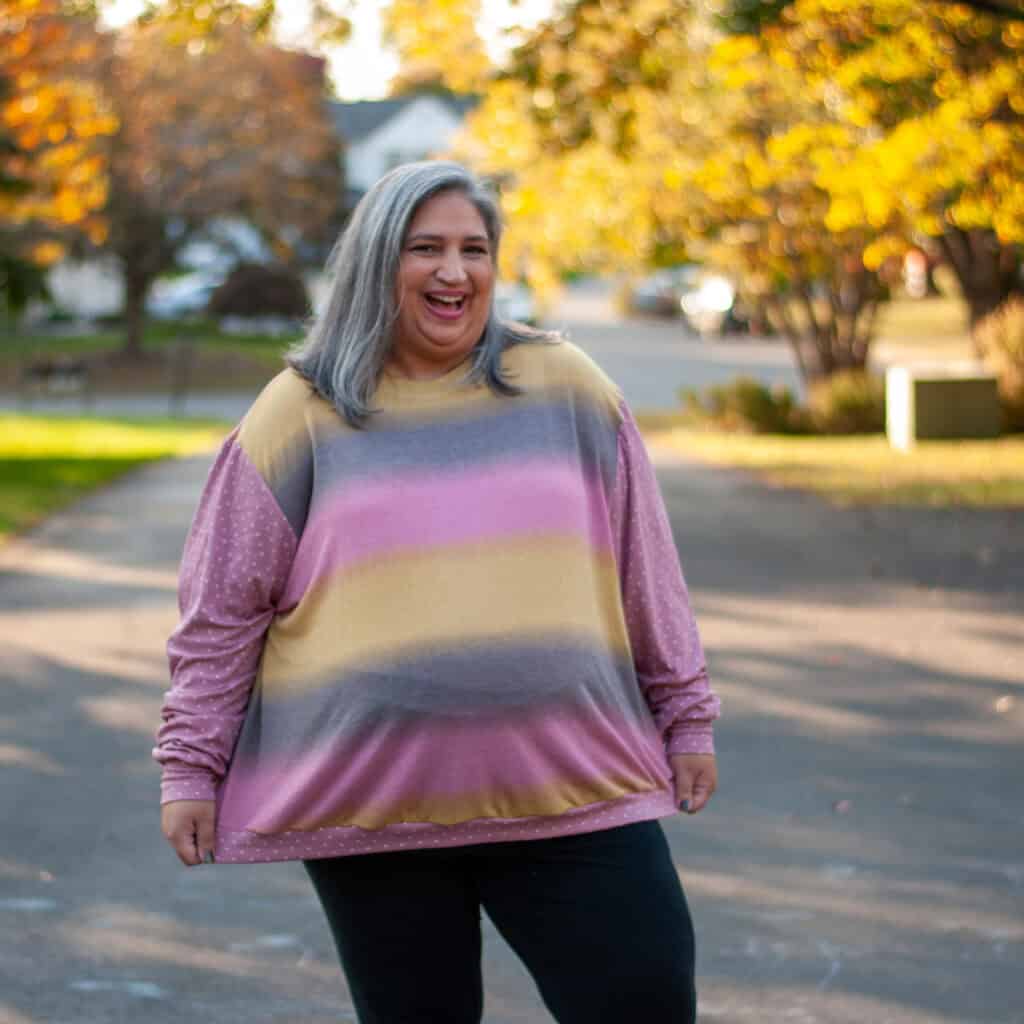
Now, I’ll admit it, I’m a bit of a “lazy sewist”. I’m generally happy with GOOD ENOUGH! and don’t worry about making every adjustment until it’s perfect (frequent fluctuations in weight and body shape certainly make that less fulfilling, too.) I am also the first to admit that I am not an expert pattern adjuster, I’m in the trenches, learning with y’all!( So I’m thankful that Love Notions includes FBA (full bust adjustment) with their top and dress patterns—one less thing to worry about!)
Tailgate isn’t specifically a women’s pattern, though, and while the relaxed fit means most adjustments are unnecessary, I have my “standard” changes I still make. Besides grading out for waist and hips (because, unfortunately, those are a bit over the size chart,) I’ve started doing a fuller belly adjustment so they hang better in the front.
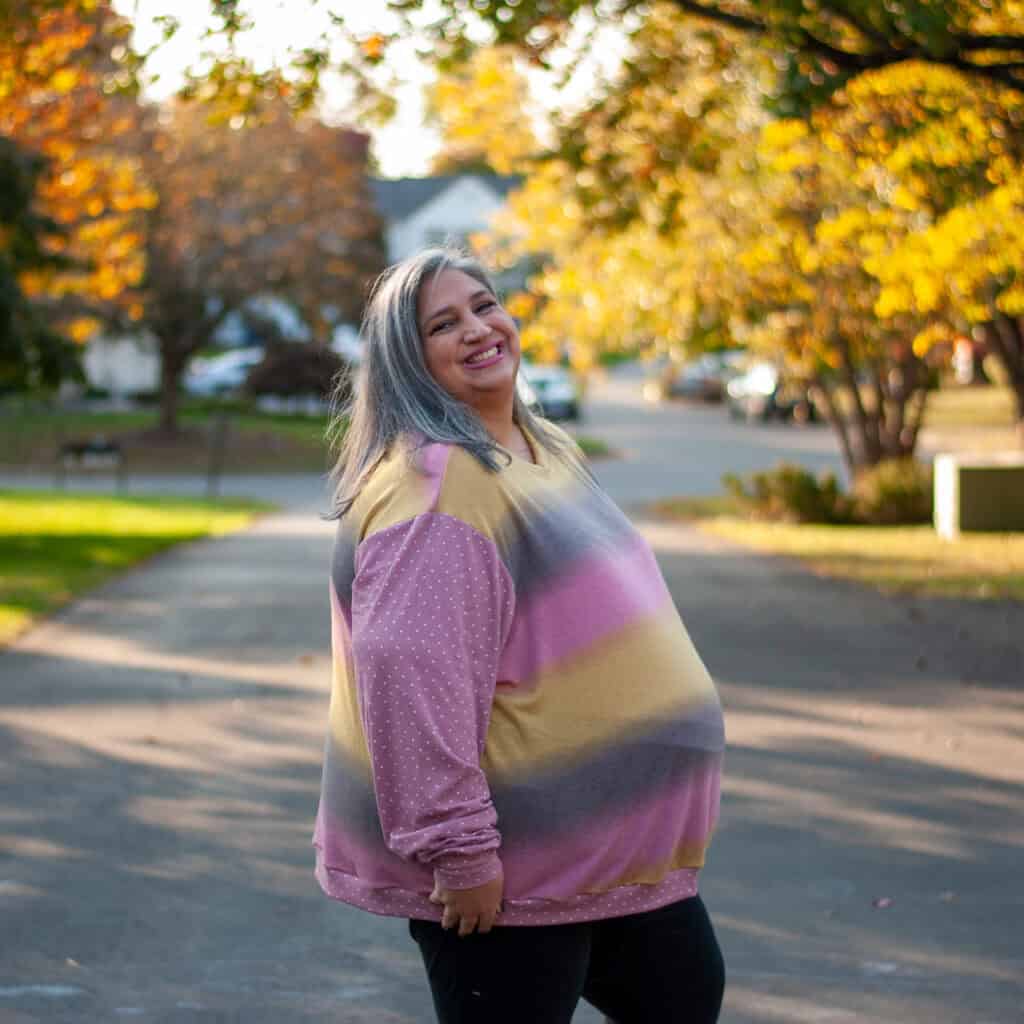
*Note, from now on, when you see “FBA,” that will be referring to the fuller belly adjustment. 😊
If you’ve followed my sewing journey on my Instagram or FB page you’ll know that my goal when I sew/share is to encourage others, especially those more plus size. My body has changed quite a bit over the past few years, first through weight loss, then a pregnancy/post partum (my 8th baby) then COVID! I’ve always had a belly, but with the “joy” that diastatis recti brings, I’m perpetually stuck in my “3rd trimester” (I assure you I am not, lol.) It’s so hard to find RTW clothes that fit well, and that’s what got me into sewing in the first place! My heart ached every time I see a post along the lines of, “I could never wear that,” or “that wouldn’t look good on me.” There are VERY FEW patterns that won’t work on everyone, but SOMETIMES adjustments need to be made. Love Notions has done a fab job of making patterns more inclusive for sewists of all shapes and sizes!
Okay, enough talking about me! So who/what/where/when/why FBA??
Who: If your waist/hips puts you in a size bigger than your high bust, a FBA may be needed. Not ALWAYS, and for most peeps, grading to a larger size alone is enough. But if you find you have a lot of looseness at the sides of your tops, yet they pull across the front, or the hem hits higher in the front than the sides/back, it may be worth trying!
What: A FBA is an adjustment that gives you more room and length in the front of your shirts, to accommodate your belly, without adding unnecessary width to the sides/back.
Where: We’re going to be working with the front bodice piece of the Tailgate/Sideline pattern, but this can applied to most tops successfully.
When: I’ve already touched on this a bit, but basically when grading alone doesn’t work, it’s time to try something else!
Why: Because you deserve tops that FIT WELL! I will take a moment to say that OTHER adjustments may be needed first, such as if you normally do an extra full bust adjustment, that may be all that’s needed. Shoulders, backs, necks, etc all play a role in how our tops sit/hang on our body. I recommend checking out Noreen’s bodice fitting video and Kris’ “Order of Adjustments” video if you have multiple fit adjustments you’re considering. We are focusing solely on FBAs here! 😊
And a little note for projector peeps, if you’re well versed in altering your patterns digitally, then go for it! I usually do it that way, and after I did a FBA a few times, I was able to just “wing it” while cutting—when I remember to do so at least. 😛 But if not, I recommend printing the front bodice to work with to start and then compare that to the projector pattern and make note of the difference for next time. 😊
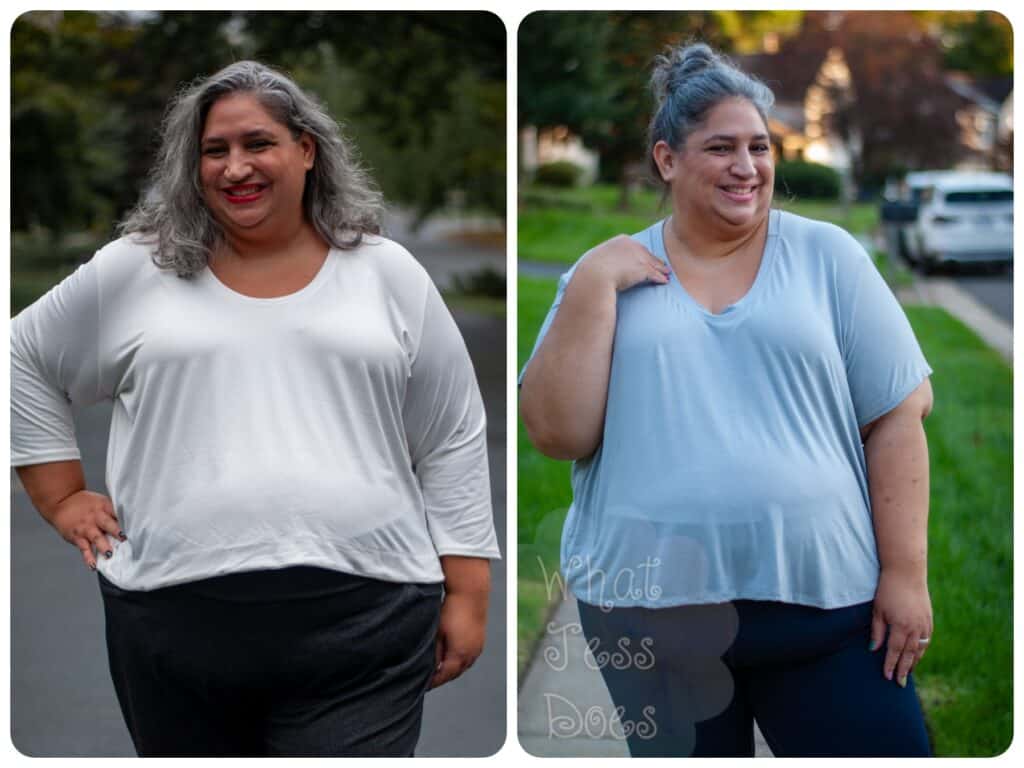
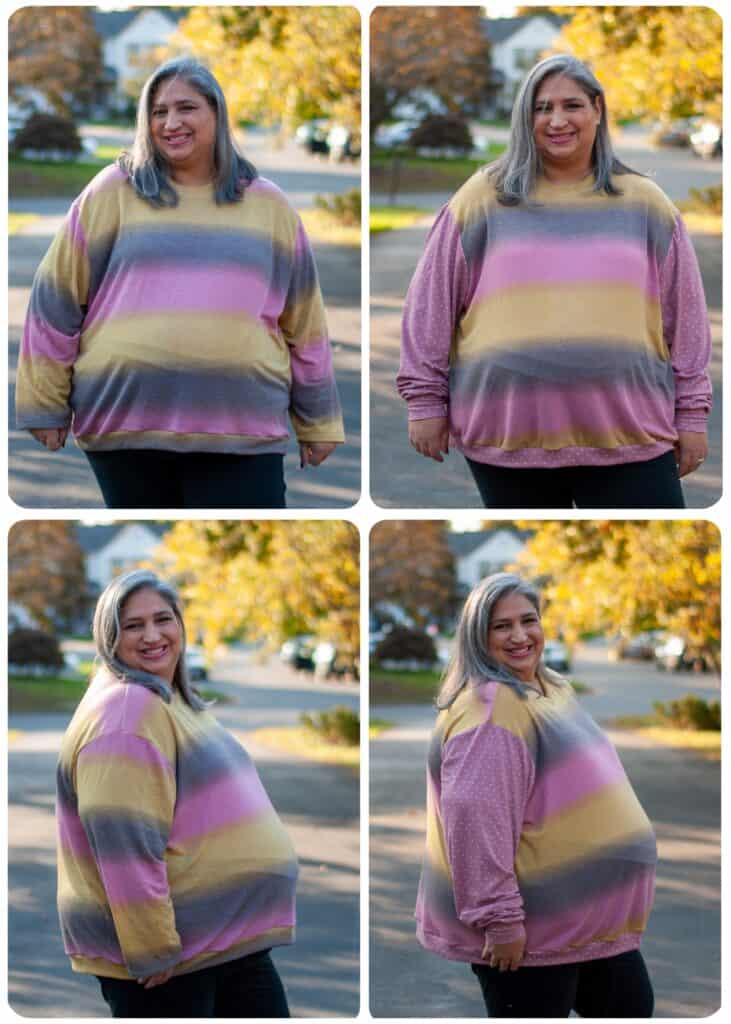
This is the Barrington Tee, left is no FBA, right is with FBA.
You will need:
~Tailgate/Sideline front bodice pattern piece
~Measuring tape
~Hard ruler
~tape and scrap paper
~something to write/mark with
~You or your model 😊
Step 1: Decide how much extra width/length you need. (Since Tailgate sizing is based on chest/full bust measurements, that’s what we’ll be using today, but normally you would do all this with your high bust measurements.) *Note that I couldn’t get my camera high enough to capture the full adult bodice so I am using the Sideline bodice for ease of demonstration, but you can see my personal adjustment at the end.
Measure your chest and fullest part of your waist. Compare that to the size you need for your chest, and if that puts you in the next size or larger, continue! If it doesn’t you probably don’t need to make this adjustment UNLESS your front is significantly different from your back. How to determine that? Measure your waist sideseam to sideseam in the front and then in the back. If they’re not close, you may still benefit from a FBA. Continue!
One you’ve got your measurements, compare them to the finished measurements to determine how much you may need to add. For example, we’re going to say chest is 55” (4x) and waist is 60” (5x,) but back waist measurement is only 28”. That means front waist is more like 32” [total waist of 60” minus back waist of 28” equals front waist of 32”.] The finished waist for a 4x is 59” [difference calculated between the size chart and finished measurement,] which we already know isn’t going to be enough. At the very least, we want 64” to have the 4” of intended ease [60” waist plus 4” of intended ease equals 64”.], so we need an extra 4” [if we want the intended ease, which we do!]
The 4x front and back bodice pieces measure 15” across, but that’s not the finished width. (You can take out the SA/seam allowance for a more accurate measurement, but for simplicity’s sake, I’m going to keep numbers as whole as possible. 😊 ) We know we don’t have to worry about the back, since the finished width is 30” (includes 2” of the 4” of intended ease,) so we’ll just worry about the front. Front waist is 32”, but we need the other 2” of ease, so 34” total for the front (which matches our guesstimate of an extra 4”.) Since we’re working with half the pattern, we’re going to add a total of 2” to our pattern piece.
Phew! You did it, the hard part is over. (Math hurts my brain, which is why I usually just “wing it” lol)
Step 2: Draw your lines.
Now that we know HOW much to add, where do we add it?
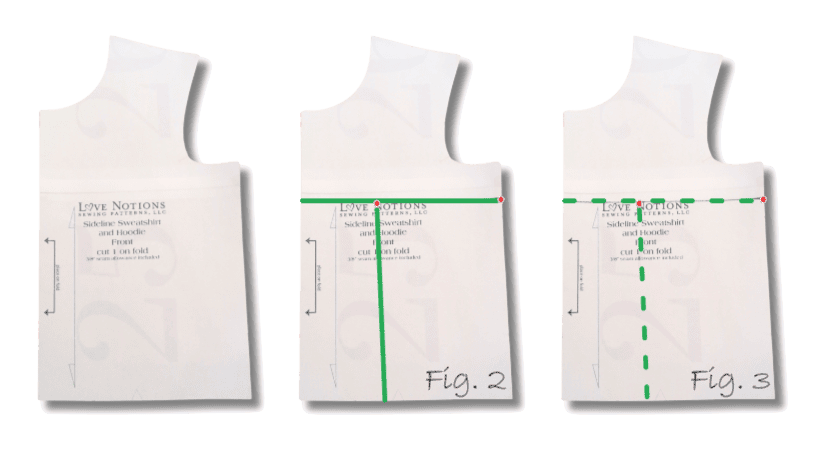
While researching this, I noticed that there are lots of different ways to cut your pattern to accomplish this, and it is not an exact science. My kind of adjustment! My favorite way, I’ve discovered, is similar to a full bust adjustment— we’re going to start around the chest/bust (about an inch or two below the armscyce,) and draw a line across. Then add a line going vertically from the hemline. You’ll see why in a bit. I would keep them focused on where the extra room is needed most, so if your belly is very front and center, keep your line closer to the center (you can line up centered on the neckline, for example. See fig. 2) If your belly is wider, you can add a line vertically from the shoulder area also.
Step 3: Cut your lines.
Starting at the center front side of your bodice (so not at the side seam,) cut through your horizontal line allllllmost through but leave a smidge attached. That’s our hinge.
For the vertical lines, start at the hemline and cut UP to that first line, but again, not quite through so you have hinges there also. [fig. 3]
Step 4: Add your adjustment.
Slide a piece of scrap paper behind your pattern and tape down the top of your bodice so it doesn’t shift.
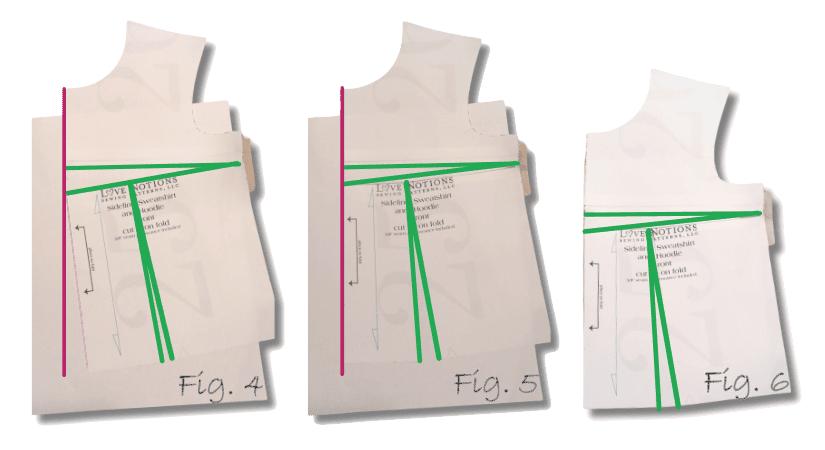
Using your hard ruler (or whatever you have, its just easier with a hard ruler 😊) slide the bottom half of your bodice down the 2” needed (you would slide yours down whatever YOU needed. See fig. 4)
You’ll notice that your center seam is no longer straight. That’s where those vertical cuts come in handy! Just slide your lower bodice piece over until it makes a straight line again and tape it down. The vertical cuts should be mostly evenly spread open now, to accommodate the extra width in the center. [Fig. 5]
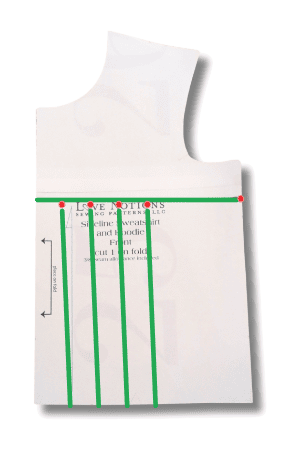
[[One thing I learned after writing this blog was that the more of a FBA you need to do, the more vertical cuts you need to make to allow it all to lay properly. This isn’t a hard and fast rule, since the size you’re sewing will also come into play, but basically, every half inch to an inch of adjustment likely needs a vertical cut. So, if you’re doing a small adjustment of .5”, one vertical cut is probably fine. 1” +, two is probably better. 2” + 3 or 4 may be best. Basically, cut what you need until your center seam is straight and your side seam is mostly “relaxed” and lays without tension. Kinda like the pic below.]]
Tape everything down and you’re good to go!
Step 5: Re-draw and cut your pattern [Fig. 6 above] (adding back in the SA if you removed it in step 1,) and try it out!
I highly recommend sewing a quick muslin to check fit, even if just the front and back bodice and then you can reassess if you need more/less adjustment. But that’s basically it, you did it! I’m so proud of you. 😊
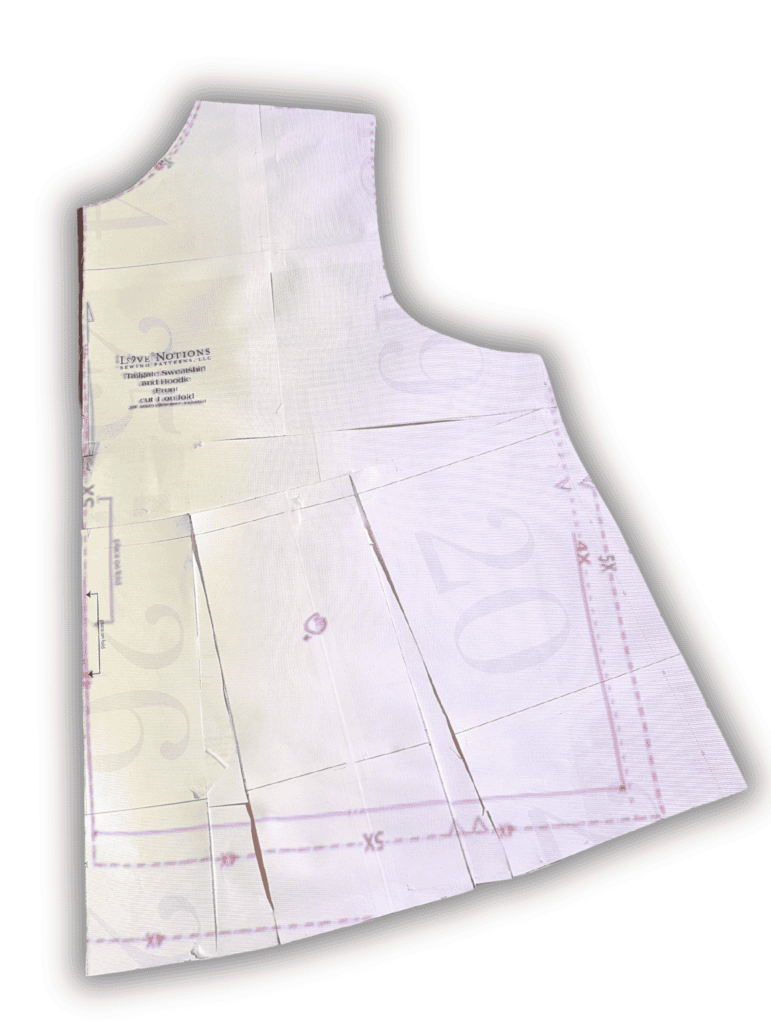
Here’s what the adjustment looks like compared to the original (blue lines!)
Our sample pattern from above on the left, my finished pattern piece on the right.

Couple of random notes:
~Yes, you can use this on a pattern with a dart. I would ignore it during the adjustment, and then cut it out and reposition after.
~Some adjustments may be needed for tops with princess/front seams, like Margot or Lenox, but the methodology is the same (for those patterns mentioned and others like it, I would tape the pattern pieces together at the seam allowance, and then fold back or cut the center bodice piece so you’re only dealing with one half. After you do your adjustment, you can make a new mirror image to replace that center bodice piece.
~If you need to add/remove length for height, I would do that FIRST. Tailgate is very easy to lengthen, since the sides are straight, but not all patterns are so easy. Now, if you normally lengthen because of your belly, you may not need to, so only worry about height if your side waist varies from the pattern as is. My husband has a loooooong torso, so I always have to add about 6” off the bat. Ha!
~Yup, you can do this on a dress pattern also! Just treat it as a top bodice. You may consider adjusting the skirt separately, Cynthia has a fab blog post for that!
~If your waist is small but lower belly sticks out a bit more, you can start lower, maybe with your horizontal line around your natural waistline and do the adjustment from there (I’ve not tried that myself, though, so please report back if you do this!)
~Finally! You’ll notice that the front is a bit wavy at the band. I forgot to adjust it for the extra length added. I recommend re-calculating the band at 85-90%, depending on the fabric you’re using.
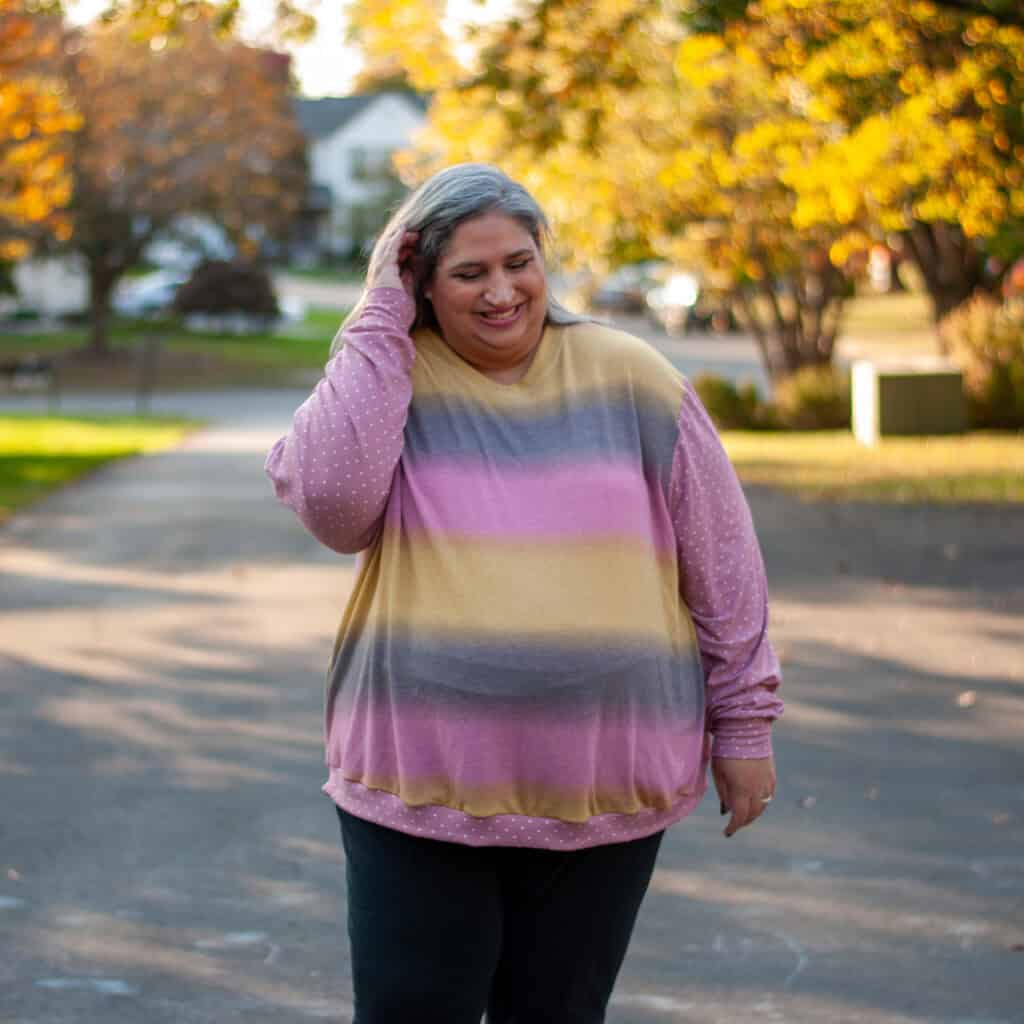
Thanks so much for working through this with me! I wish you much success on your sewing journey! Leave any questions and/or comments and I’ll do my best to respond! Happy sewing!
~jess


