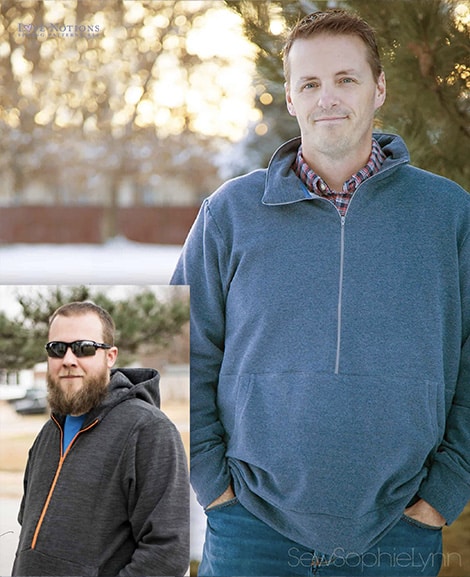
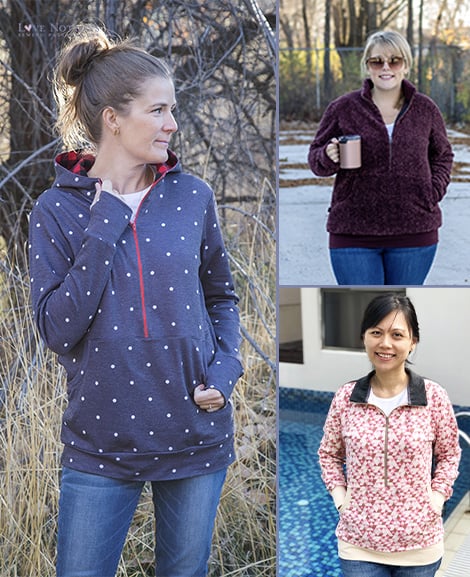
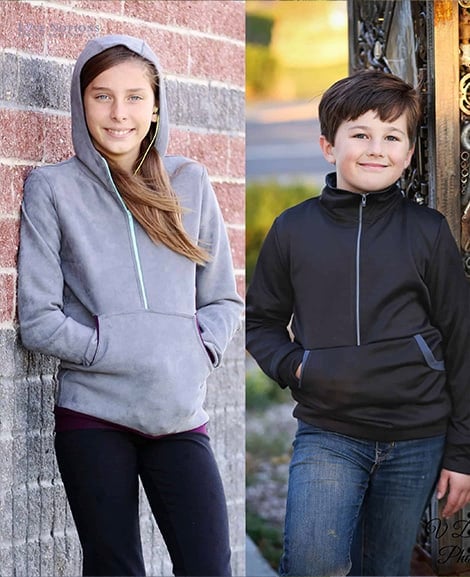
Welcome to Day One of our Pullover Sew Along! Grab your pattern of choice, Navigator, Constellation or North Star, or sew all three, and join us while we sew a little each day, and learn some hacks to make your patterns go even farther! If you love sewing along with a group, be sure to join our Facebook Support Group where I will have live videos and you can see what others are sewing up as we go through the week! We will also have some prize give aways! Simply by Ti is our sponsor and the Sew Along winner will win a $20 gift certificate to the Simply by Ti shop and a gift certificate for the Love Notions shop!!
Our Sew Along Schedule
Today, we will be preparing our pattern and fabric.
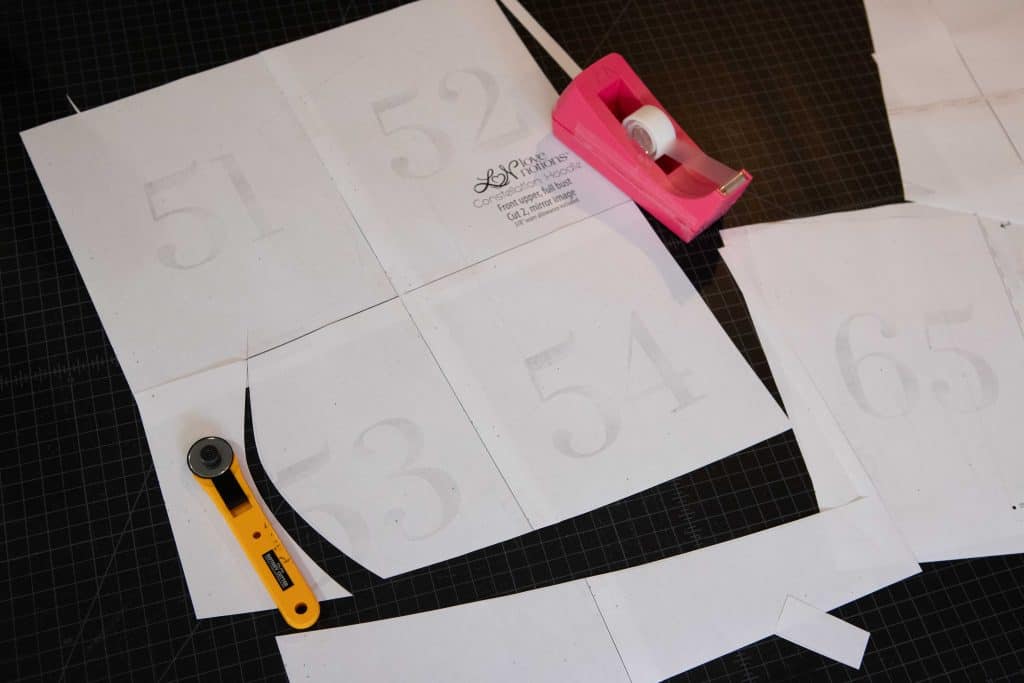
Prewash your fabric in the same manner that you will be washing it after your garment is constructed. While your fabric is in the wash, tape your pattern together. If you need help assembling, here is a tutorial with some extra information.
I have found a couple of tools make assembling and cutting out my patterns a much easier and faster process.
I invested in a tape dispenser. Such a silly little thing makes taping the patterns together so much faster! No more picking up and setting down the tape and the dispenser is much less likely to get lost under a stack of pattern pieces. My second tool is an old rotary cutter. I have two cutters, one yellow and one white. The yellow one has an old blade on it that is used only for cutting pattern. Running a rotary cutter around the pattern makes cutting out the pieces so much faster than scissors and it’s less work for your hands, which is great for those with arthritis issues.
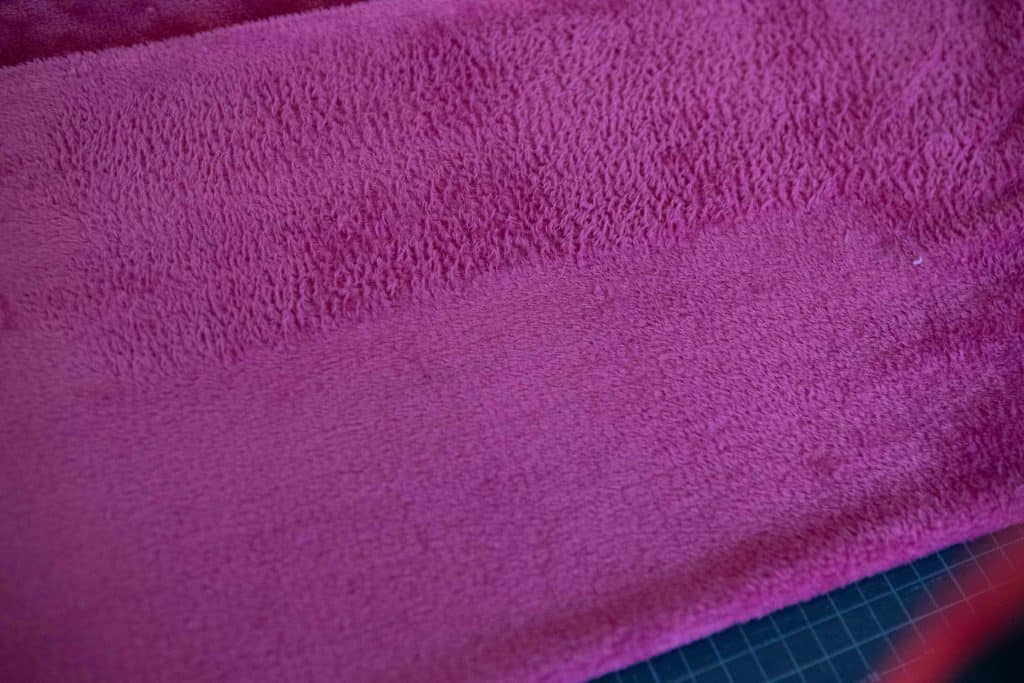
Once you have your pattern cut out, cut out your fabric. Be sure to watch your grainlines so you don’t get any funky twisting happening after you sew up your pullover! You also need to pay careful attention to if your fabric has a nap. Nap refers to vertical pile some fabrics have, for example; minky, velvet, moleskin, and furs. The nap is directional. You can see it when you brush your hand across the fabric parallel to the grainline as you can see below. Usually, you want the nap to be brushed downward when you cut your pattern pieces.
In the photo above, the top section of fabric the nap has been brushed upwards, much like petting a cat “backwards”, from tail to head. The bottom section of the fabric has the nap brushed downwards, like petting a cat in the “correct” direction. Usually, you want to position your pattern pieces so the nap looks smooth when you pet down your body. So in the example above, the shoulders would be placed towards the right with the bottom hem on the left. Be careful so that all of your pattern pieces are placed so that the nap is going the same direction!!
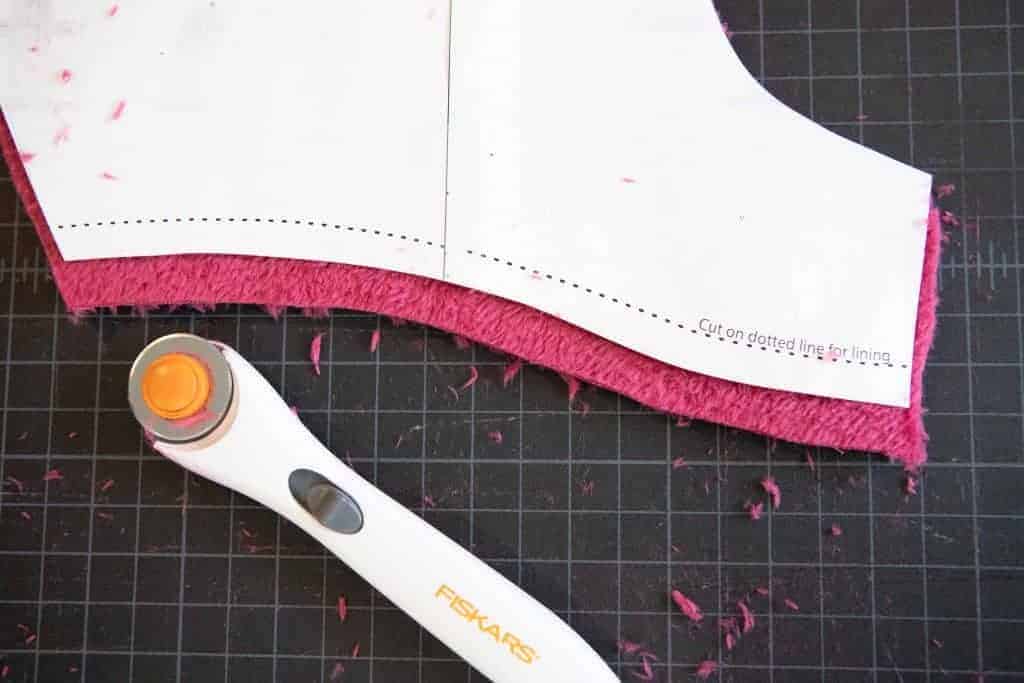
Be mindful cutting out your hood and collar linings.
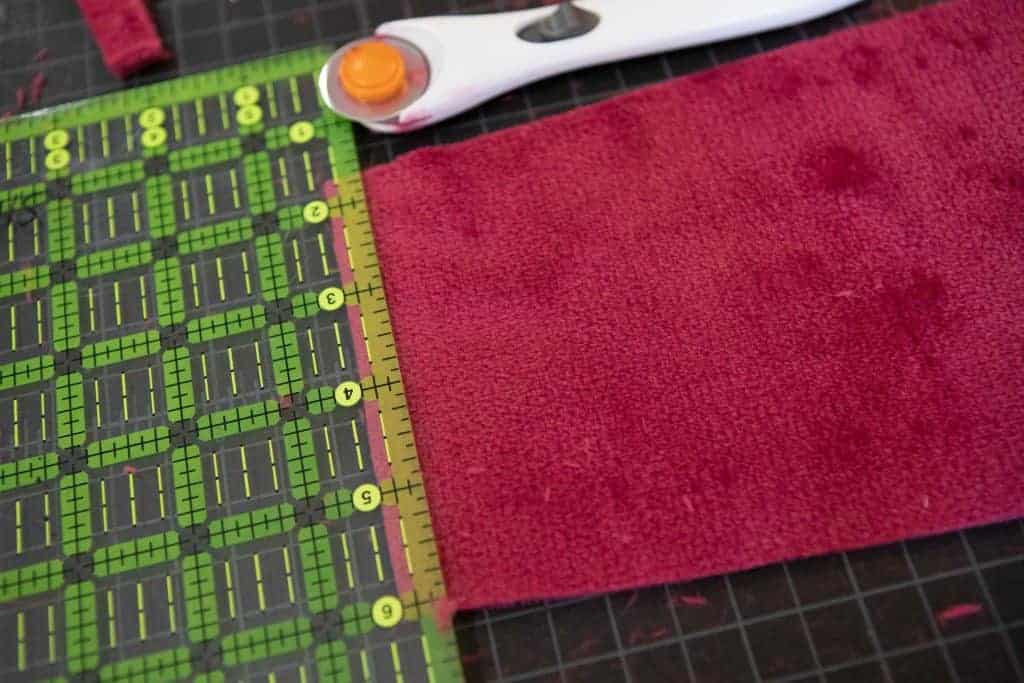
Take note of the line at the bottom of the hood and collar that state “cut here for hood/collar lining”. This line is here because we need to remove the seam allowance for this piece since we are binding the raw edge and not sewing it folded under. I have a little trick to make this simple! Don’t trim your pattern piece! Cut out each piece just the same as you did the main fabric. Then for the collar, or the center piece of the hood, use a quilting ruler to trim off 3/8″ from the bottom of the collar piece.
For the hood, I cut out the lining just like I did the main. And then, slide the pattern piece up 3/8″. Now recut the bottom of the hood.
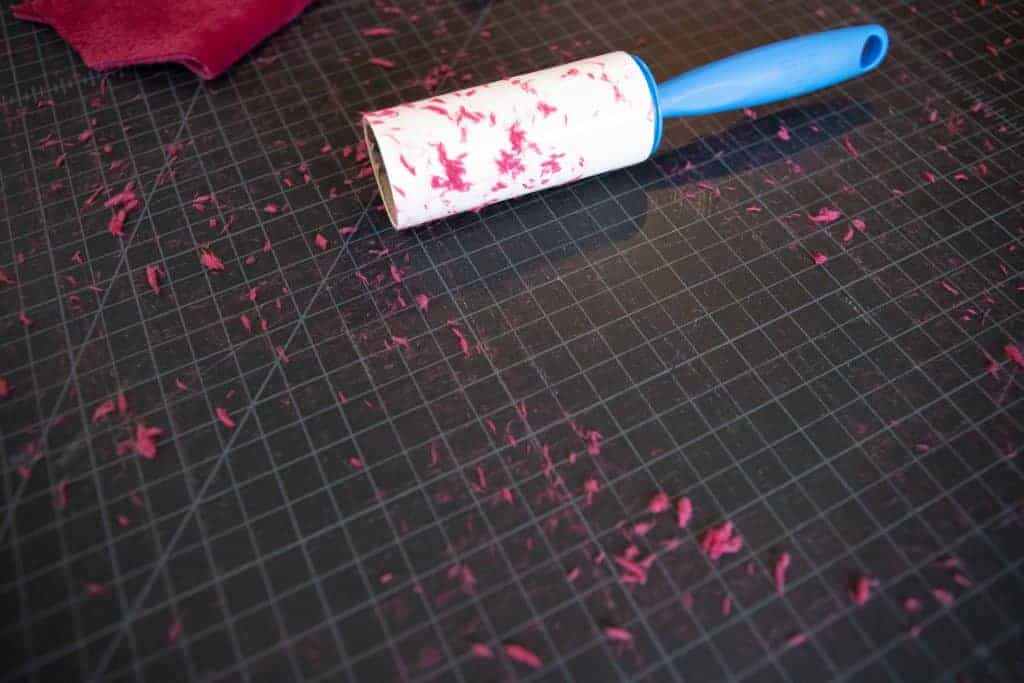
If you are sewing up a messy fabric like my ultra fluffy fleece above, toss it into the dryer on “air dry” to get rid of all the extra fluff. Be sure to clean your lint trap after! Then, clean up your sewing area. I like to use a lint roller to clean my mat after cutting fleece. I’ll even use it like an eraser in the areas that the rotary blade pushes the fleece fibers into the mat.
That’s it for today! Join me back here tomorrow for day two. We will be assembling the shoulder seams and attaching our hood/collar. I’ll also have a hack for you if you would like to skip the hood/collar lining!


