Rhapsody Sew-a-long Day 5: hemming and bias binding tips
Welcome to day 5 of the Rhapsody sew-a-long. Today we will be focusing on the final touches of the blouse, hemming and attaching the bias binding. There are a few tools available that can make these steps easier. But don’t worry! These tools are completely optional. They are NOT a must for sewing a Rhapsody, they just make it a bit easier.
Hemming tips
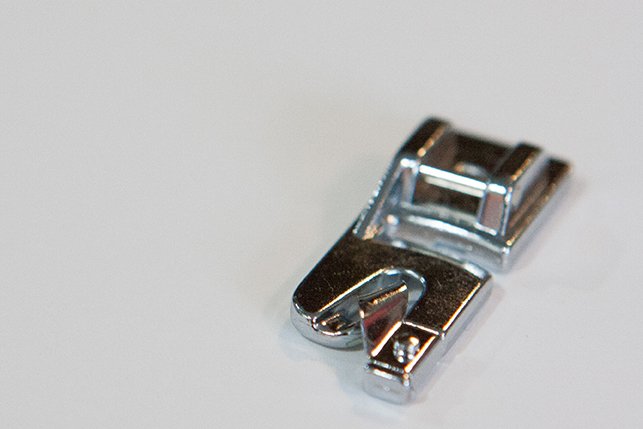
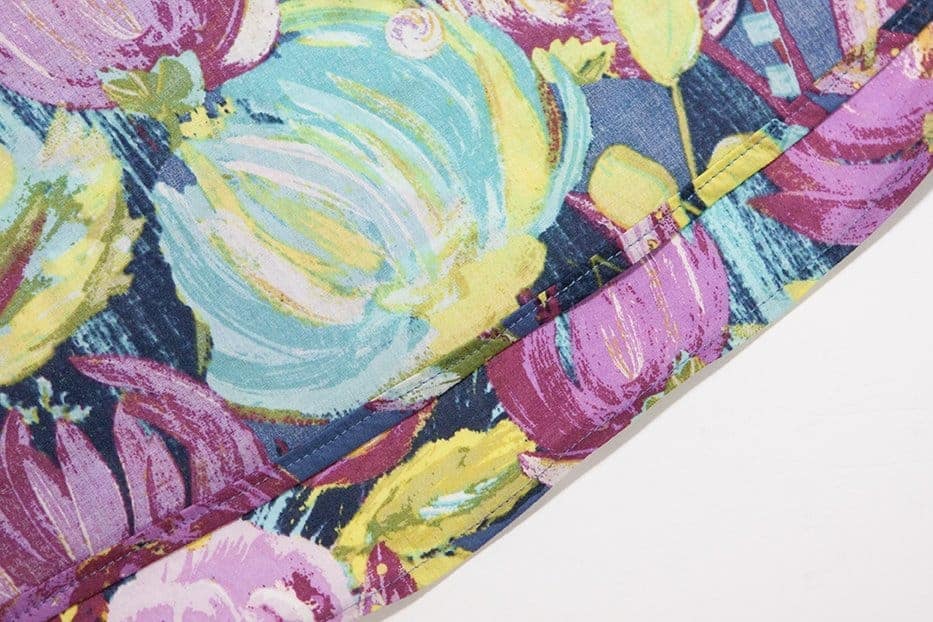
The pattern for the Rhapsody covers two ways to hem your blouse. You can serge the raw edge and then fold it over, press and stitch into place. Or, you can sew a basting line of stitching to make doing a double folded under edge easier. This was will also give a cleaner finish, enclosing the raw edge of the hem. A third way you can hem your Rhapsody is to use a rolled hem foot. Once you get use to it, it’s a pretty easy tool to use and nice to have in your sewing supply box.
The rolled hem foot has that funky little curve at the front. Here is a little video explaining how to use it.
Now you have a beautifully hemmed Rhapsody!
Bias binding tips
Now, let’s go over the bias binding. If you are new to this technique, you may want to practice a bit on some scrap fabric. Go with a more stable woven for your first round, traditional quilter’s cotton is great. The looser weave, drapey fabrics recommended for Rhapsody can be a bit fiddly to work with, so practice with something easier.
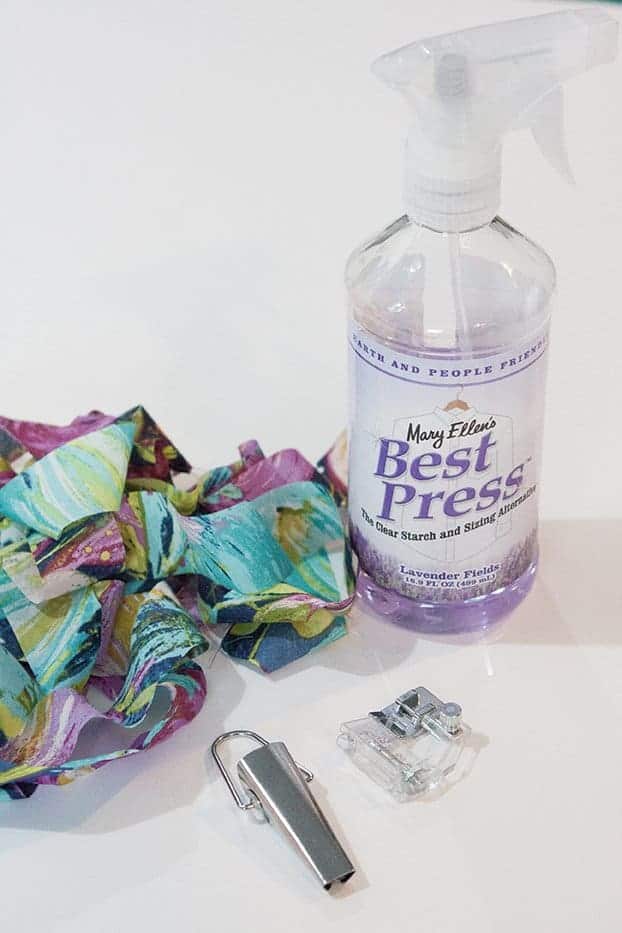
Here are few tools we found helpful for constructing the bias binding on Rhapsody. (affiliate links are being used in this post.) A good spray starch or sizing is key in getting the binding to keep a crisp pressed seam. We preferred Best Press. any starch or sizing is fine, this is just our preferred brand. A bias tape maker helps make folding the bias tape a quick process and prevents burnt finger tips. Also, a binding attachment foot is a real game changer for attaching the thin binding! It keeps the binding in place so you are practically guaranteed on catching the back of the binding the entire length of the neckline.
Bias tape maker
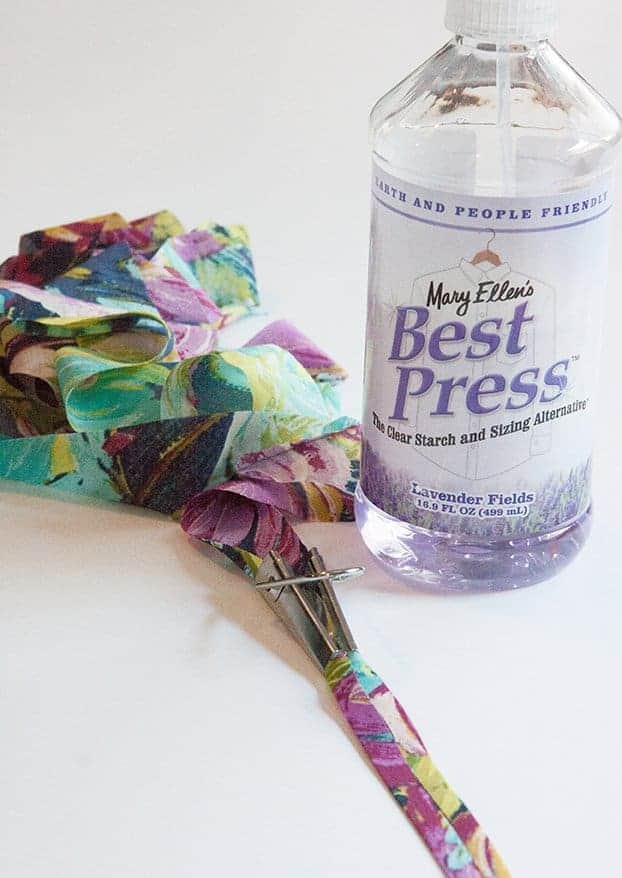
If you have never used a bias tape maker, be ready to fall in love. With one little motion, it takes flat strips of fabric and folds both edges in towards the middle of the fabric strip. While you pull the bias tape maker with one hand, press the fabric with an iron as it exits. That’s it! A quick spritz of Best Press before running the fabric through the bias tape maker helps the fabric retain it’s crease.
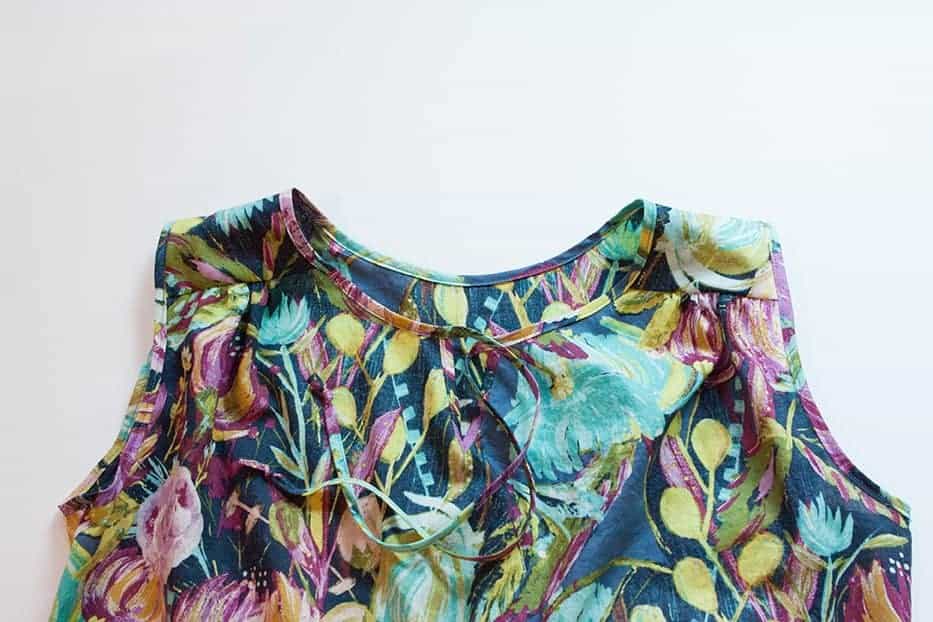
The V portion of the neckline
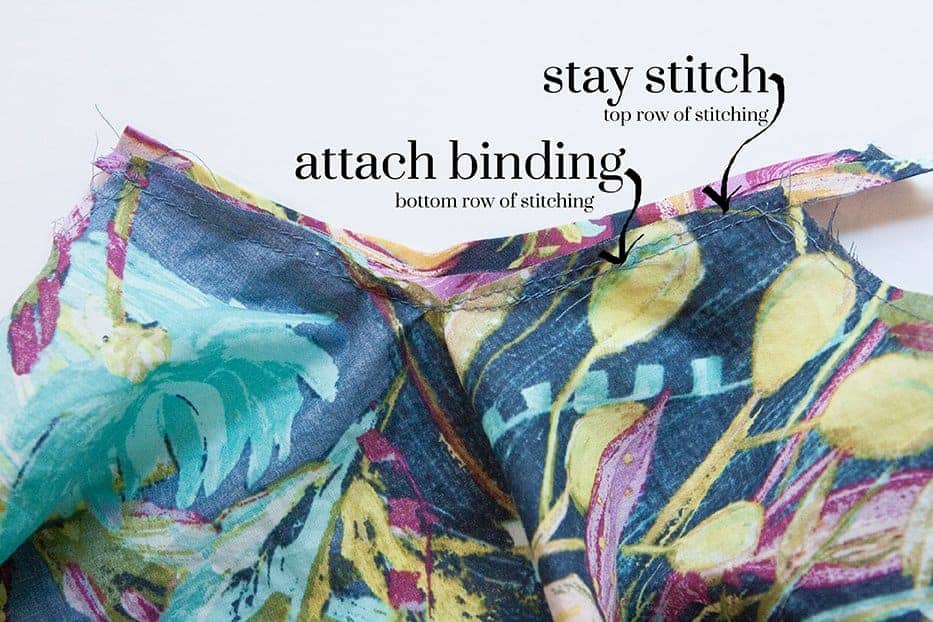
This little spot can be a bit tricky to do. Be sure to straighten that V as much as possible while you are attaching the binding. The other thing to remember is to take a gradually smaller seam allowance as you reach the point in the V. You can see that here. The top line of stitching is my stay stitching to keep the shape of my V in place. The bottom line of stitching is where the bias binding is attached. Notice how the seam allowance gradually gets smaller the close to the center of the V it gets.
How to use a binding attachment foot
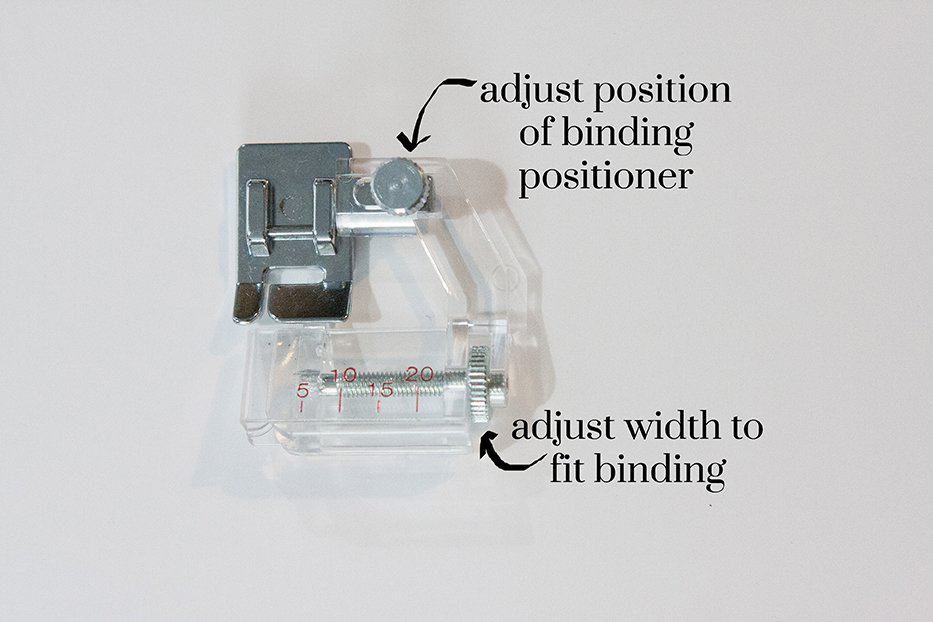
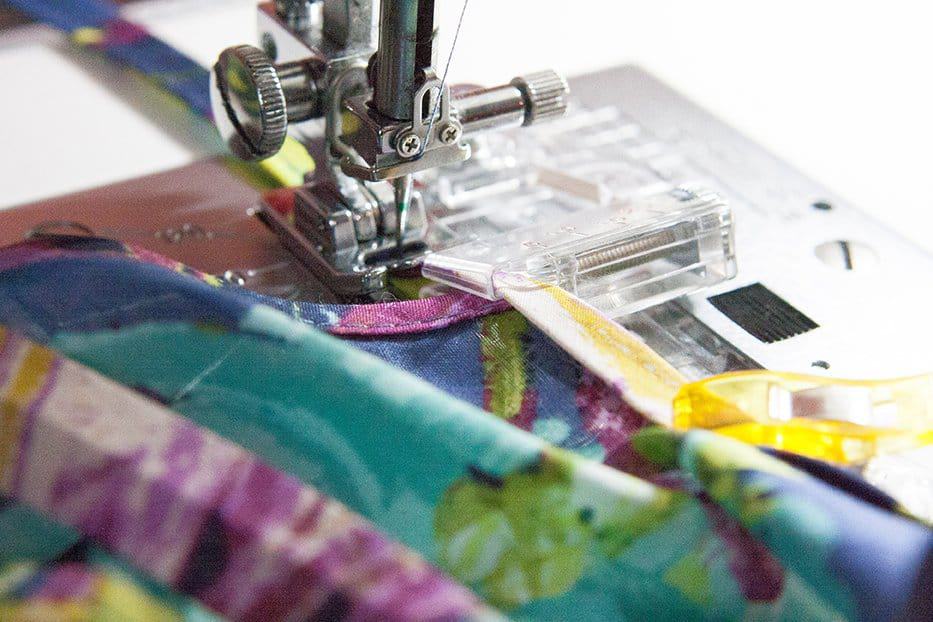
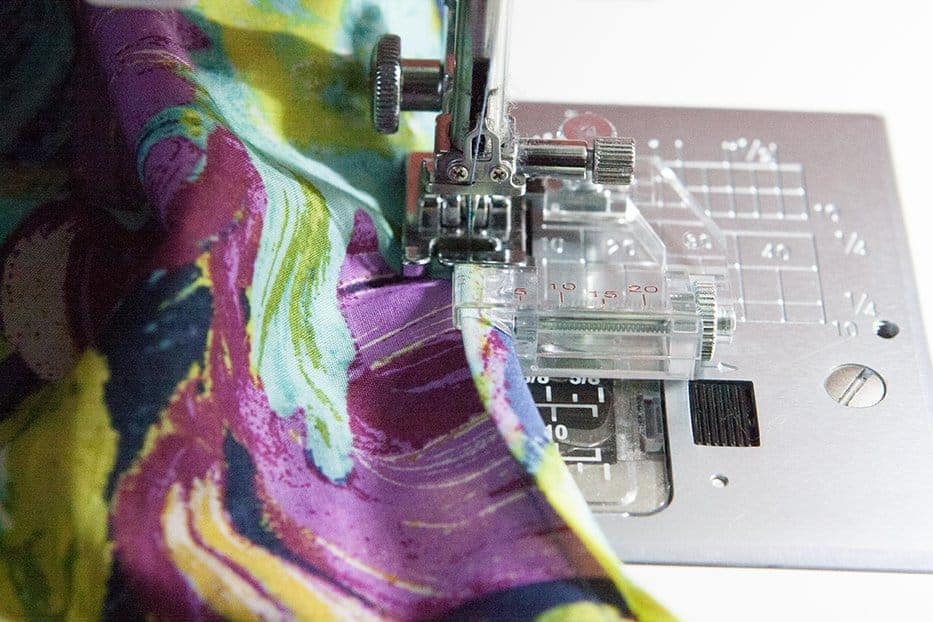
This little gem is amazing. It holds the binding in place, keeping the raw edge you are enclosing sandwiched inside the folded binding. Pure brilliance! Let’s go over the different parts of this special foot. The knob at the top allows you to adjust the distance the bias tape positioner is from the needle. The knob at the bottom allows you to customize the slider to fit the size of bias tape you need for your project.
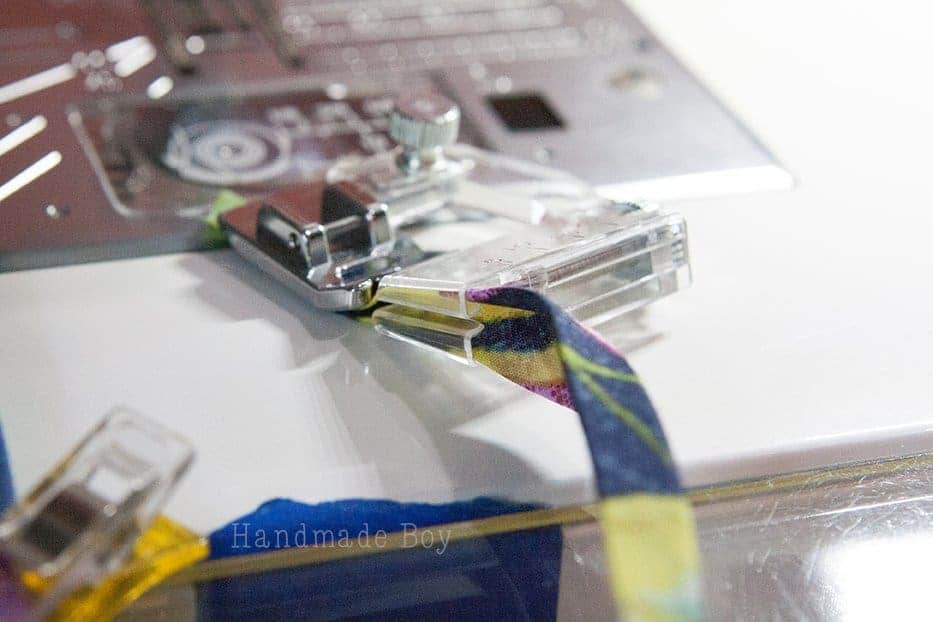
I found it easier to load the binding attachment foot with it removed from the machine. To make feeding the bias tape into the foot easier, turn the knob to increase the size of the bias tape positioner larger than you need. Slip the bias tape into the holder with the folded edges tucked into the little plastic U shape on the top and bottom. Pull the bias tape out the back side, beyond the food. See the picture below.
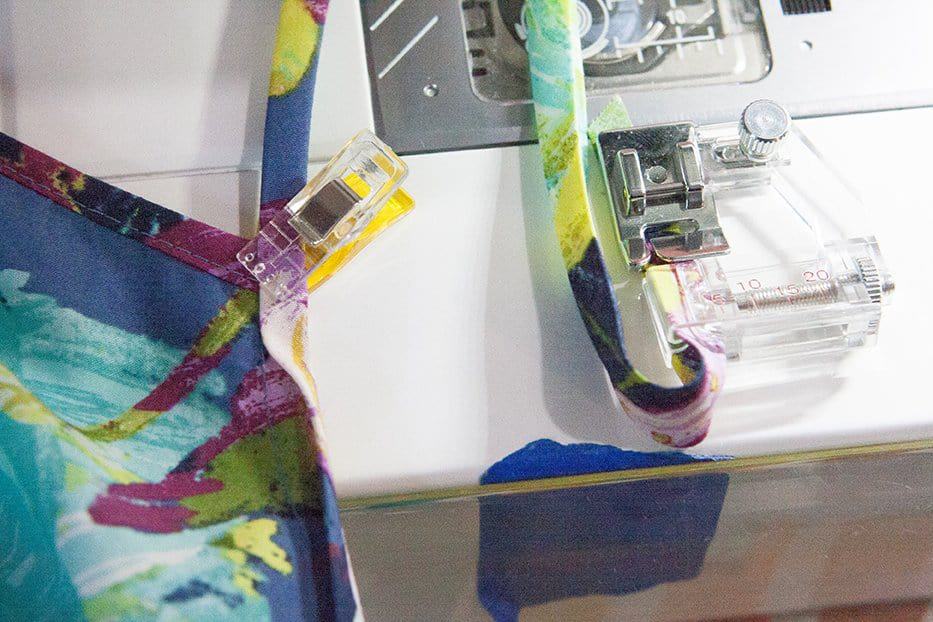
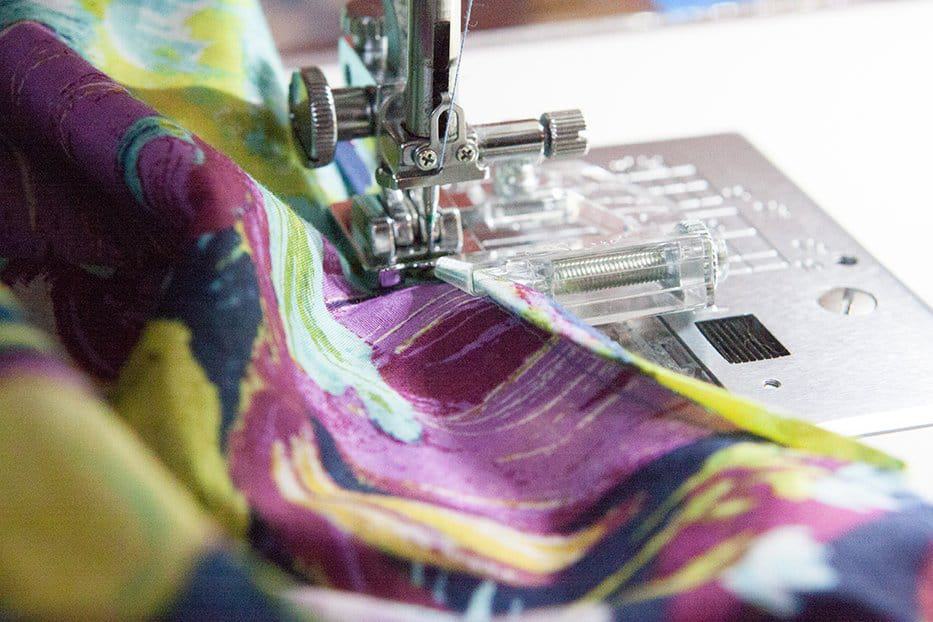
Use a pin or clip to secure the neckline of the blouse in the bias binding. Attach the foot to the machine and sew as usually, gently guiding the binding into the foot.
When you get close to the beginning of the neckline, remove the clip and help guide the fabric into the foot. The blouse will be sandwiched between the two U shapes that hold the binding into place.
Continue stitching around the entire neckline of the shirt guiding the fabric into the foot.
I found it helpful to slightly angle the fabric into the foot. It kept the raw edge more snug in the binding.
Binding the tank
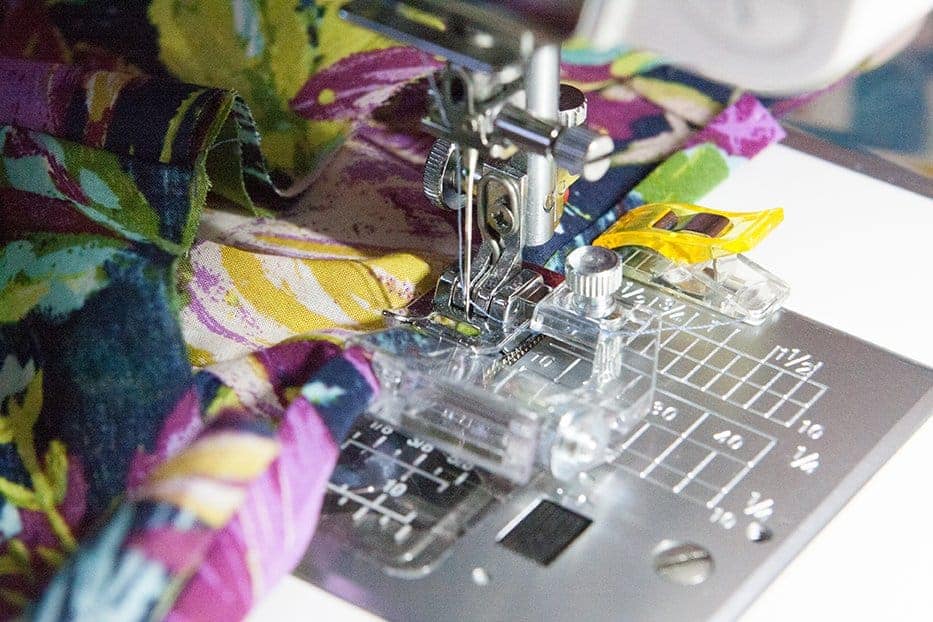
You can use the binding attachment to bind the tank also. I found it helpful to clip the binding into place and then slip the binding/blouse sandwich onto the foot below where I clipped the binding on. Begin sewing several inches below the clip. Work your way around the shirt stopping several inches before you reach the loose binding. Remove from the machine, line up the binding ends per the instructions on step 2 of page 15 and stitch together. Then beginning where you left off, position the blouse back onto the foot and continue attaching the binding.
And there you have a beautifully bond neckline in a single step.
Once you have finished your Rhapsody, you may enter it into the giveaway in our Facebook Group by sharing in this album. Also, you can share on Instagram using the hashtag #RhapsodySewalong. The deadline to enter your Rhapsody is Sunday, June 18 midnight cst. Only Rhapsody’s sewn during the sewalong qualify. We will pick FIVE winners Monday, June 19 to receive an amazing prize package sponsored by Art Gallery Fabrics and Simply by Ti
Catch up with us in the pattern support to chat and ask any questions.
If you need to catch up, here are the rest of the sewalong days:
Monday: Cutting out your fabric and dress add on
Wednesday: French seams and dress
Thursday: Sleeves and accent trim
Pin this for later!


