Here we are on the second to last day of the Rhapsody sewalong. If you need to catch up:
- Day 1: Cutting fabric + free dress add-on
- Day 2: Yoke assembly
- Day 3: Sewing the french seams constructing the dress
For today we’re going to sew the sleeves and I’m going to show you a trendy touch you can add with inset lace or crochet trim.
Before we begin, if you’re wanting to add the inset lace like I have done jump down to the lace insertion tutorial below first.
Sewing the sleeves
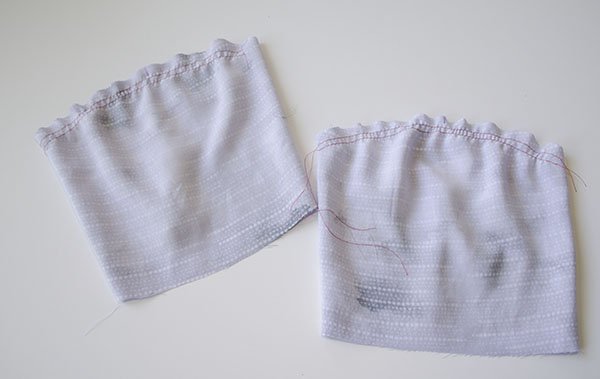
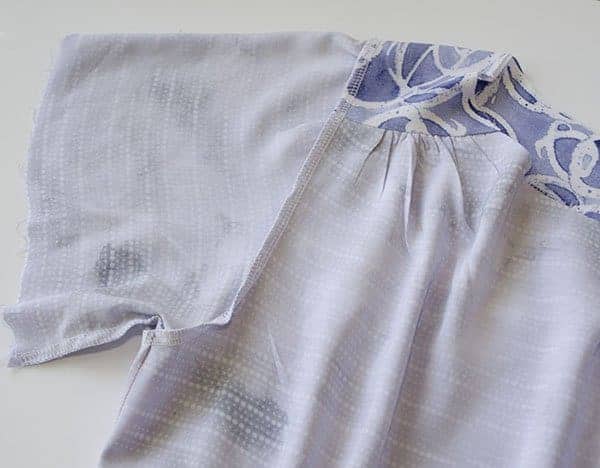
First, sew the seams of each sleeve either using the french seam process we used yesterday or simply the serge the seam with a 1/2″ seam allowance. All the sleeves have been drafted with about an inch of ease. This means we need to run basting stitches around the head of the sleeve and gather the threads to fit. I prefer to run two rows of basting stitches.
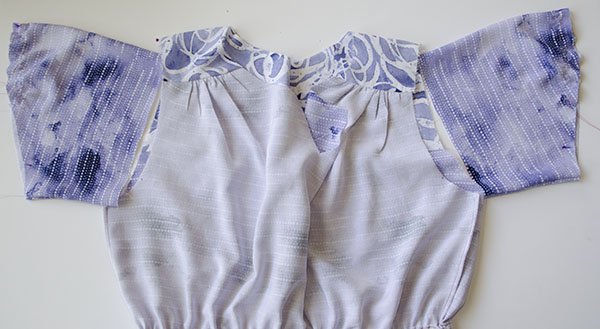
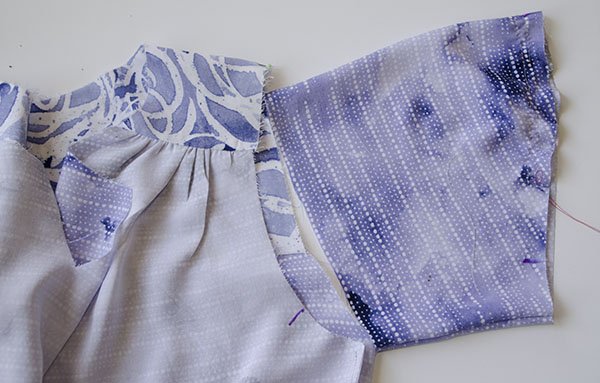
With the bodice wrong side out and the sleeve right side out, align them so they will slip into the armscye right sides together.
You’ll notice there is a ‘T’ marking and a triangle marking on the sleeve. Align the ‘T’ marking to the the ‘T’ marking on the yoke and the match the triangle marks together. The triangle is on the front portion of the sleeve.
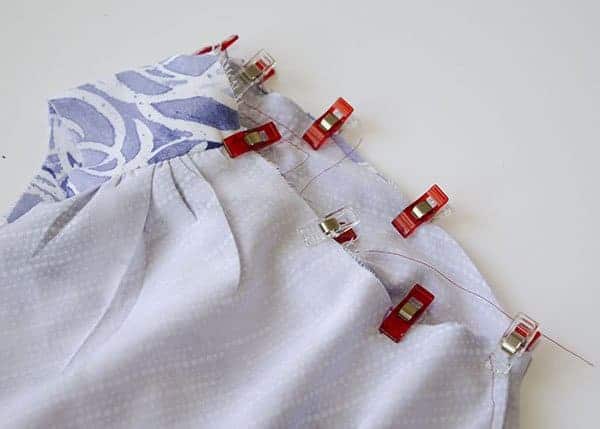
Pin (or use Wonder Clips, affiliate link) sleeve in place, adjusting the gathering so the sleeve fits smoothly. You’ll notice that it really won’t look like a typical gathered sleeve at all once all the marks align correctly. The basting just makes getting the sleeve in easily.
Use a 3/8″ seam allowance serge your sleeve. If you are just using a sewing machine, finish the raw edges with an overcast stitch. Press the seam allowance towards the sleeve hem.
Now you’ve sewn set-in sleeves! Read on if you want to learn how to apply inset lace or crochet trim. If you’re sewing a different sleeve style and need more help with that particular sleeve, be sure to ask for help in the sewalong group.
Lace insertion tutorial
First things first, I know you’re wondering where I got this awesome trim. You need to check out Simply by Ti. She’s a relatively new shop but she’s got a nice selection of trims and she ships fast! If you’re sewing along with us this week be sure to enter your finished Rhapsody in the drawing to win a prize box. Simply by Ti is a prize sponsor and winners will receive some of this gorgeous trim!
You can be as creative as you want with this method. I’m going to show you how I used the trim on the 3/4 sleeve with flare. I like seeing the trim at seam intersections like this but you could totally do this pretty much anywhere!
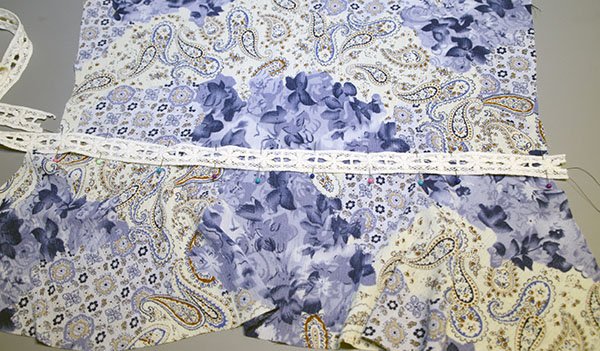
Start by aligning the trim to the garment and pin in place often.
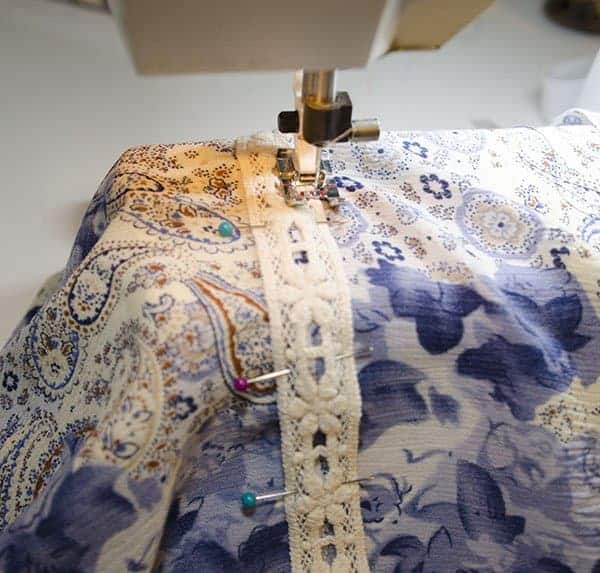
Straight stitch the trim close to the edge as possible, stitch on top and bottom of trim.
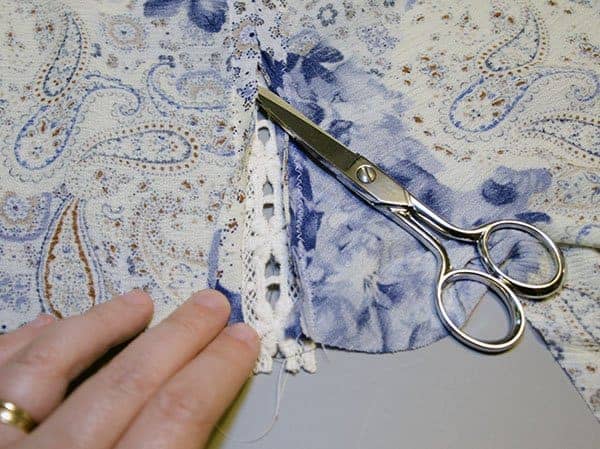
From the wrong side of the garment use a small pair of scissors to cut up the middle of the garment fabric. Be sure you do not cut through the trim in this process. (P.S. if you’re really observant you’ll see I did a zig-zag stitch when I first attached the trim, I actually prefer the straight stitch when first attaching. So, do as I say and not as I do. 😉 )
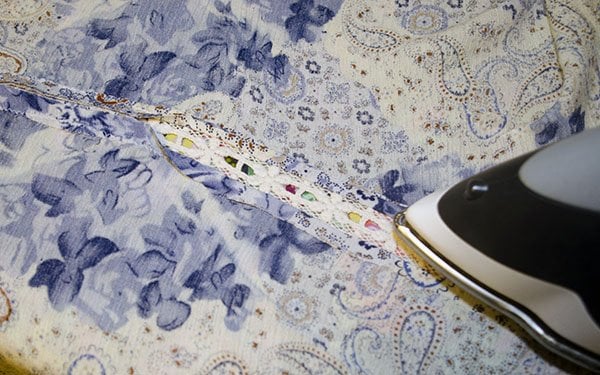
Press the cut seam open, revealing the trim.
Use a short zig-zag stitch in a matching thread to stitch the seam allowance in place. Do this zig-zag on the top and bottom of the trim from the right side.
Now, the sleeve side seams need to sewn up. Once that’s done the sleeve is ready to attach to the armscye. Trim can even be added at the yoke like I did here. Notice I did not open up the seam at this spot because I didn’t want skin showing through. Are you going to give this technique a try? Let us know in the group!
Catch up with us in the pattern support to chat and ask any questions.
Monday: Cutting out your fabric and dress add on
Wednesday: French seams and dress
Thursday: Sleeves and accent trim
Pin these for later!
Get your copy of the Rhapsody Blouse and Dress


