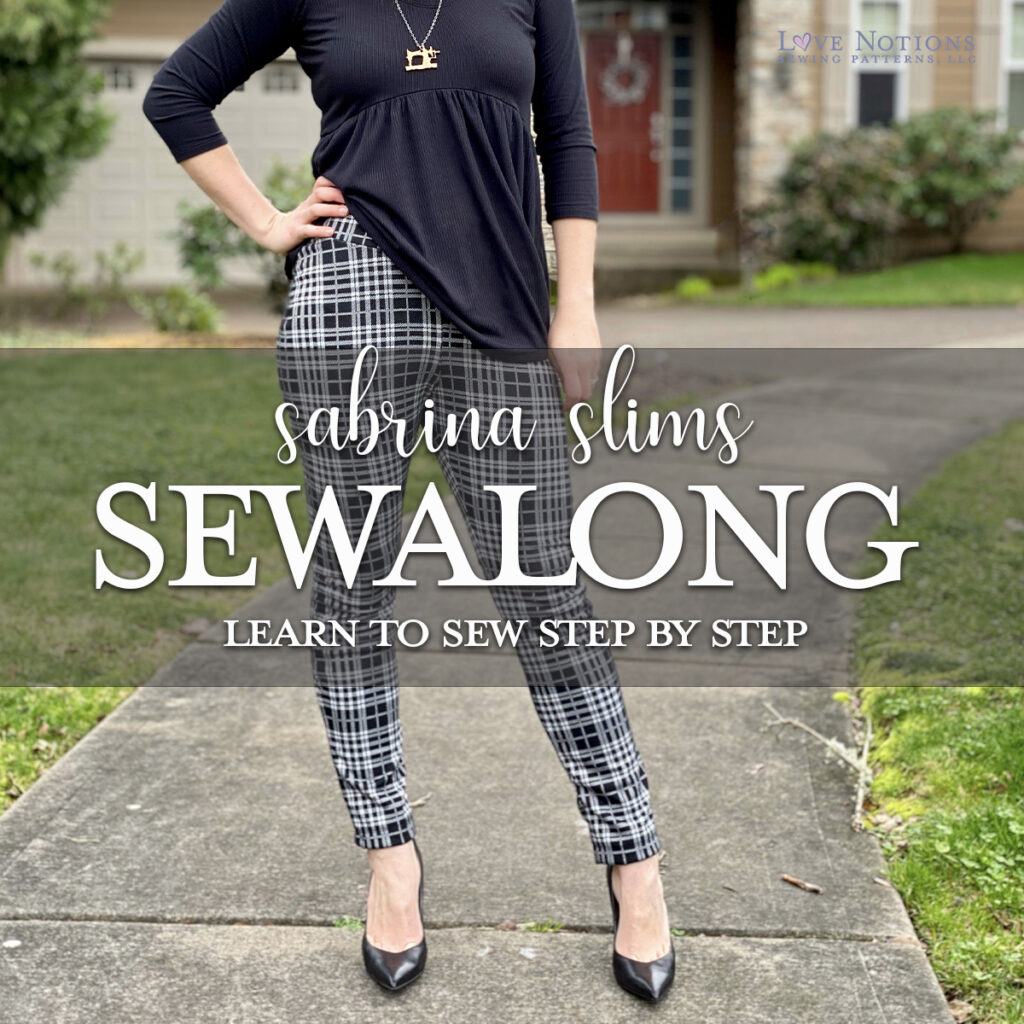
Today we are going to tackle how to make some alterations to the pants once you have them partially constructed. If you want to include welt pockets, be sure to do so before continuing on.
Construct the main body of the pants
Sew the legs of the pants together following the steps in the pattern. Do NOT finish your seams and do NOT top stitch. We are constructing simply for fit at this point. (I like to baste in the rise and inseam so it is easier to rip it apart so I can topstitch the side seams.) Do NOT attach your waistband, simply sew up the side seams, inseam and rise. Now put your pants on and find a mirror.

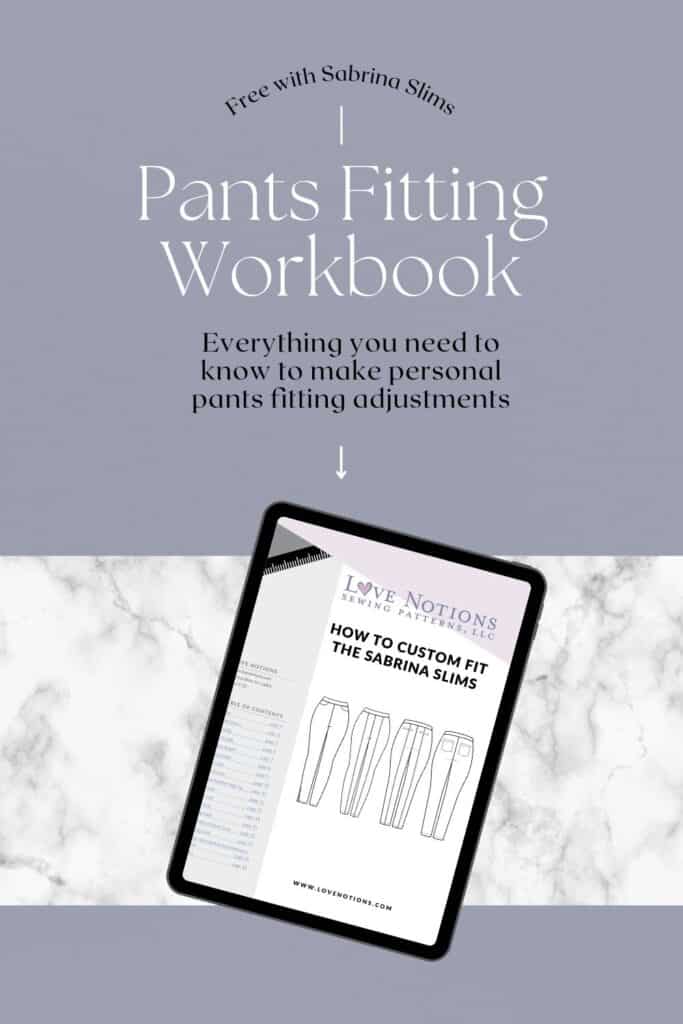
First of all, the Sabrina Slims pattern comes with a fabulous fitting workbook – be sure to download that along with your pattern tutorial – I promise it will help to identify and fix fitting issues as you sew up your Sabrina Slims.
So clearly, I have some issues going on here. And that’s okay! We are going to work on that. My body is not the “standard” shape. It’s cool — It’s my body. So, we see a bunch of wrinkling. Those wrinkles mean that there are issues in those areas. The wrinkles around my knees are some what the responsibility of the fabric. It’s really light weight and it doesn’t have enough weight to really hang like it should. It’s also because I need just a touch more room there because this fabric only has 25% stretch, not the 30% that is recommended. Fabric matters, guys. But, these will work out. It’s important to notices that I have my pants cuffed up. You want to do that because excess length can cause a bunch of wrinkling that will look like other issues. Roll those pants up before you do anything!!
Now, start with the WORST fitting part. For me, it’s that mess of fabric in the back. See the gaping at the top, we need to take that in. Put your pants on INSIDE OUT. Yep, trust me.
That is a TON of extra fabric up there. This is because I have some booty. Most of the difference in my waist to hip ratio comes from that thing. So, I need to do the “gaping back rise adjustment” in the fitting workbook. You may need some help with this part, but along the back rise, pin the fabric together so that it contours to yours shape. You don’t want it skin tight, remember, there is no front closure and you need some wiggle room to pull these up over our hips.
Seriously, so much better already!! And we are going to do the same with the gaping bit in the front.
See, we are definitely getting there! So, we learned here that my body is terrible at math. I KNOW the pattern is on because #1, I was part of the testing process. I KNOW there were several testers who had a waist measurement that fit the size 18, like my waist was suppose to. I know this pattern is drafted to fit that measurement. And, these are VERY common adjustments for me to make to my pants. I have made myself several pairs of pants and every time I have to do these adjustments.
Now take your pants off and go baste in the adjustments that you made. (If you live with other people, you may want to warn them that they need to get used to seeing you sew half dressed. It’s just part of the process of making pants.)
Sooooo much better!!! But, I still need a bit more tweaking.
See these lines…….
There is too much fabric in the rise there for my shape. 4 pregnancies took their toll on my mid section. So, because of extra skin and a bit of fat around my middle, I have a tire of sorts around my waist. I’ll spare you the pictures. 😉 But basically, I am smaller under my tire and that causes pooling of fabric in that area. I need to adjust the shape of the rise to fix this. So, we put the pants on inside out again and find the excess fabric. It will be easy to see.
Okay, maybe not so easy to see in the picture. but, I have pinned out about 1/2″ on each side and an inch where my fingers are. Pin all of that out and then go baste again. Yes, it’s a lot of back and forth, but, this is required. And worth it.
Getting even closer!! Now, there is still a bit of pulling right at the bottom of the crotch in the front. To fix this, I need some more length in the pointy part of the rise. This is the “smiling wrinkles” adjustment. I just need a bit more length in the inseam, maybe 1/2″ So, I need to note that on my pattern piece for next time. And if I use this fabric again, I will also do the adjustment for the excess fabric around the knees. I don’t have this issue in a heavier weight stretch knit. That is why it is important to muslin in the same type of fabric as your final pair will be made from. This is lighter weight broadcloth. If I wanted to muslin for some stretch denim, I would need to use a cheaper stretch bottomweight that has the same weight and stretch as the denim I wished to use later. Make sense?
Click here to see the difference between knits and wovens
Here are the changes I made. The original seam is outlined in a solid orange line. The changes I made are in dashed pink. You can mark your basting lines with tailors chalk or a fabric marker directly on your fabric so you know where you need to sew if you remove your basting stitches to topstitch the side seams.

If you have wrinkles and gathering on the side seams, you will need to pin and baste out the excess just the same as I did for the rise. Just take your time and tackle one area at a time starting with the worst. After you get all of your issues sorted and basted and you like the fit, note the changes you made on your pattern piece. I turned my pants inside out and placed them on my pattern. Then folded along the new seams and marked on my pattern piece.
This does NOT take into account seam allowance! You need to go back along your pattern and add that back in. Just make little measurements 3/8″ to the outside of the line you drew and then connect the dots.
After you have your changes recorded, sew those pants up properly. Tomorrow we will work on attaching the waistband and hemming.
Visit Sabrina Sewalong Day Four : Waistband and Hemming

- Sabrina Slims Sewalong Day 1– Choosing fabric
- Sabrina Slims Sewalong Day 2– Selecting your size to get a perfect fit
- Sabrina Slims Sewalong Day 3– Construction & alterations
- Sabrina Slims Sewalong Day 4– Waistband & hemming
- Sabrina Slims Sewalong Day 5– Jogger hack
- Sabrina Slims Sewalong Day 6– Style inspiration
Save this series to your Pinterest
Shop more Easy Sewing patterns:
-
Product on saleLaundry Day TeeOriginal price was: $12.50.$5.00Current price is: $5.00.
-
Product on saleLeggin’sOriginal price was: $9.00.$0.00Current price is: $0.00.
-
Product on saleClassic Tee ShirtOriginal price was: $10.00.$5.00Current price is: $5.00.


