Day three of the Serenity Sew Along is about constructing the body of the sweater. Today’s blog post is full of photos and a video walking you through the steps for creating a beautiful neckline.
The construction of the Serenity Sweater’s neckline results in a beautiful finish without a lot of fuss. I’m so excited to share this technique with you today! If you prefer video tutorials, don’t worry! I have a link to our YouTube video at the end of this post just for you.
Prepare the back
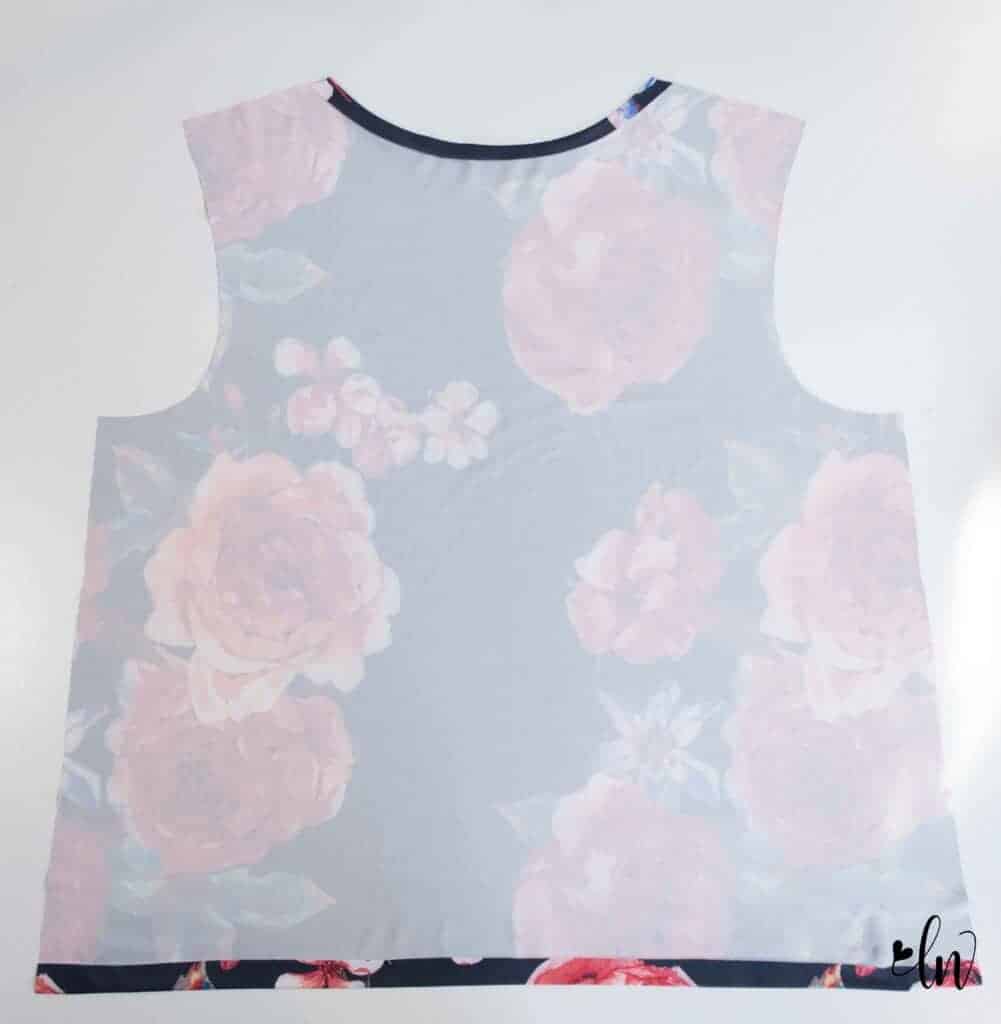
Begin with pressing the neckline and hem in place. Do not sew these in place quite yet. Just press them to create a memory seam. I wouldn’t use hem tape on these parts quite yet. You can add it when it’s actually time to topstitch these areas in place.
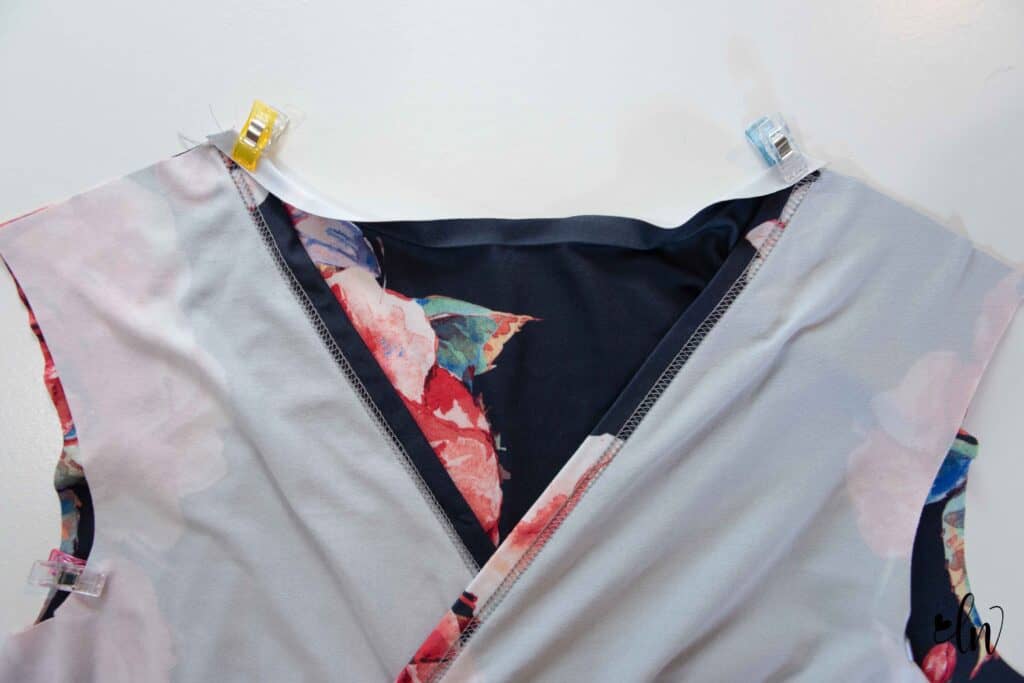
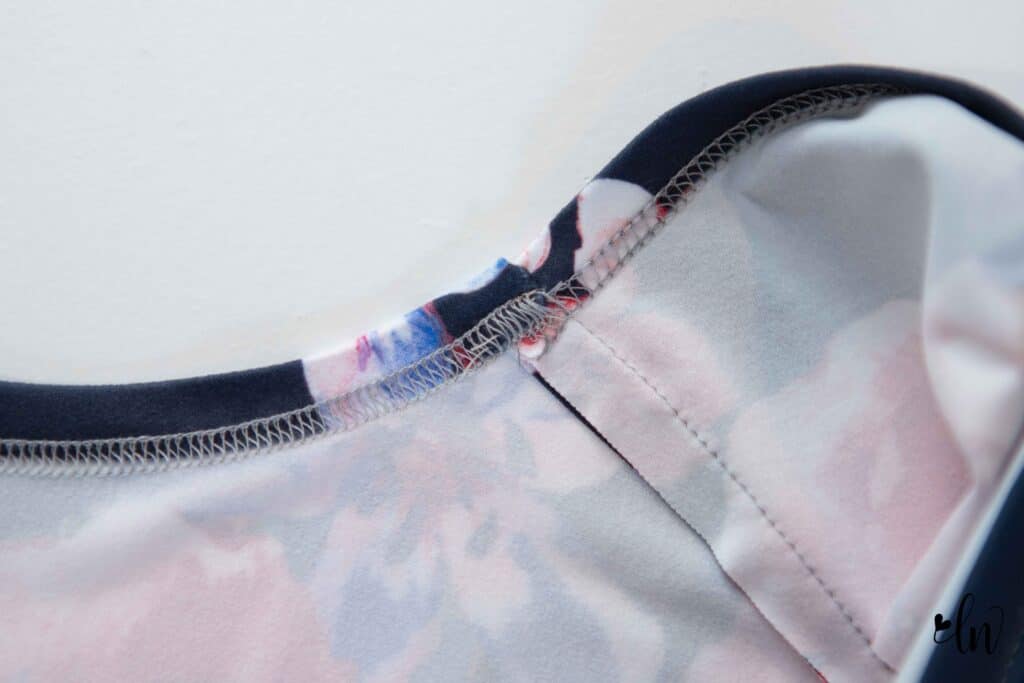
Align the front and back shoulders. The inside of the front shoulder will line up with the crease you just pressed. Wrap the hem around the front shoulder seam and press into place. There is a video in the tutorial demonstrating this. It is also included in the YouTube video linked at the end of this post.
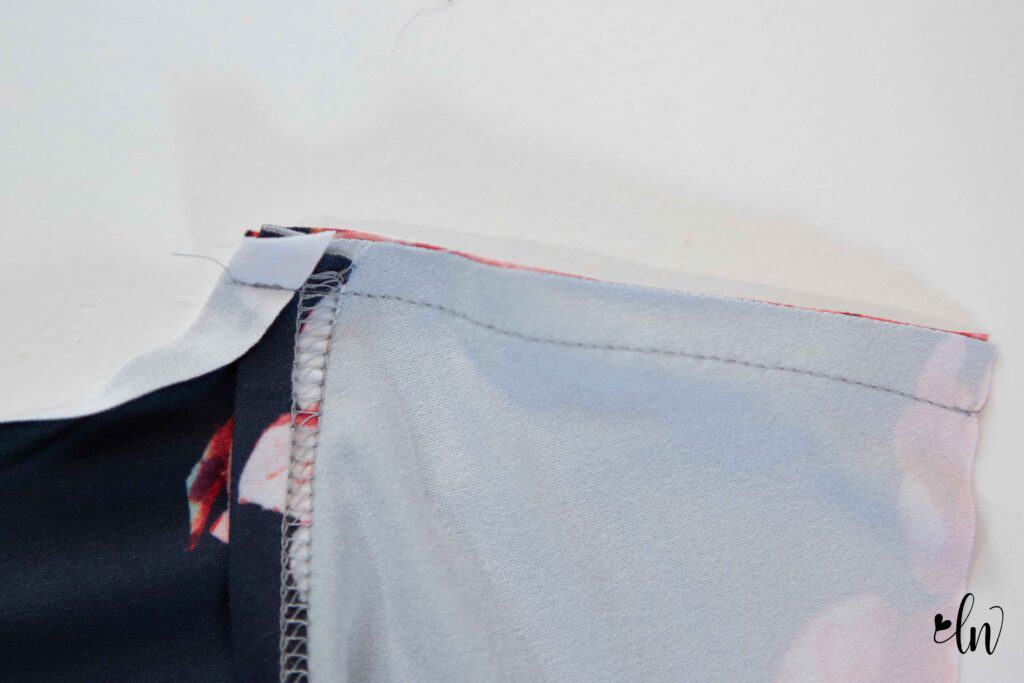
Sew the shoulder seam in place. I prefer to use a straight stitch for this to reduce the bulk at the neckline. See how that neckline wraps around to hug the front shoulder?
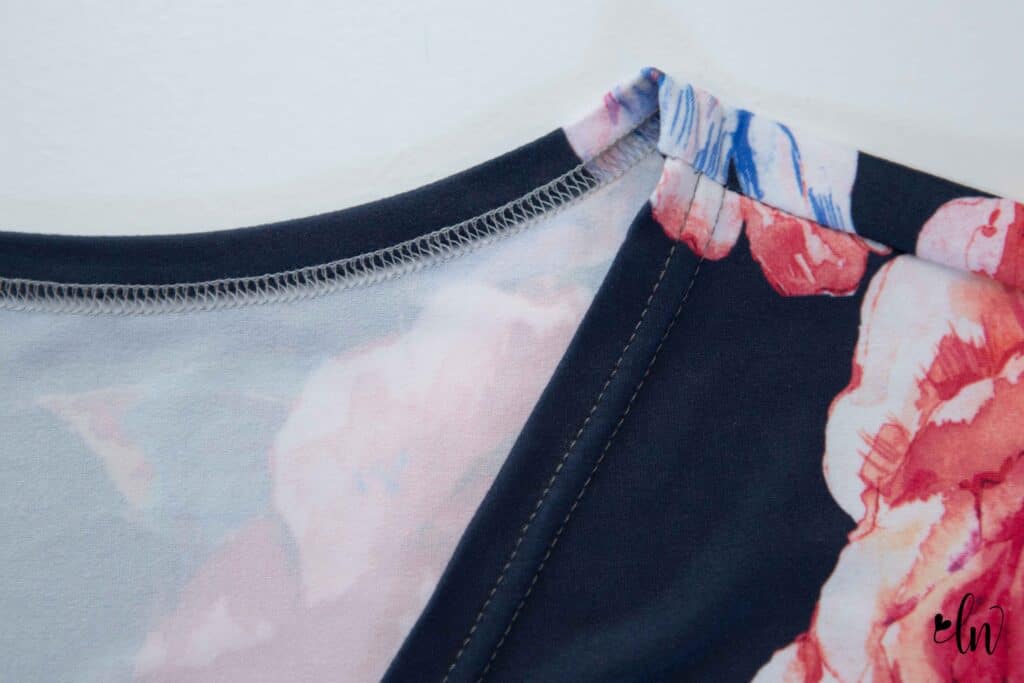
Open up the shoulder seam so it lays flat. Fold the back neckline into place and topstitch to secure it in place. If you like, you can iron hem tape to the neckline to keep it in place before stitching.
Look at the beautiful finish that creates!
This is our stopping point for today. Join me back here tomorrow for sewing our sleeves in place.
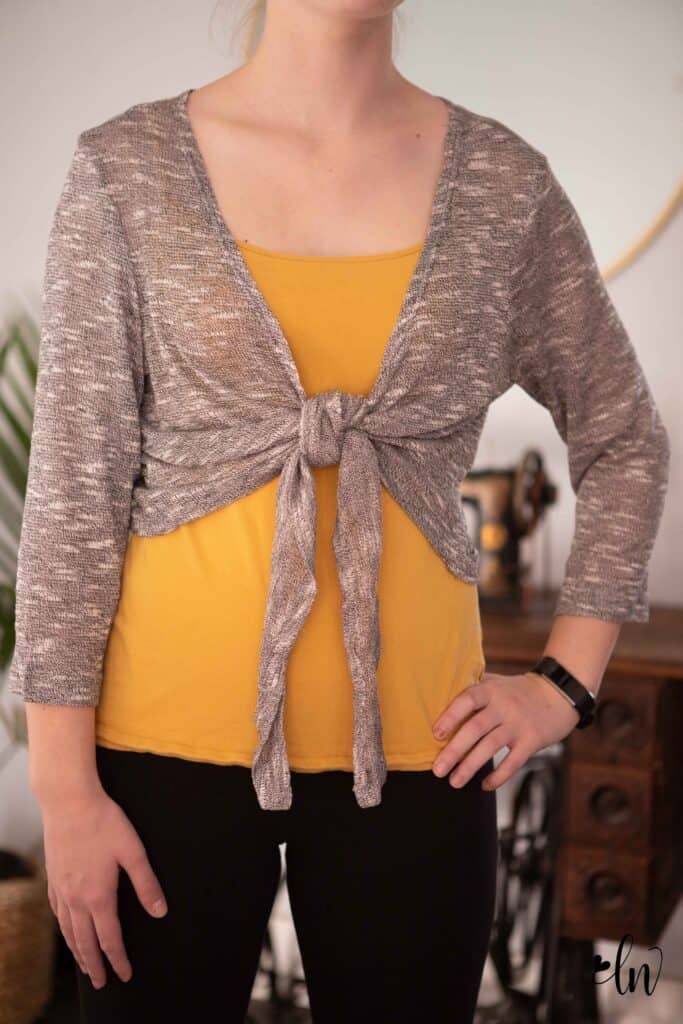
Tie Sweater Hack
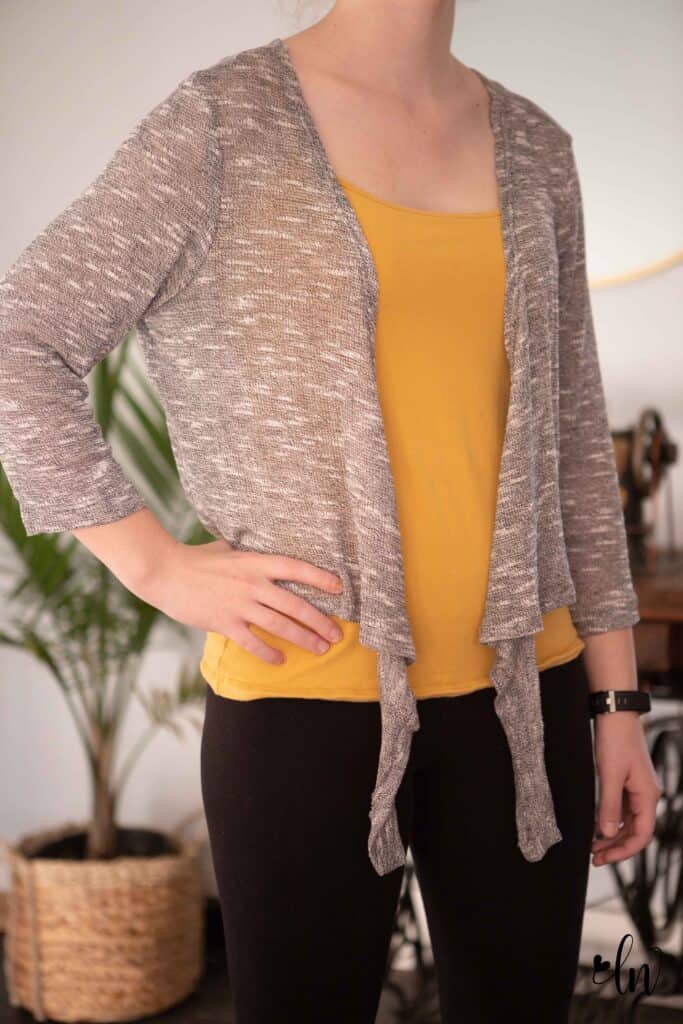
Create a cute tie front sweater with the Serenity Sweater with just a few adjustments!
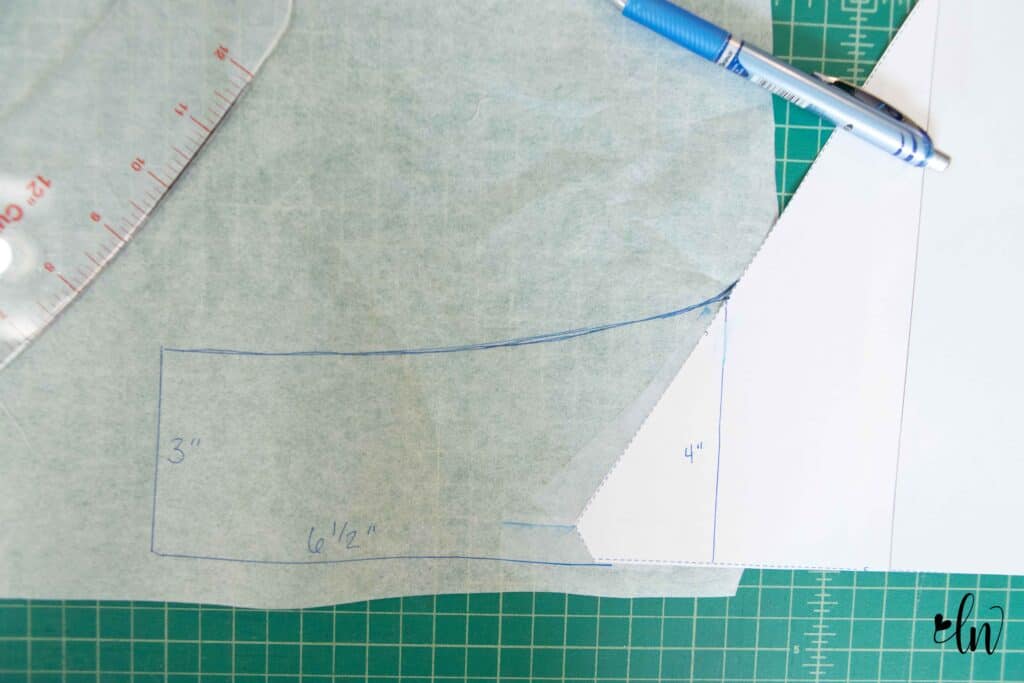
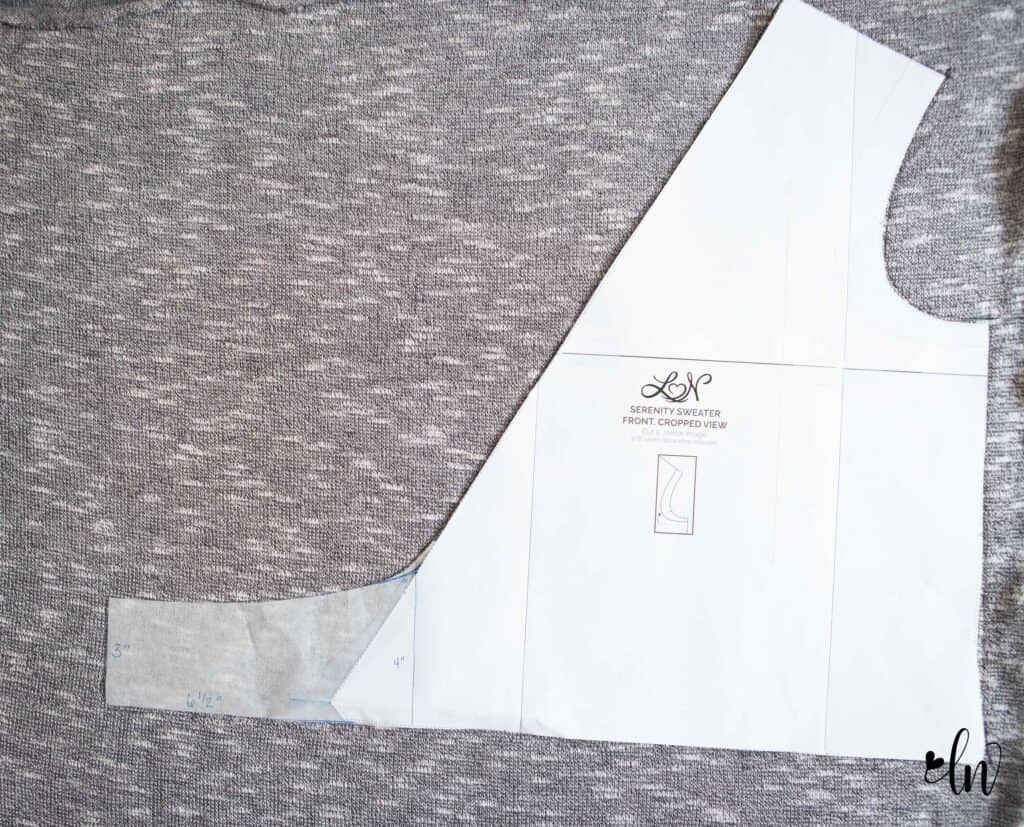
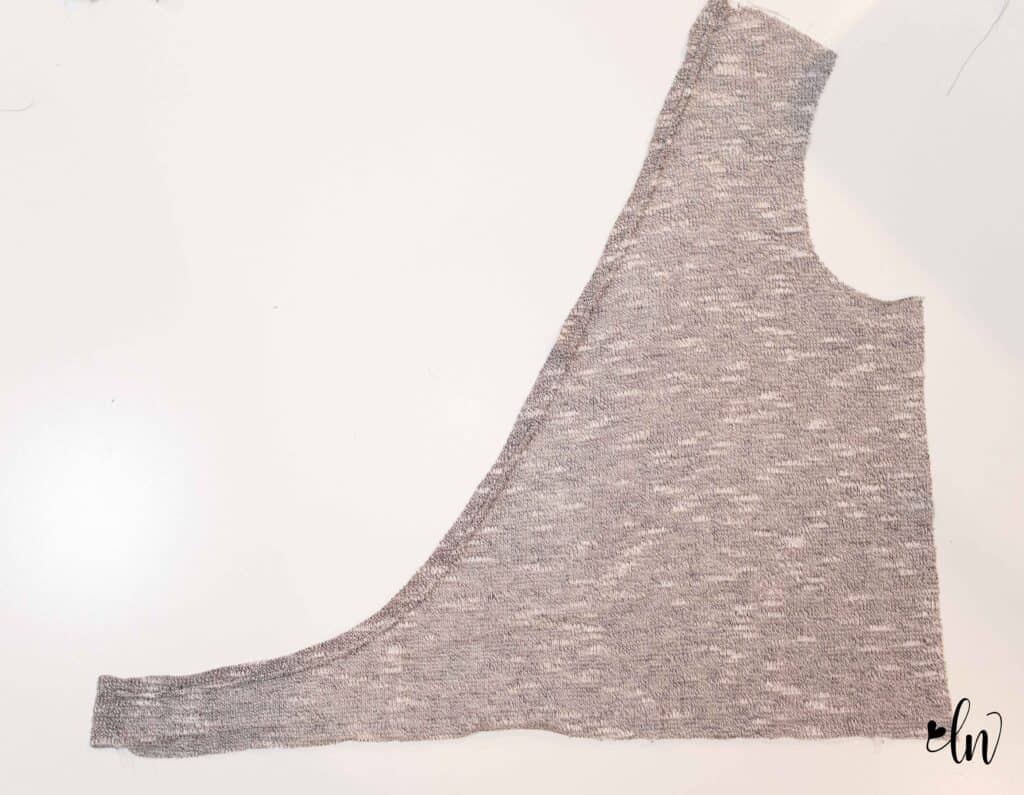
You will need the cropped option of the Serenity Sweater. First, extend the bottom hem. I extended mine by 6.5″ and made it 3″ tall. I started with the extension 4″ tall to create a gentle curve. You can eye ball this. It does NOT have to be exact.
You will cut two mirror image fronts with this shape.
Press the front neckline and the end of the extension to the wrong side by 1/2″ and topstitch into place. Now, continue the Serenity Sweater construction just as the tutorial states. You will NOT be sewing the bottom front hems together. Skip steps 2-5.
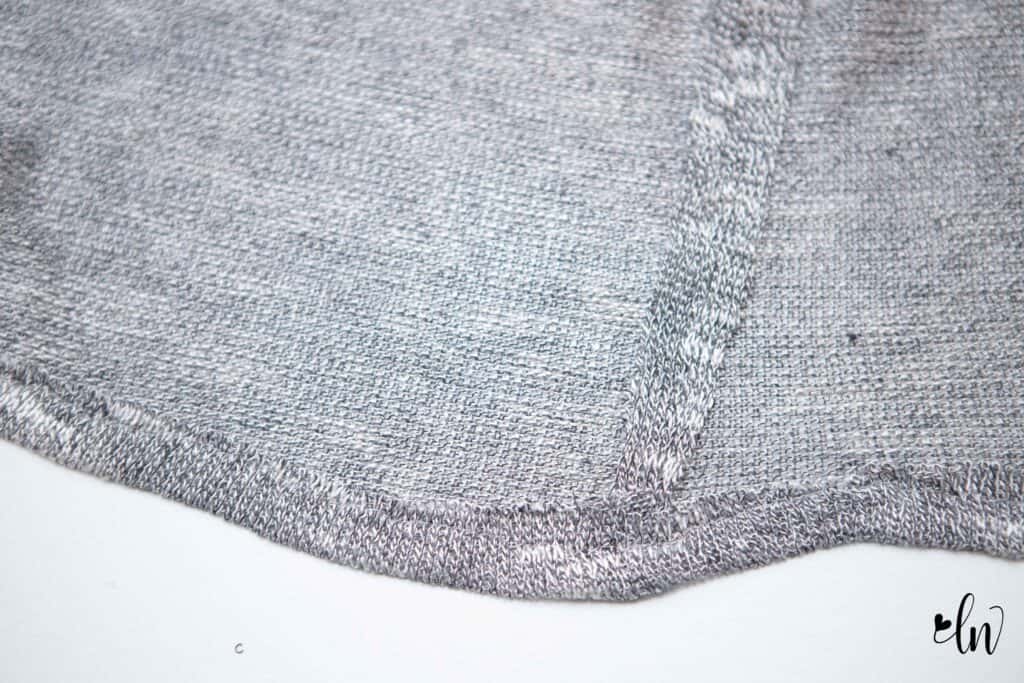
When you sew the side seam, you will NOT wrap the back hem around to the front. Sew the side seams as you would any other top. Then press the bottom hem up 1″ all along the bottom and both fronts and sew into place. I like to use a straight stitch for this and leave the edges raw. I feel it makes for a smoother and flatter seam. Ready to wear sweaters are often finished this same way!
It looks so cute with the front tied or open! So many options for styling!!
Gorgeous fabrics from Surge Fabric Shop
This blog post features Lola on Midnight Navy from Surge Fabric Shop. Our YouTube tutorial features Misty on Smokey Mauve. These are both double brushed poly fabrcis that have such a soft drape and great stretch making these super comfortable to wear.
Sew with friends and win prizes!
Sewing with friends on a common project is a great way to socialize and “meet” new people! Join our Serenity Sew Along Event happening in our Facebook Support Group. There you will get daily reminders for blog posts and YouTube videos, be able to ask questions in a friendly environment, and enter to win a prize at the end of the week! One lucky person will win a $50 gift certificate from Love Notions Patterns (good on all PDF patterns) and a $50 gift certificate from our sponsor Surge Fabric Shop.
Sew along discount codes
Use code SerenitySAL for 10% off now through November 30th. Sponsored by Surge Fabric Shop — take 10% off your purchase from 11/1-11/13 with code LNSAL10OFF.
Serenity Sew Along Schedule
- Monday: fabrics, adjustments and cutting
- Tuesday: assembling the front of the sweater
- Wednesday: constructing the body of the sweater
- Thursday: sewing the sleeves and attaching armbands on the sleeveless sweater
- Friday: hemming and sewing the banded hem option


