How do you keep track of your sewing projects? Instagram account, trello board, sewing journal? Leanne is here today to show her process for documenting and planning her makes. Be sure to read to the end because she has a discount code for us for one of her favorite tools for the job!
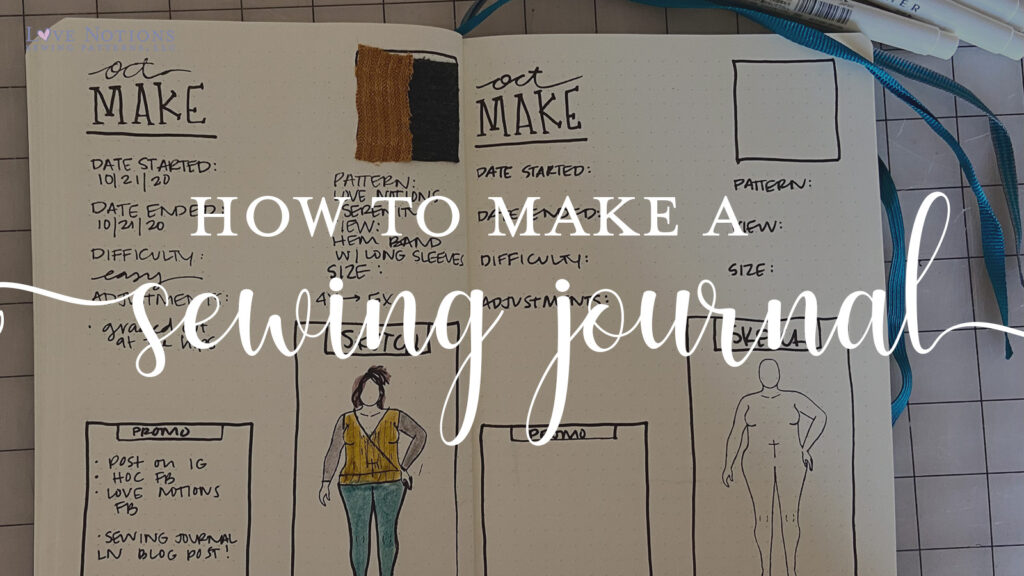
How to document your sewing makes using a croquis and bullet journal
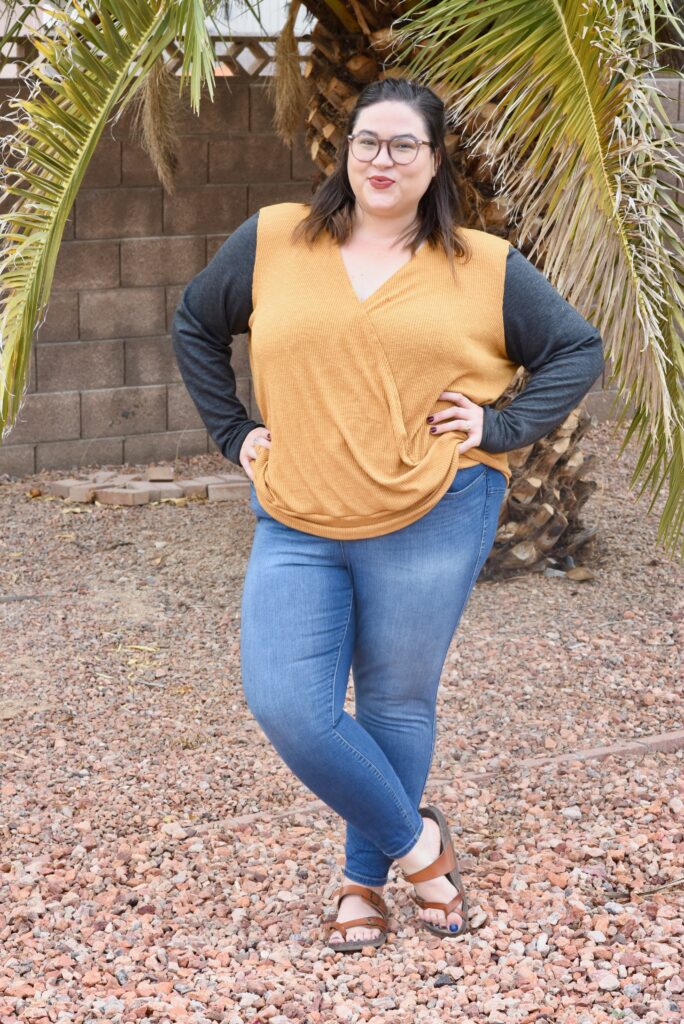
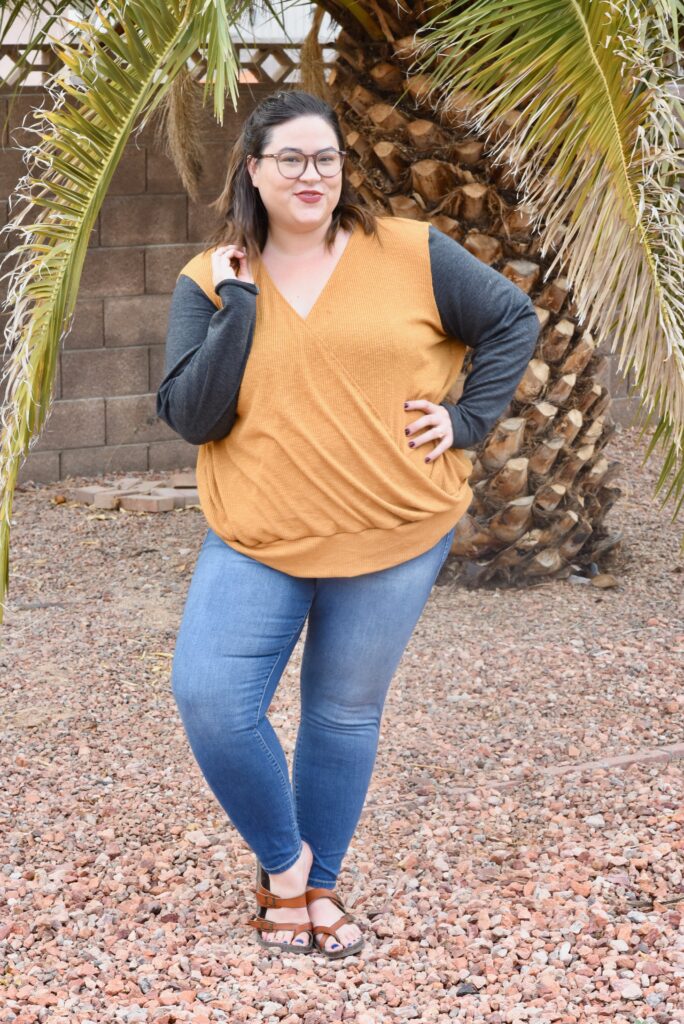
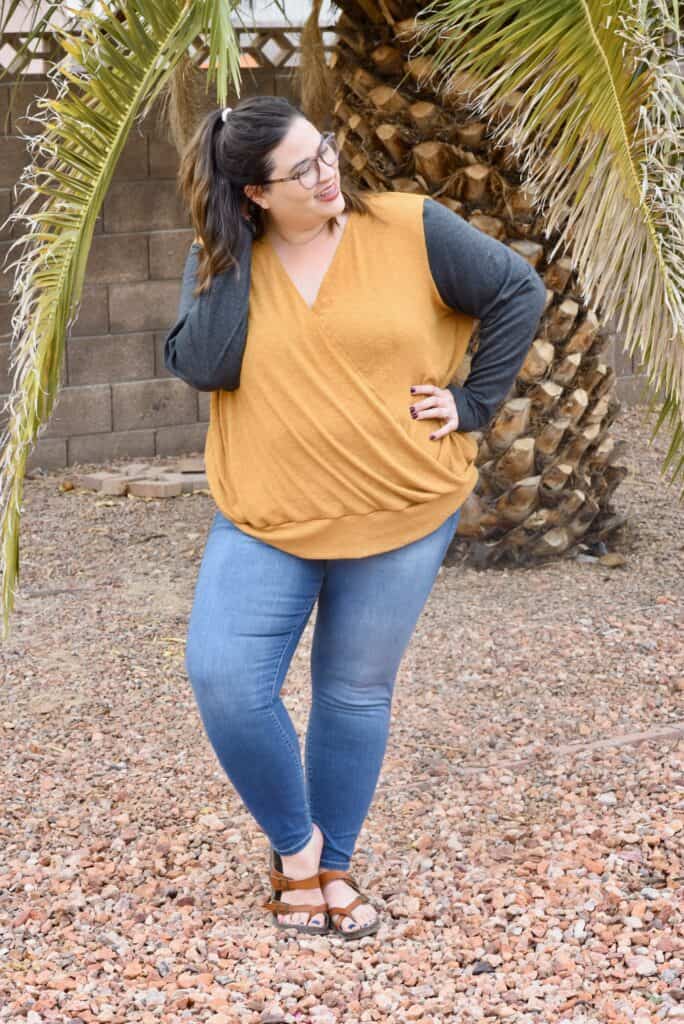
Hi y’all! I’m on the Love Notions blog today to share how I like to document my makes using my bullet journal. To celebrate that the Serenity Sweater is now available in Love Notions’ expanded size range, we’re going to focus on using that pattern for the example pages.
I don’t know about y’all, but I have always loved pens and any form of stationary. My aunt used to go to conferences every year for teaching when I was growing up, and going through all of her free pens and picking out the nicest ones was always one of my favorite activities to do when she got back home. So, it was only a matter of time before I found some way to tie my love for sewing into my love for doodling/writing.
I had seen My Body Model going around on IG and thought the concept of a custom made croqui for sketching out makes was super cool, but I’ve never been one to plan out my sewing…I just always kind of did it when inspiration struck or deadlines loomed. But then I thought, what if I could make my own sewing journal that I could use to document what I made after the fact? A sewing scrapbook of sorts. I scoured over Pinterest and watched all the BuJo YouTube videos for ideas on layouts and wrote down the information I thought would be important for me to have handy for each make.
And if you’re curious, MyBodyModel is an app that makes custom fashion croquis templates (body outline sketches) with your real body measurements. you can get your own printable & digital fashion sketchbook and draw your fashion designs on a body model that looks like you. ~ https://www.mybodymodel.com/
The information I landed on documenting on each page was:
- the date I started the project
- the date I finished the project
- the difficulty level of the project
- any adjustments I had to make to get the fit I wanted
- the pattern name
- the view I made
- the size I made
I also thought it would be cool to have a scrap of the fabric on each page as well as the name of it or where I got it from in case I ever wanted more. I’ve been doing this system for about a year on and off, and I really enjoy being able to look back and see my sewing growth as the months went on. It was also a really helpful tool for me to keep the deadlines straight for blog and pattern testing due dates.
If you’re wanting to try this out, I’m going to go through the setup of my monthly make pages, including the size dimensions so it’ll be easy to draw up!
Supplies for Sewing Journal
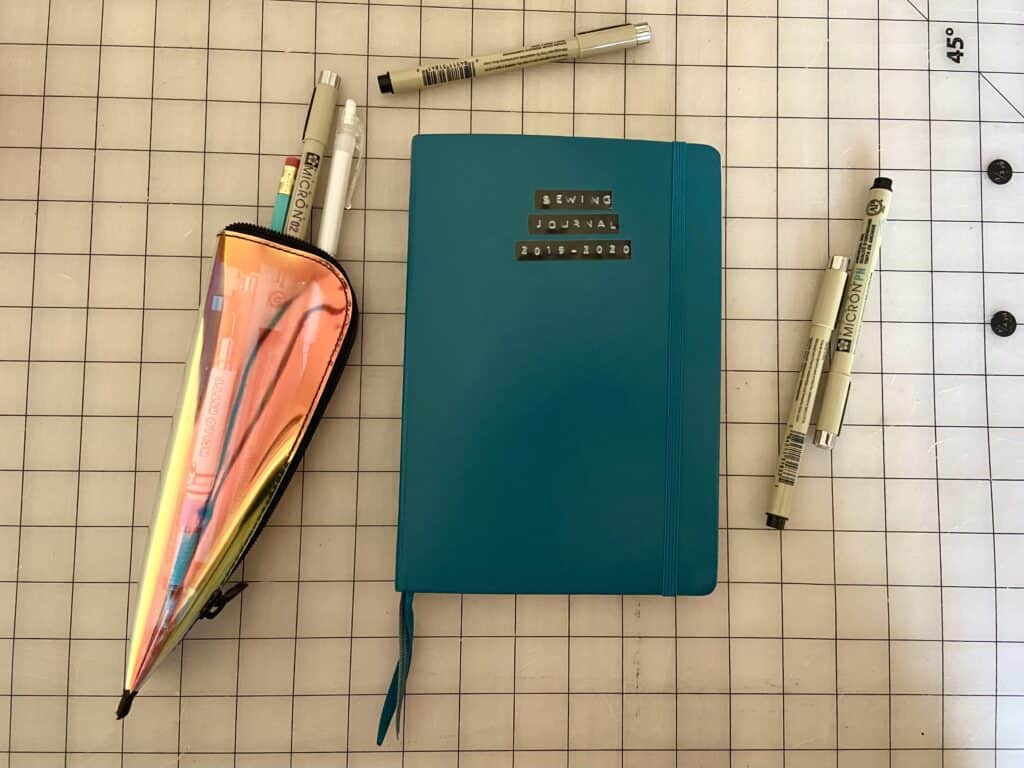
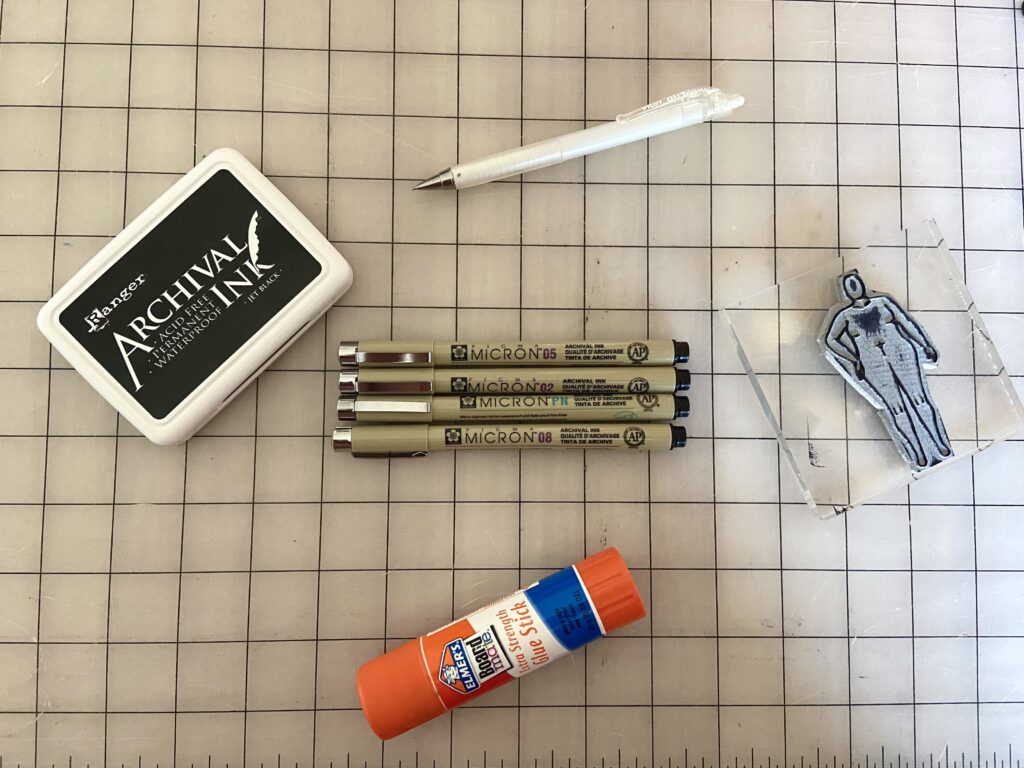
As far as supplies goes, I use this journal for my sewing makes, and a combination of these pens and markers for coloring in my outfits.
Sewing Journal Layout
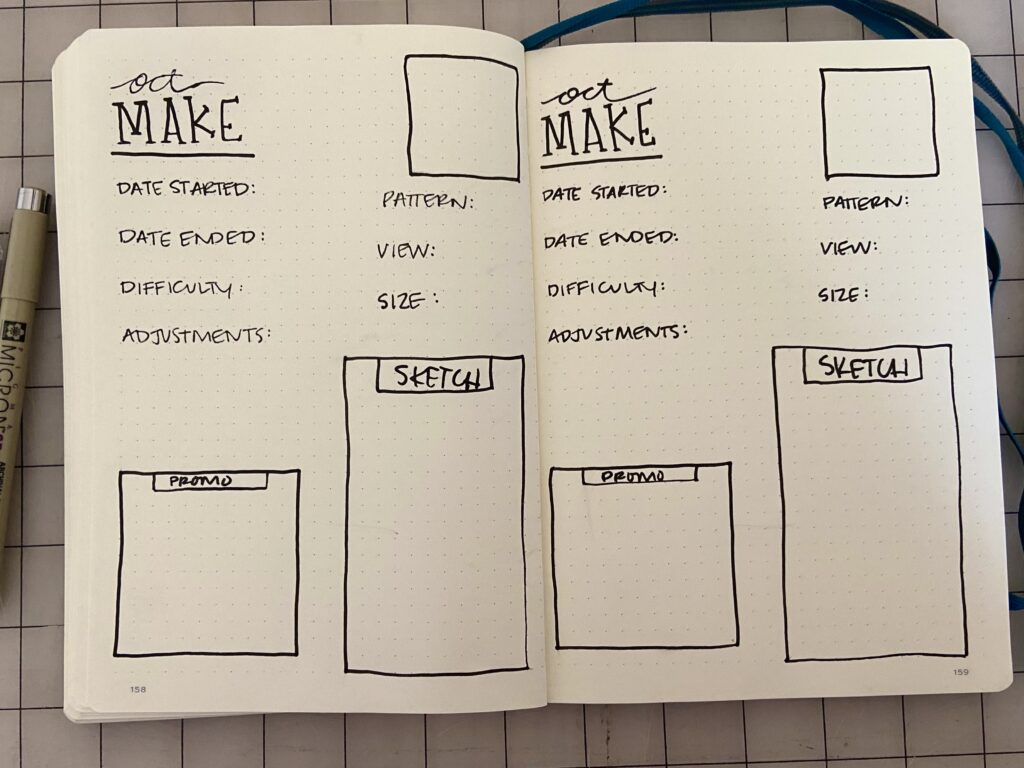
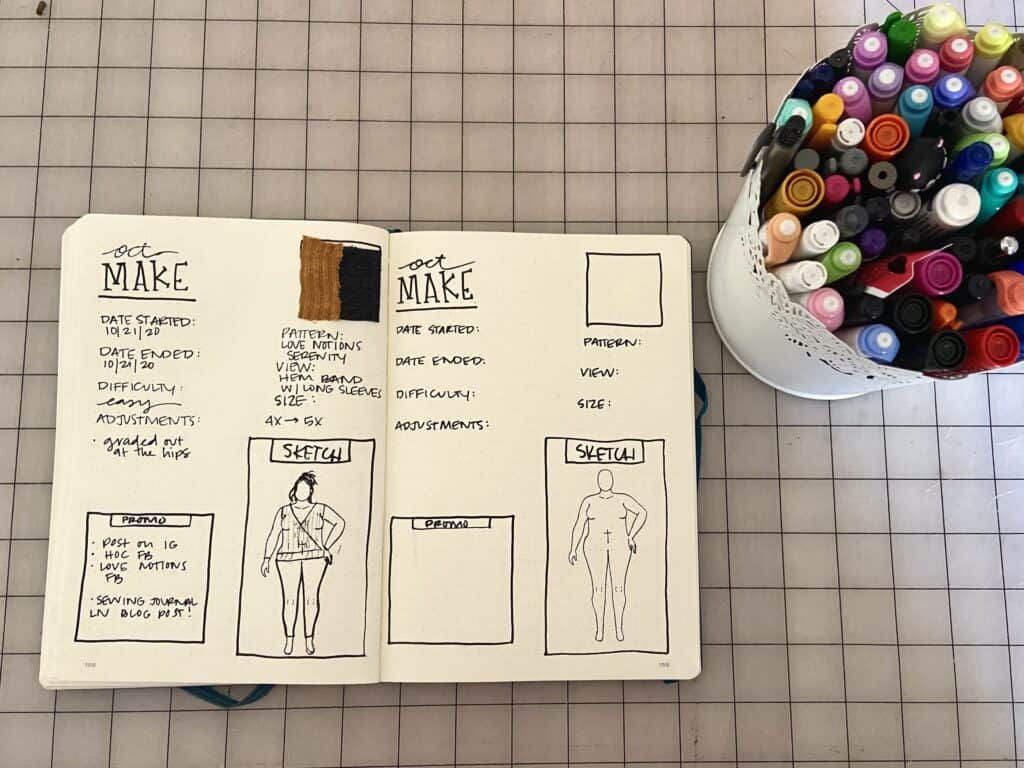
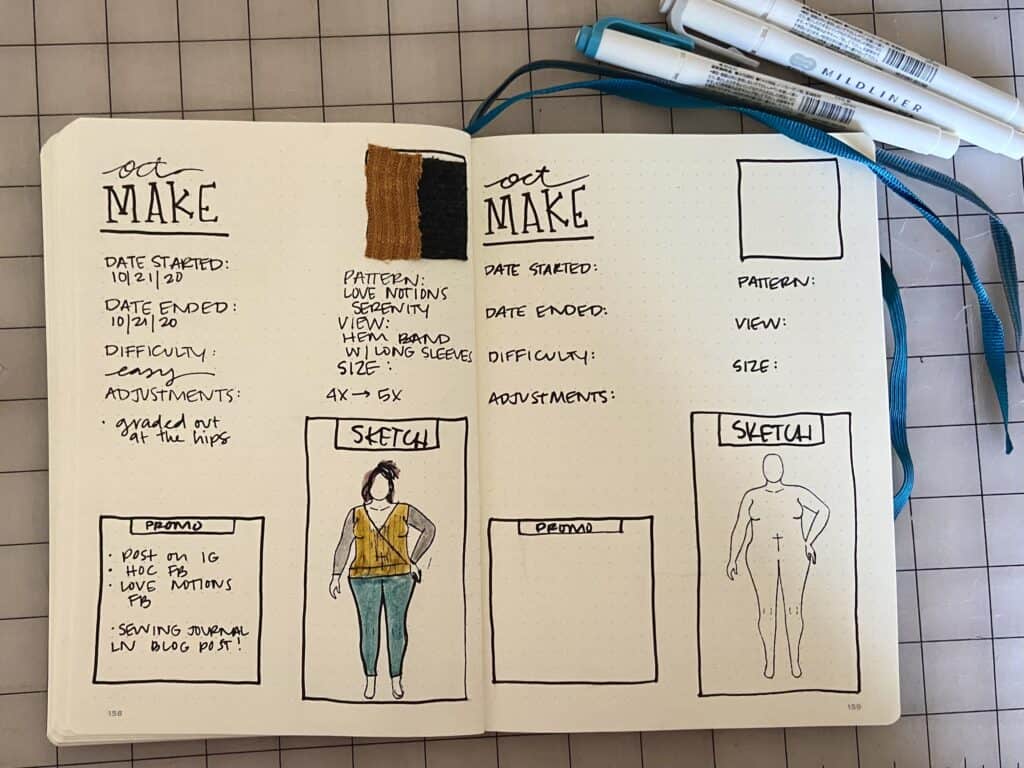
I start out with the “Month Make” at the top left hand corner of each page. On the left hand side you’ll see I have “date started”, “date ended”, “difficulty”, and adjustments” under that on the left hand side. I find that having two lines of space between each category was enough to write everything down. Since I like to post my makes in Facebook groups, on blogs, or on Instagram, I also have a box at the bottom left corner titled “promo”, and that is 12 dots X 12 dots in size.
On the right side of the page, at the upper right corner I have a small box where I glue a scrap of the fabric I used, and this box is 8 dots X 8 dots in size. Under this box, I put the rest of my information I fill in: “pattern”, “view”, and “size”. At the bottom right corner is where I draw my box for my croqui where I will sketch my make along with whatever else I wore to complete the outfit. The sketch box needs to be bigger to accommodate the croqui, and I’ve found a good size for this box is 20 dots long X 12 dots wide. When I first started my journal last year, I was just cutting out my My Body Model croqui from paper, but earlier this year I invested in making a custom stamp for my croqui and it was the best decision. I have a couple of blogs with My Body Model explaining further about my sewing journal, as well as one showing how I ordered my custom stamp, and I’ll link those blogs at the end of this!
I love having a month of sewing projects to look back on in my journal, and I love seeing my progress from last year to this year. It’s also a helpful tool to see what my sewing output was and how that correlates with when I was feeling burnout (which always translates into big chunks of empty pages between projects).
My Body Model Discount
Erica over at My Body Model was actually kind enough to offer a coupon code for any Love Notions customers who wanted to try out their custom size croqui! If you’re interested in My Body Model, just use code LOVENOTIONS for 10% off your order. They’re a fantastic company to support, so go check them out! ~ https://www.mybodymodel.com/
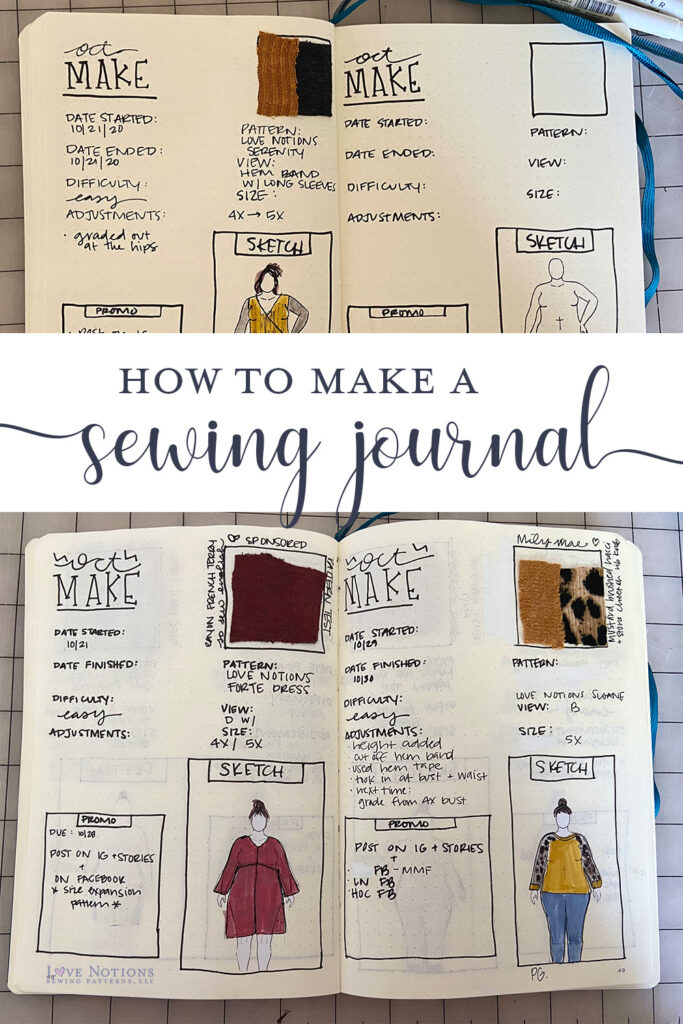
More Sewing Journal Example Pages
Are you interested in keeping a sewing journal? If so, I’d love to see your take on documenting your makes, tag me on Instagram, I’m @threadyforit!
Let me know if you have any plans to check out My Body Model as well!
And don’t forget to go snag the sizing improved Serenity Sweater while it’s on sale, it’s a super cozy fall staple and I can’t wait until the weather here is cool enough for me to actually wear it an entire day without sweating, ha!
Happy sewing y’all,
Leanne
For more information on my Sewing Journal, check out these blogs:
More details about how I set my journal up: Blog #1
How I ordered my rubber stamp croqui: Blog #2
In honor of the upcoming Serenity Sewalong, we’ve added a hemband pattern add on to the Serenity Sweater! You can download your free add-on through the link in our Serenity Youtube video, here. This pattern add-on is a layered PDF complete with the pattern piece and a full tutorial.
Pin this for later!


