Fusible Interfacing for Garment Sewing (with Lyric Dress Kit)

Hi there, I am Chloe and @no.idle.hands on Instagram. I’m super excited to be on the blog today to show you what I made with the brand new Lyric Dress/Peplum Top custom sewing kit, and chat all about the often hidden backbone of garment sewing – fusible interfacing.
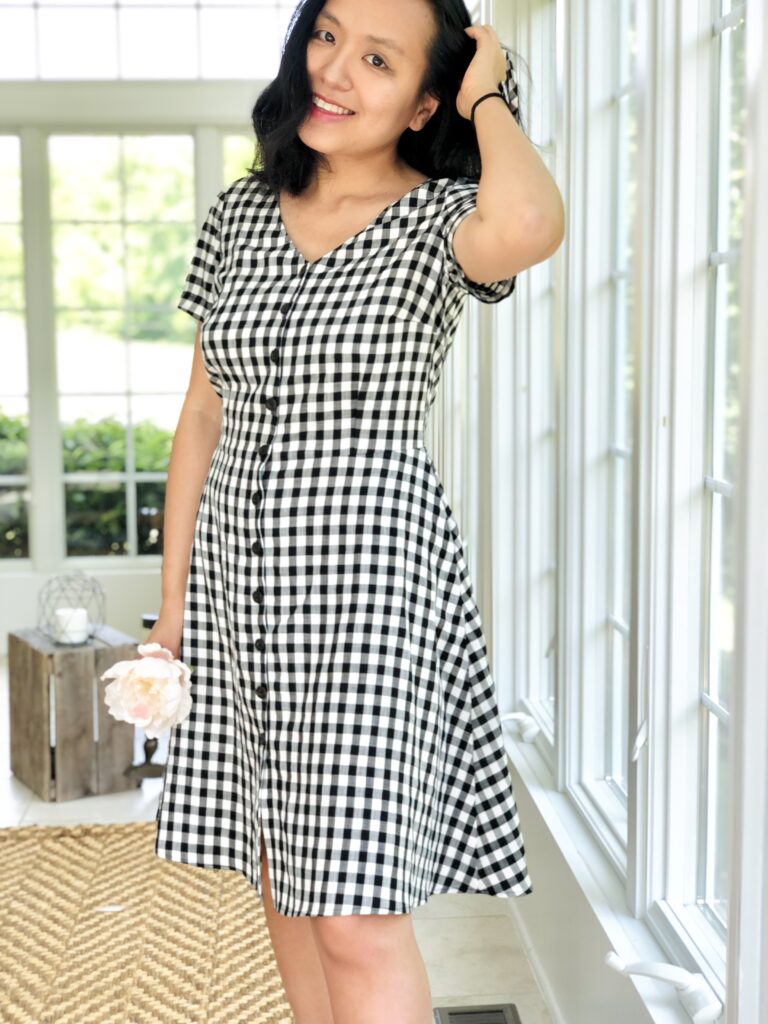
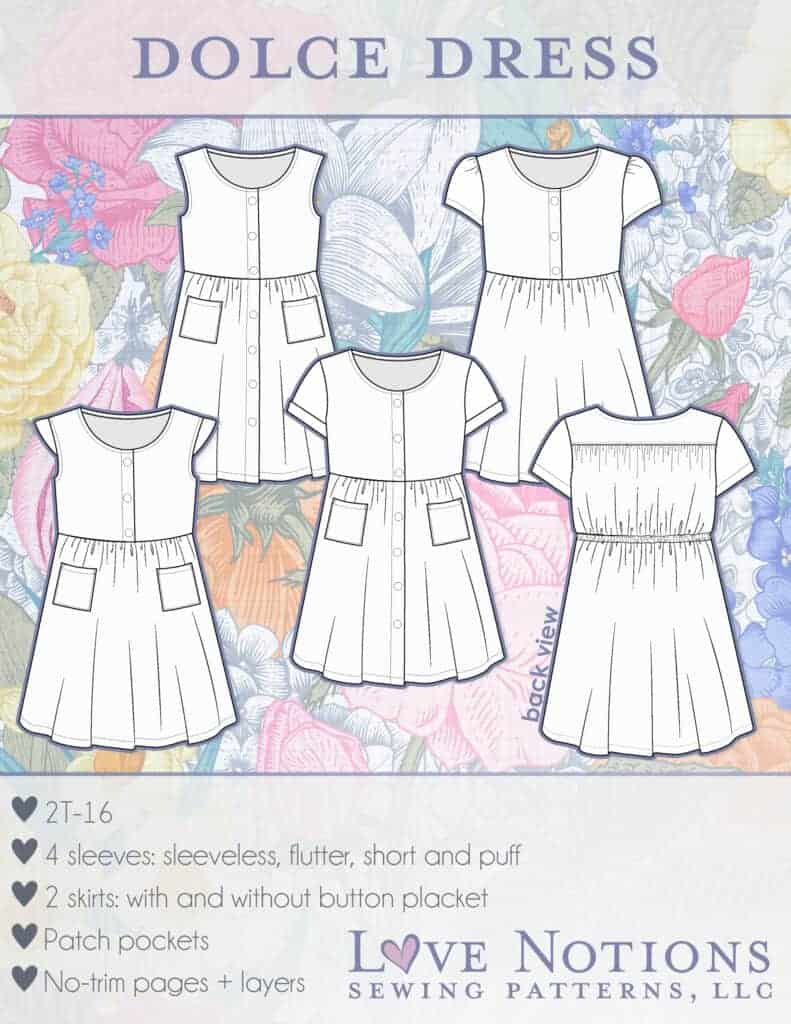
The Lyric pattern is a classic V-neck button-front woven dress/peplum with sleeve and skirt variations. Both Lyric and its matching girl’s version, the Dolce Dress, have been long-time Love Notions favorites and also today’s $5 Feature Friday Patterns.
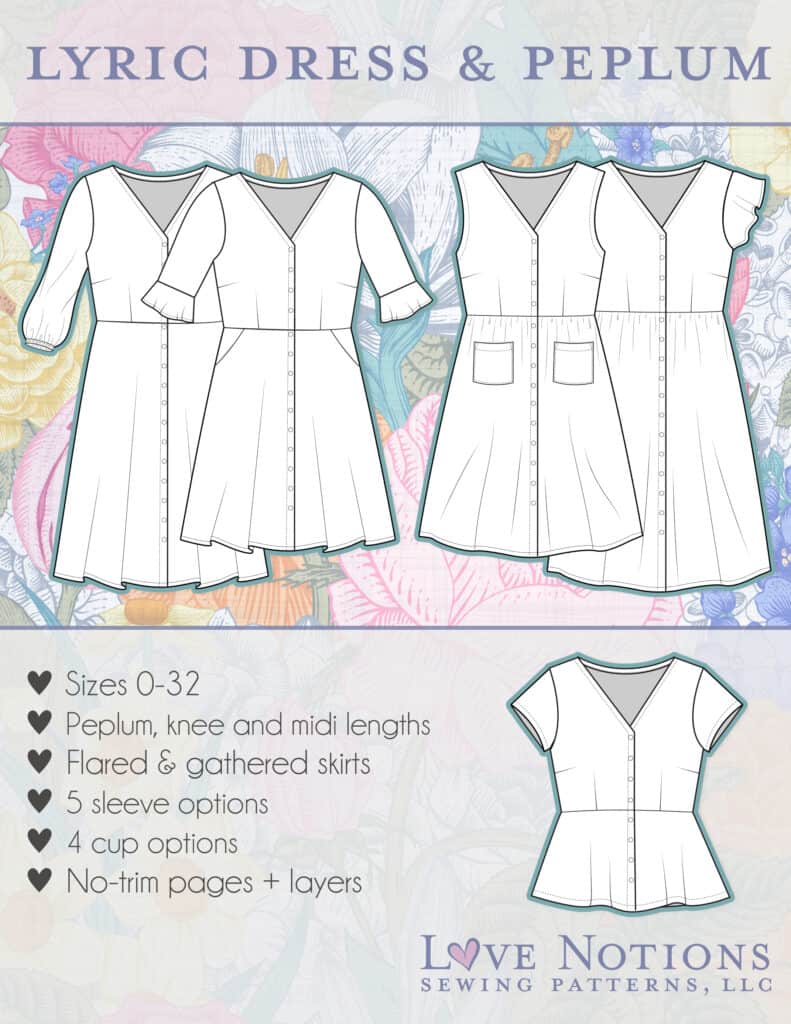
And… if you haven’t already heard, Love Notions just launched a very limited number of sewing kits including everything you need to create your own Lyric with these carefully curated materials:
- The most amazing Tencel Lyocell fabric
- Printed A0 pattern (optional)
- Coordinating thread, buttons, interfacing, and LN handmade bias tape!
- Additional fun sewing notions…
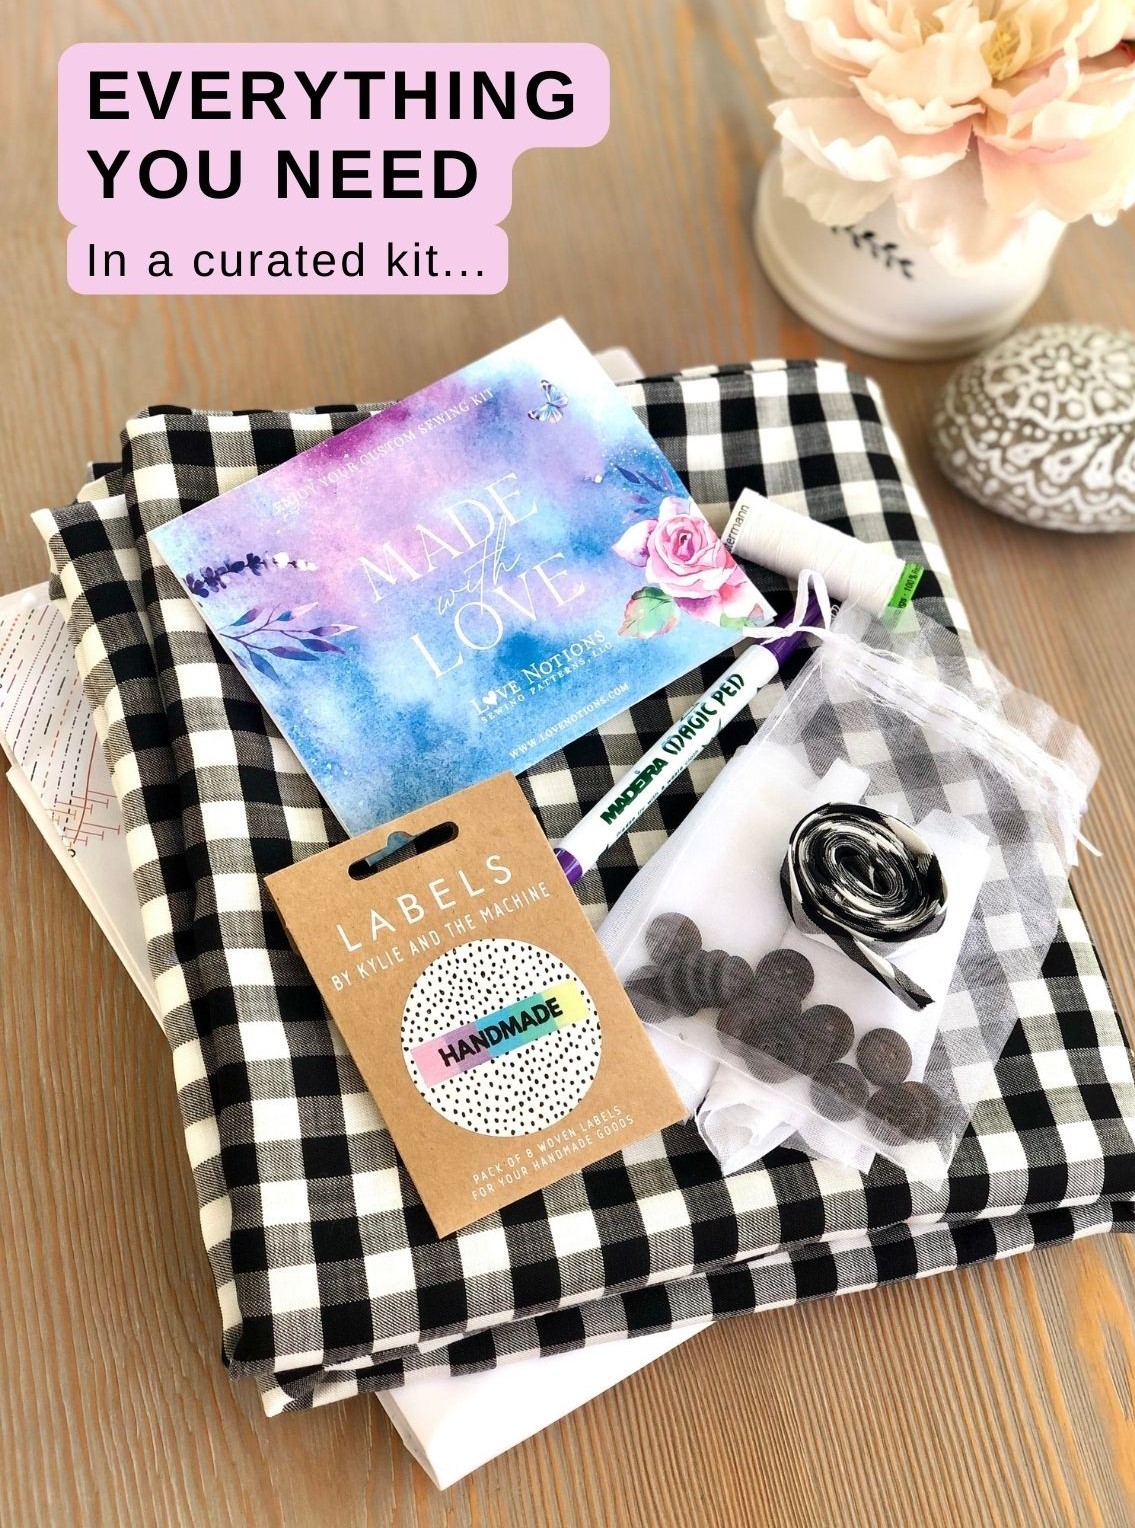
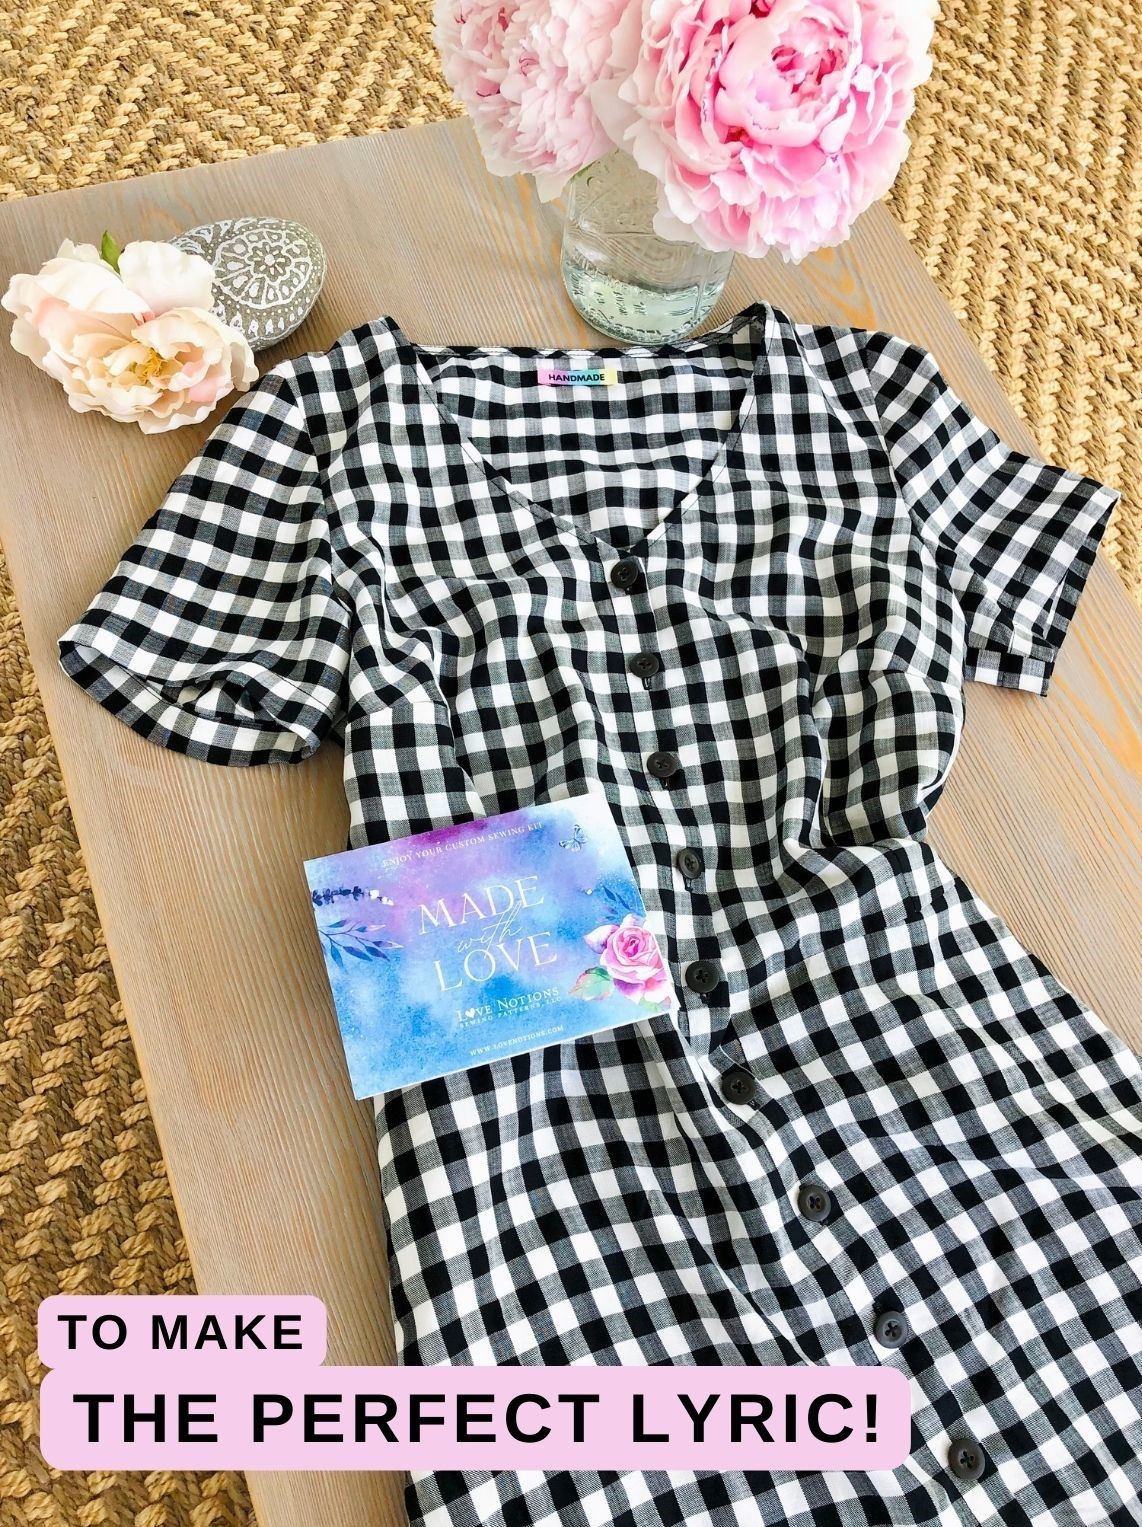
Like a lot of my fellow sewists, I love picking out my own fabric/pattern combo. So this is actually my first time ever using a fully curated sewing kit. I’m a little surprised how much I enjoyed it and highly recommend it to sewists of all levels. For beginners it is a great way to try out quality materials that work perfectly with the pattern to ensure a successful sew. For experienced sewists, it is a delightful treat to skip some of the prep work like pattern taping / bias tape making, and get to the actual fun of sewing! And you might just fall in love with a new-to-you material or notion. For me, a true gem from this kit is the professional grade fusible interfacing from FashionSewingSupply.com. Interested to hear more? Read along for the WHAT, WHICH and HOW of fusibles!
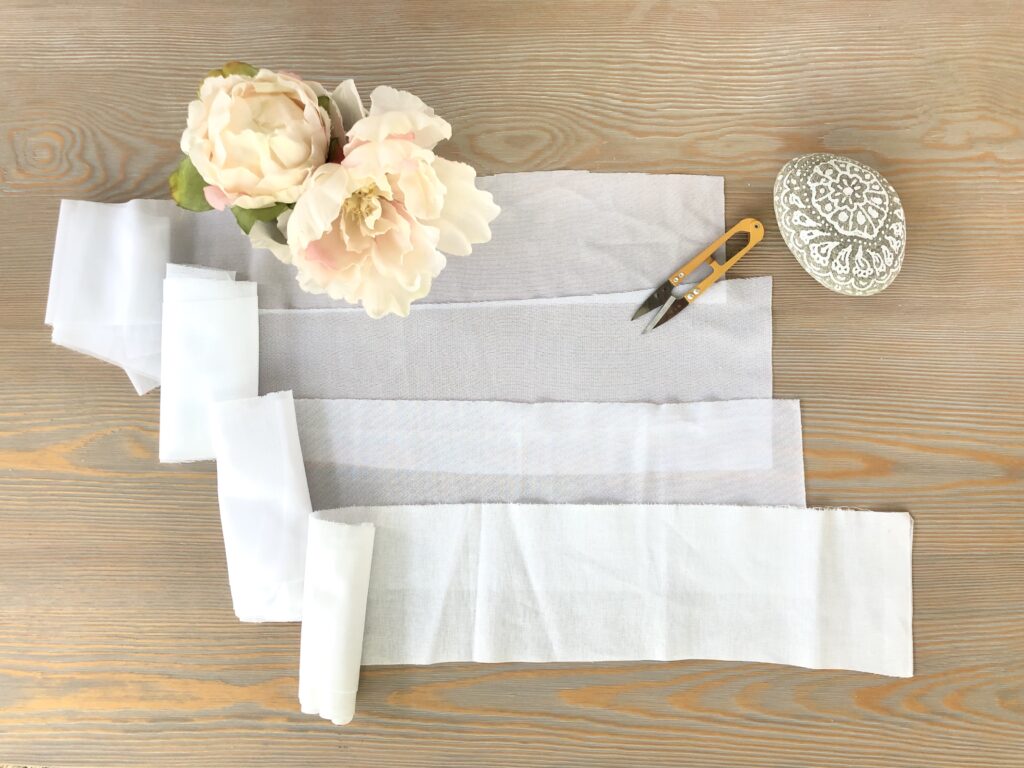
WHAT is Fusible Interfacing?
Interfacing is a hidden component of garments that non-sewists usually are not even aware of. Yet it’s such a critical element of construction and often directly affects the wearability and longevity of your garments. We apply interfacing for these main reasons:
- To give body and definition to elements such as necklines and facings
- To shape and stiffen features such as collars, cuffs, pocket edges and waistbands.
- To stabilize and strengthen stress areas such as button plackets and zipper seams.
it’s such a critical element of construction and often directly affects the wearability and longevity of your garments.
Two Types of Interfacing
Interfacing comes in 2 main types: sew-in and fusible. Sew-in interfacing are simply any plain or specialty fabrics you sew as an additional layer into your garment. Before fusible interfacings were invented decades ago, sew-in interfacings were the only option and what you will find in most vintage clothes dating prior to the 50s. Nowadays the convenience and variety of fusible interfacings makes them the more popular option for garment sewing – and our main topic today.
As the name implies, fusible interfacing is applied by melting the built-in adhesives which bonds the interfacing to the fashion fabric so they behave like a single layer. When applied correctly, the fused areas should stay durable through years of wearing and laundering.
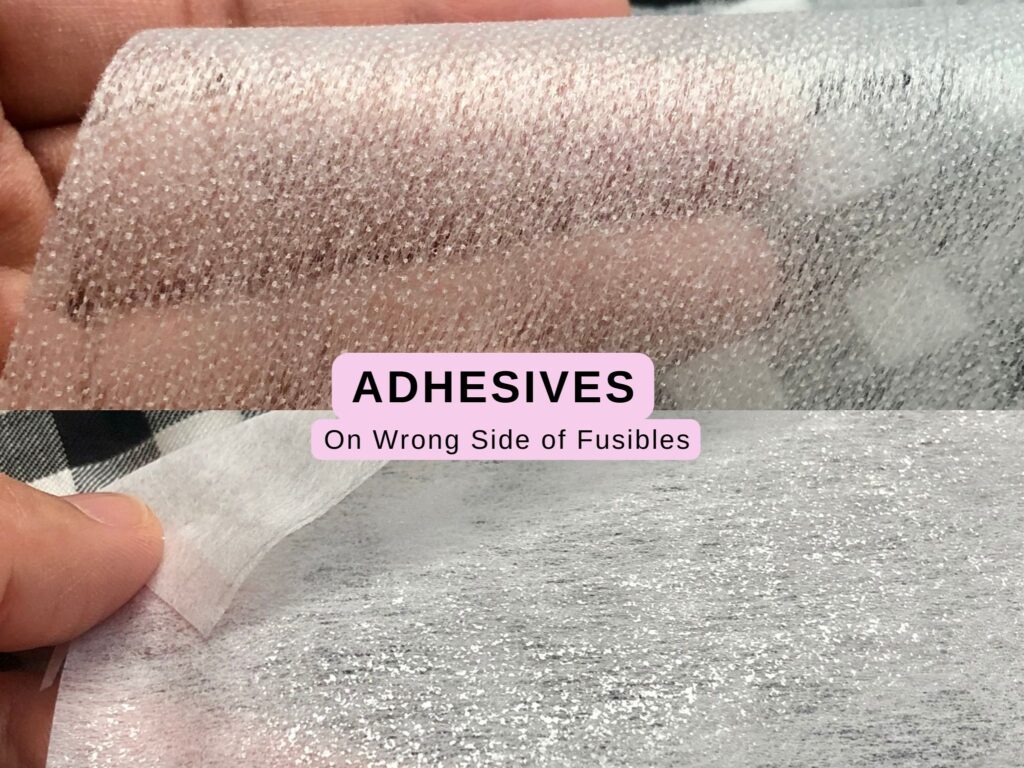
You can tell fusible interfacings apart from sew-ins by the adhesive on the wrong, or under side of the interfacing. The adhesive can be either tiny glue dots/bumps you can see and feel by hand, or shiny patches or film visible in good lighting. Compare the two sides of your interfacing and the smooth or matte side is usually the right side.
What distinguishes each type (and brand) of fusible is the base layer it’s made of, and the adhesive on it. Just like your fashion fabric, it comes in a variety of characteristics and qualities (and price points accordingly). You can find the right fusible for any fabric that can withstand ironing. The exceptions would be specialty/textured fabrics like velvet, fur, sequins and metallics – skip the fusible and opt for the old fashioned sew-ins.
When I started sewing, I lived in cities of Asia and Europe where fashion industry overstock materials were readily available at local markets. I gained my knowledge of fusible interfacings mostly from studying the insides of ready-to-wear clothes, treasure hunting the equivalents through overstock, and then lots of experimenting. That fun ended when I moved to a suburb in the US several years ago and I had to familiarize myself with the standard issue Pellon products. While it’s convenient knowing exactly what I’m getting, I do miss the high quality of fashion overstock. So I was absolutely delighted to learn of FashionSewingSupply.com (FSS) and their wonderful range of professional grade fusibles!
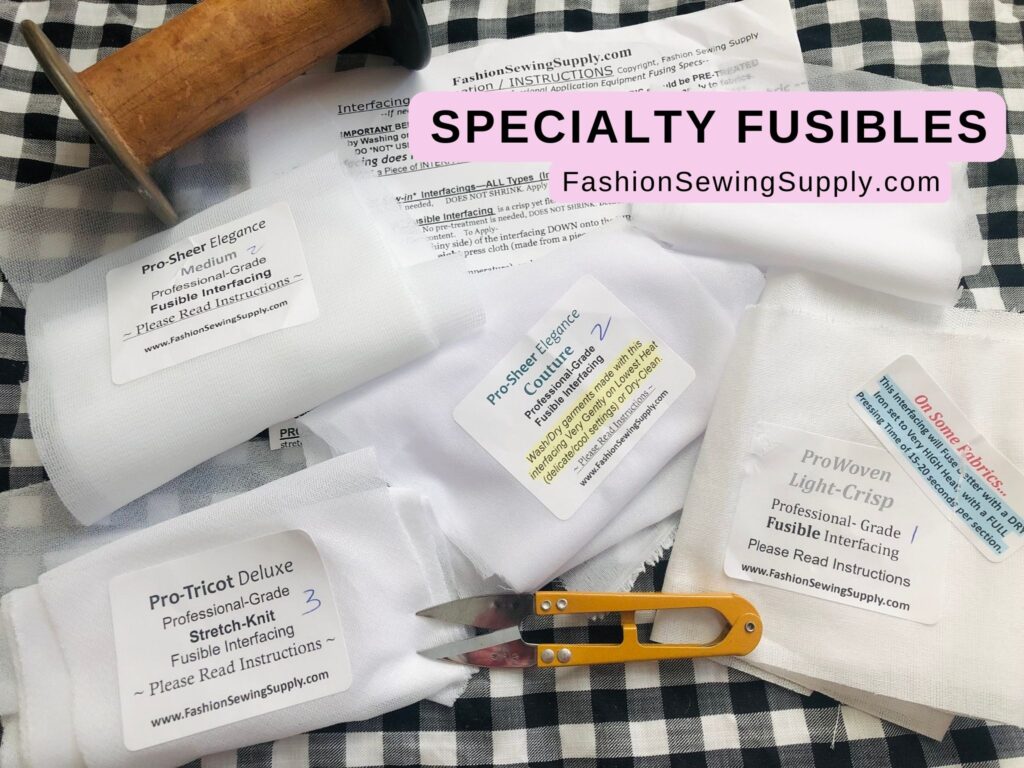
As we delve into different types of fusibles today, I will show you options from both FSS and Pellon. In my humble opinion, FSS range has superior quality in both the base layer material and glue, which make a noticeable difference in your finished garments. They appear to cost more per yard compared to Pellon, but that’s actually NOT the case! Most FSS products come in 48”-60” width while most Pellons are only 20”. So you get almost 3 times as much out of each yard of FSS, making them often more cost effective than their Pellon equivalents even if you use the big-box store coupons!
WHICH Fusible Interfacing to Choose?
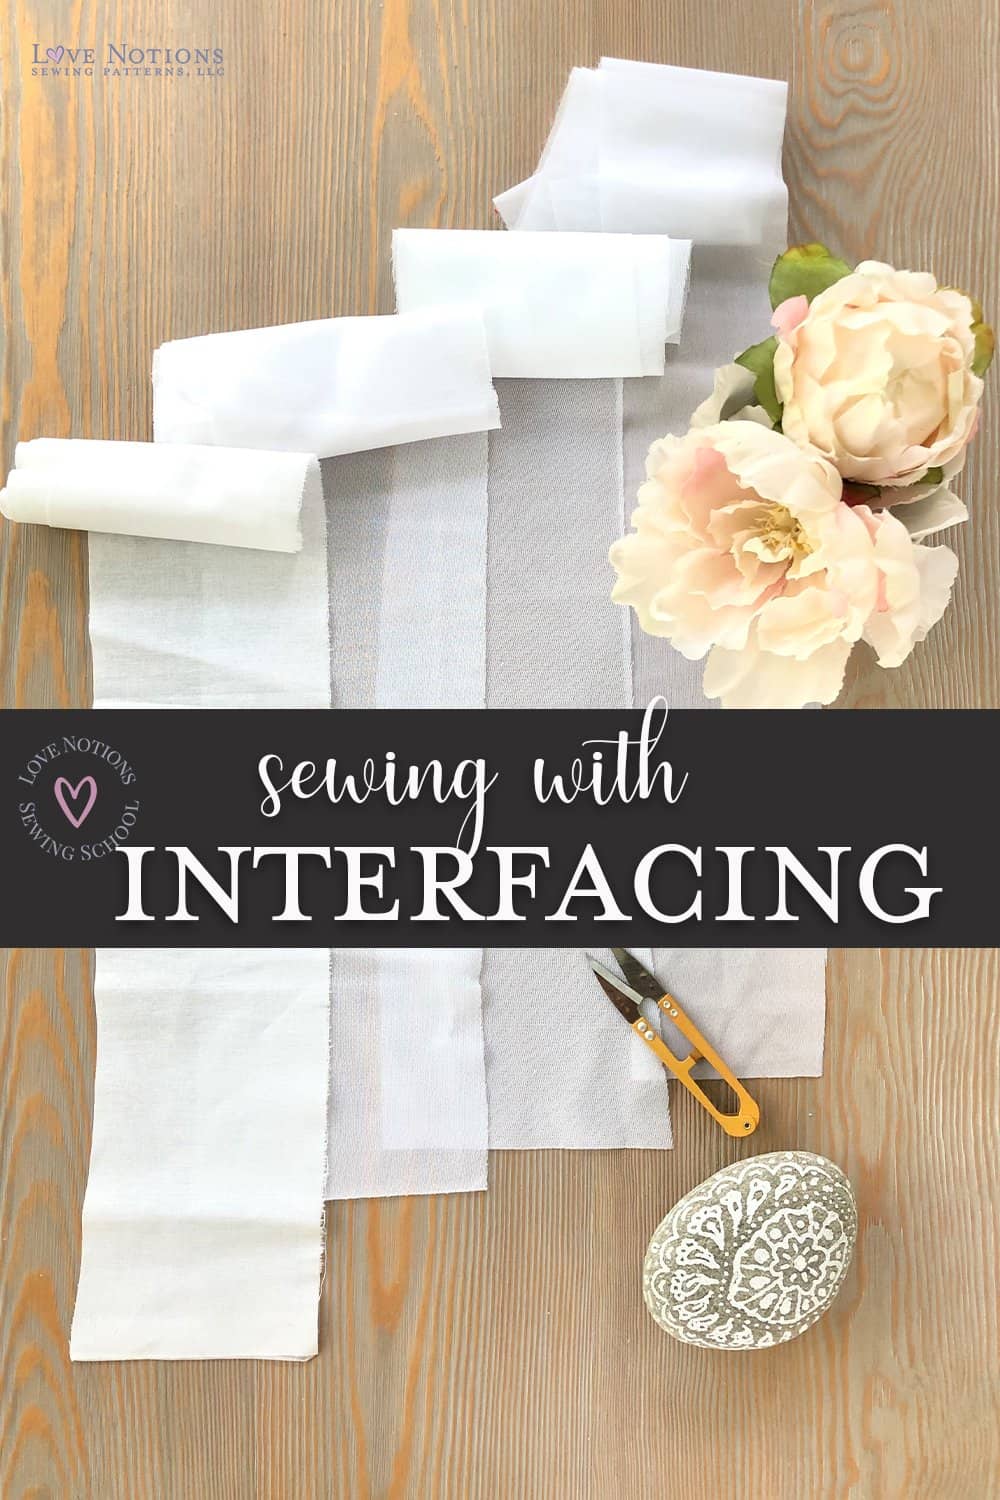
The very first thing to know about an interfacing is its construction. There are 4 main categories: Non-woven, Woven, Knit/Tricot and Weft Insertion. Within each construction, you will then have various stretch percentage, weight, drape and sometimes color options:
- Construction: (non-woven, woven or knit)
- Stretch: (Most knit and some woven fusibles have stretch. Most non-wovens don’t)
- Weight (from sheer, light, medium to heavy)
- Drape (from fluid, structured to stiff)
- Color (usually white or black)
The appearance and feel of your fashion fabric can change significantly when fused with different interfacings. To demonstrate this, see how the same light weight fabric can hang completely differently from drapey to stiff depending on the interfacing used:
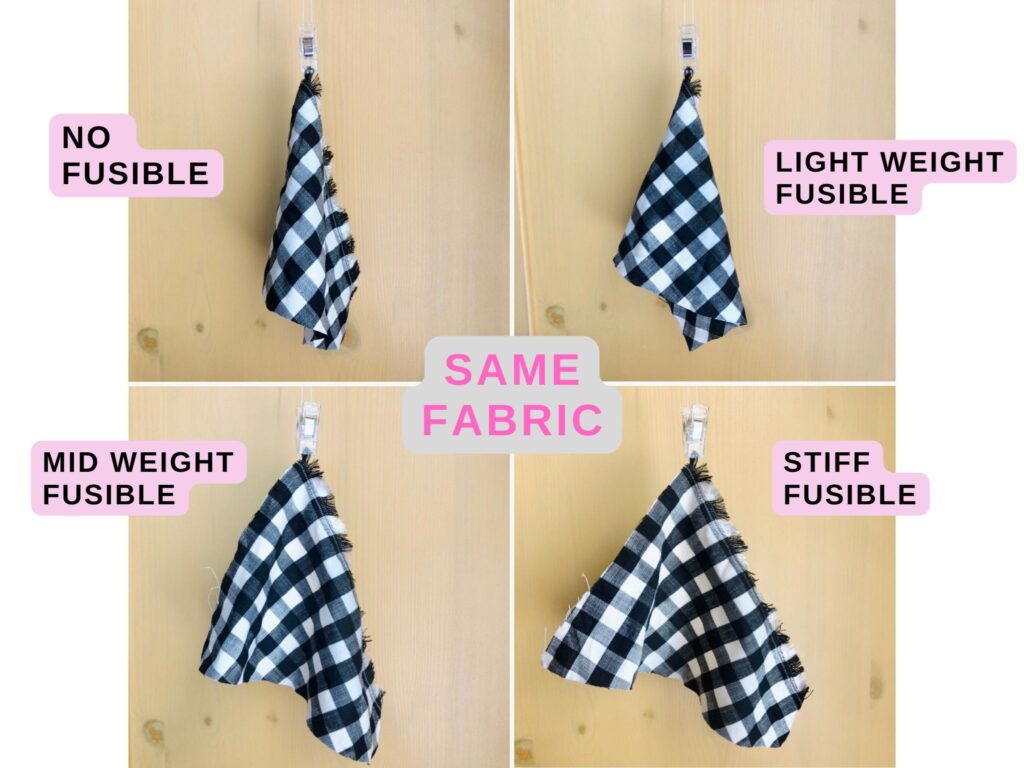
As a rule of thumb, you want your interfacing to match your fashion fabric in all these traits as close as possible. Such a fusible will stabilize and strengthen the garment in the most natural way without drastically changing the intended feel and hand of your fashion fabric. For example, my Lyric kit comes with the gorgeous mid-weight Tencel Lyocell woven fabrics with fluid drape in gingham. It’s then perfectly paired with a woven, light weight and drapey fusible (Pro-Sheer Elegance Light from FSS). It strengthens the button placket of the dress just enough, while still allows it to flow and move with the rest of the garment.

Interfacing Stash
Now here’s a piece of advice I really benefited from when I got serious into sewing: Build an interfacing stash. Identify the types of fusible suitable for the fabrics you like to sew, find the products you like and buy them in continuous yardage. For most home sewists, a handful of products can cover our needs. Having them handy in bulk reduces wastage and unnecessary trips to craft stores…unless you are looking for an excuse to go ;-). If your interfacing require pre-washing/shrinking (The FSS ones don’t), it’s also much better to wash the entire yardage all at once. I invested in a healthy interfacing stash 2 years ago and they are still going strong.
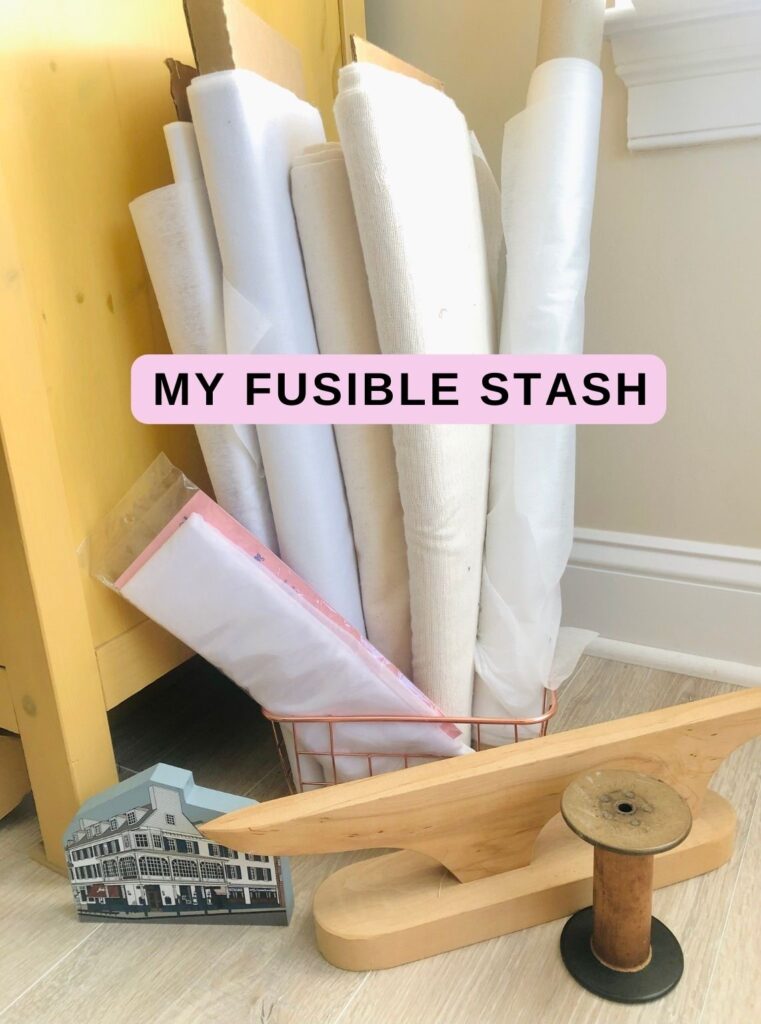
Here are the types of fusibles I like to keep at hand, how they look and what they are best for:
- Non-woven Interfacings are characterized by the paper-like appearance because it’s composed of a layer of compressed fibers with no woven or knit structure. Because of this, they often don’t have grainlines and usually have no stretch (there are exceptions). This means you can usually cut and apply them in any direction without matching the grainlines on your main fabric. They come in various weights from sheer to very stiff, but in general have less drape than woven or knit interfacing. I find them easier and quicker to apply, and thus a great entry point to interfacing.
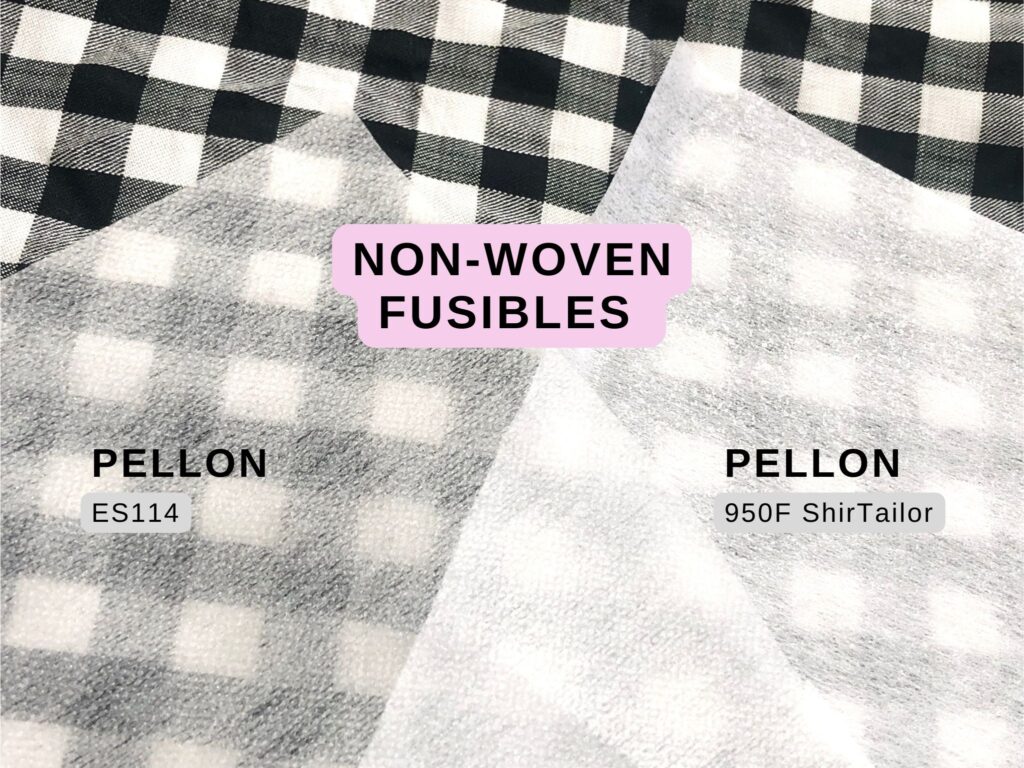
I keep 2 weights of non-wovens in my stash:
- Light weight: Pellon ES114. Use on light weight wovens with some body such as cotton lawn and poplin.
- Mid weight: Pellon 950F ShirTailor. Use on mid weight wovens. Good for shirt collars and cuffs as the name implies. Unlike most non-wovens, it does have a vertical grainline and slight horizontal stretch.
I do not recommend heavier weight non-wovens for garment sewing as they tend to lack the natural feel and movement of fabric, but they are wonderful for bag making and other craft projects!
2. Woven Interfacings are basically woven fabrics with built-in adhesives on one side. You can identify them by the perpendicular warp and weft threads in the woven structure. They are either non-stretch or have a very slight stretch in one direction, such as the FSS Pro-Sheer range. This small amount of stretch is wonderful for drape and movement in woven garments, but not enough for knit garments that need to stretch.
Depending on the types of garments you sew, I recommend stocking up on these categories:
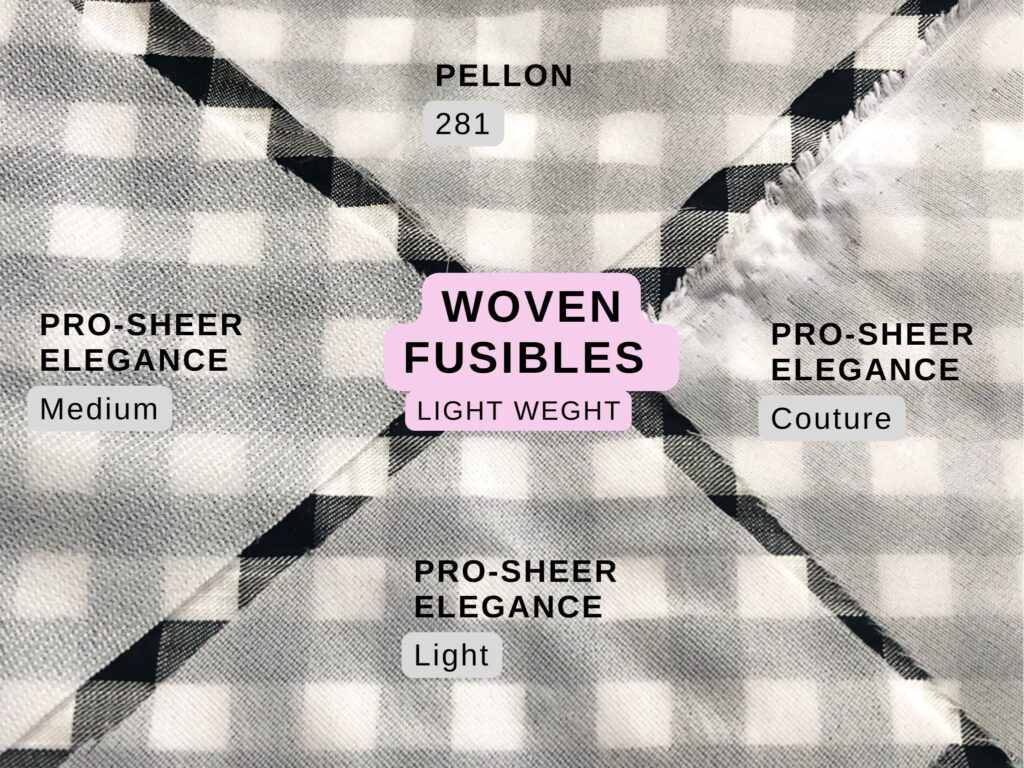
- Sheer weight: Pro-Sheer Elegance Couture or Pellon 281. Both with light stretch and perfect for the finest wovens like silk, chiffon, and gauze.
- Light/Mid weight with drape: Pro-Sheer Elegance Light. The “Gold Standard” for light weight wovens with fluid drape such as viscose, silk, lawn and crepe. This is what comes with the Lyric kit and works like a dream with the Tencel Lyocell fabric. For mid weight drapey wovens such as viscose twill and linen, go for the slightly heavier Pro-Sheer Elegance Medium. This is the category you will reach for most frequently if you like sewing all the flowy blouses and dresses, such as LN Lyric Dress, Ballad Blouse, Vivace Dolman and Tempo Sundress. (I don’t have a Pellon equivalent to recommend in this category but do have a hack for you later from the knits!)
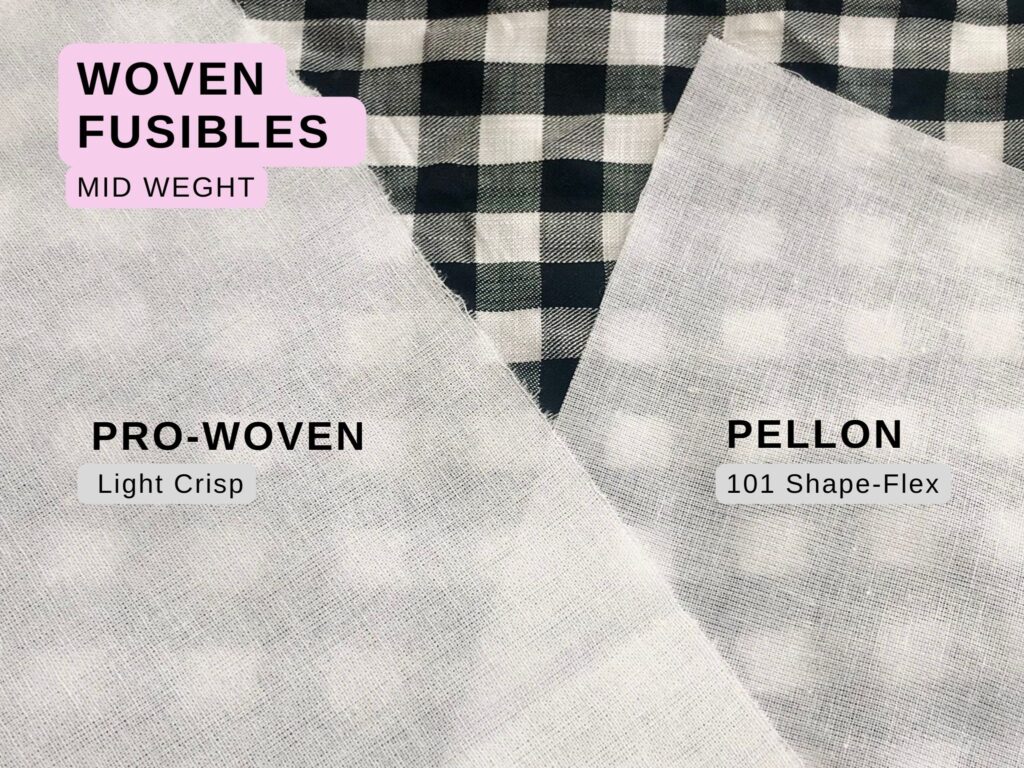
- Mid weight non-stretch: Pro-Woven Light Crisp or Pellon 101 Shape-Flex. This is my go-to for shirt-making and any areas that require added body and strength, such as collars, cuffs and waistbands. If you’d like some extra crispness, try the 10% stiffer version Pro-Woven Shirt Crisp. Pair it with LN shirt patterns like Aria Shirt and Melody Dolman, or pants patterns like Duet and Glissando.
Knit/Tricot Interfacings are constructed the same way as knit fabrics and can often be identified with the interlocking “loop” structure and higher stretch percentage, either 2-way or 4-way. This stretch ability is essential for the correct fit and movement of knit garments, so pay special attention to matching the greatest direction of stretch of your interfacing to that of your fabric. The quality of the adhesive is especially important in knit interfacings – low quality products might peel away as the garment stretches.
I usually keep only one knit interfacing and find it sufficient for most types of knit fabrics I sew, from jersey, French terry to ponte and sweater knits. This covers pretty much all the LN knit patterns that require interfacing, such as the Lincoln Top, Metra Blazer and Sabrina Slims. I recommend either the FSS Pro-Tricot Deluxe (4 way stretch) or Pellon EK130 EasyKnit (2 way stretch).
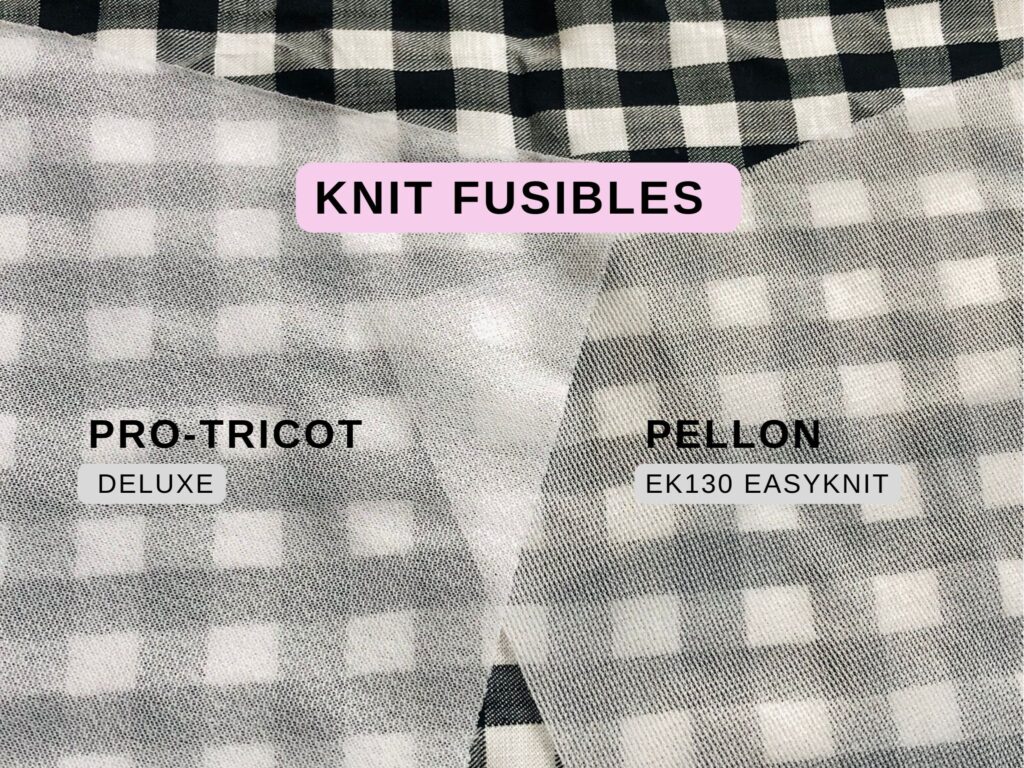
And here’s a life hack for you: you CAN use knit/tricot interfacing on woven garments that don’t require a crisp body! This works especially well with flowy wovens such as rayon challis and gives the finished garment excellent drape and movement. My favorite fabrics to sew and wear are viscose/linen wovens, various challis, twills and jersey, all of which are perfectly served by tricot interfacing. So if I could only stock up on one interfacing I would go for a quality tricot.
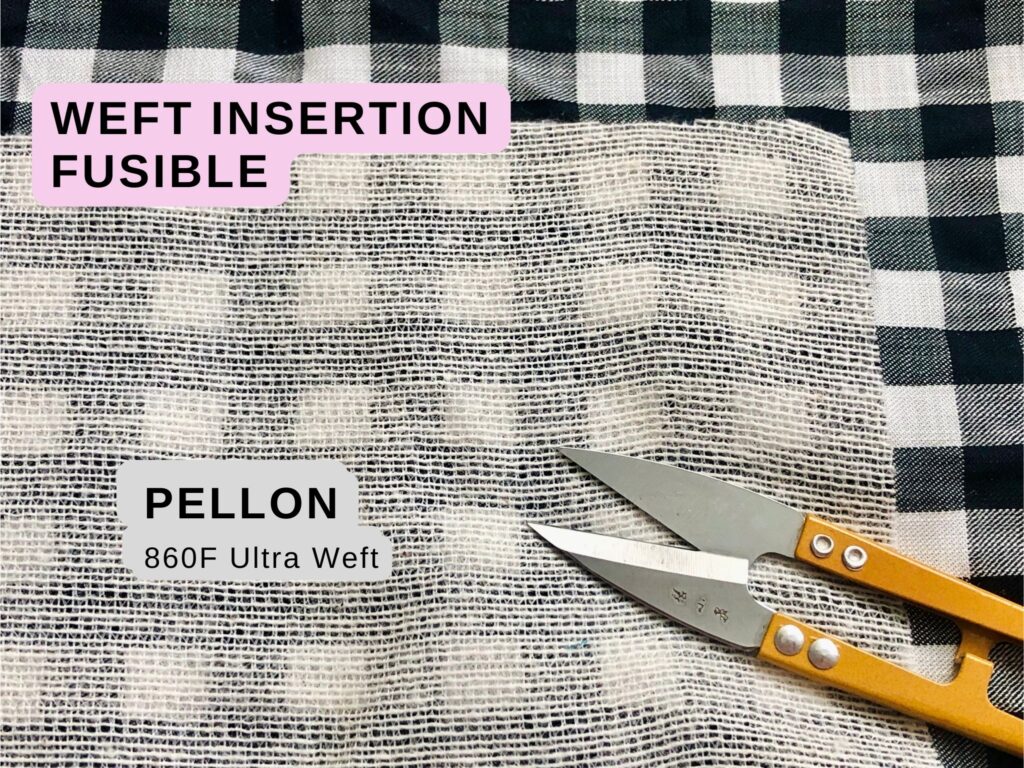
Weft Insertion Interfacing is technically a mesh knit but behaves more like a stable woven due to the stronger weft threads inserted into the knit structure to provide extra stability and strength. It is mainly used in soft tailoring of jacket, suits, and wool coats such as the LN Octave, to shape lapels, shoulders and sometimes to strengthen pockets and seams. Choose from ProWEFT Supreme Medium, ProWEFT Supreme Light or Pellon 860F Ultra Weft.
HOW to Apply Fusible Interfacing?
When it comes to the application of fusibles, ALWAYS follow the manufacturer’s instructions if provided. This includes whether to pre-wash your interfacing or not, what temperature to set your iron, how long to press, steam on/off, with a pressing cloth or not, etc. Store the instructions that came with your interfacing or look it up online using the product name. If you are using a new interfacing with a particular type of fabric for the first time, test it out on scraps first to avoid surprises.
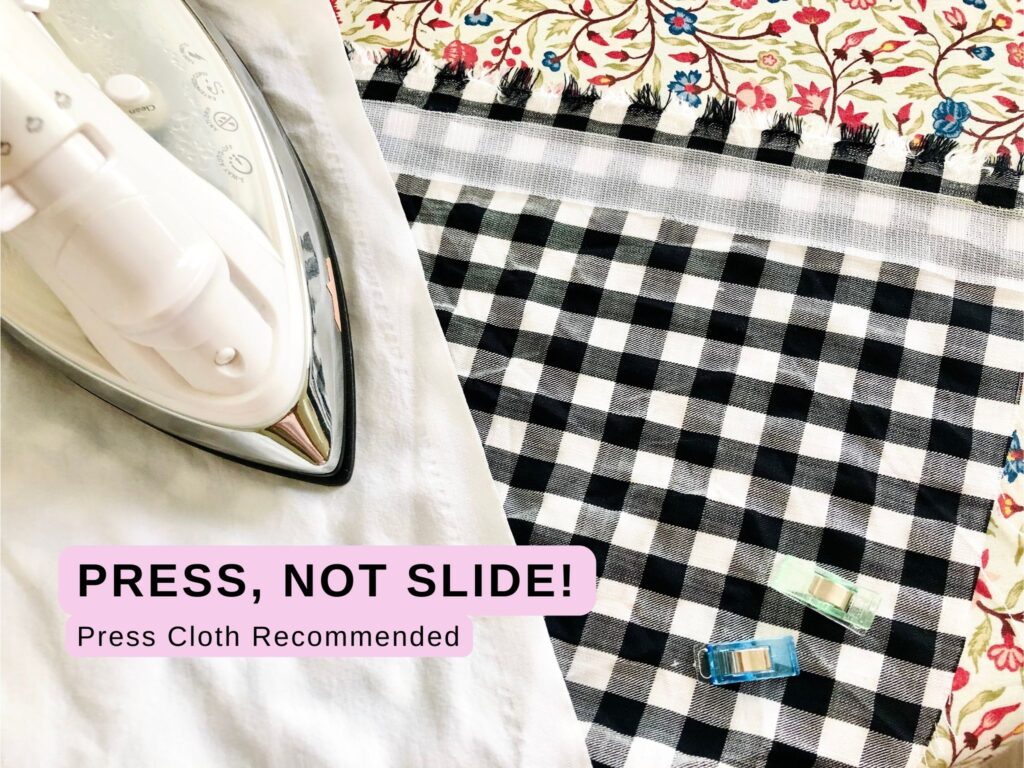
If no instructions are available, try these general steps and tips on scrap fabric and adjust accordingly: (This is what I do with any mystery fusibles in my stash)
- Place the interfacing glue side down on the wrong side of your pre-washed main fabric. Pay attention to match grainline / direction of stretch of the interfacing to your fabric if there is one.
- Use a press cloth, which protects both your fabric AND your iron. This is especially important if your interfacing has a looser weave, so that the melted glue does not gunk up your iron. Ask how I know ????
- With high heat / cotton setting, press firmly down for 10-15 second in each area. Do not move your iron back and forth but rather apply stationary pressure. Repeat if needed. Then do the same from the right side of the main fabric.
- Leave your piece to cool on a flat surface. This allows the melted glue to fully bond without any potential shifting.
- Gently stress/stretch your fabric and test the fusing. You can also throw it in the wash for extra measure. If any peeling, warping, and bubbling happens, gradually increase the heat and duration of your pressing. Also try pressing with steam.
- If the problem persists, consider pre-washing the woven/knit interfacing before application to rule out shrinkage issues. This usually is not necessary with professional grade interfacings such as the FashionSewingSupply.com range.
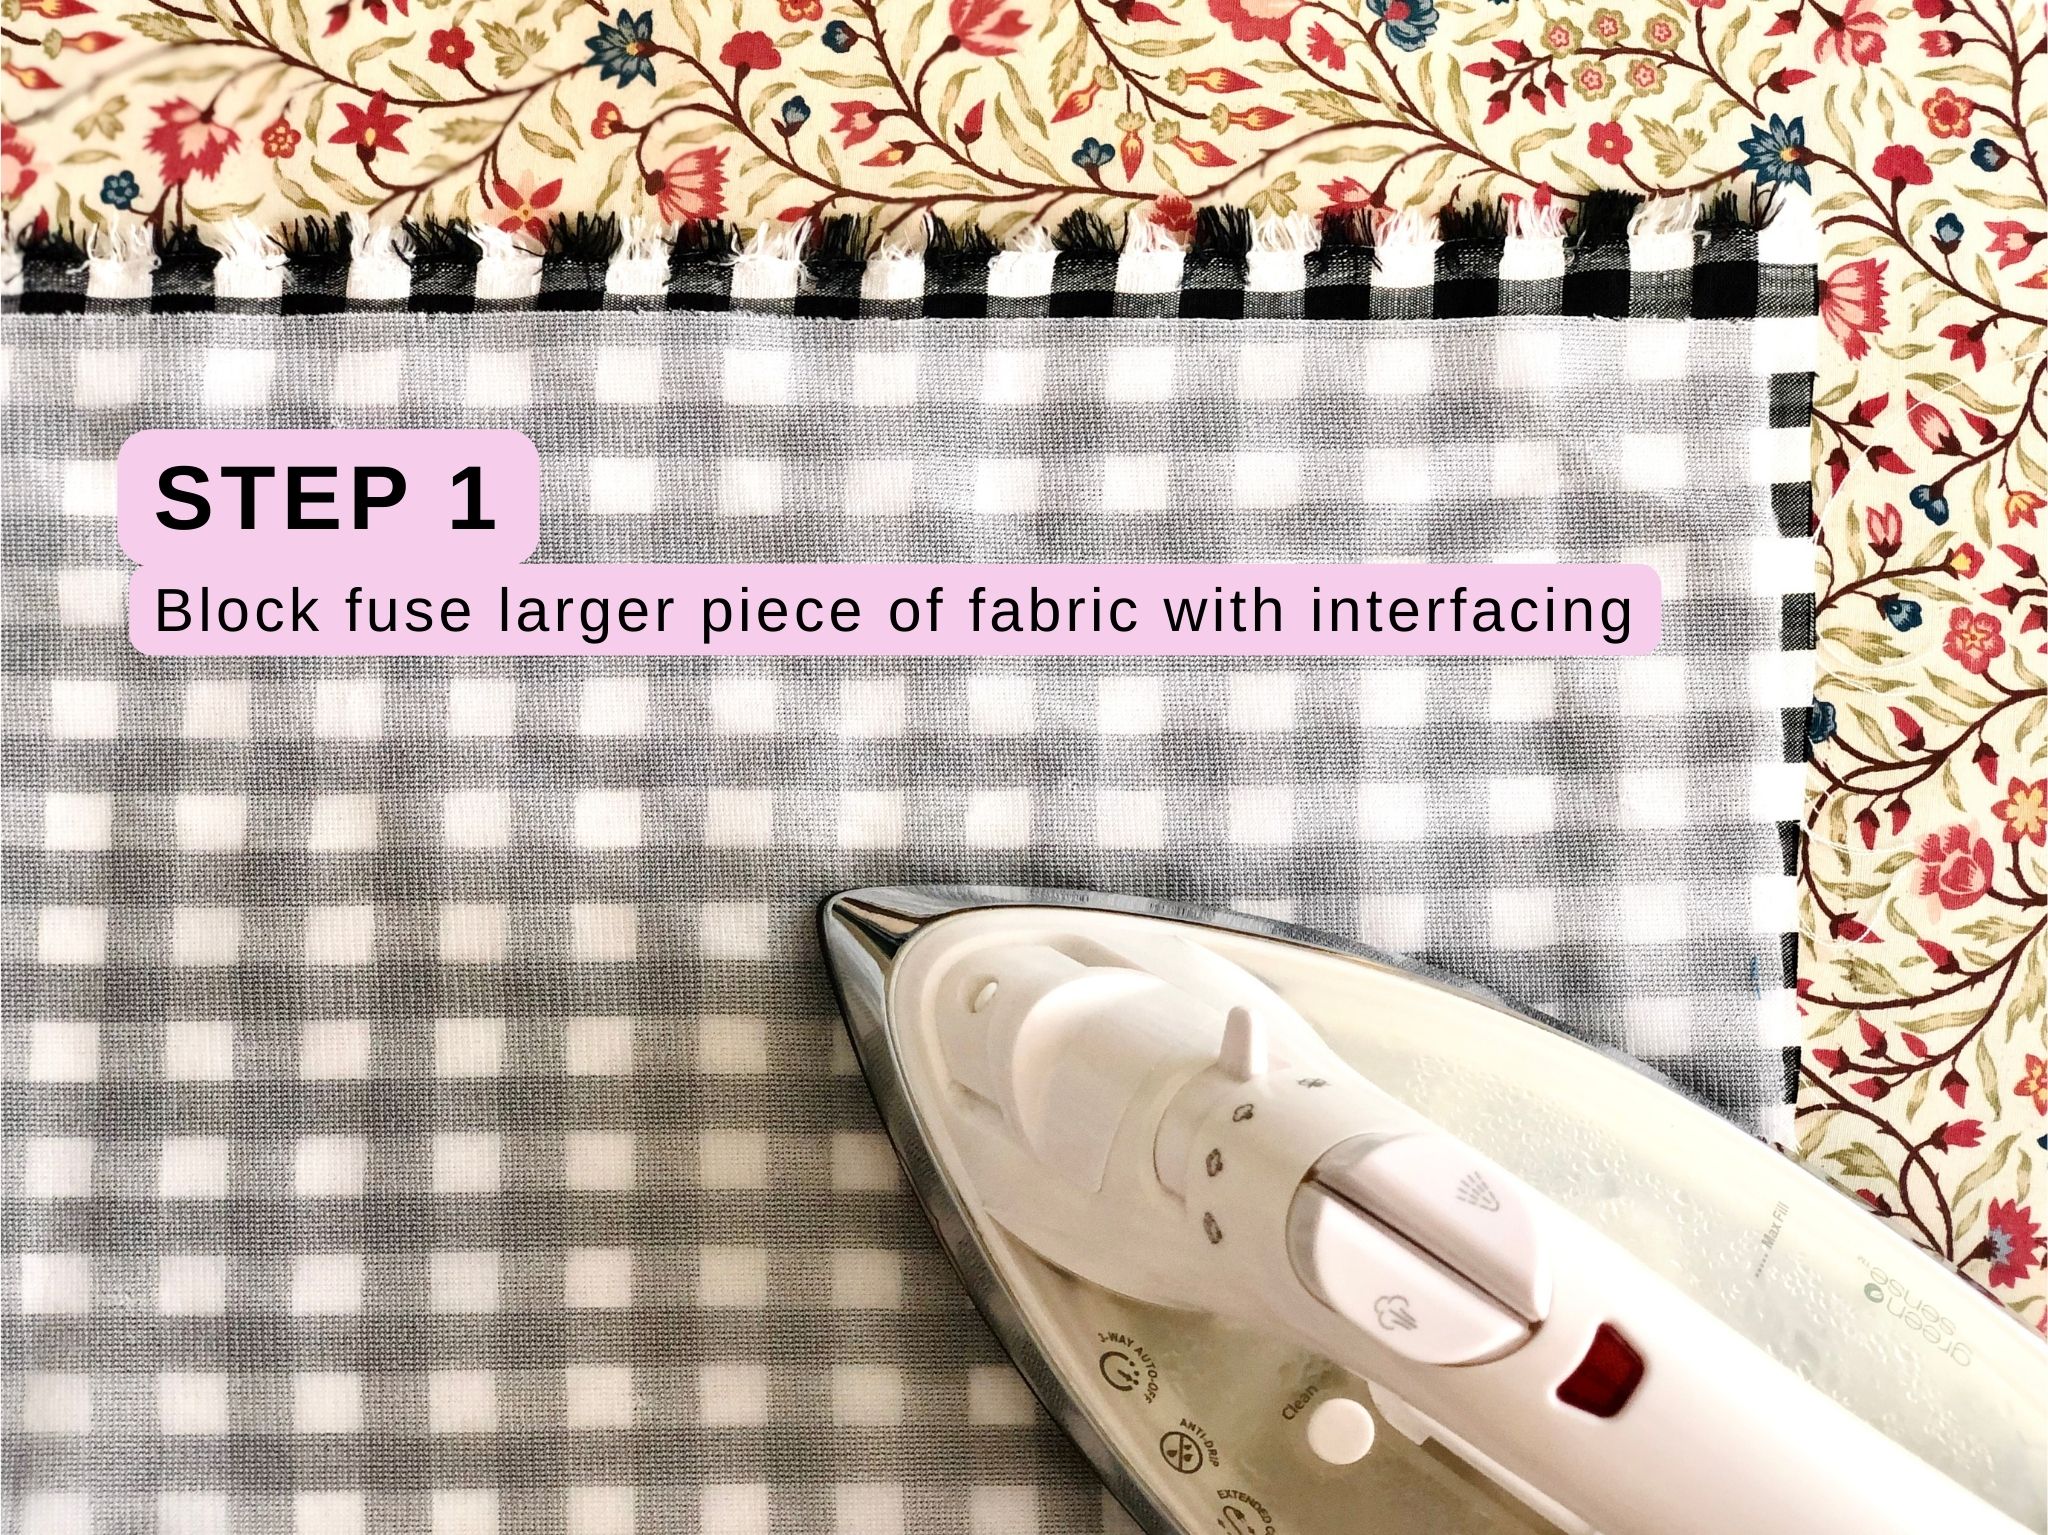
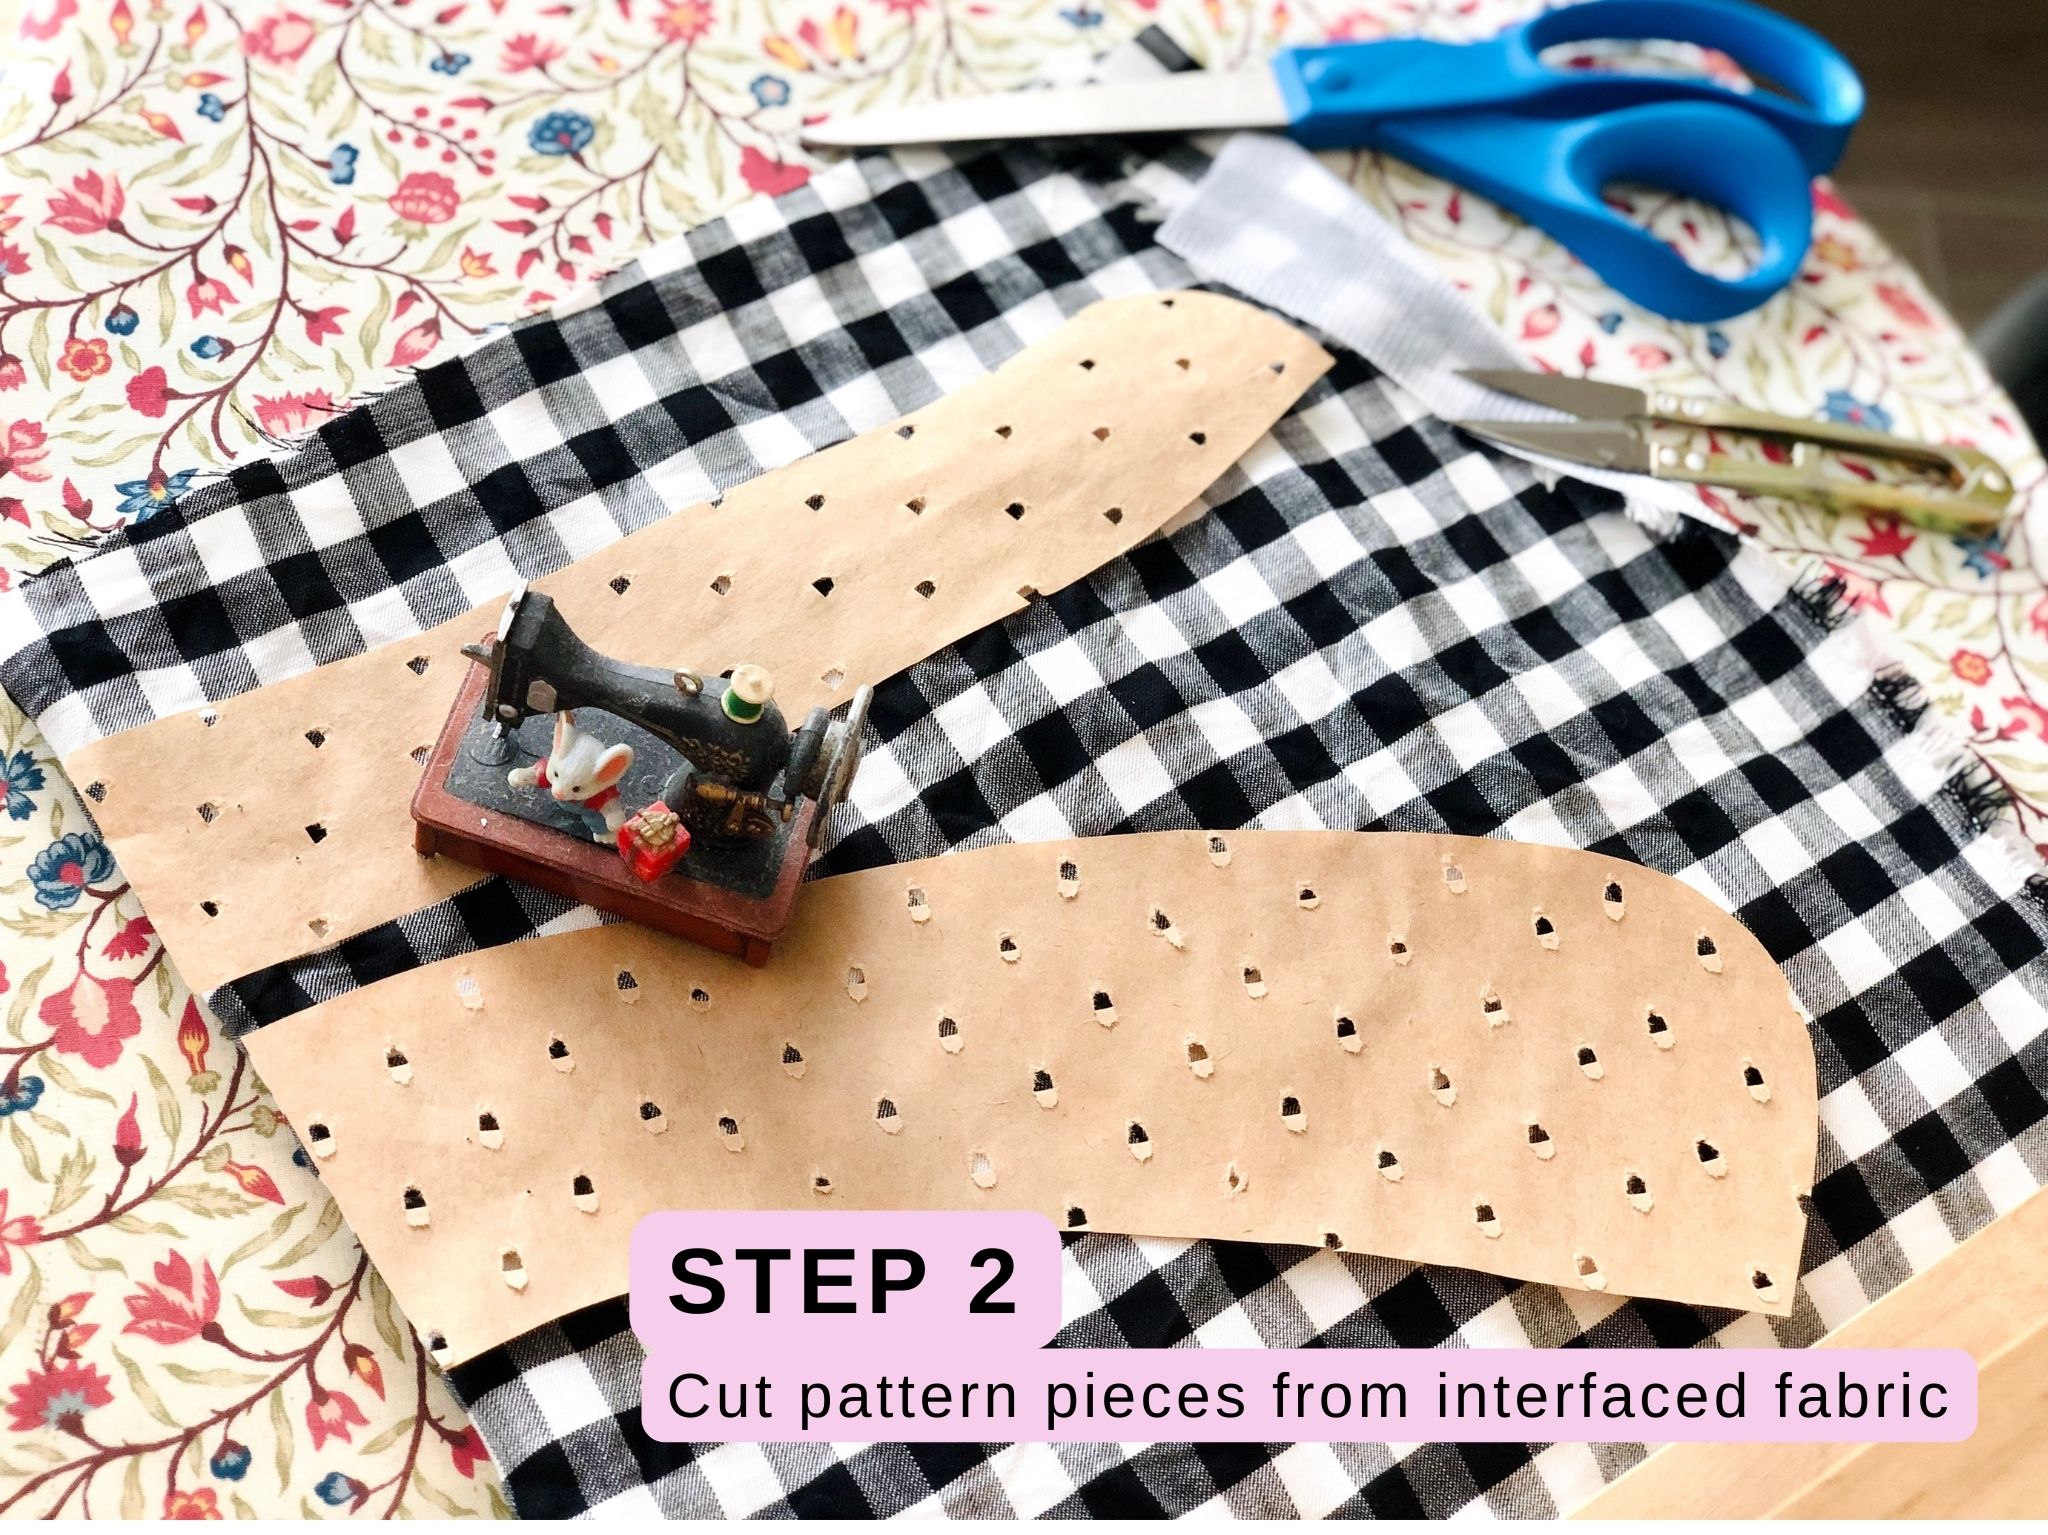
One super useful technique of applying interfacing is Block Fusing, especially with shifty fabrics and small pattern pieces such as collars and collar bands. To block fuse, follow these simple steps:
- Cut a piece of your fabric large enough for fit all the pattern pieces needed, and then interfacing of the same size. Fuse them together. This takes some time and patience with an iron. If you have a heat press (as used for heat transfer vinyl), it could make this step a breeze! Just make sure you pre-test the appropriate heat setting and duration.
- Once the fusing is cool and set, cut the pattern pieces out of the fused piece. The stability of the interfacing really helps tame shifty and slippery fabrics, making your cutting much more precise.
It was an absolute treat working with the Lyric dress/peplum kit and carefully curated materials that complement and complete the pattern and fabric. Everything included was top quality even down to the hidden elements such as the professional grade interfacing from FSS. If you are interested in checking out FSS interfacings to build up or add to your stash, they offer a convenient sample pack with 9 generously sized swatches. Give it a try and you might fall in love too!

Thank you for coming along with me for the chat about the Lyric kit and fusible interfacing! You can find more of my personal sewing, knitting and all things crafty at my Instagram account @no.idle.hands. If you decide to purchase any of the patterns I have mentioned above, I’d appreciate very much if you use my Love Notions affiliate link – Thank you!
Until next time,
Chloe @no.idle.hands

Save this Interfacing article to your sewing Pinterest Board
