Anyone who really knows Love Notions Sewing Patterns, knows I love to add options to the patterns whenever possible. But sometimes it just works better to add them after the pattern is released as an add-on (always free!). Therefore, enjoy this post on how to add THREE more sleeve options to the girls Classic Tee pdf pattern.
Classic Tee Sleeve Add-On’s
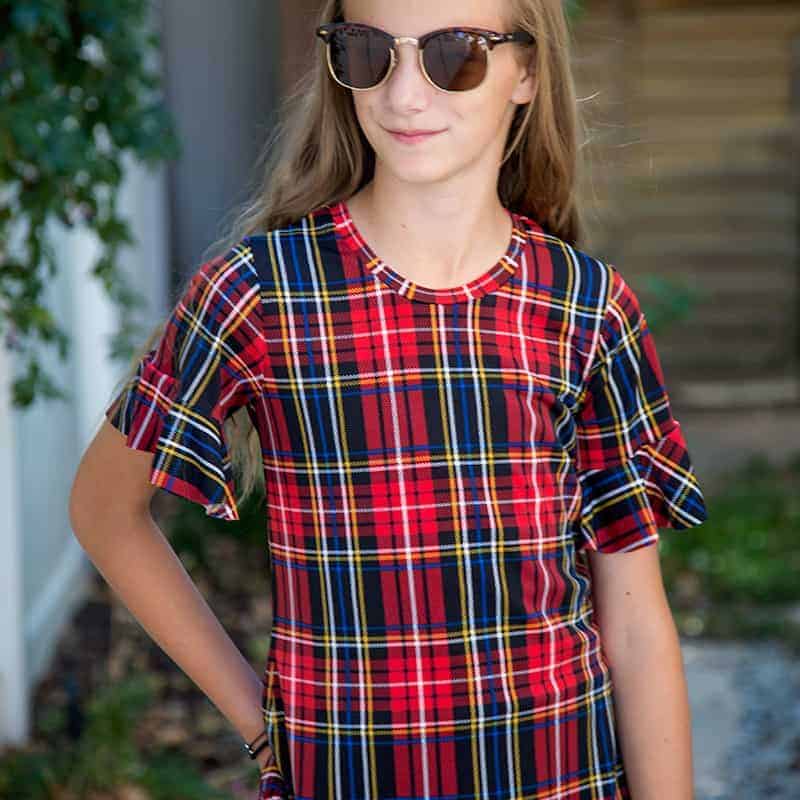
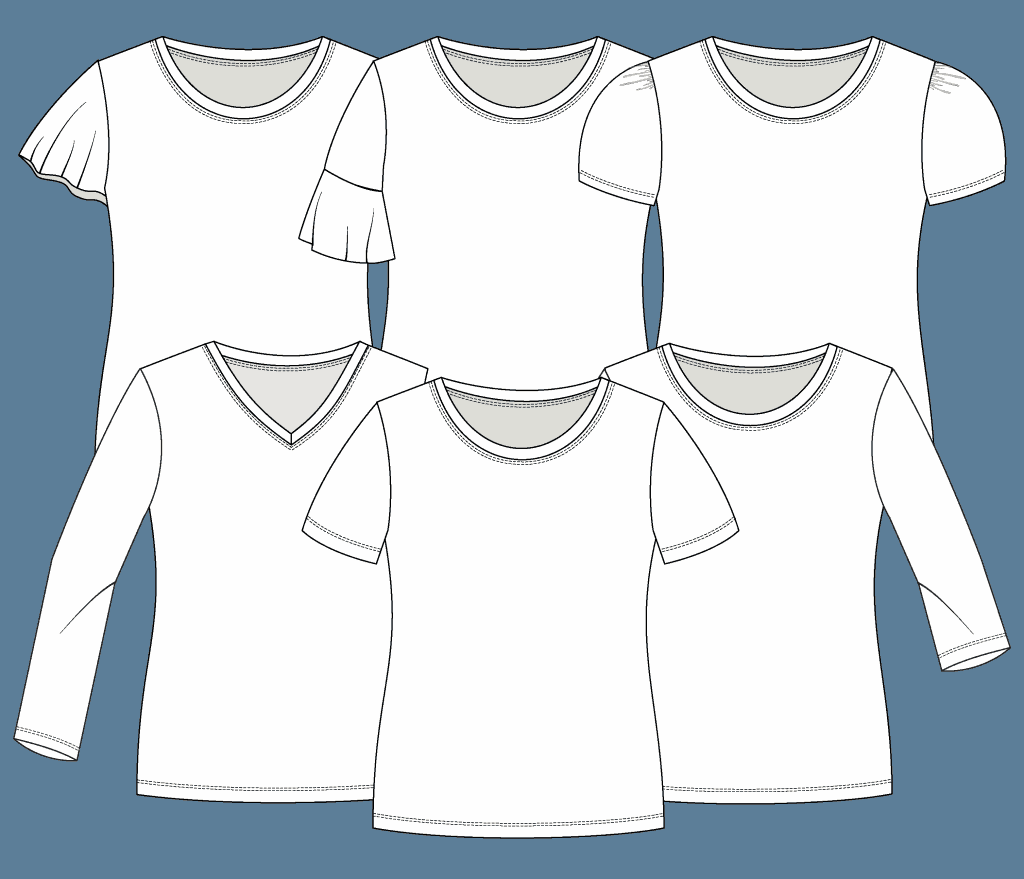
The Classic Tee for Girls comes with three basic sleeve styles: short, 3/4 length and long sleeve. These styles are really all you need but if you want to spice up the tee even more then this post is for you! In this blog post I’m going to give you three MORE sleeve styles to use with the Classic Tee pdf pattern. You’ll get a puff sleeve, a flutter sleeve and a flounce to add to the short sleeve.
Click here to download the free pattern pieces
How To Sew A Puff Sleeve
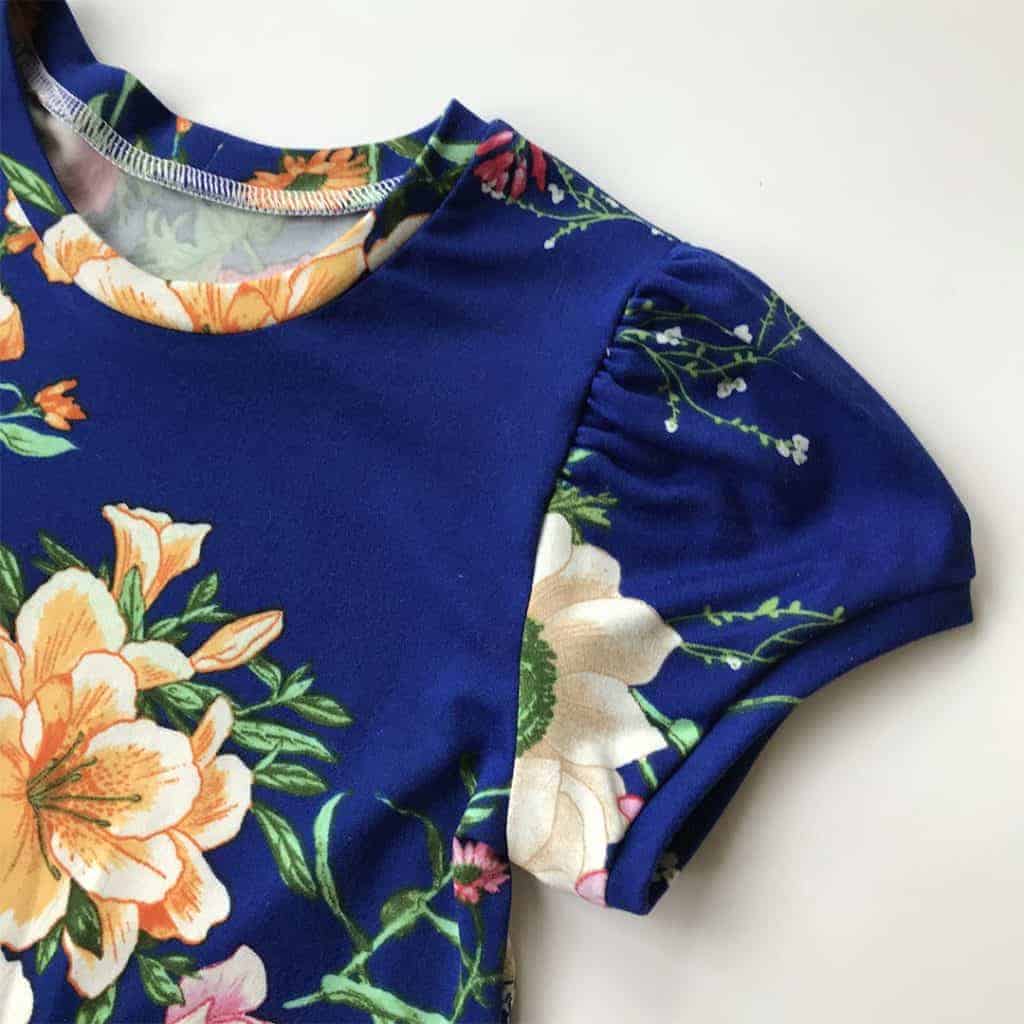
A puff sleeve is such a sweet addition to any girls top! The gentle gathering at the sleeve head makes the sleeve ‘puff’ in a pretty, feminine way.
Step One
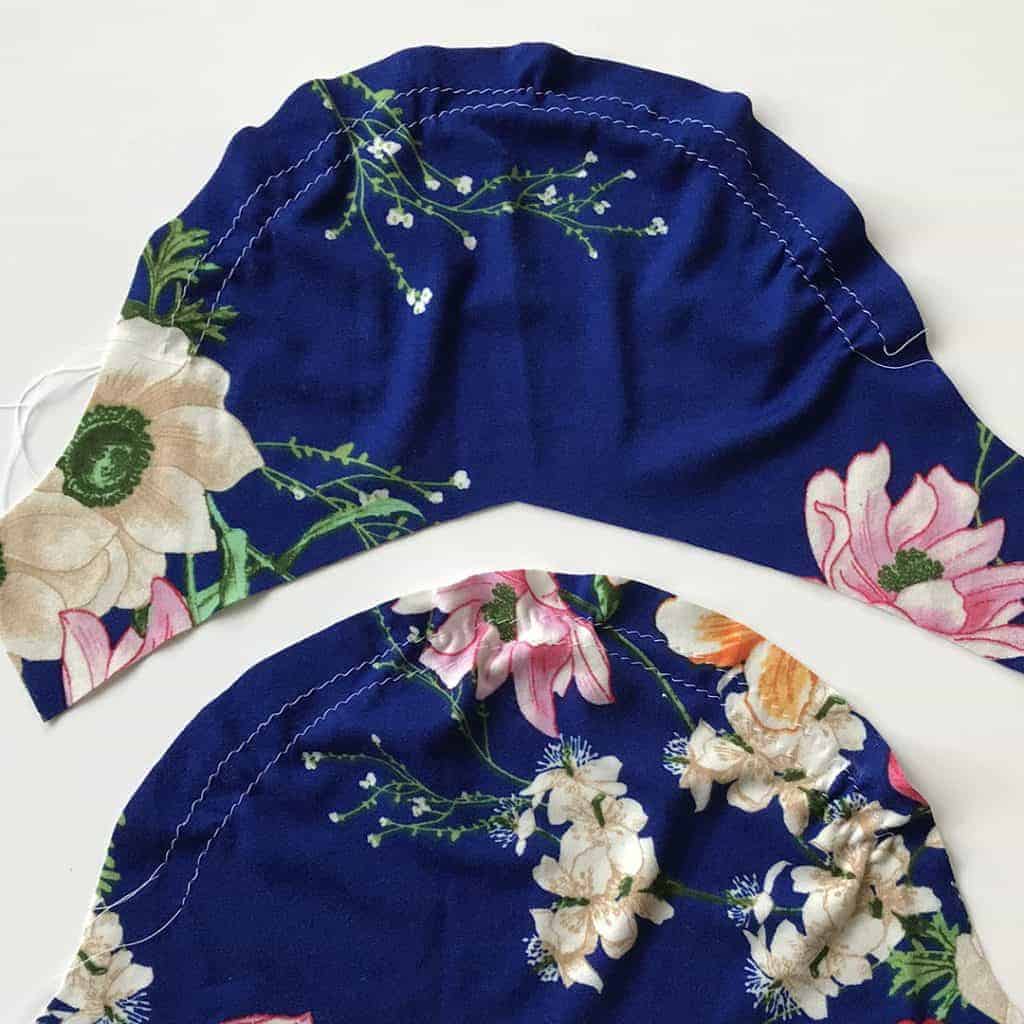
Sew two rows of basting stitches from ‘T’ marking to ‘T’ marking on sleeve head.
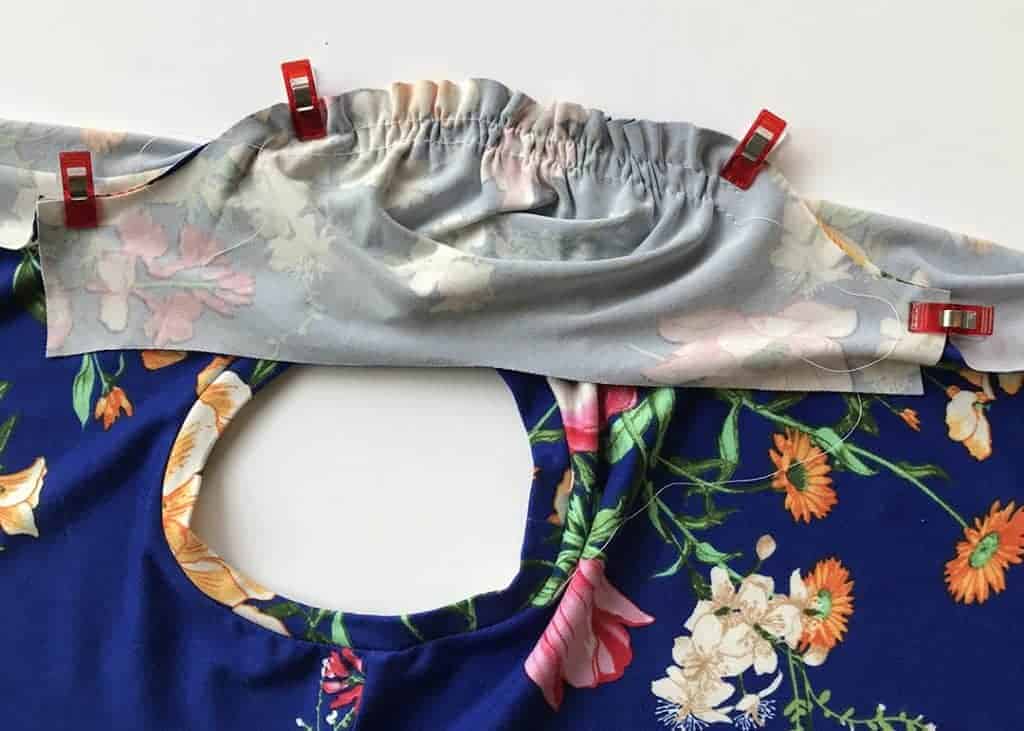
Gather sleeve head by pulling on basting threads to match armscye. Pin or clip sleeve to armscye, right sides together. By the way, have you tried using Wonder Clips instead of pins? They’re sewing-life changing! I use mine whenever possible.
Align side seams, right sides together, and stitch/serge from bottom hem to sleeve hem in one length of stitching.
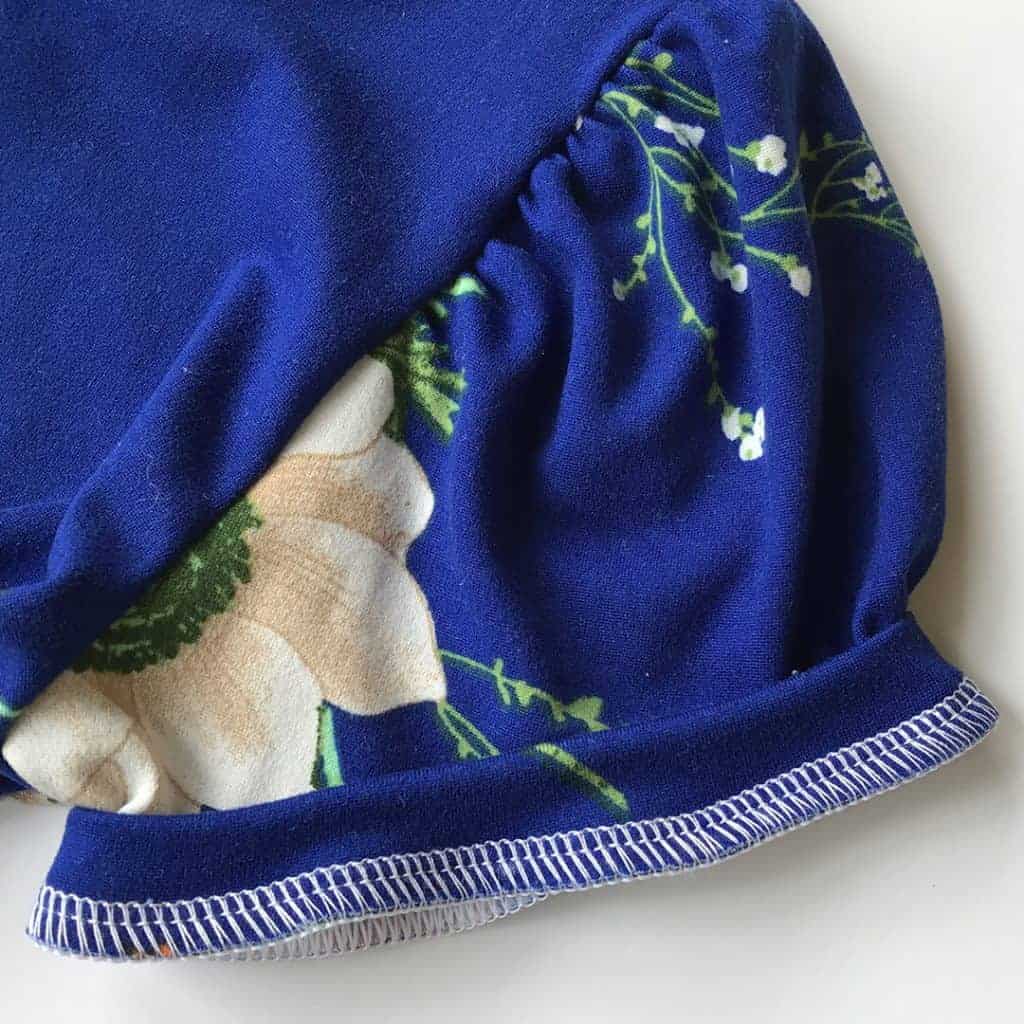
Now, we’ll finish the sleeve hem. There are multiple ways you can do this; from a lettuce hem to a gathered hem with elastic thread to a band. I’m going to show you how to add a band to the sleeve hem. This is the easiest and cleanest method. I’ve included a pattern piece for the sleeve band. Cut two bands on the fold. Straight stitch short ends of band and fold band over onto itself. Slip band over sleeve at hem and match up raw edges. Stitch/serge band to sleeve, stretching the band to fit the sleeve.
Adding The Flutter Sleeve
Adding the flutter sleeve is the simplest of all the new sleeve additions. You don’t need to do anything differently. Just cut out your sleeve, pin to the armscye and sew! Using a drapey type of knit is recommended for this sleeve style. I like DBP (double brushed poly) or ITY or similar. Because of the circle-like hem, it is recommended to either use a serger with a lettuce stitch or just leave the sleeve unhemmed. If you choose to do this, be sure the sleeve hem is a clean cut.
Adding A Flounce Sleeve
Have you jumped on the flounce train yet? They’re really starting to grow on me! This flounce is a circle so you’ll notice there is no grain line. This flounce is sewn to the short sleeve that comes with the pattern. Before you begin, trim away the 1″ hem allowance from the basic short sleeve.
Step One
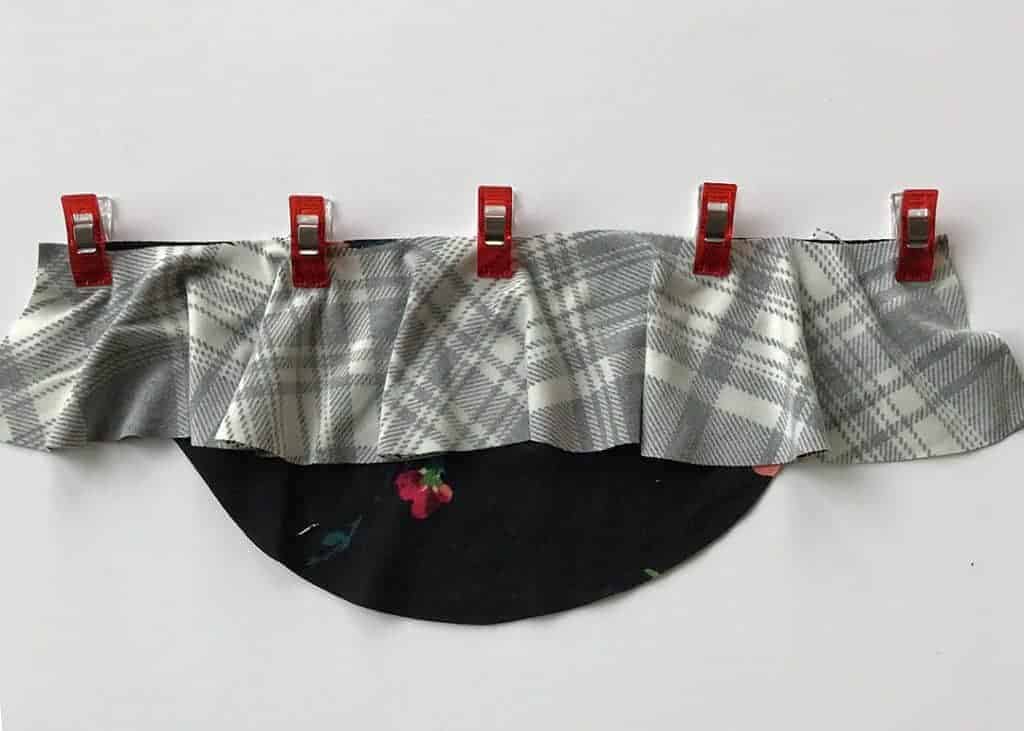
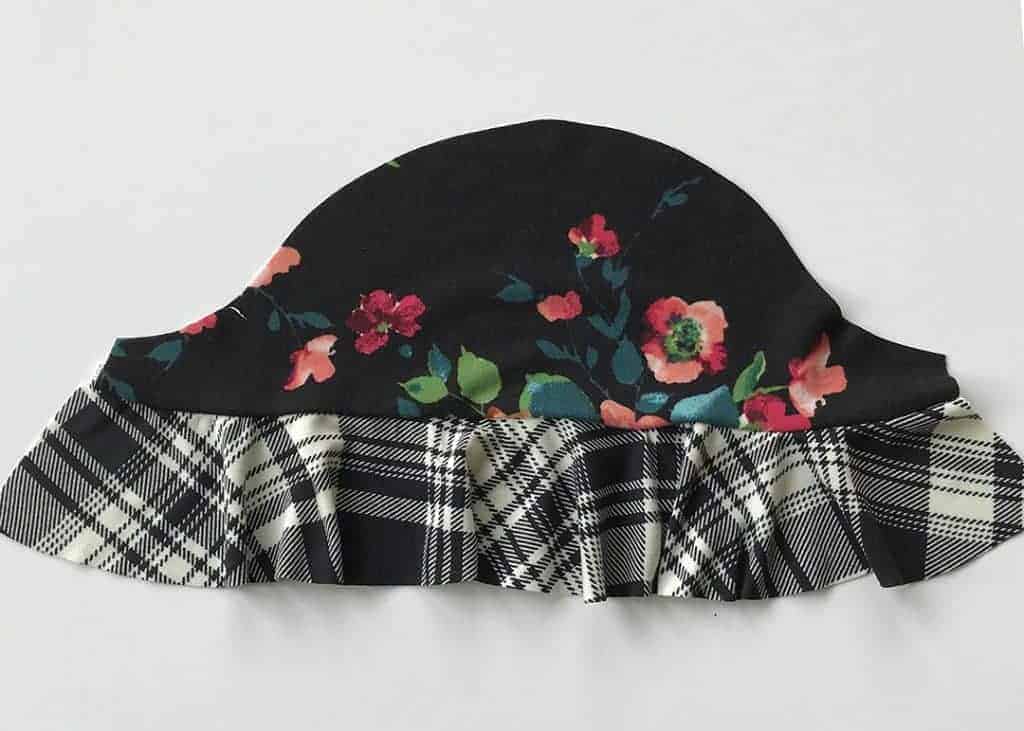
Align the flounce to the short sleeve hem (remember, you should have cut off the hem allowance at this point). Pin or clip the flounce to the sleeve, right side together. Stitch/serge the flounce to the sleeve.
Step Two
Press seam allowance up. Now, continue with the tee construction as normal. When it comes to hemming the flounce, the same recommendations of the flutter sleeve apply here as well. Leave unhemmed or use a lettuce or rolled hem. You can also press the hem up to the wrong side .5″ and topstitch in place. This isn’t my perferred method since it’s a little bulky and harder to do on a curve but it’s certainly an option.
6 Sleeve Options for the Classic Tee
Enjoy the three additional sleeve options to the Classic Tee! This may be a ‘basic’ pattern but it’s also a great place to start with other pattern hacks. We even had a tester use it to create a crossover dress for her daughter. Start playing today.


