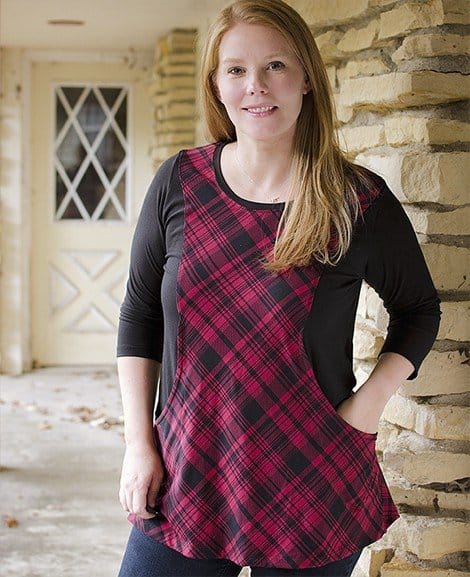
It’s October! And in the midwest, that means the air is starting to get a chill to it and the leaves are changing colors. Well, usually. Not this year so much. It’s still humid and we have some temps reaching 80 degrees this week. And the leaves still haven’t changed. It doesn’t look or feel very fall like yet. But, I’m hoping to bring it on by sewing up all the fall things!! And I’m starting out with this hoodie hack for the Trendy Tunic.

Yeah, that’s right, keeping my reputation for turning things into athletic wear, I turned the Trendy Tunic into a cozy french terry hoodie!
Did you grab the Trendy Tunic when it was on sale last week? If you are in the Facebook Support Group, I gave you a heads up that this was coming. 😉 For this hack, you will need the (affil links) Trendy Tunic and the La Bella Donna. (I sized up one size for that classic hoodie look with the slightly over sized shoulders and looser sleeves.) Print the entire Trendy Tunic in the size you need. For the La Bella Donna, you will only need to print page 16 in your size and the hood, which is pages 36, 37, 41, 41.
As for fabric, I got this super fabulous, wonderful, french terry from Raspberry Creek Fabric.
The quality is outstanding and the shipping is super quick! I ordered this jade french terry and have zero regrets. You will need approx 3 yards if you make it all in one fabric.
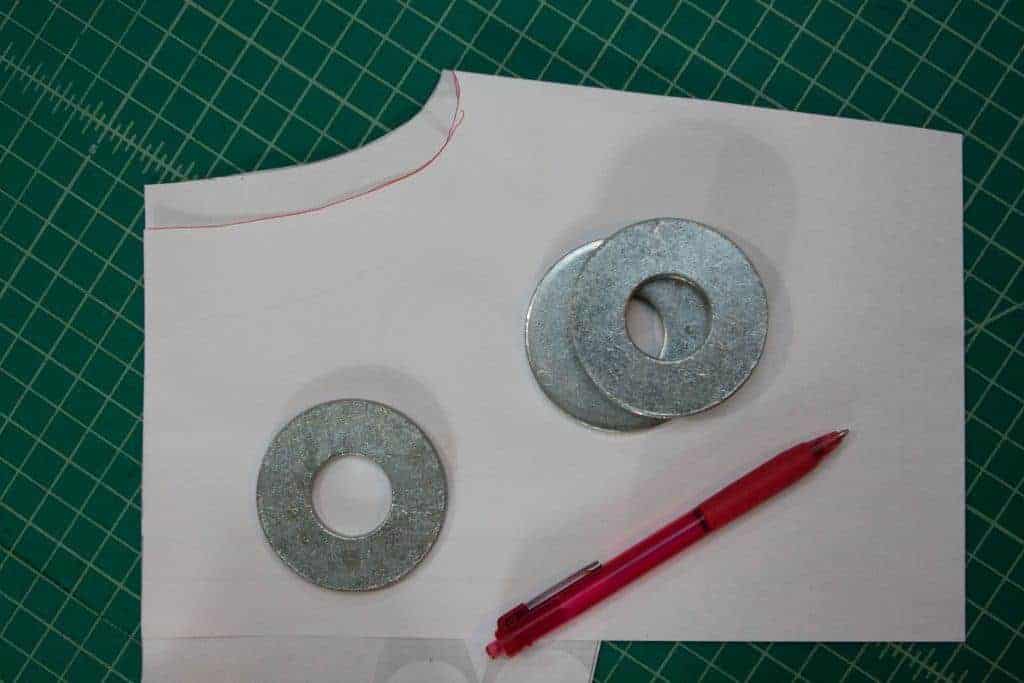
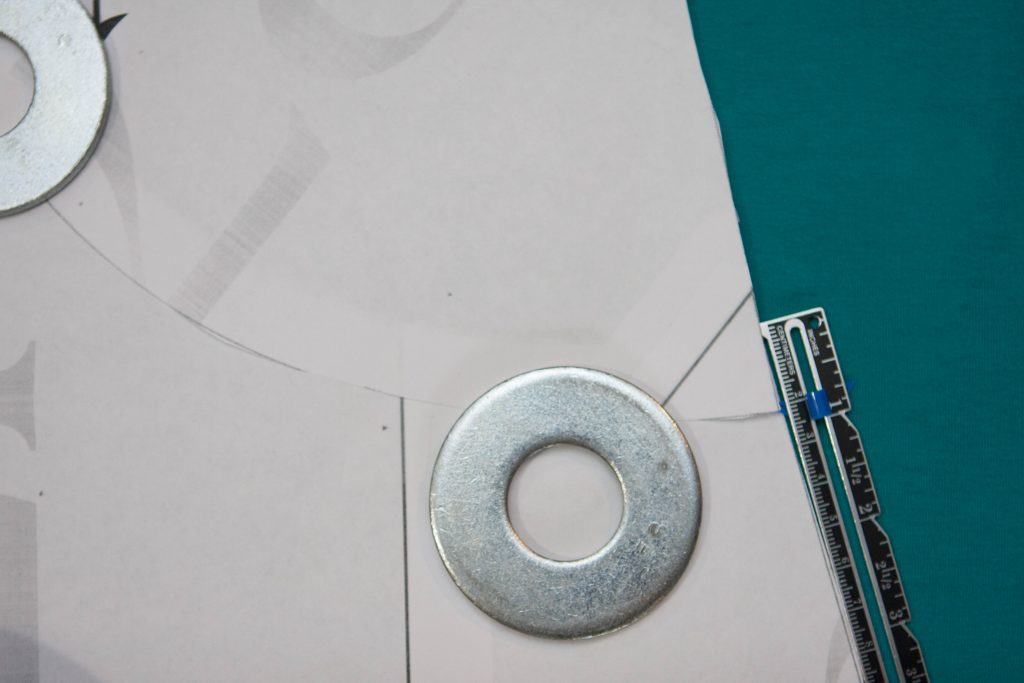
We going to be adding the hood from the La Bella Donna to the Trendy Tunic. To do this, we will be transferring the La Bella Donna neckline to the Trendy Tunic pattern pieces. Don’t worry, it’s easy. Start with the back pieces. Cut the LBD (La Bella Donna) piece so that it trimmed along the back neckline and shoulder seam and place it on top of the Trendy Tunic back piece lining up the center fold line and the top of the shoulder line. Trace the LBD neckline onto the Trendy Tunic.
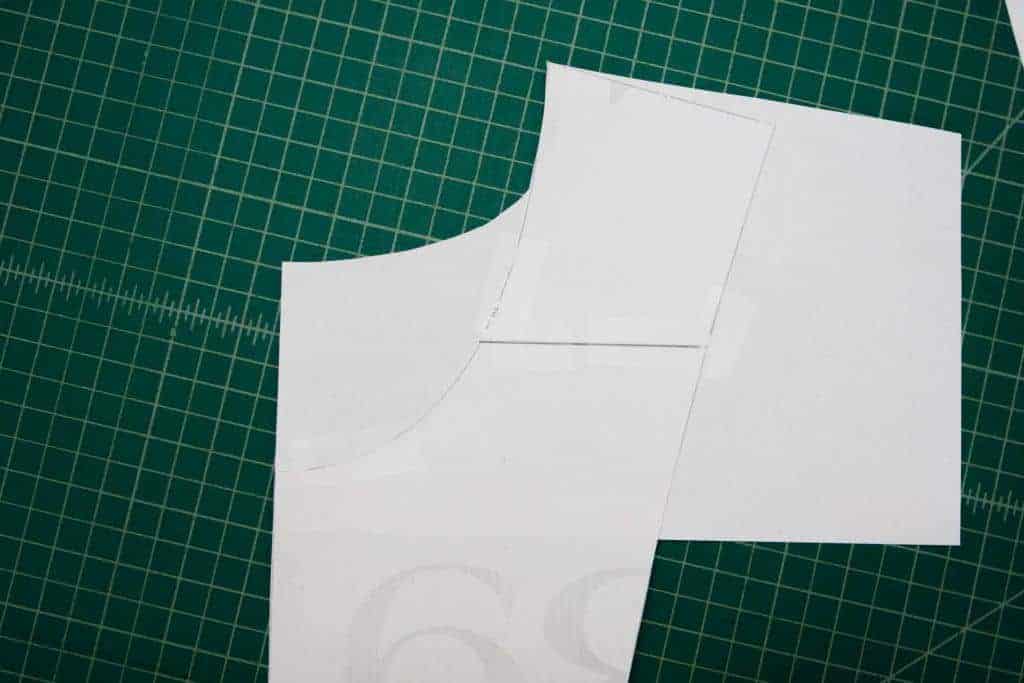
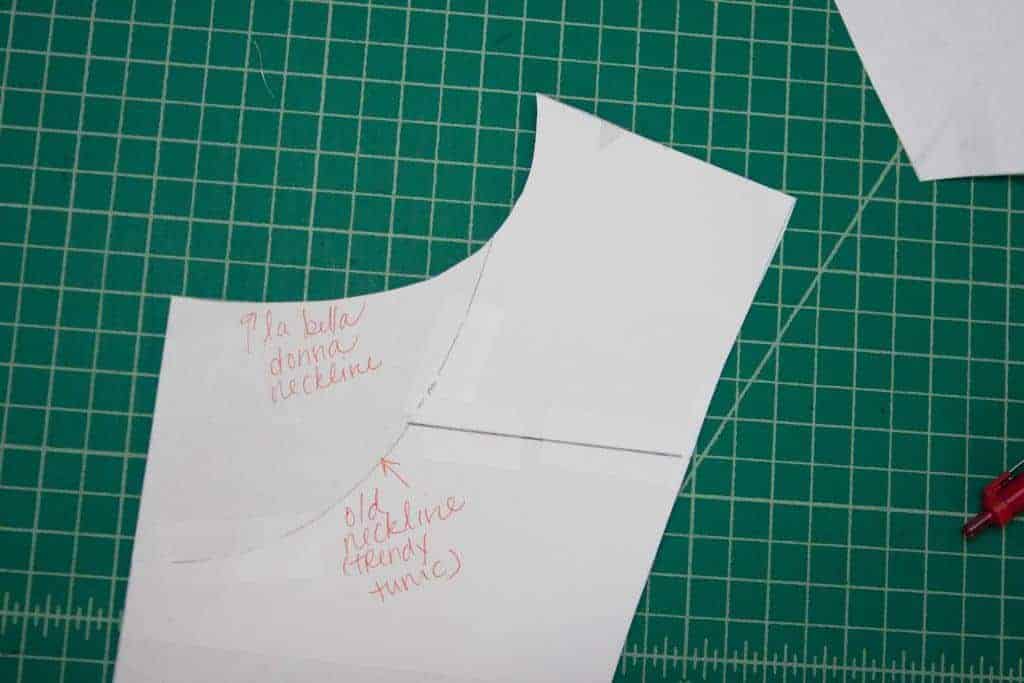
Now, cut the LBD piece along the front neckline and tape it onto the front of the Trendy Tunic piece again, lining up the center fold line and top of the shoulder seams. I placed the LBD piece under the Trendy Tunic piece.
You will have to trim back a small portion of the original neckline. There, that’s it!
Now we are going to shorten the pattern up a bit.
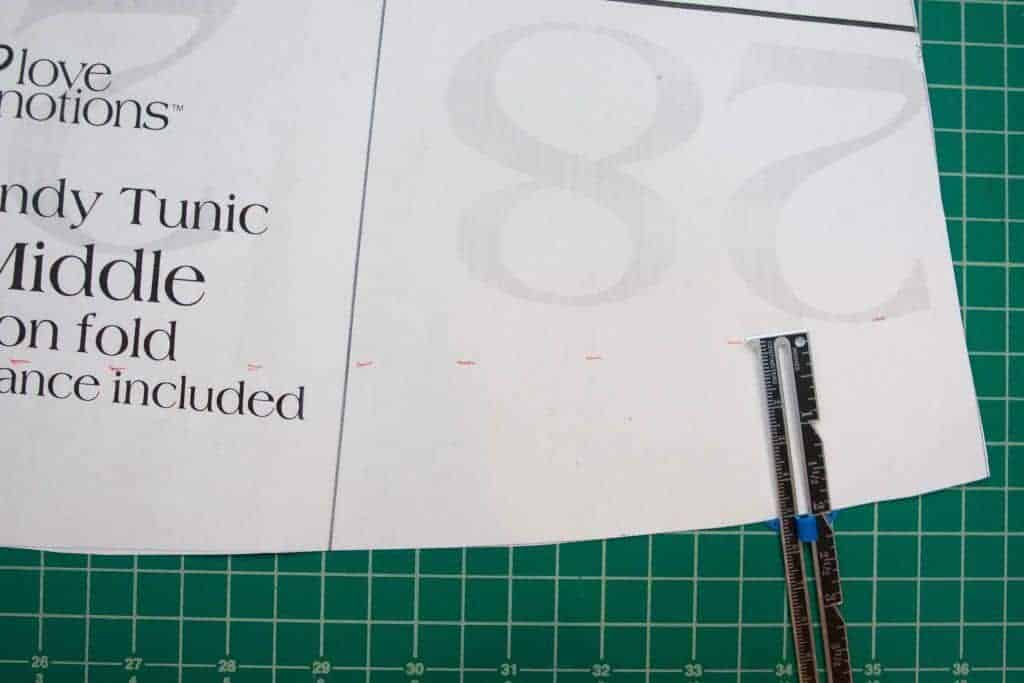
I’m only 5’3″. So I started by shortening the pattern 2″ along the length shorten line to get it tunic length for my frame. If shortening shirts isn’t something you have to normally do, omit that portion of this step. To make it closer to hoodie length, I removed 2″ from the bottom hem of both the front and back pattern pieces. Just use your hem guide to mark 2″ up along the bottom of the pattern piece in several places (note the red dashes) and then cut along the dashed line.
We will be adding cuffs to our sleeves, so shorten your sleeves 2″ as well. I forgot to grab a picture of this, but I just folded up the bottom of the sleeve at the hem.
To help make this as hoodie like as possible, I took out the panels in the back.
This is a very easy thing to do! Before cutting your fabric, place your back panel piece in place along the back center piece. Your pattern pieces will over lap 3/4″ to remove the seam allowance. Tape together and then just cut along with side seam to create a single back piece. The picture below shows a close up of the bottom of the panel lined up with the main back piece. Make sure the shoulder seams line up as well.
Now that we have all of our pattern pieces adjusted, assemble your Trendy Tunic as instructed, omitting the neckband. Instead of using the neckband, add the hood, using the assembling instructions in the La Bella Donna pattern.
Time for the bands!
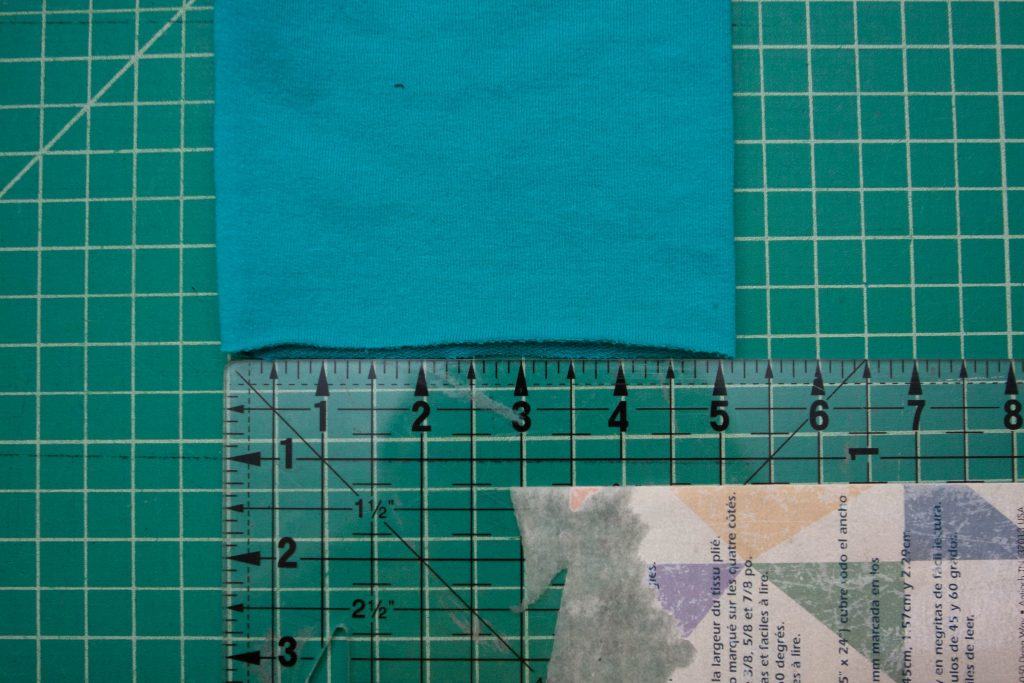
We aren’t hemming the sleeves or the hem, we will be adding bands. First, measure the hem of your sleeve, my xl had a 5″ flat measurement. Double that for 10″ total width.
To determine the width of your band, use 80% of the length of your hem. So 10 x .8 = 8″ width of your band. I wanted a slightly wide cuff, so I made my length 6″ making my cuff’s dimensions 6″ x 8″. (the most stretch will be the 8″ in my case)
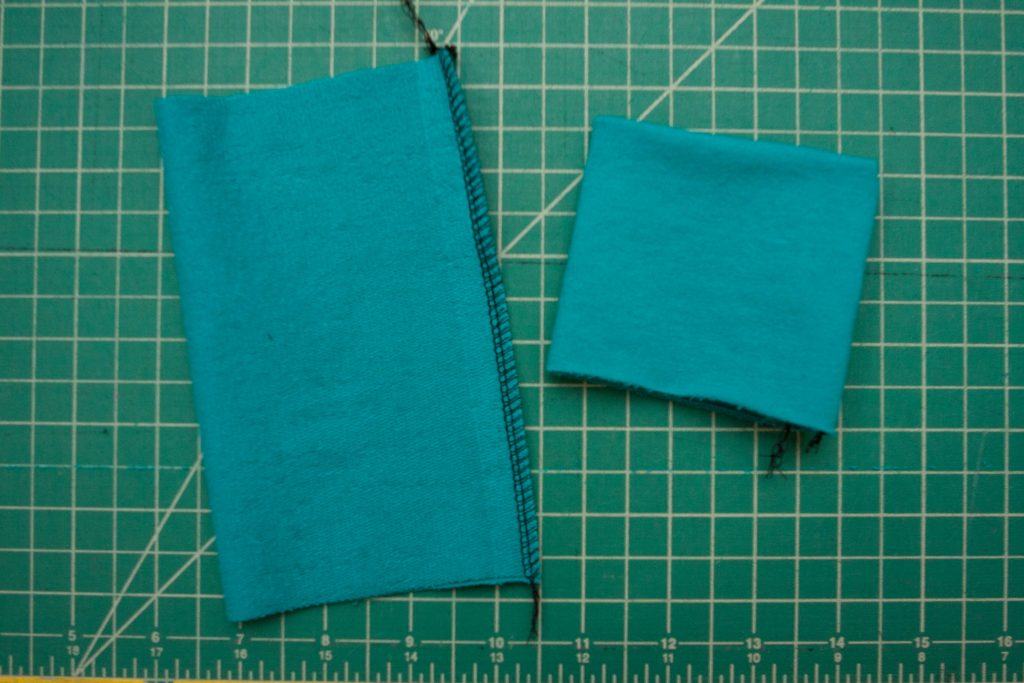
Right sides together, sew together the short ends creating a circle. Now fold the circle in half with the wrong sides together matching up the raw edges.
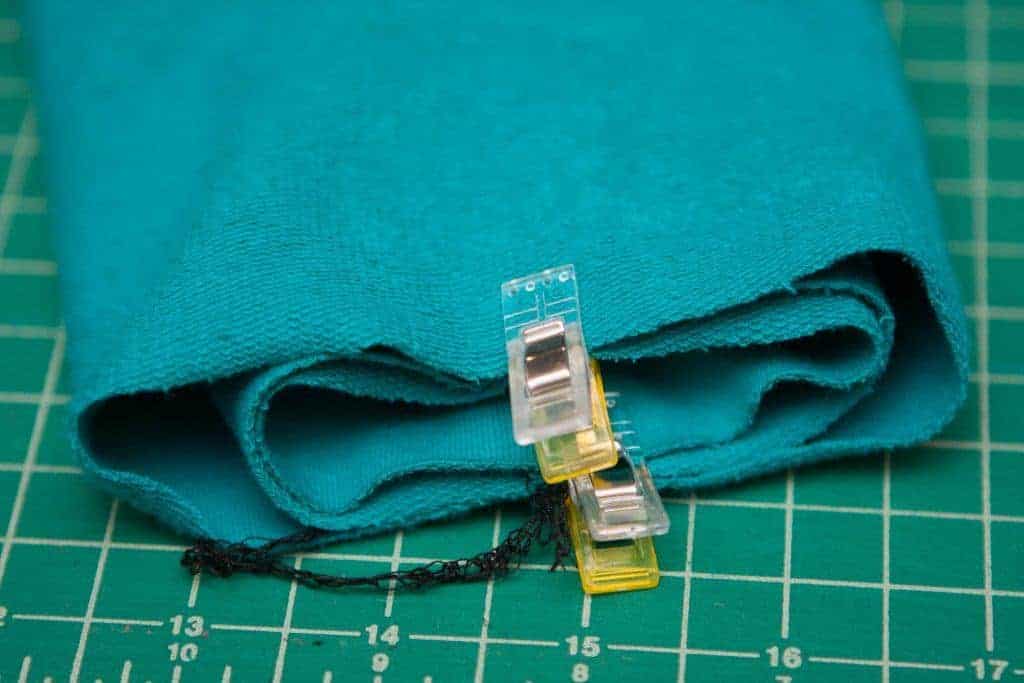
With the sleeve wrong side out, slip the cuff into the end of the sleeve matching up the raw edges. Line up the seams and half points, sew together stretching the cuff to fit as you go. Repeat with the second cuff.
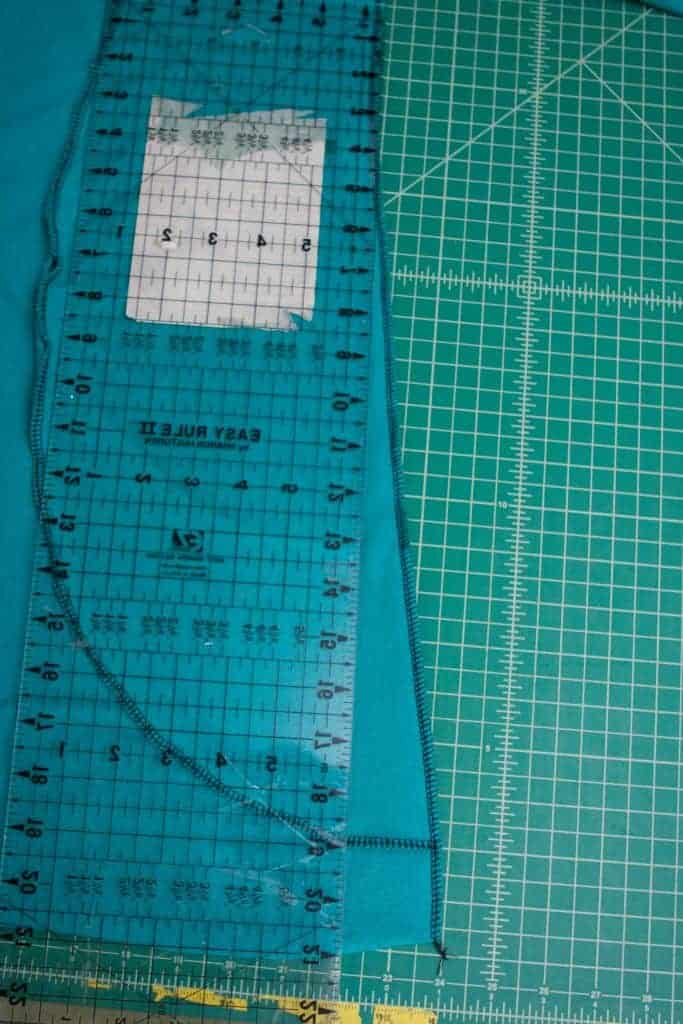
Before attaching the hem to the bottom, we are going to slim down the sides of the tunic a bit.
I find it easier to do this after the shirt is assembled. That way I don’t have to worry about matching up the side panels with the main front and back pattern pieces. Turn your tunic inside out and lay it flat. Starting where the shirt flares out, place your ruler on your shirt creating your new side seam. I ended my new side 2″ in from the original. I marked my new side seam and then sewed along the line I created and then trimmed away the excess. ( I used my serger to do this.) Repeat on the other side.
Create the hem band in the same way you created the sleeve bands. Measure the bottom hem (mine ended up being 50″) then use 80% of the length (40″) and the length desired (again, I used 6″) I did have to stretch my band quite a bit, as I prefer a rather gathered hem. 85% could be used for a less bunched look.
It’s still plenty tunic length on me so this is still fantastic with leggings or skinny jeans.
I really can’t get enough of that hood, but you know what would also be amazing? A cowl!! Because we used the neckline of the LBD, we can use the cowl also! You know what I’m making next, don’t you!
So, how many do you want to make? I have about six more planned, then I can wear one every day of the week!
Grab the Trendy Tunic and La Bella Donna (affil links) and start smashing! Then share your new Trendy Tunic Hoodie in the Love Notions Pattern Support Group on Facebook. I would LOVE to see what you create!


