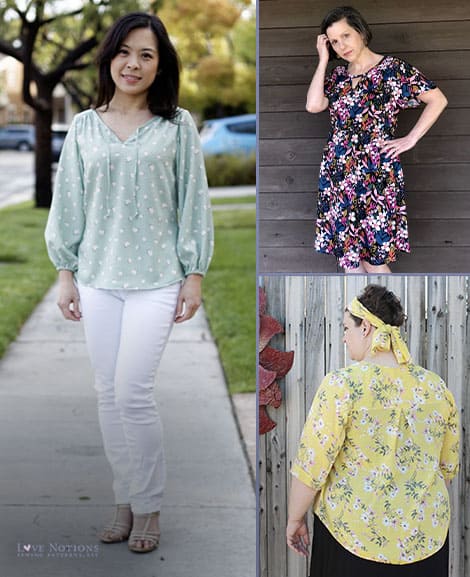
Rhapsody Sewalong Day 1: cutting out your fabric
Welcome to day 1 of the Rhapsody sewalong! We have a lot of great things planned for this sewalong. Each day, we will tackle one portion of the pattern. If you can’t sew along with us that day, don’t fret! You will have the weekend to “catch up” with us. When you have finished your Rhapsody, enter a picture of it into the album in our Support Group on Facebook or post on Instagram with the hashtag #RhapsodySewalong and we will draw FIVE random winners for an amazing prize box! A HUGE thank you to our sponsors Art Gallery Fabrics and Simply by Ti.

Each box will contain: 1 color large format Rhapsody pattern, 2 yards of high quality Art Gallery rayon, 1 yard lace trim from Simply by Ti, 1 bottle of Best Press, 5 yards of Swedish Tracing paper and a set of bias tape makers!
In case you missed it, we had a little chat in the Love Notions Support Group on Facebook last week discussing the best fabrics for Rhapsody and some tools that you may find helpful while sewing up your blouse. You can catch the video here if you missed it or want a refresher.
Today, we are going to focus on cutting out our pattern from our fabric.
Cutting woven fabric that has a lot of drape and a loose weave can be a bit tricky at times. The fabric can shift and slip around making the pattern difficult to cut out properly resulting in a pattern piece that is misshapen. That can result in a poorly fitting garment. We definitely don’t want that! So, I’m going to share some tricks with you to help get a perfectly cut pattern. (This post does contain affiliate links.)
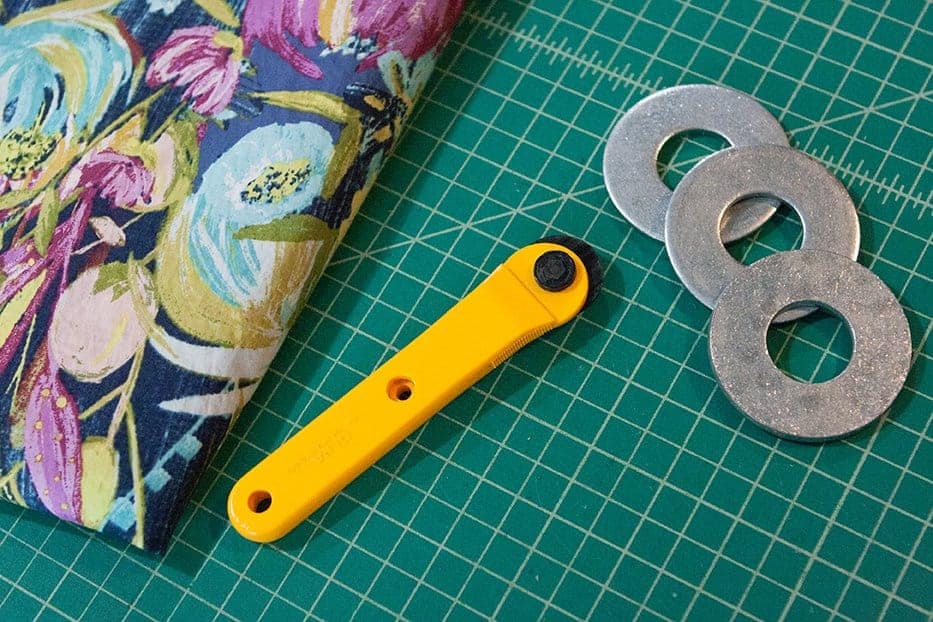
Some fabrics do best cut out with a rotary cutter and mat. Chiffons are definitely one of those fabrics! Invest in the largest cutting mat you can afford and have room to work with. It makes a world of difference in cutting out your patterns! A nice rotatary cutter is also key. You don’t have to break the bank with this either! Friskas makes a nice cutter that is pretty economical. I prefer an 18mm size for cutting pattern pieces. It makes getting into the corners and curves easier than a larger blade does.
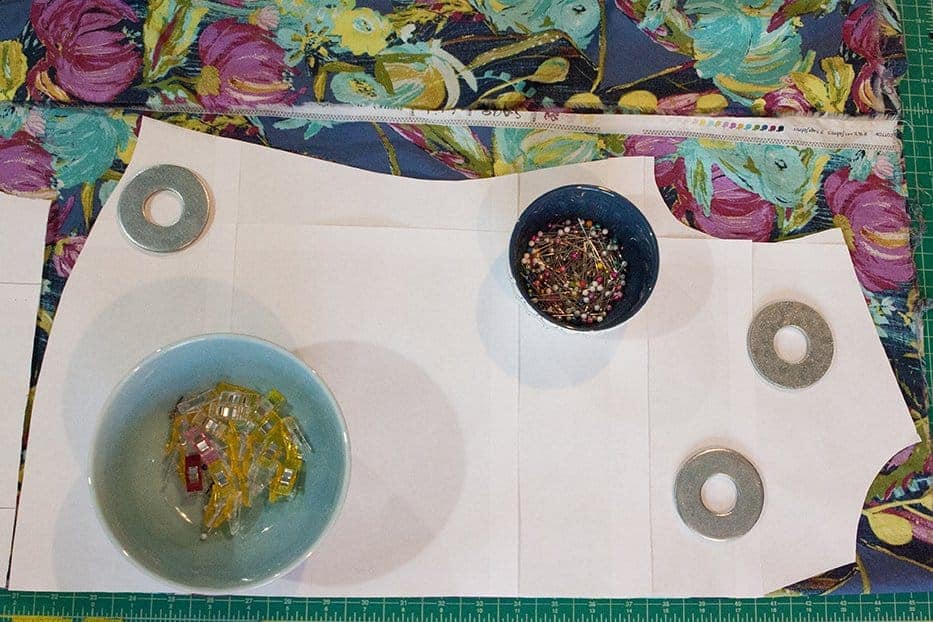
Pattern weights also make cutting less of a chore. I use large washers found at the hardware store. Many sewing stores sell specially made pattern weights. They are often small, tightly stuffed bean bag type weights. You can also use butter knives, soup cans, plates, your phone, scissors, small books, a child’s wooden blocks…… basically, anything that is low profile and has just a bit of weight to it works. The low profile makes it easier to work around. The weight keeps your pattern piece and fabric from shifting all over the mat.
Once you have your pattern pieces cut out, be careful not to handle them too much before stay stitching the neckline in place. Wovens with a loose weave can stretch out quickly once cut on the bias, like the neckline or the curved hem. Handle them with care. Store them flat until you need them, not draped over the back of a chair.
Tomorrow, we will be focusing on the yoke assembly portion of the pattern. Hello, burrito roll method!!
Rhapsody Dress Hack
During testing I played with the idea of adding a dress option. In the end I decided to just focus on getting the fit and all the sleeve options perfect and save the dress idea for a blog post. So, during this sew-a-long I’ll be sharing the dress hack with you!

It’s very simple. If you’ve sewn the Pemberley or another elastic waist casing this will be a very similar process.
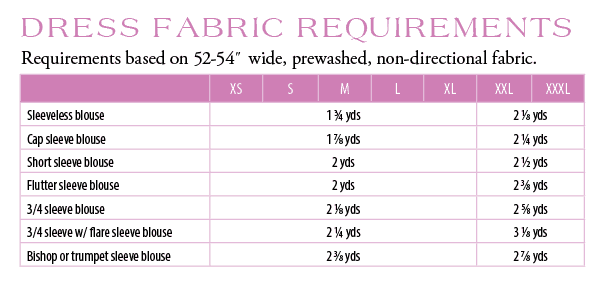
Dress fabric requirements are below. I have the skirt pattern piece here for you to download as well. If you are doing the standard bust bodice, click here to use this skirt. If you are doing the full bust bodice, click here to use this skirt.
You will also need a length of 3/8″ wide knit elastic.
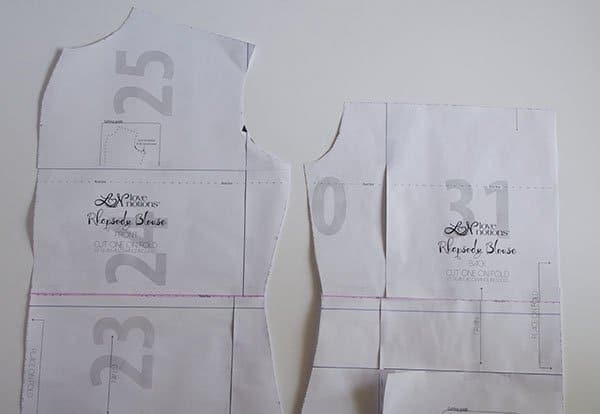
To start, you will cut your front and back pattern pieces either at the waistline marking (highlighted in pink) to make it more of an empire waist dress or, cut 1/2″ below the waistline (blue line) if you want the dress to hit more at your natural waist.
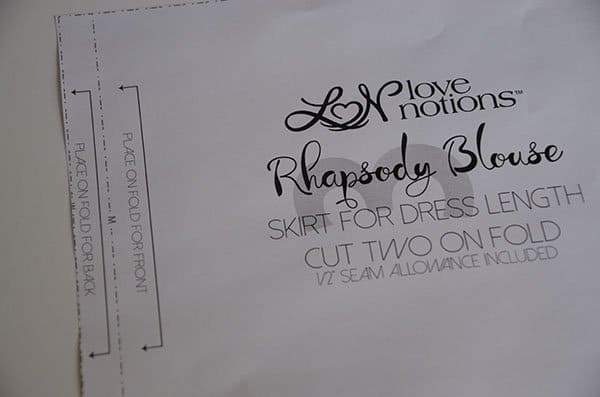
Next, we need our skirt piece. Adding this skirt piece to the new bodice pieces will result in a dress that measures about 35″ in length from shoulder to hem. You’ll notice there are two fold lines on the skirt piece. This is because the back bodice piece has a pleat. Be sure to mark which skirt is front and which is back. Note that the full bust skirt piece is the opposite of the standard bust. This is because the full bust front is wider than the back, even accounting for the pleat.
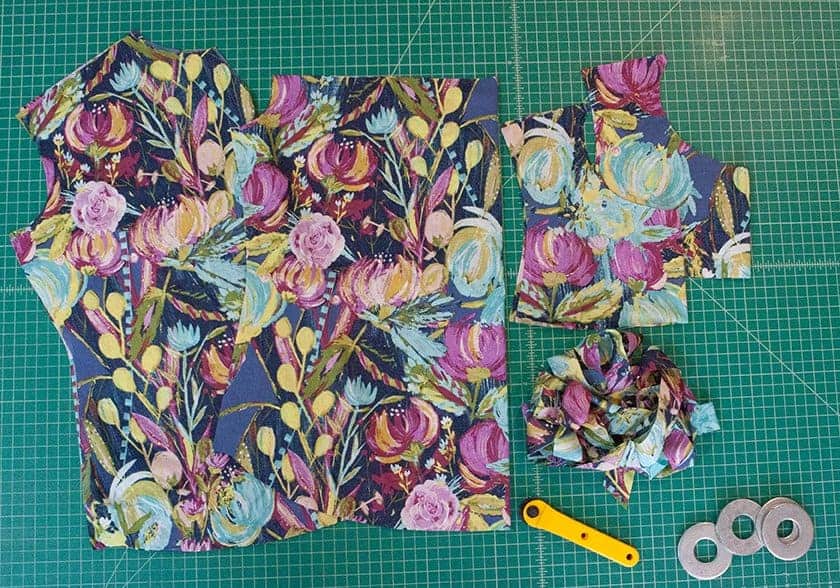
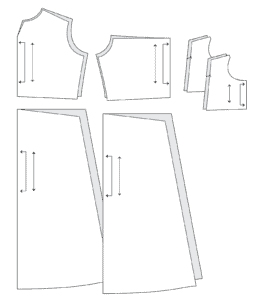
Once you have your pattern pieces cut you are ready to cut your fabric! Here’s what your dress pattern pieces will look like, just don’t forget to add the sleeves if you’re not doing the sleeveless view.
Catch up with us in the pattern support to chat and ask any questions.
Monday: Cutting out your fabric and dress add on
Wednesday: French seams and dress
Thursday: Sleeves and accent trim
Pin this for later!